Ledger Board

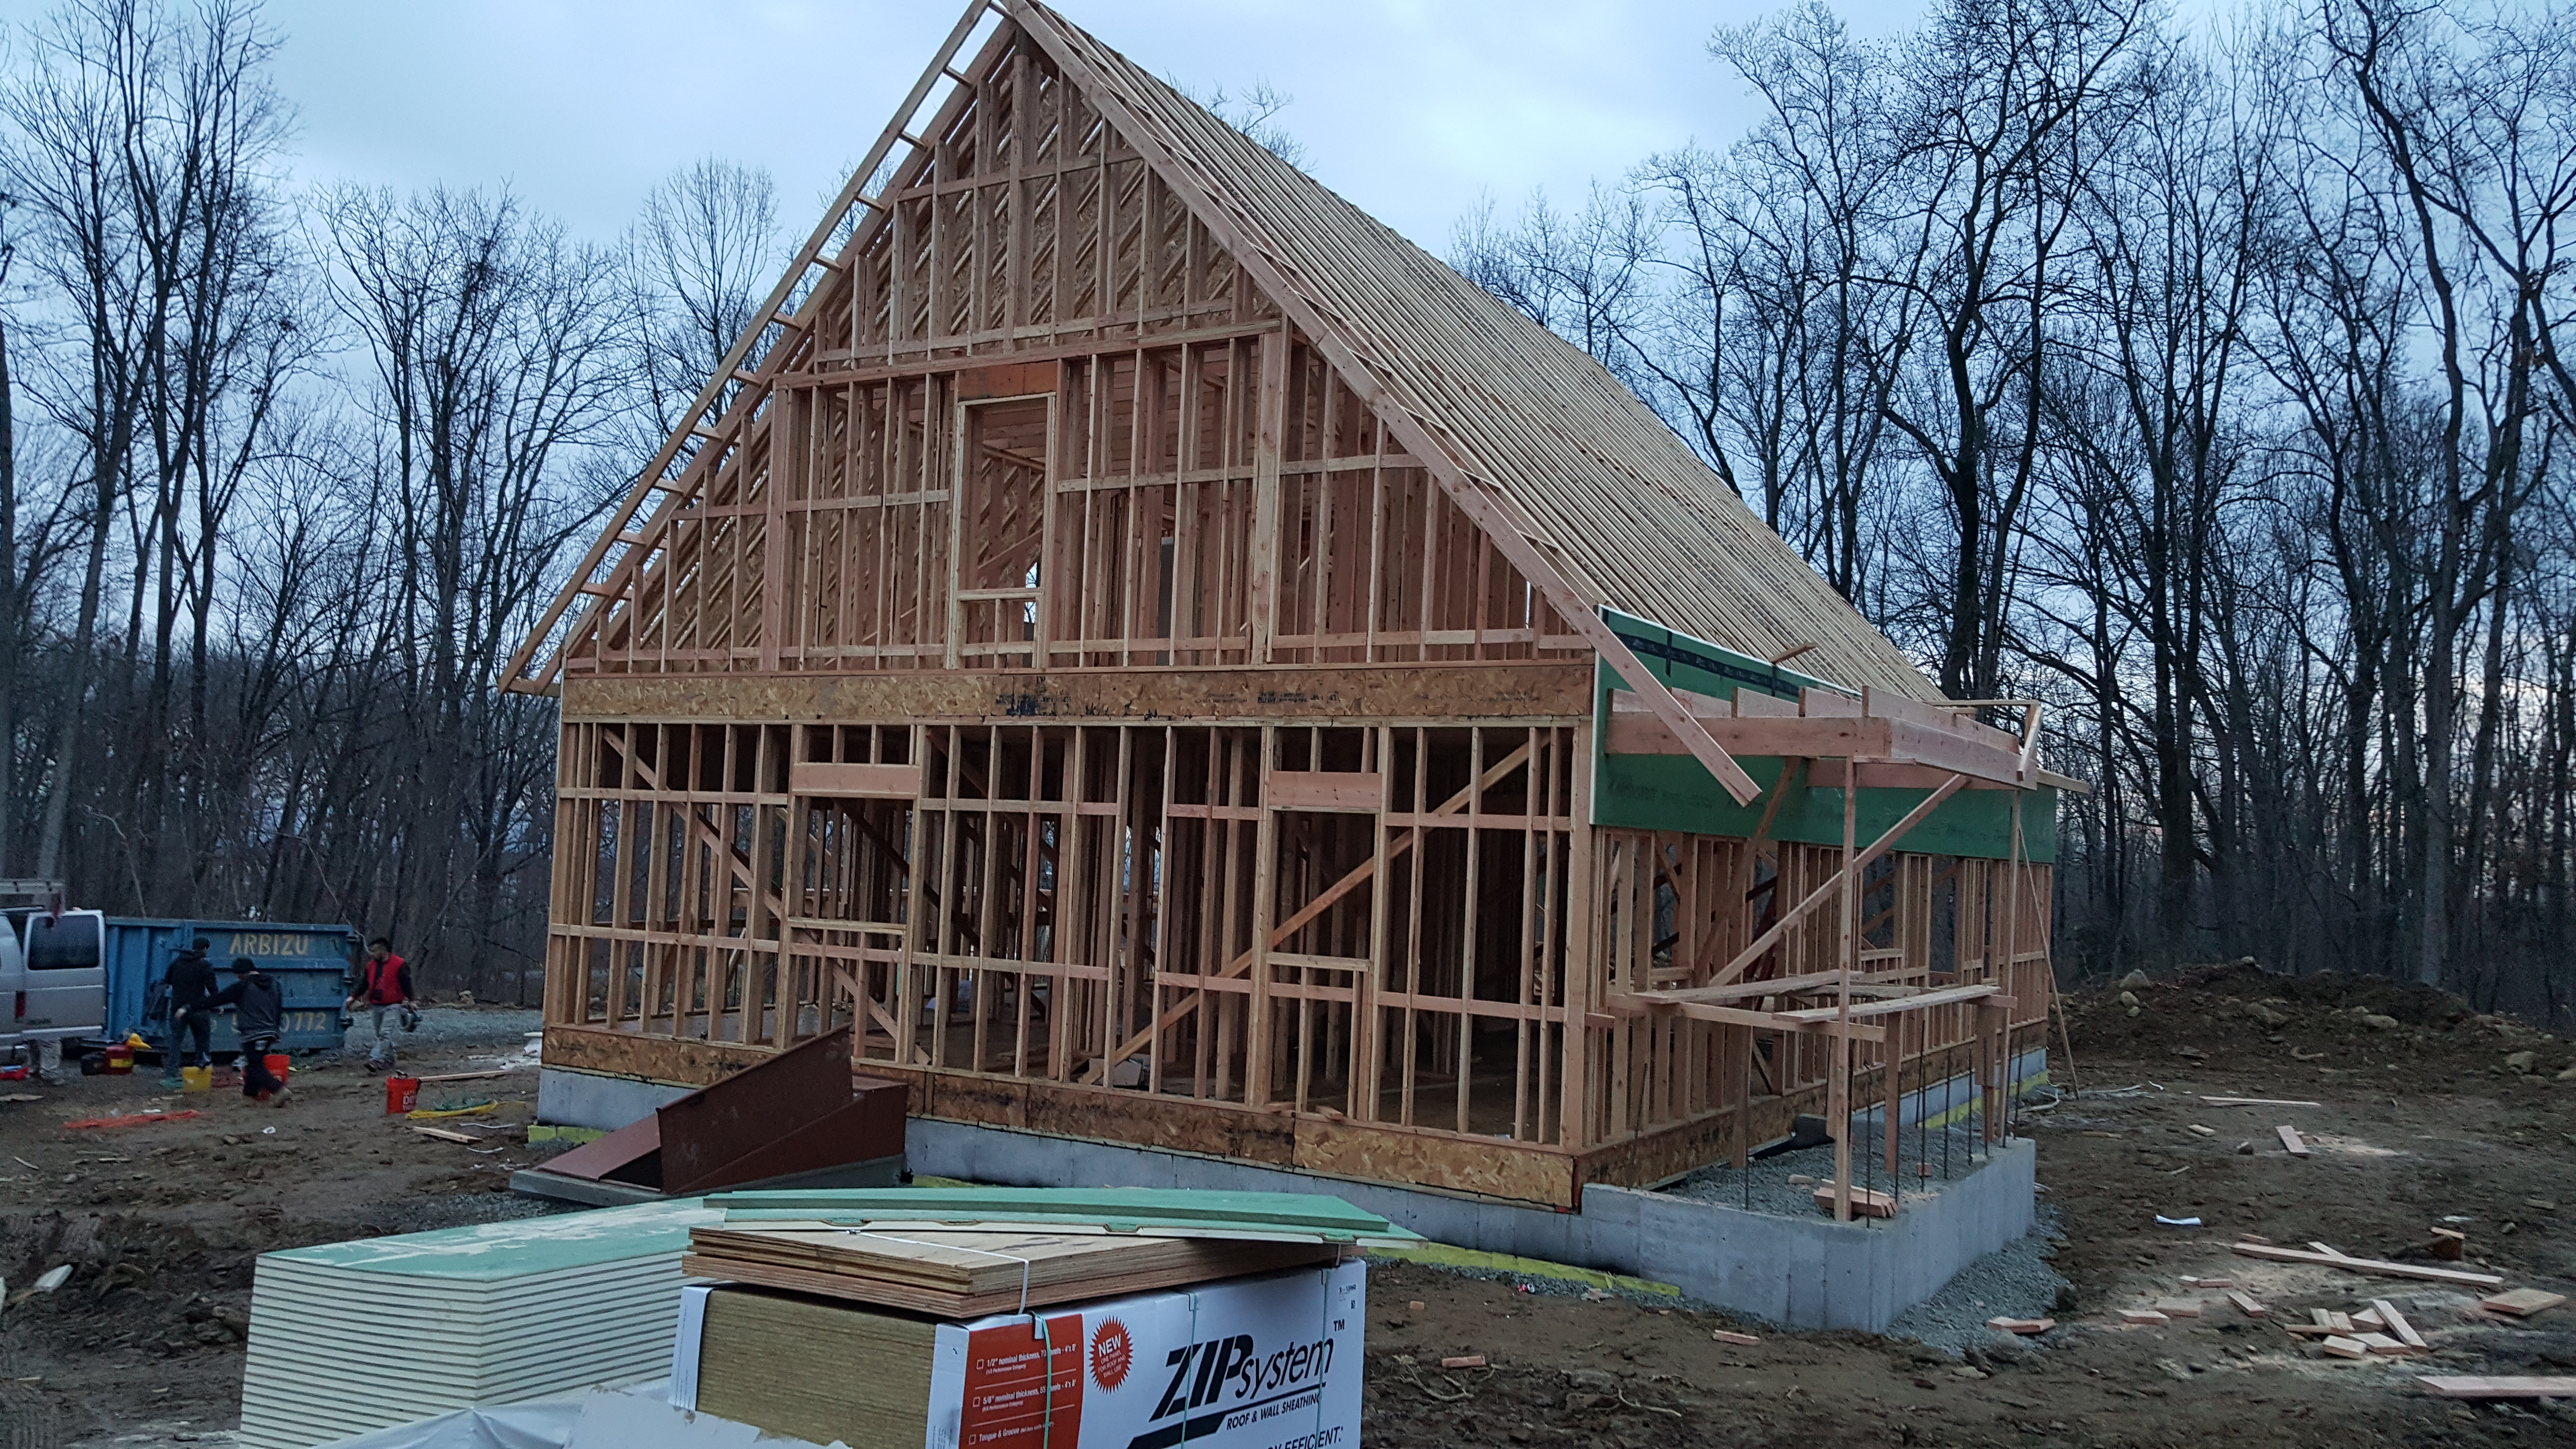
Building a custom house isn’t for the faint of heard.   All looks good on paper until you put the pieces together. Then you need a plan B or C.

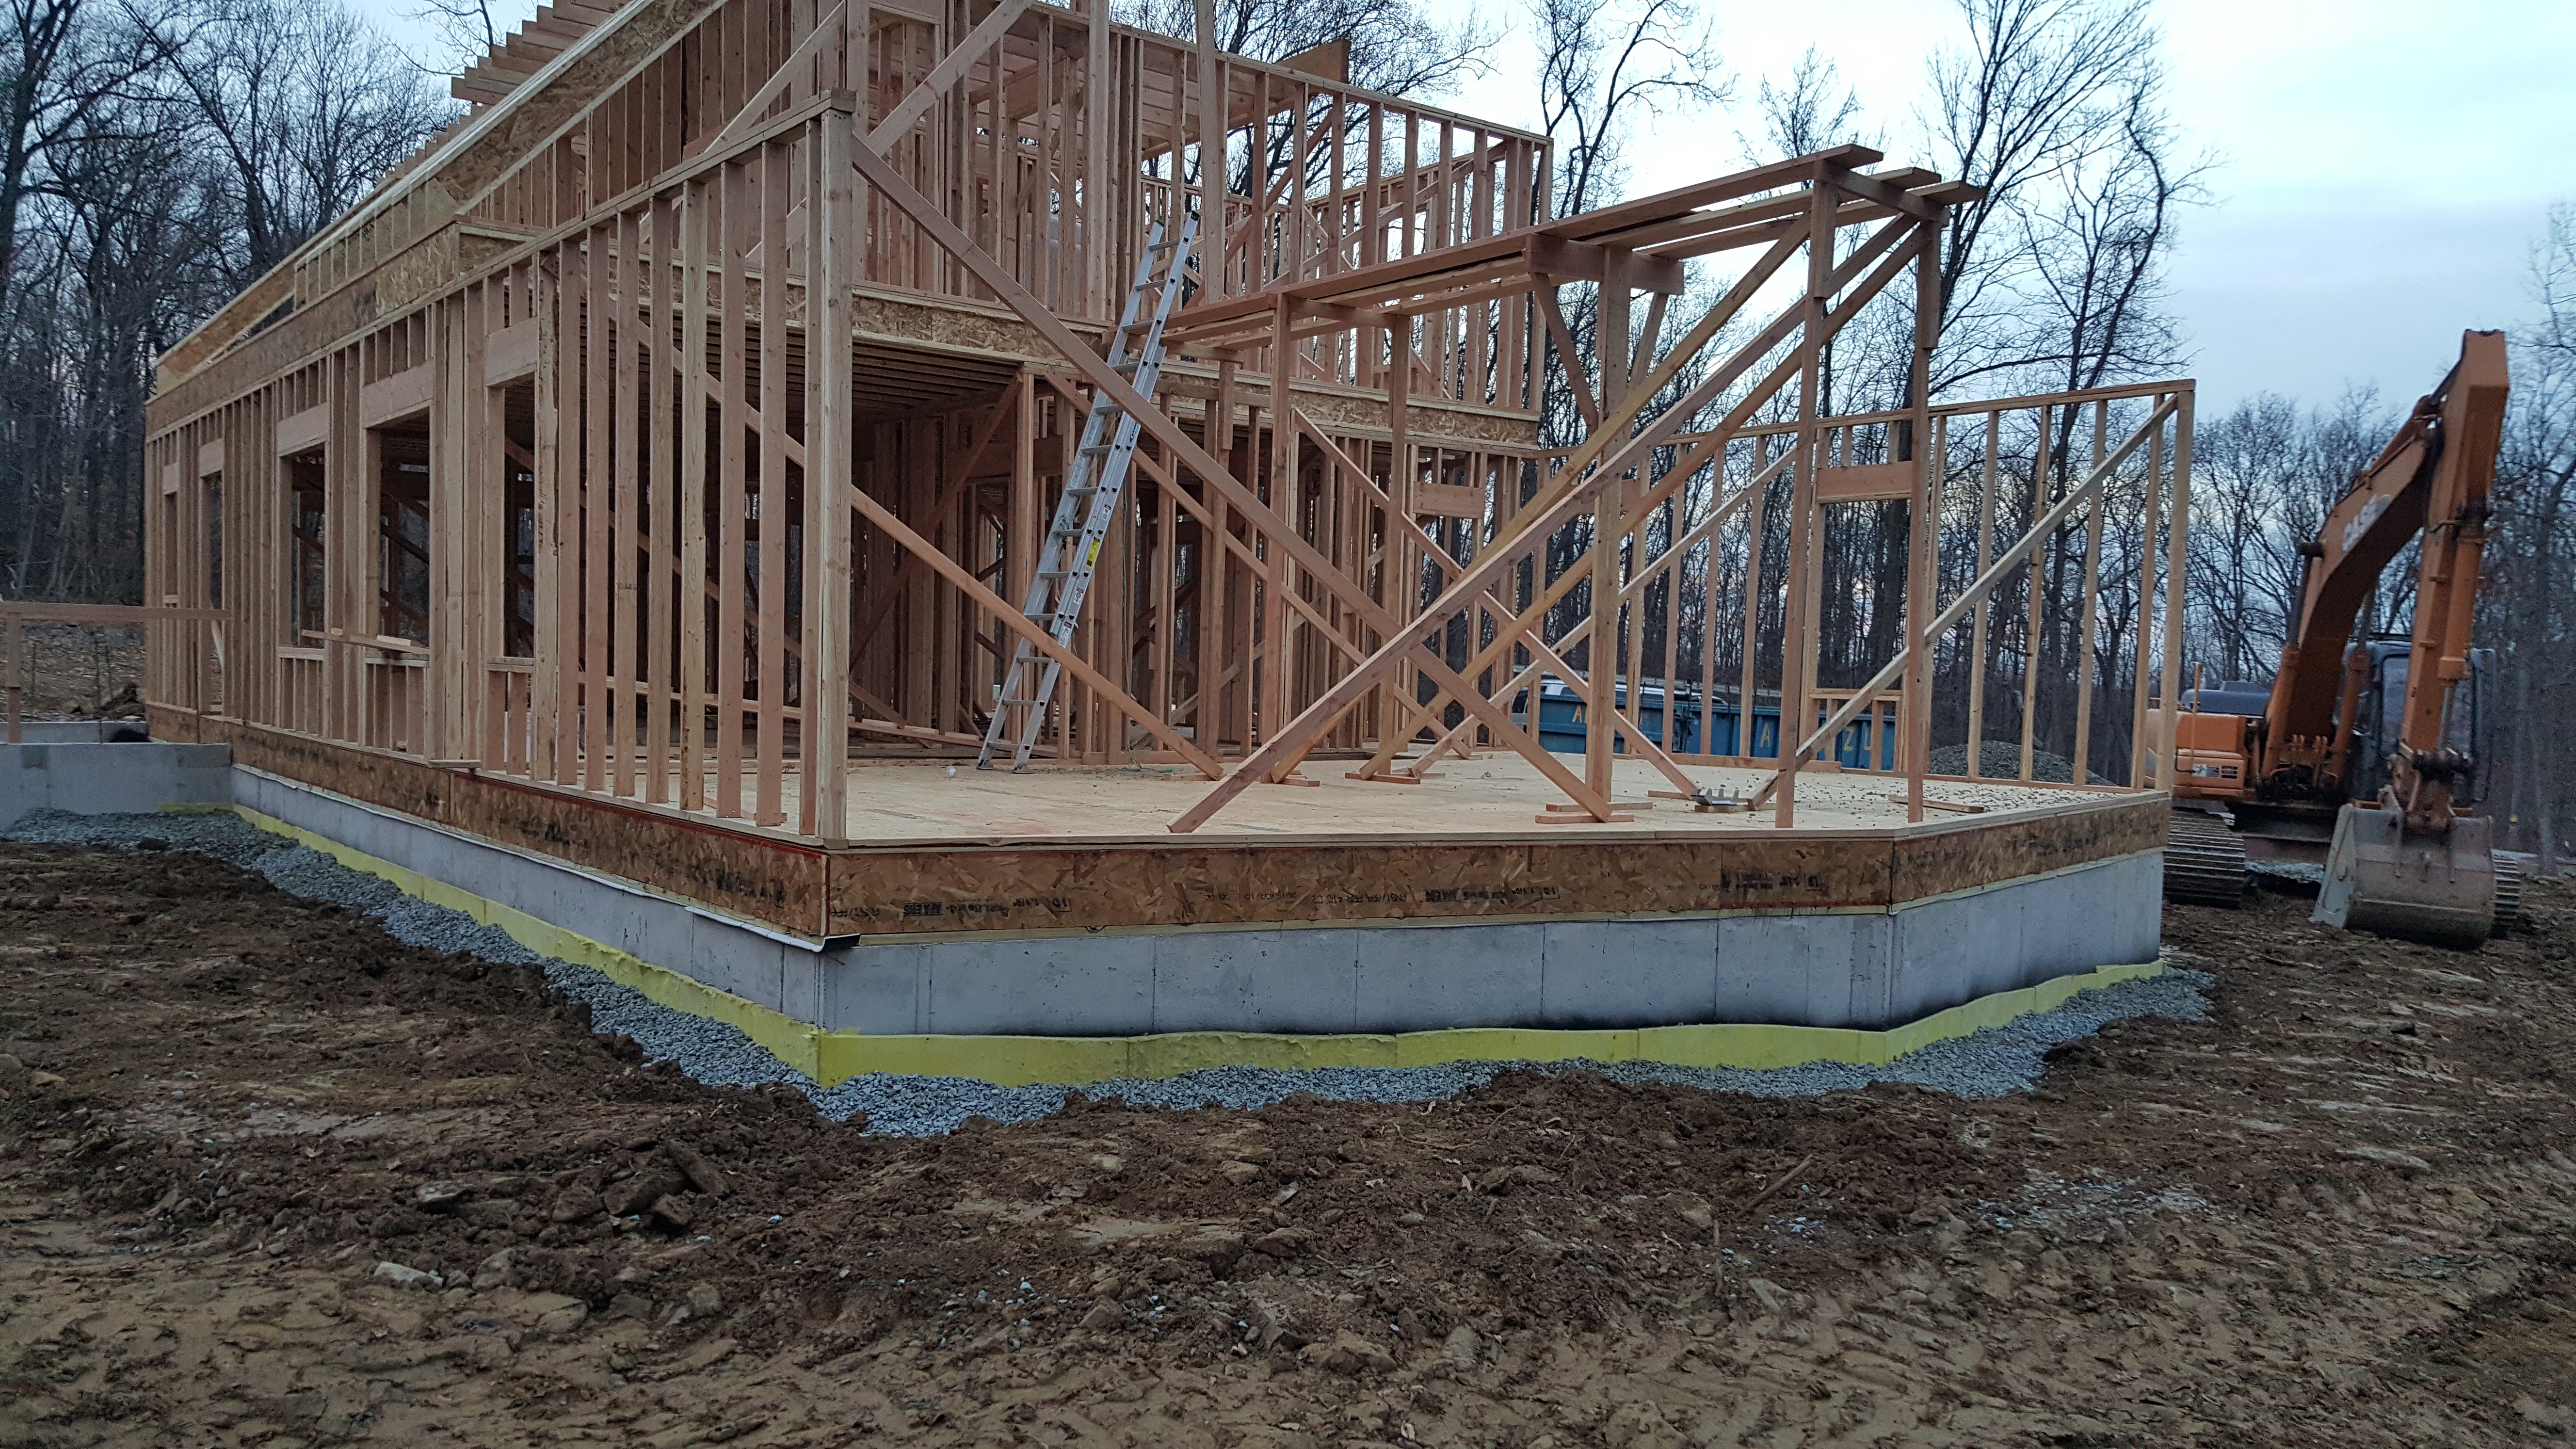
We went to attach the deck ledger board and walla, it couldn’t be done.  See photo.

93 Ledger framing 
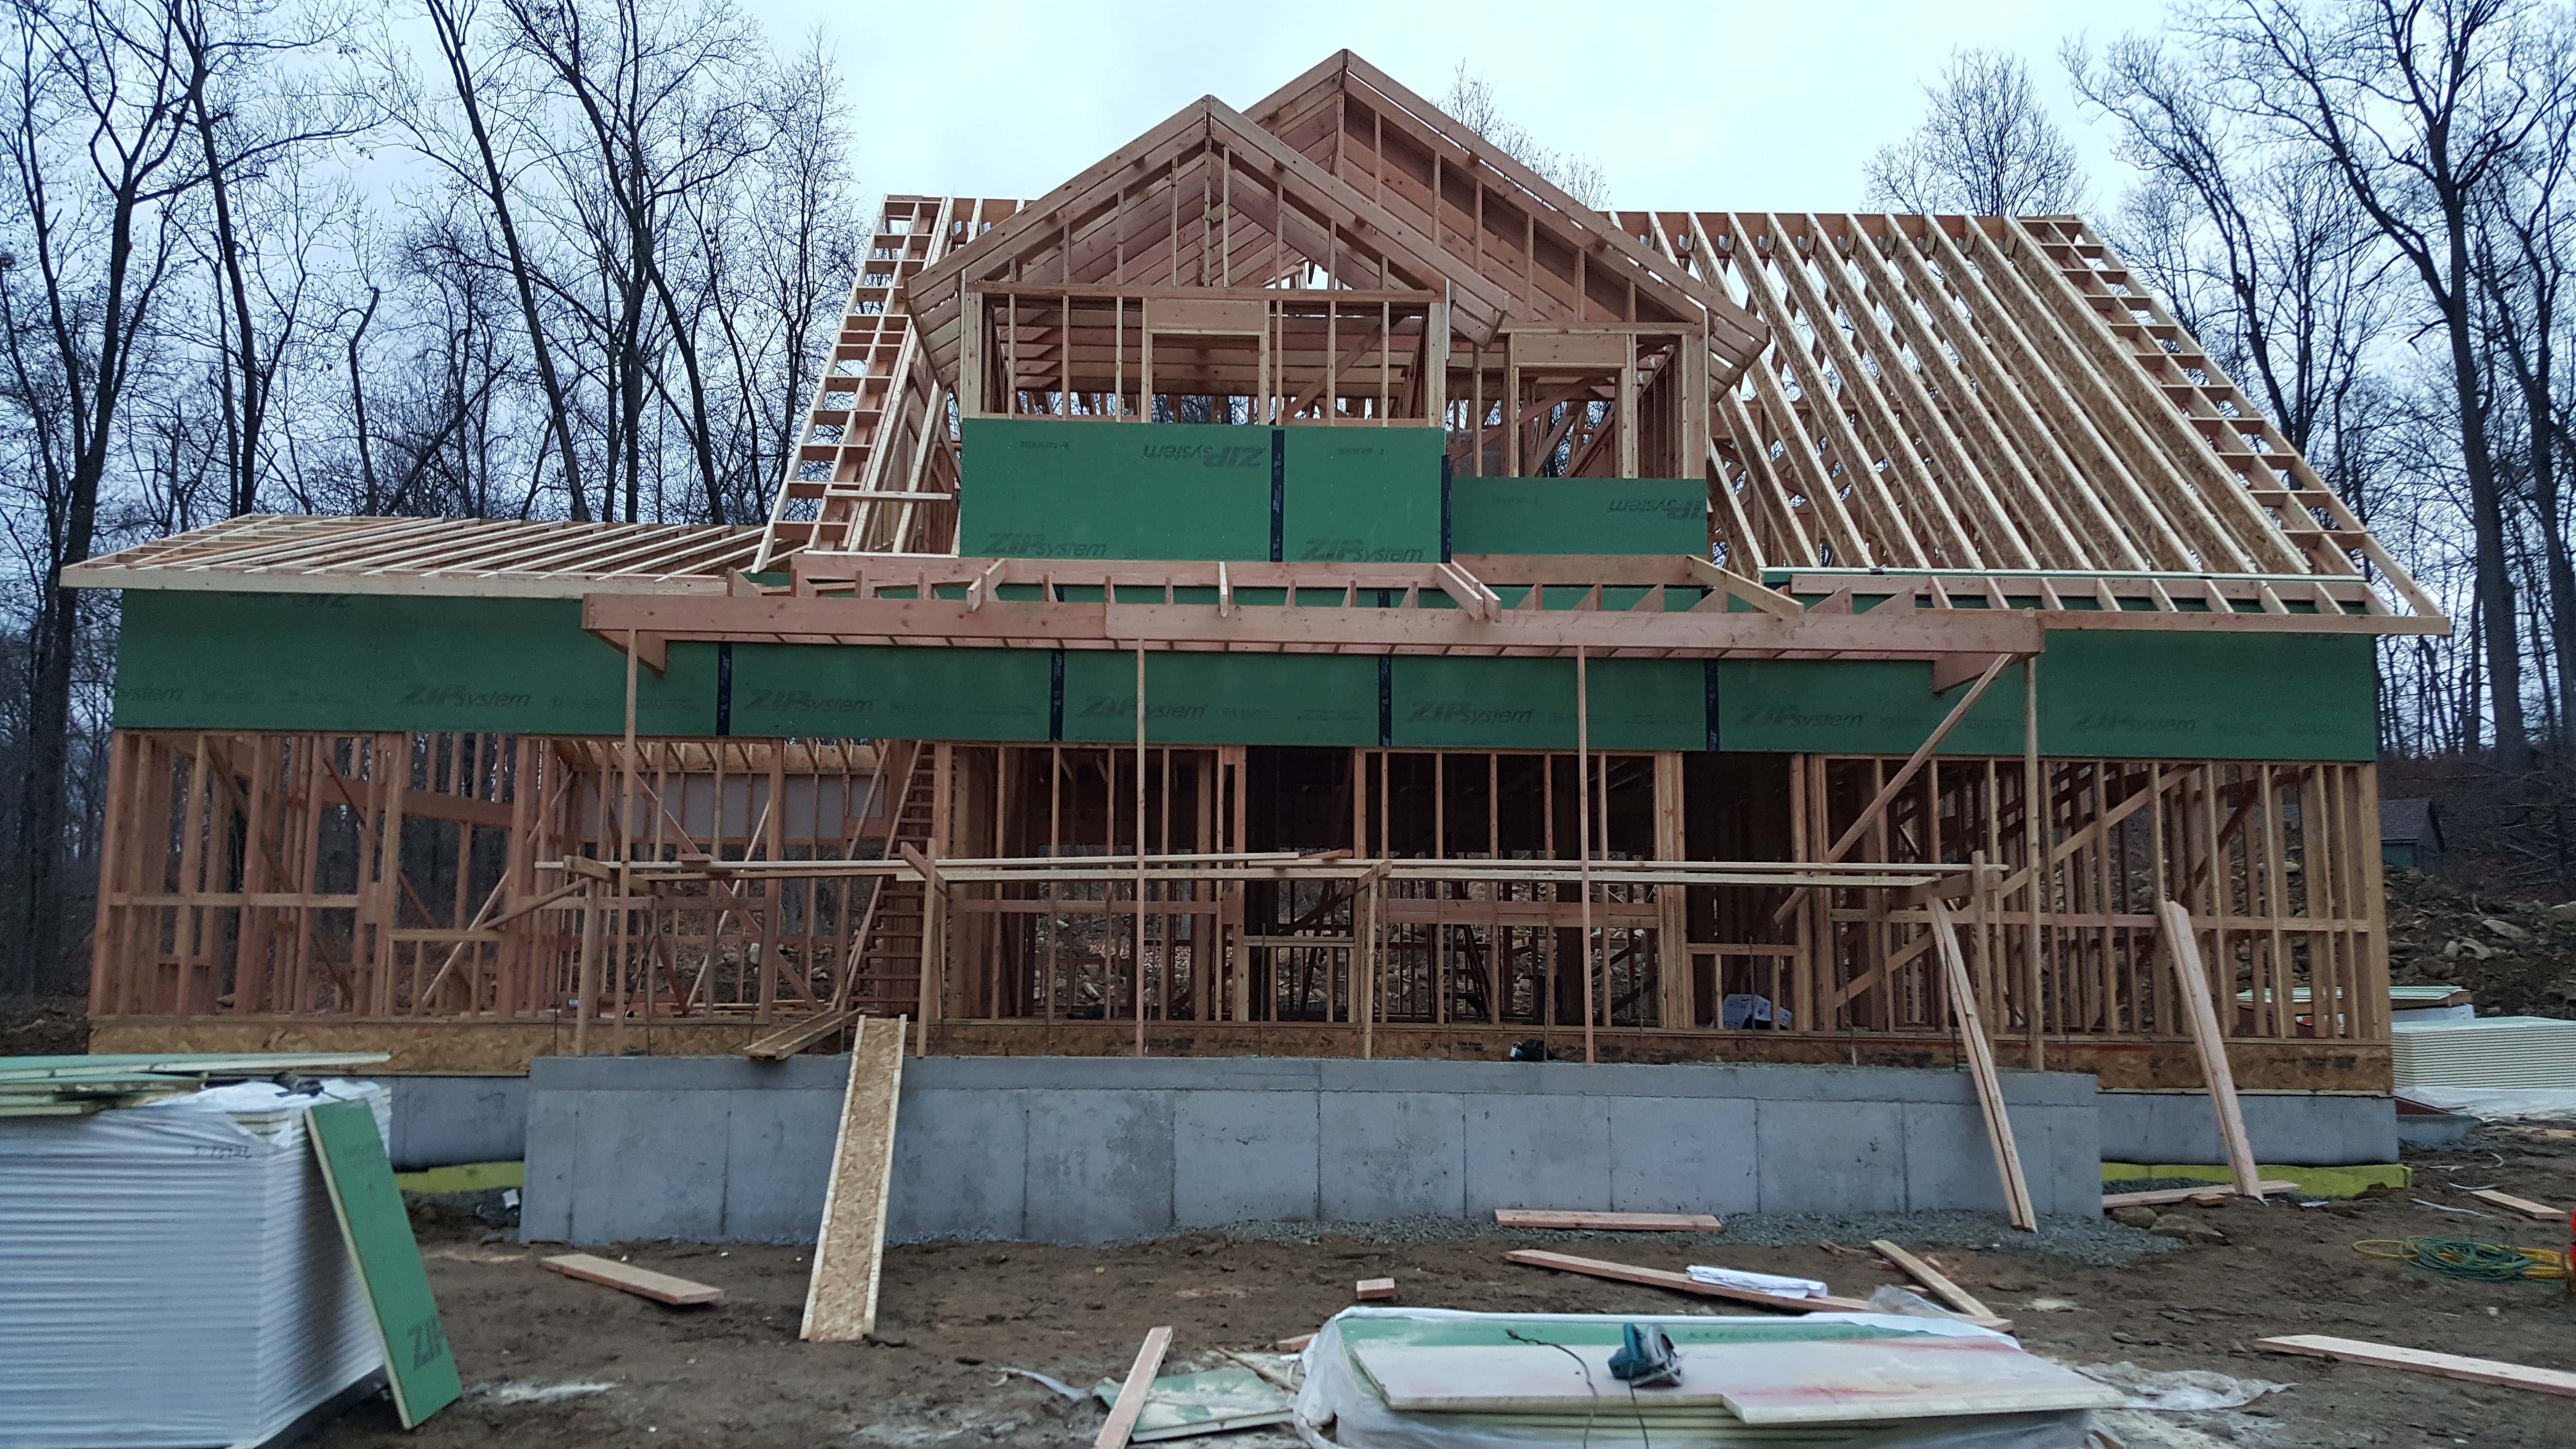
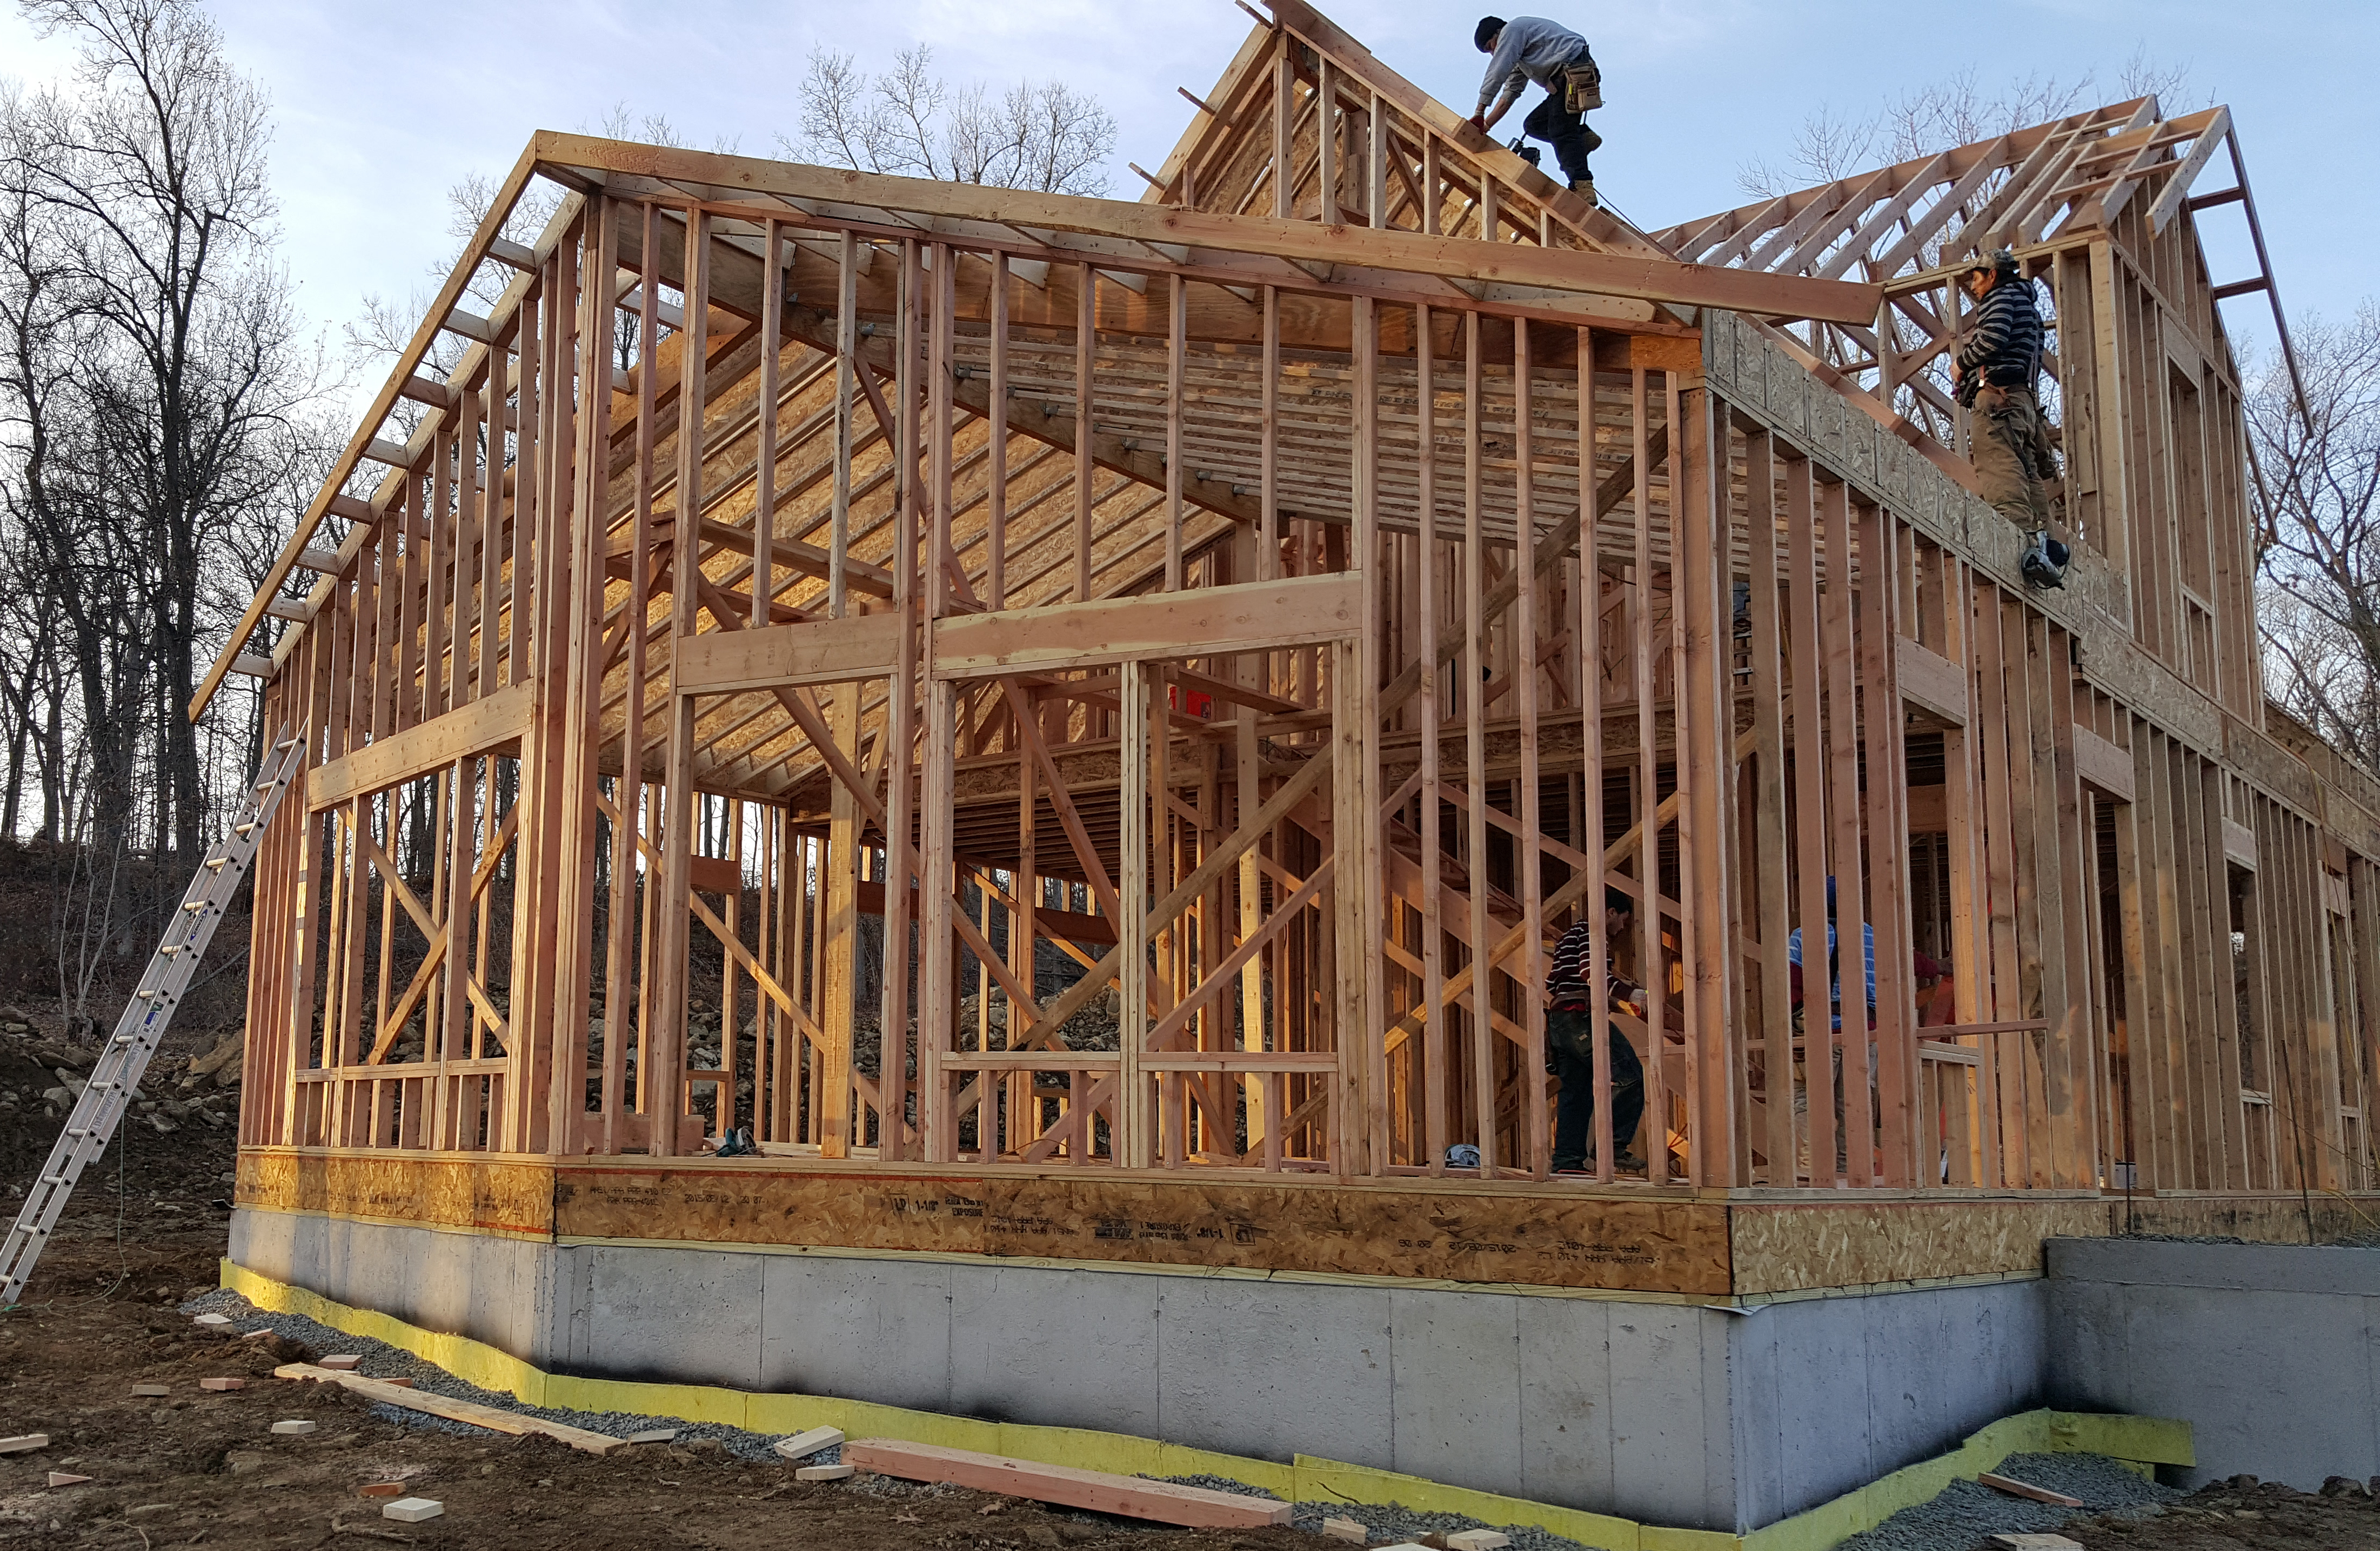
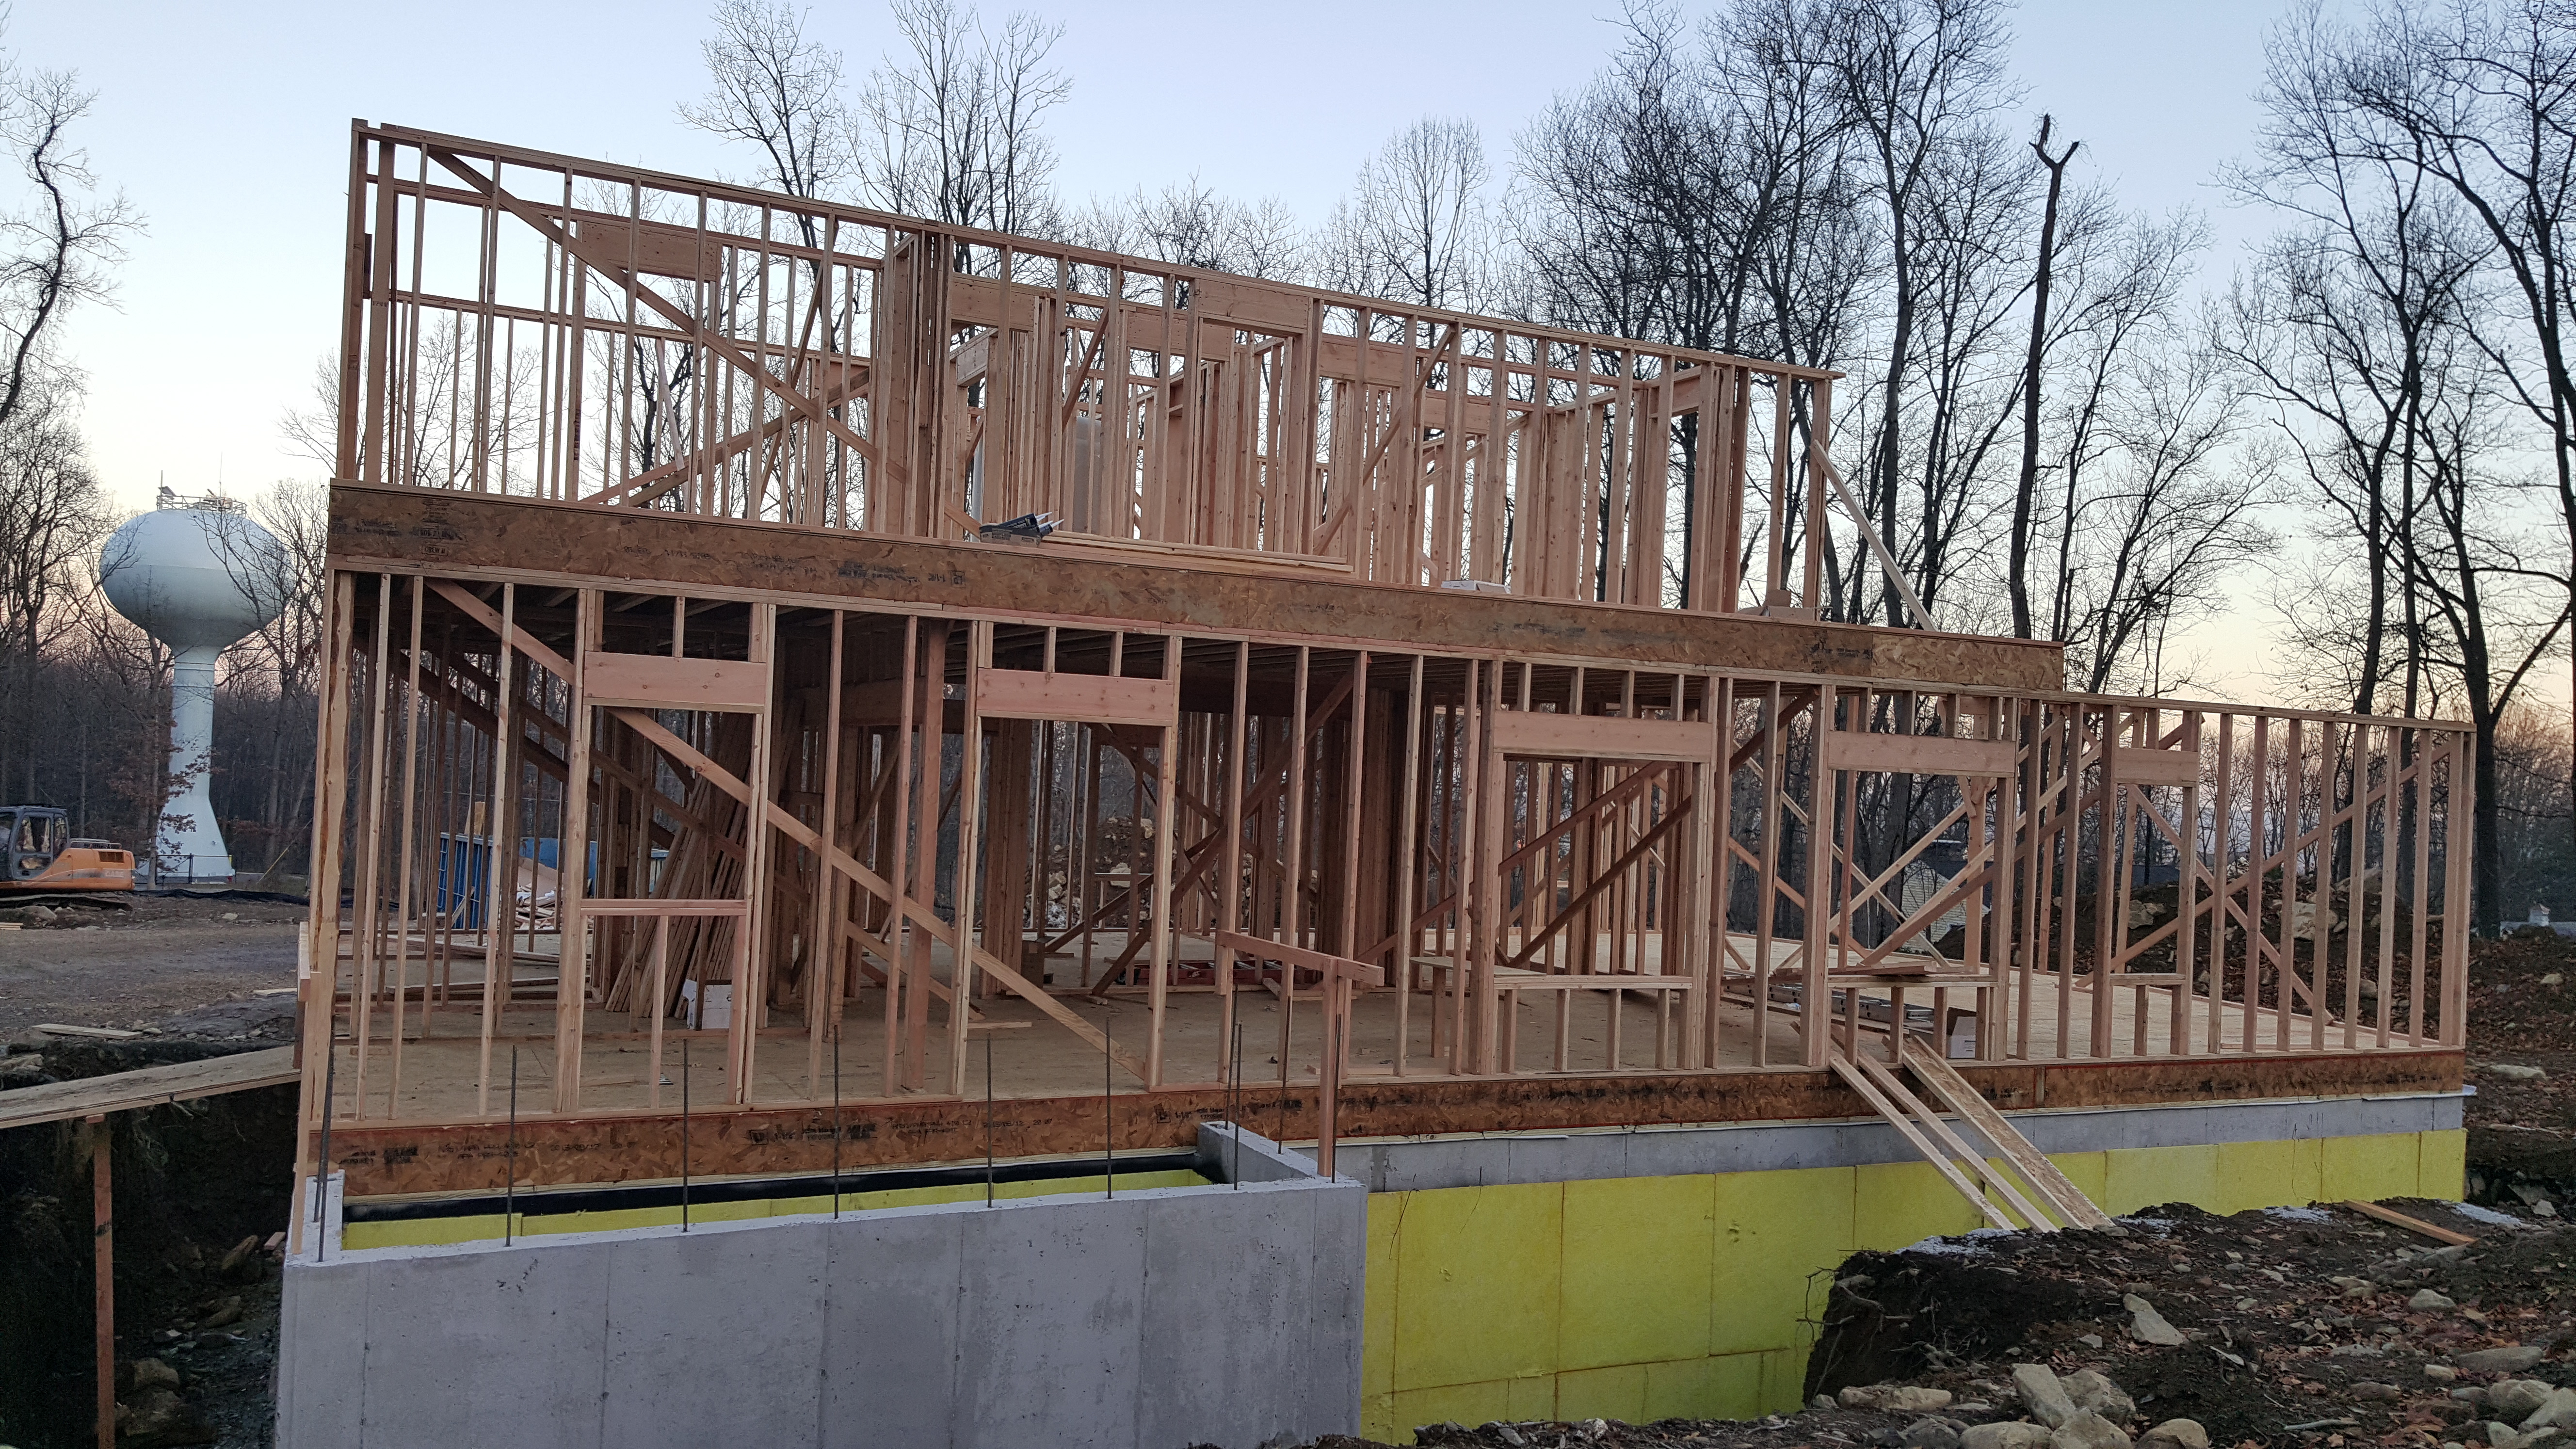
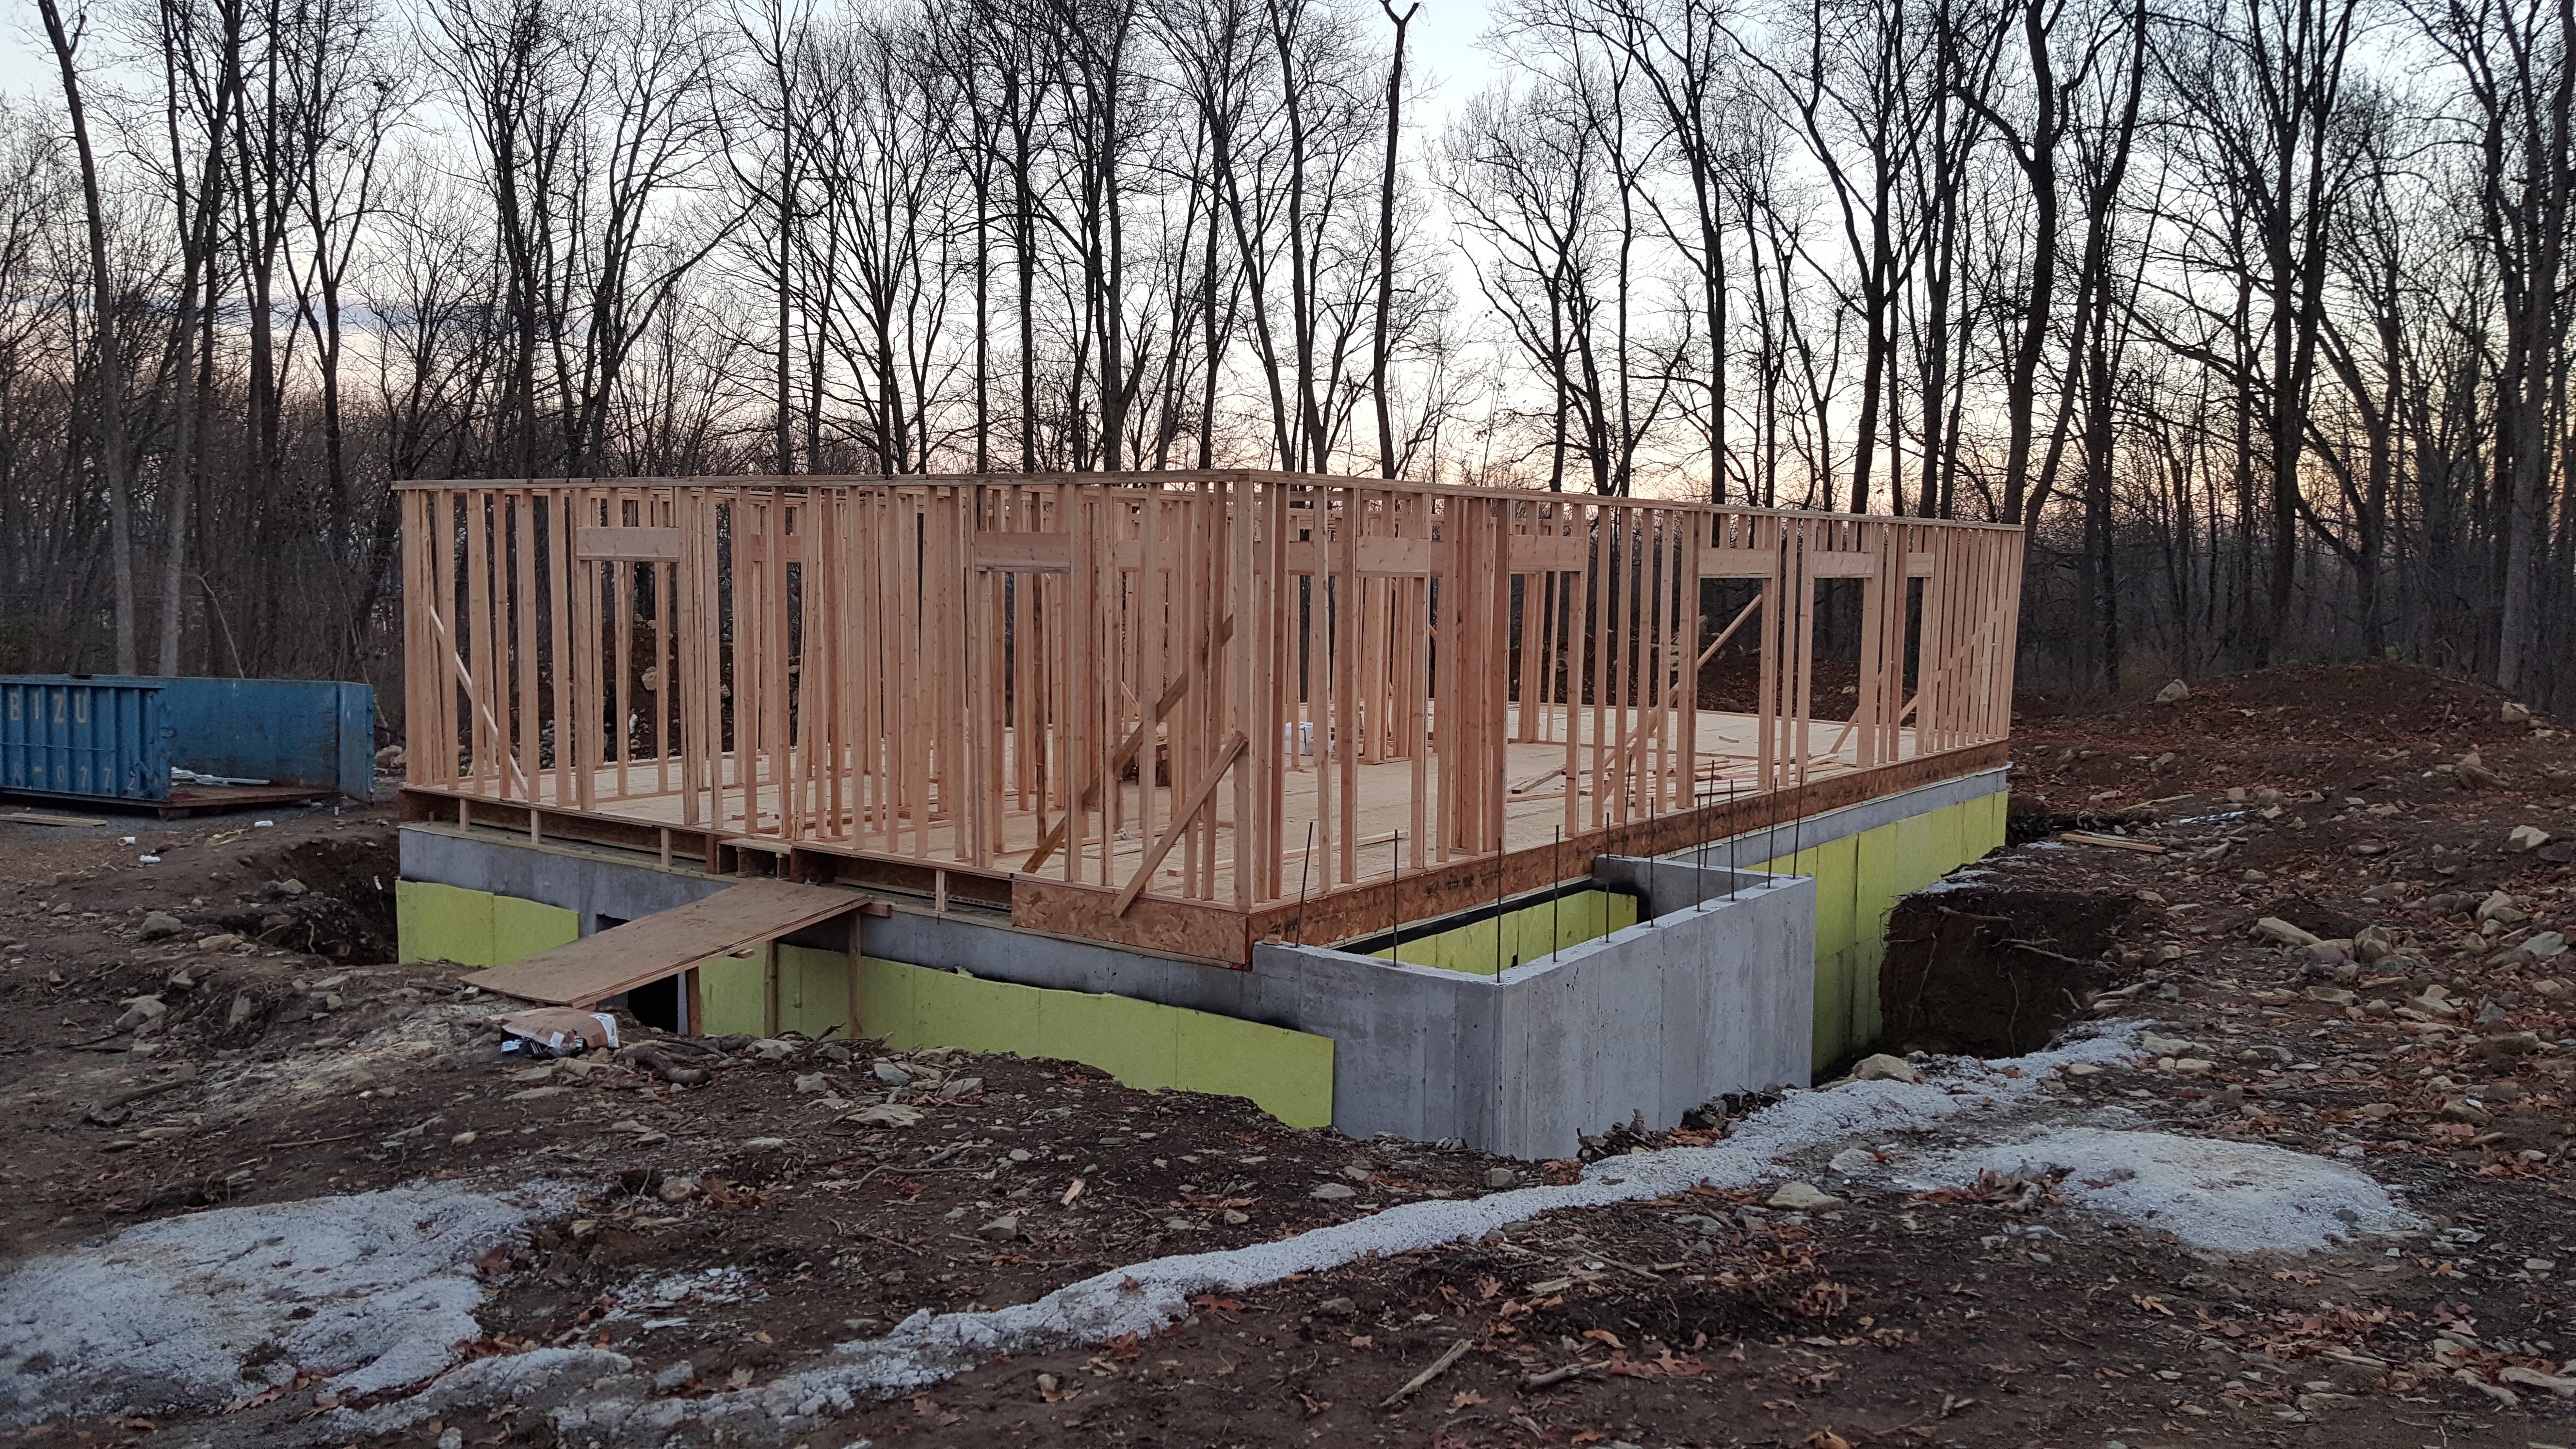
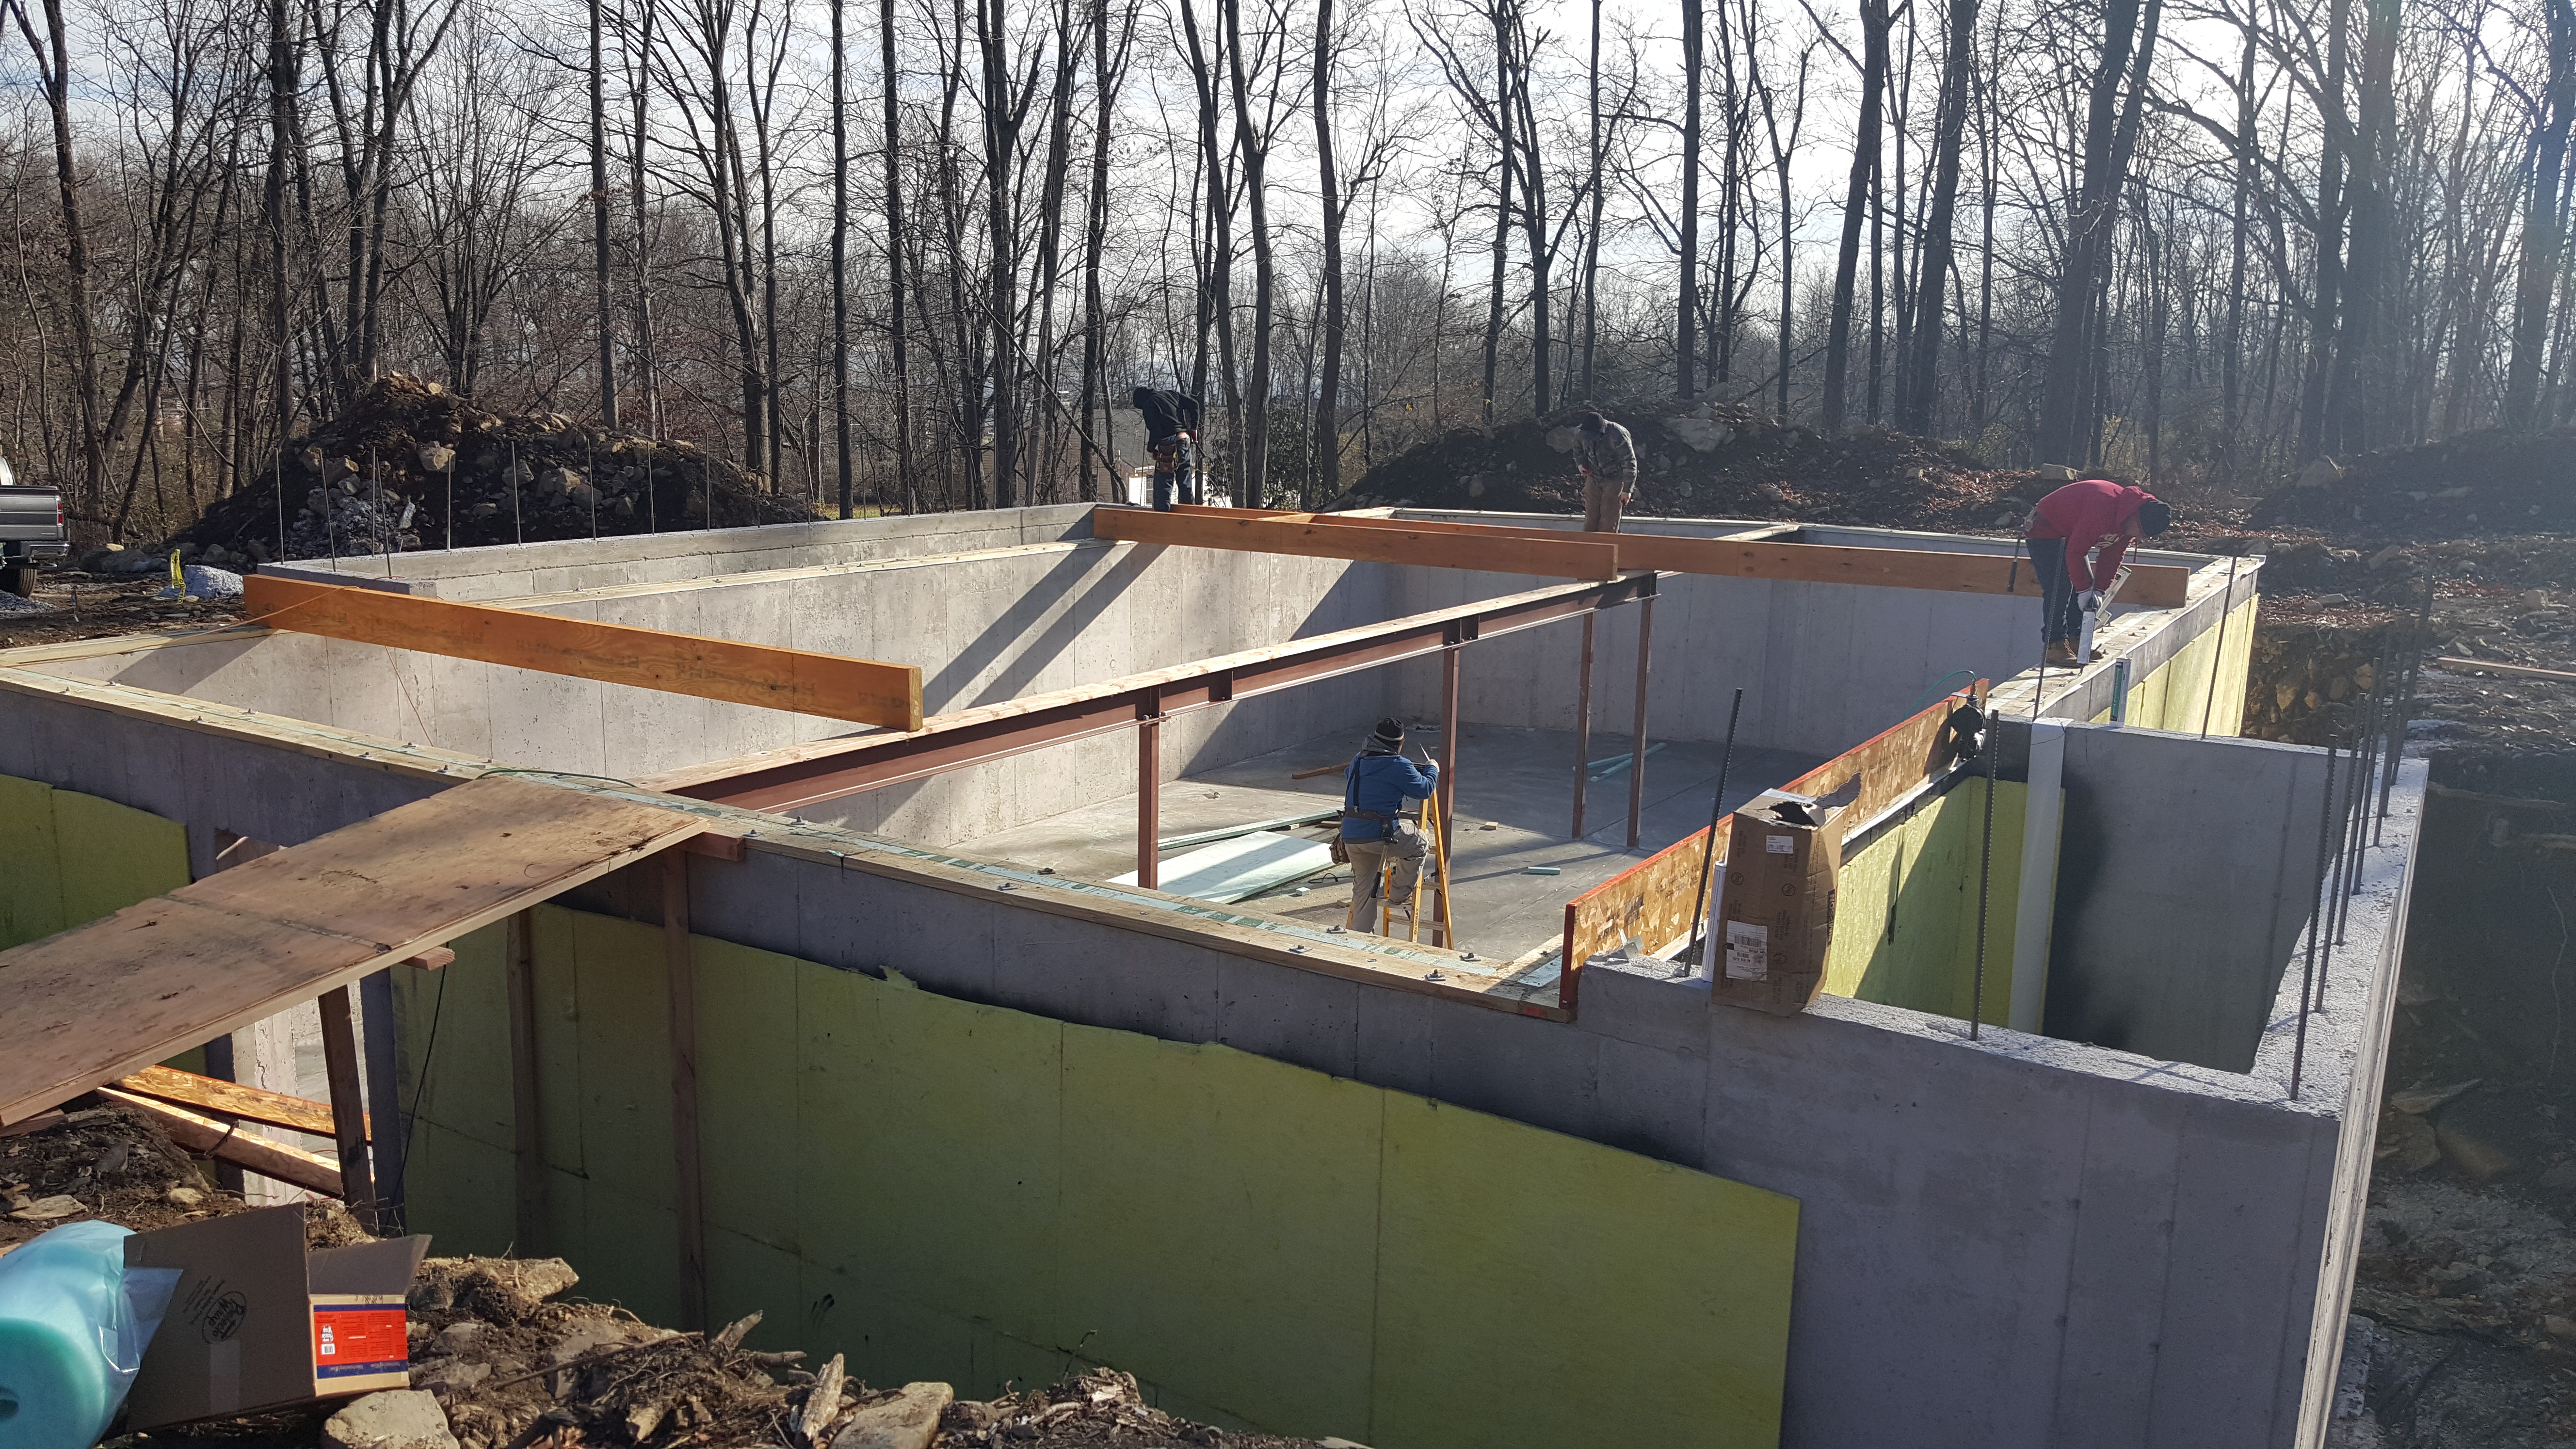
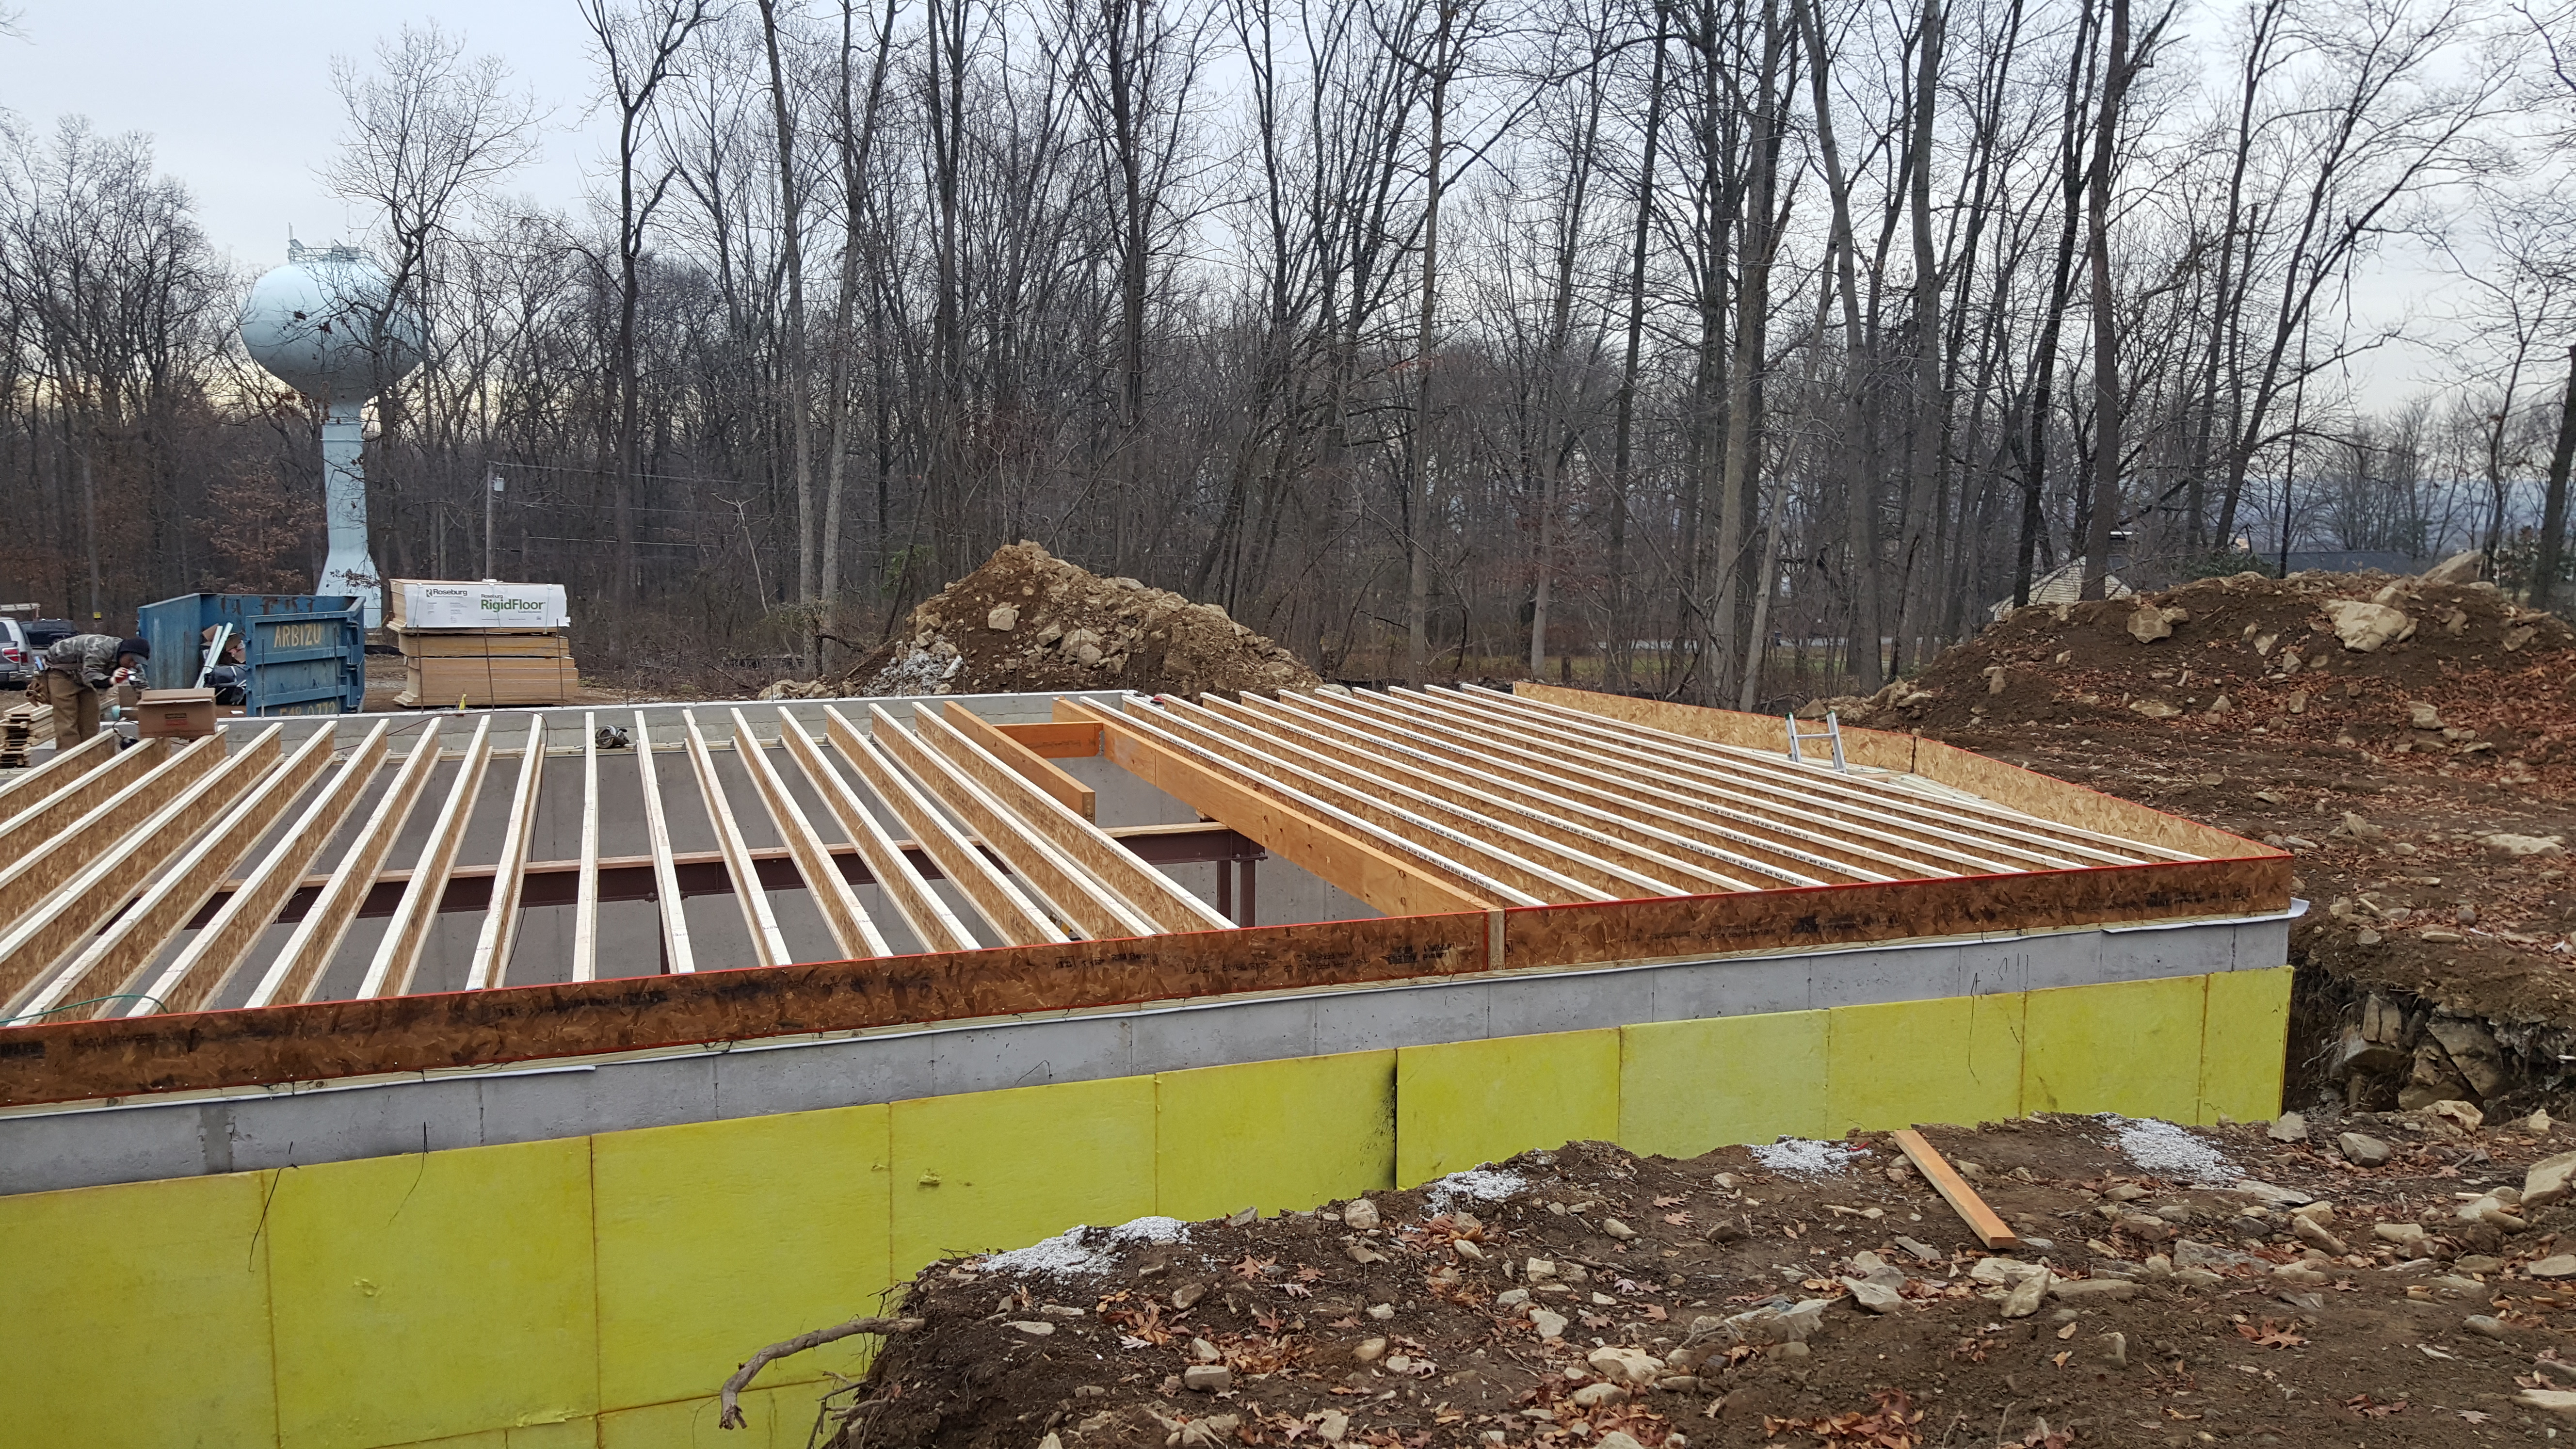
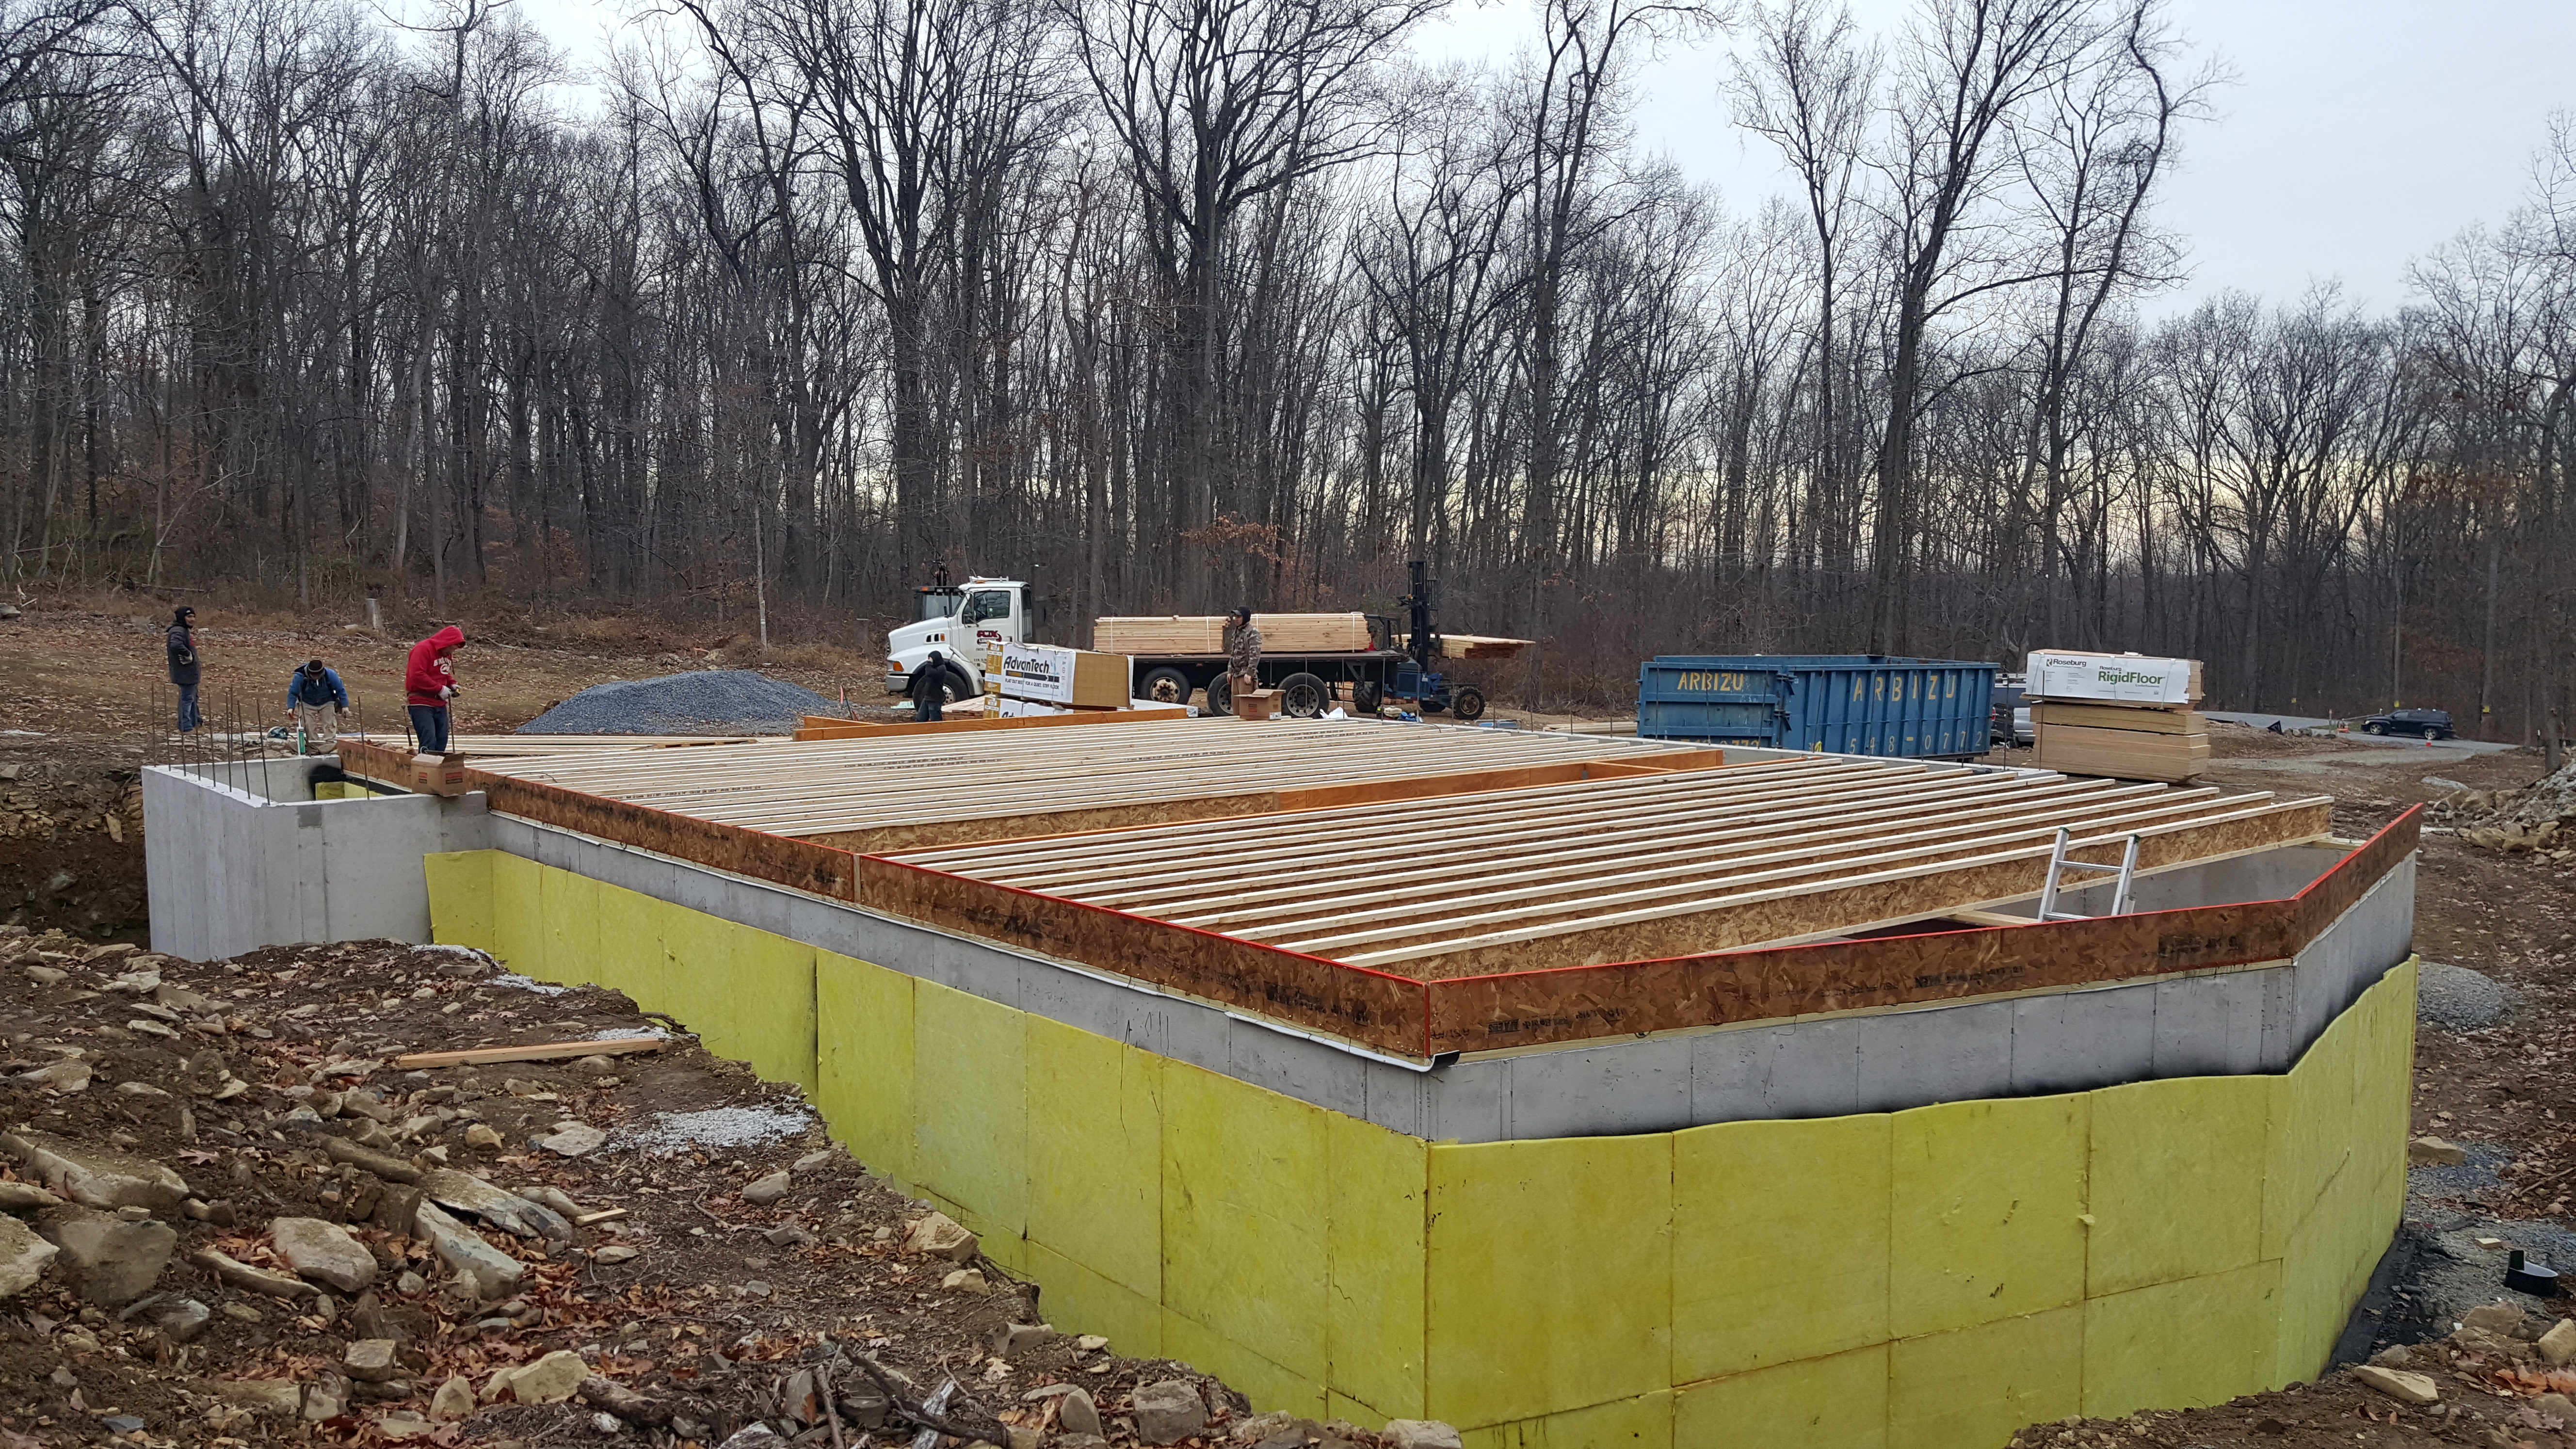
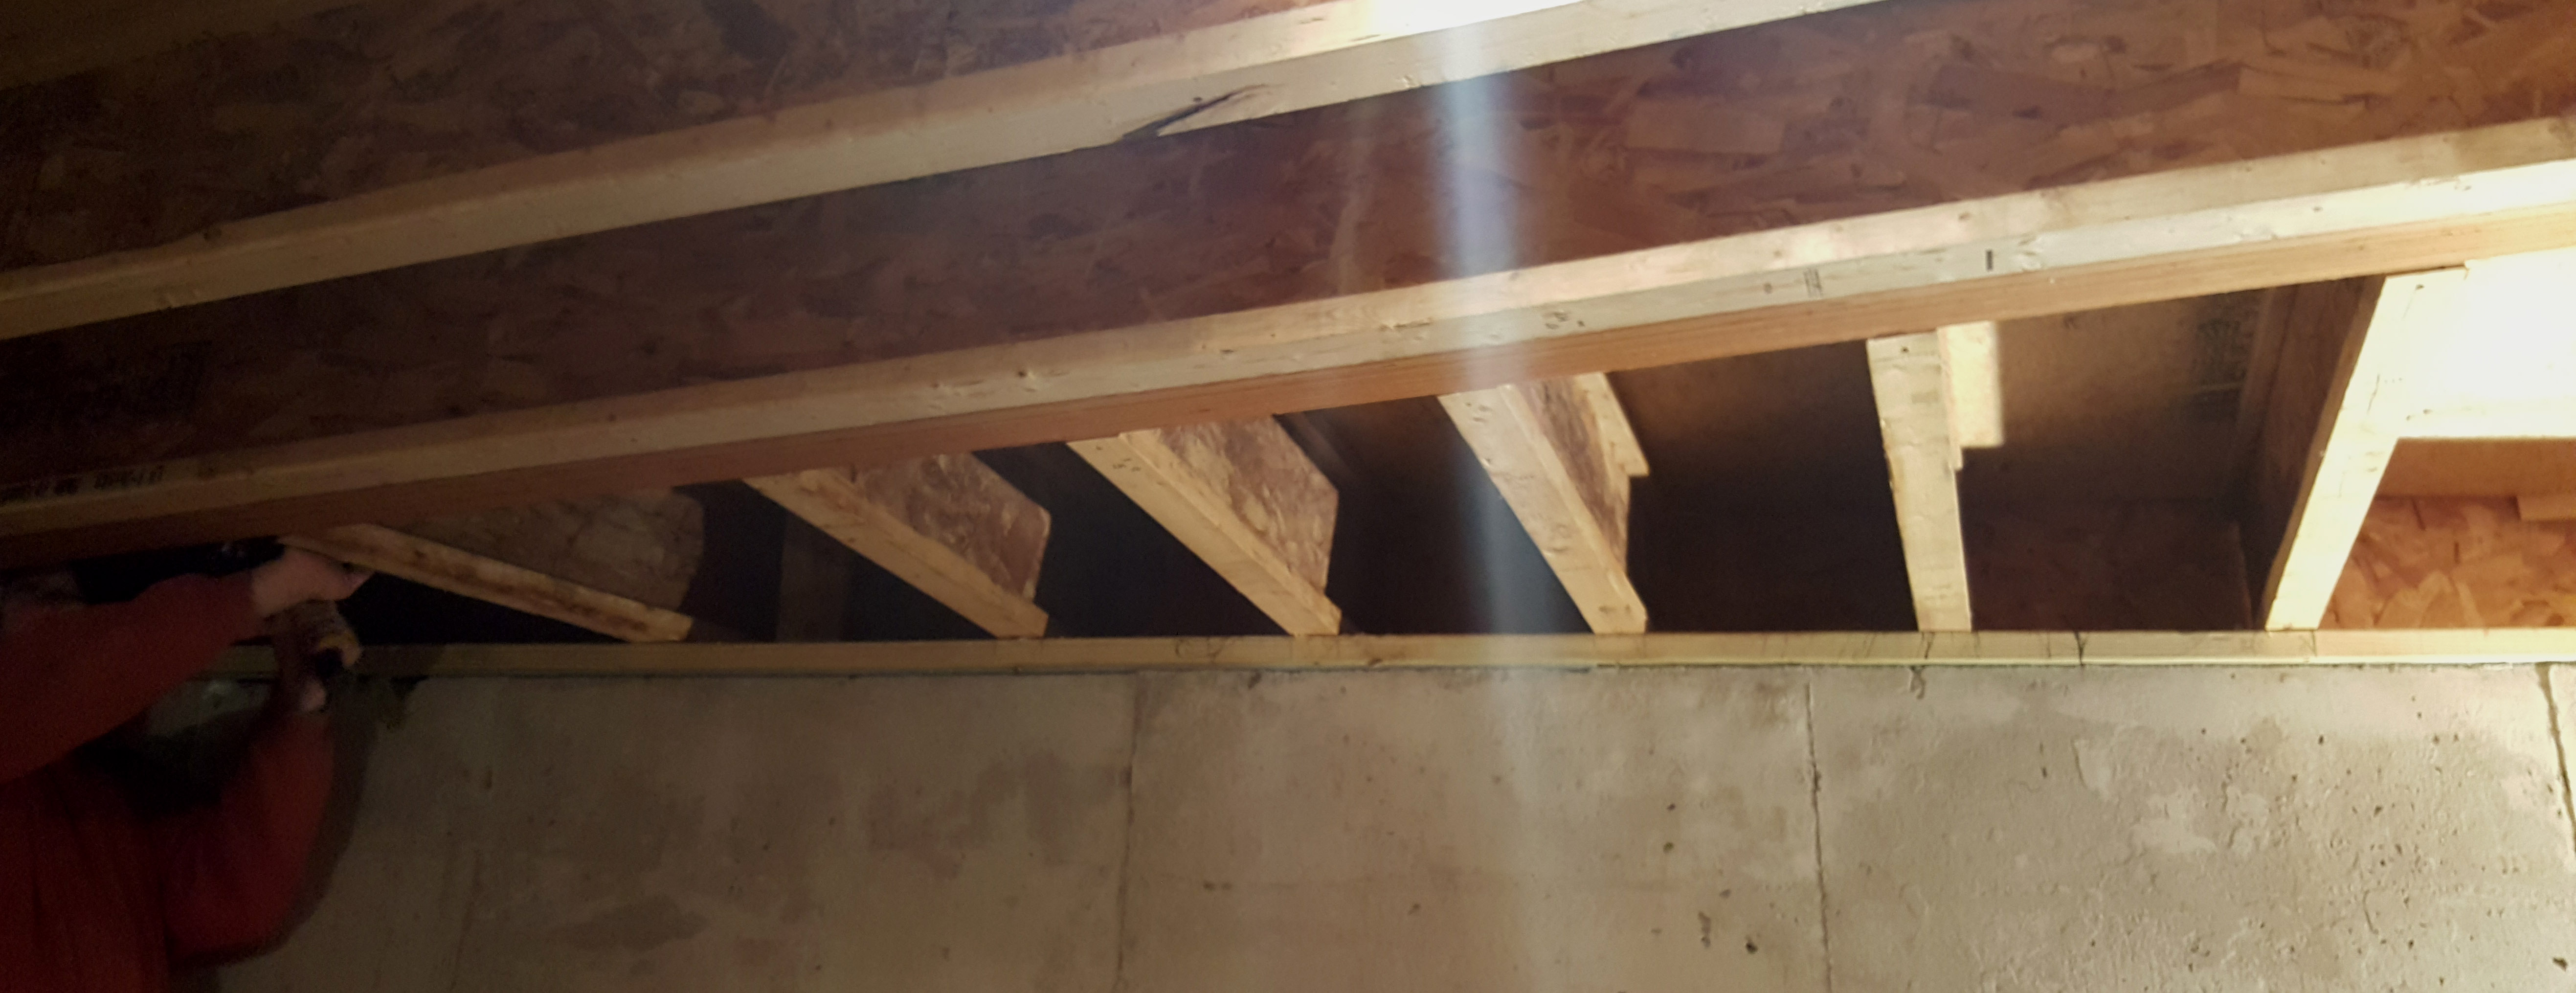
Note that the floor joist are parallel to where the deck will be attached.  But that end has a point.  Because of the point and the parallel joists we couldn’t reach behind the joists to bolt the ledger board. Also, getting the insulation in would have been a big problem.

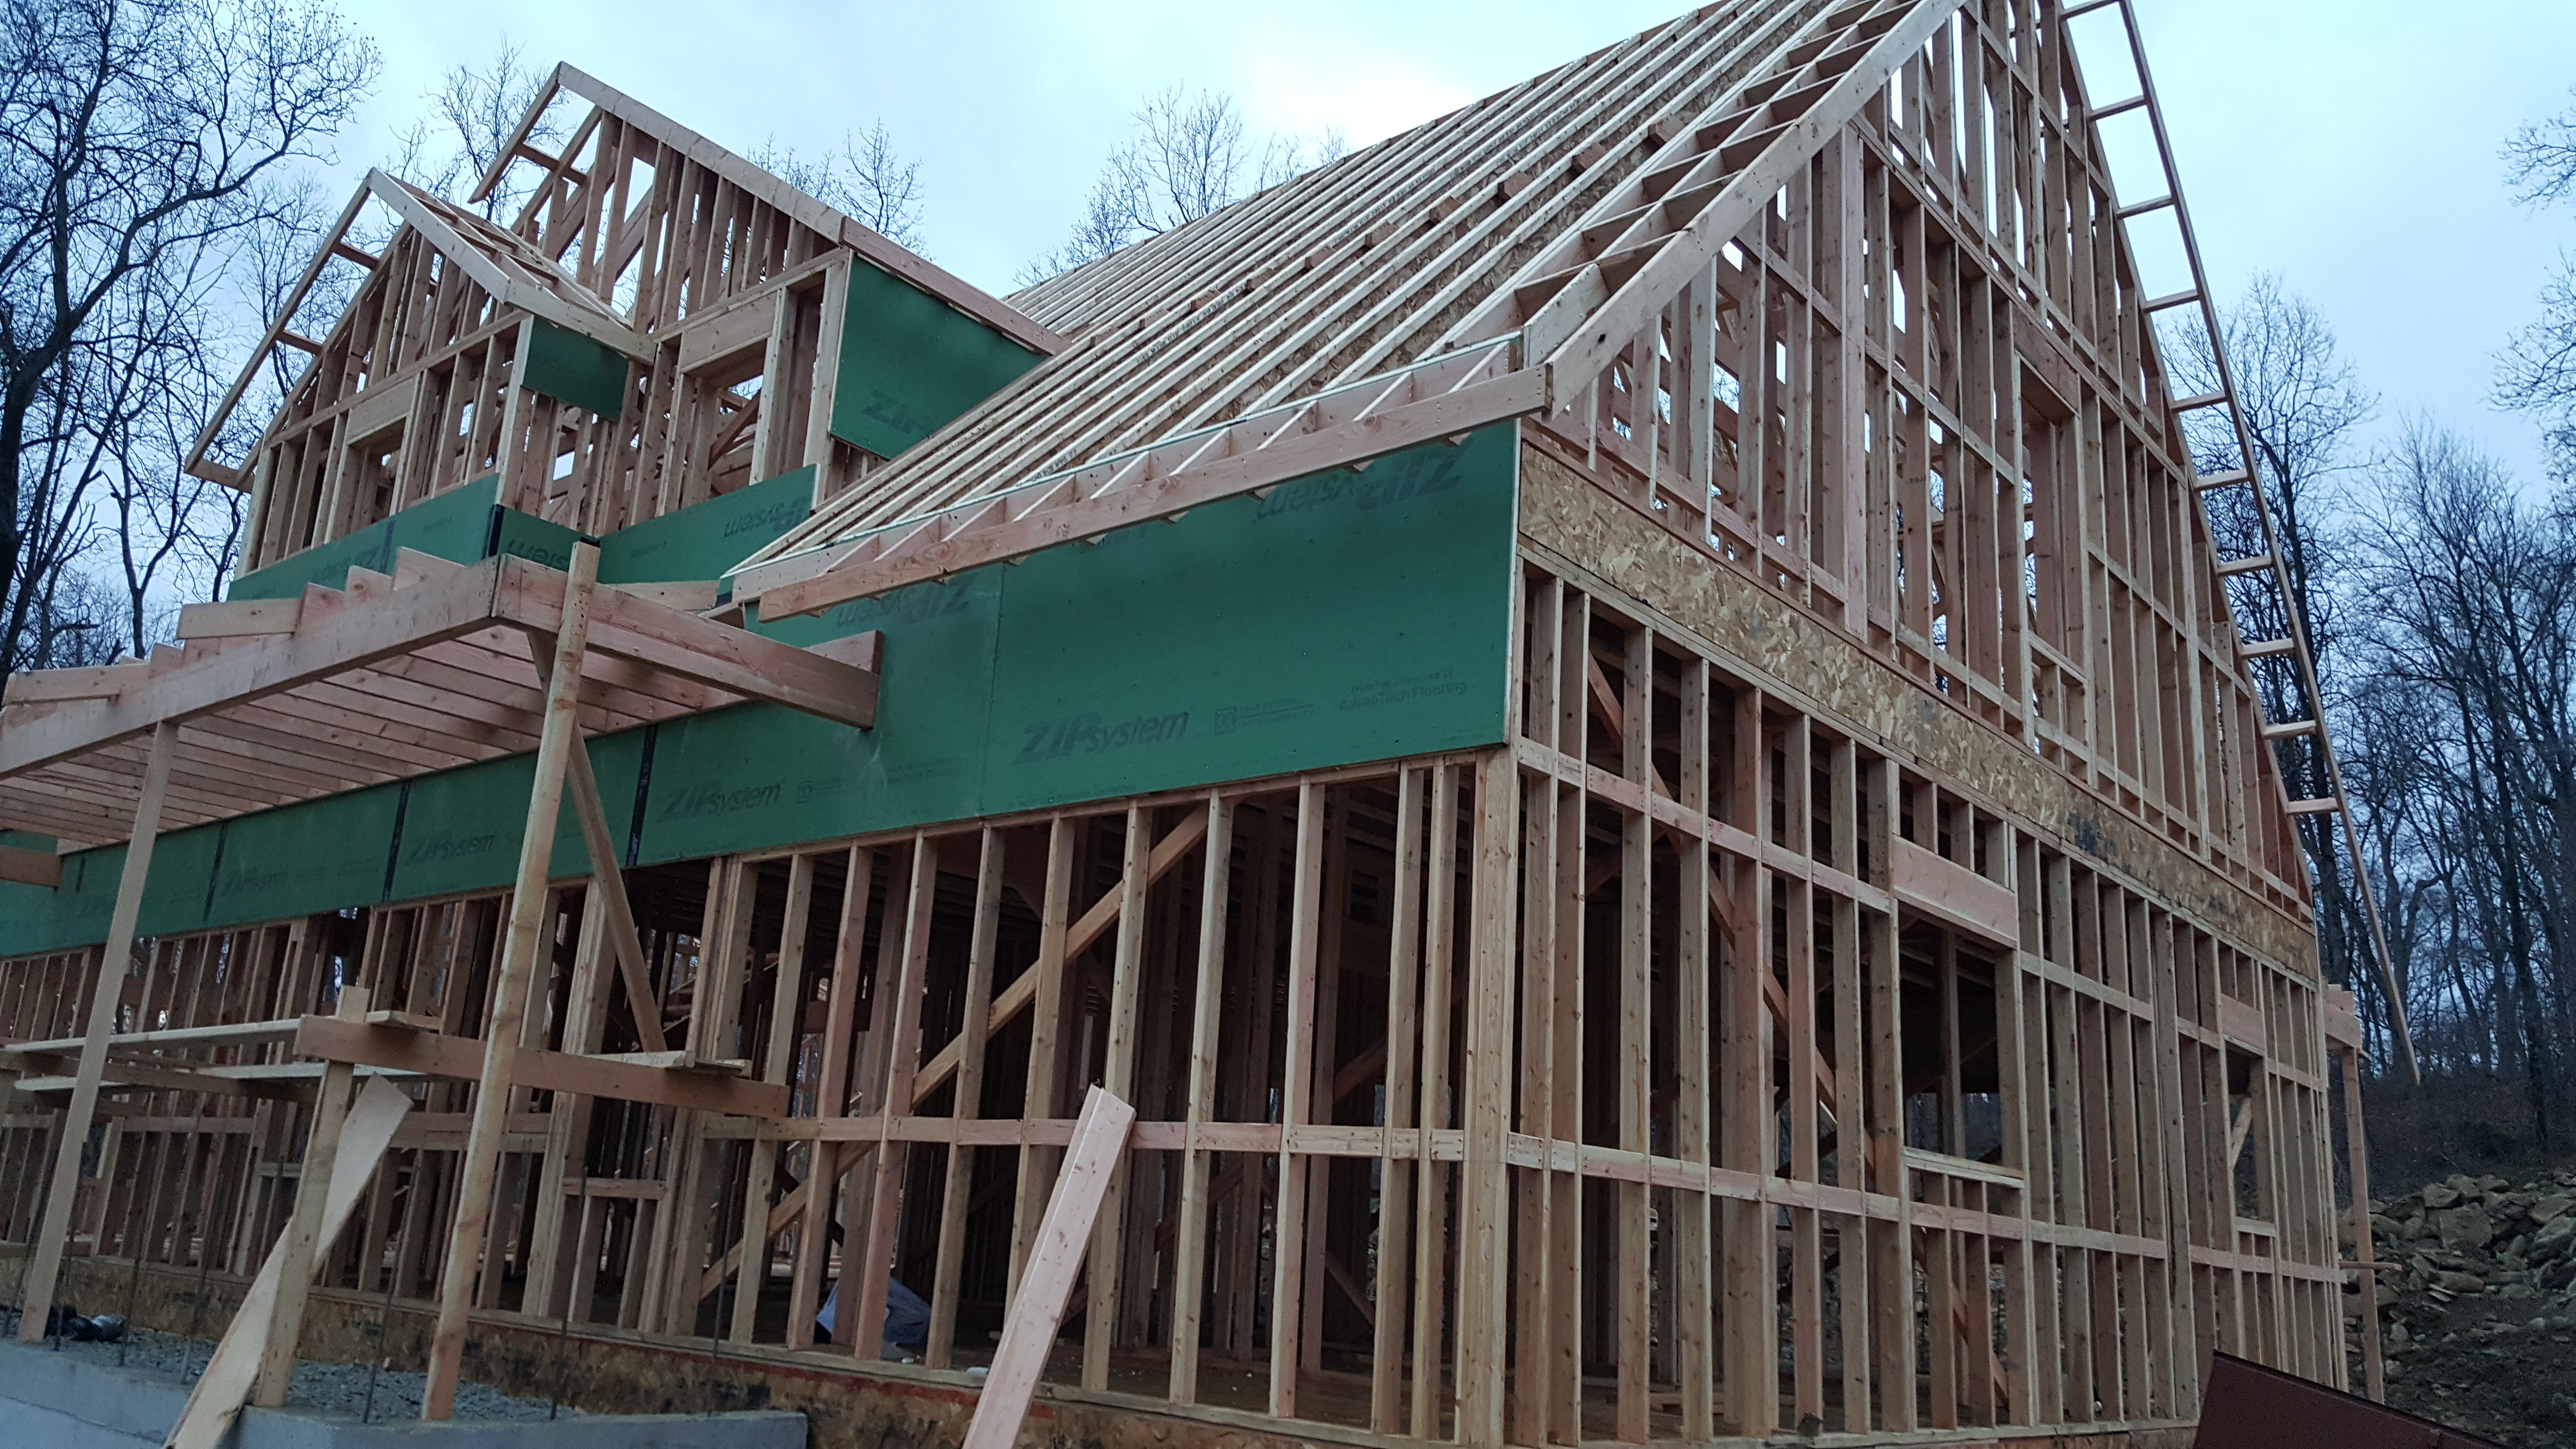
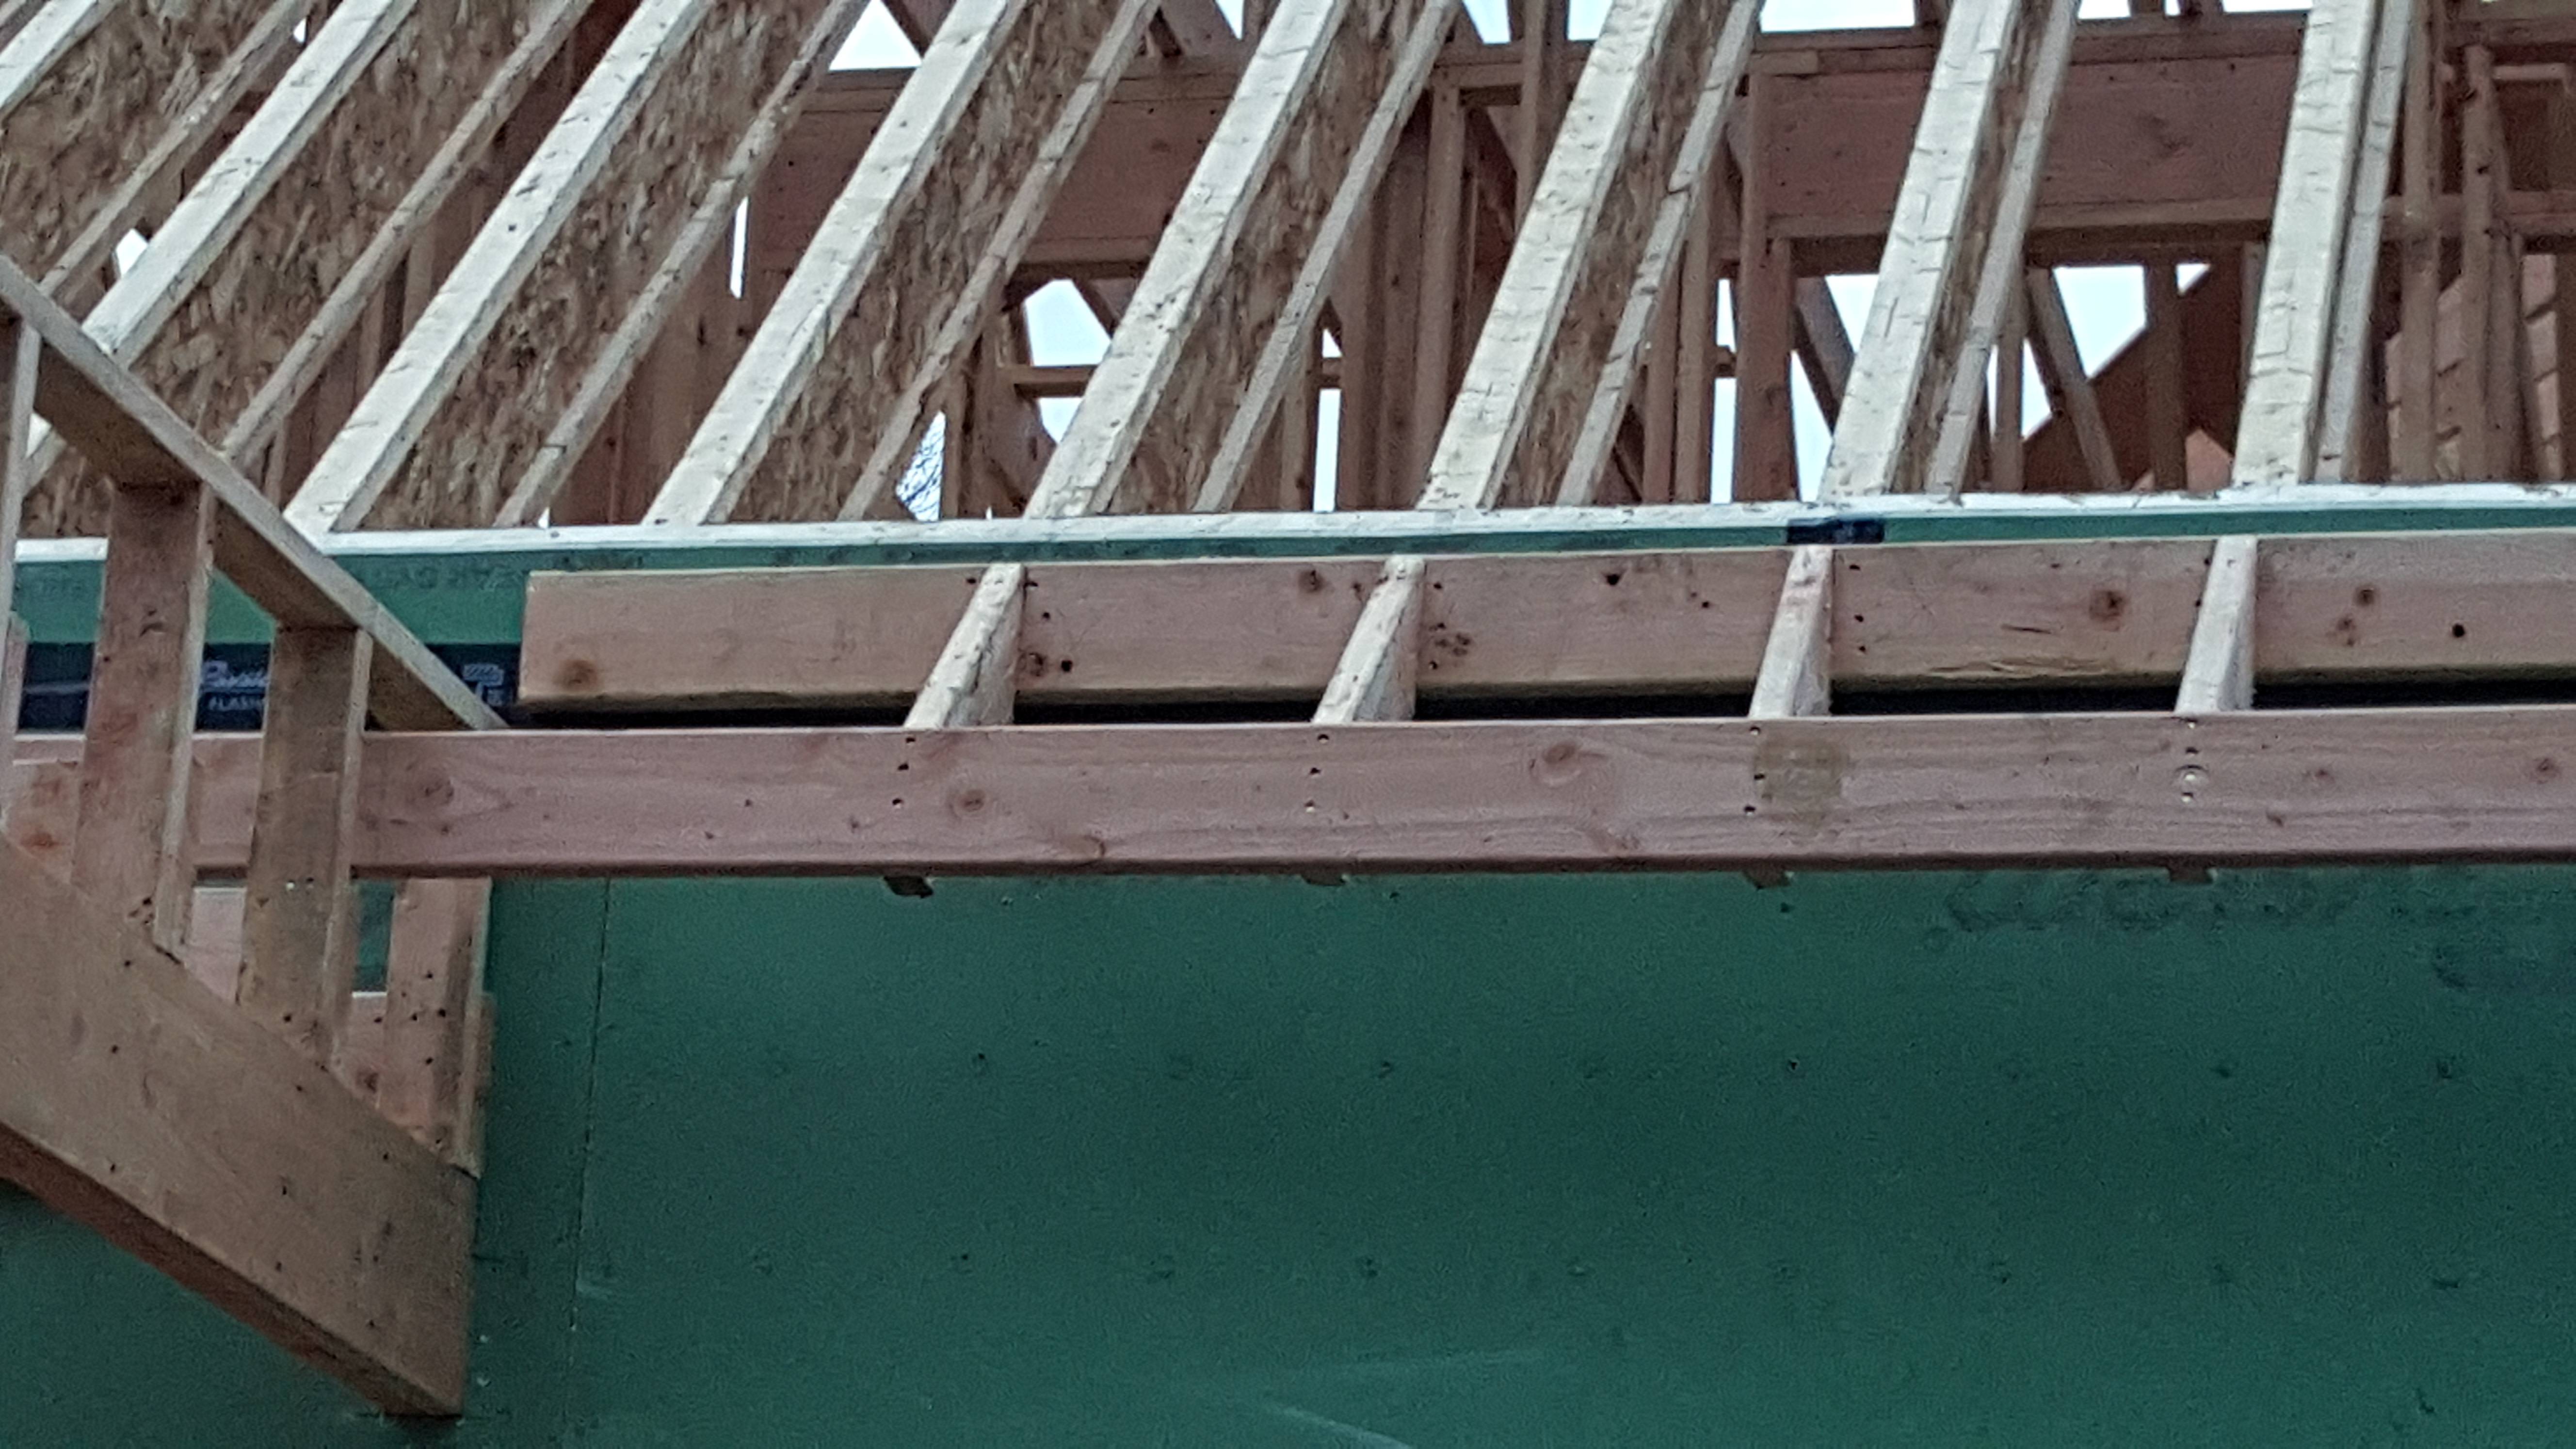
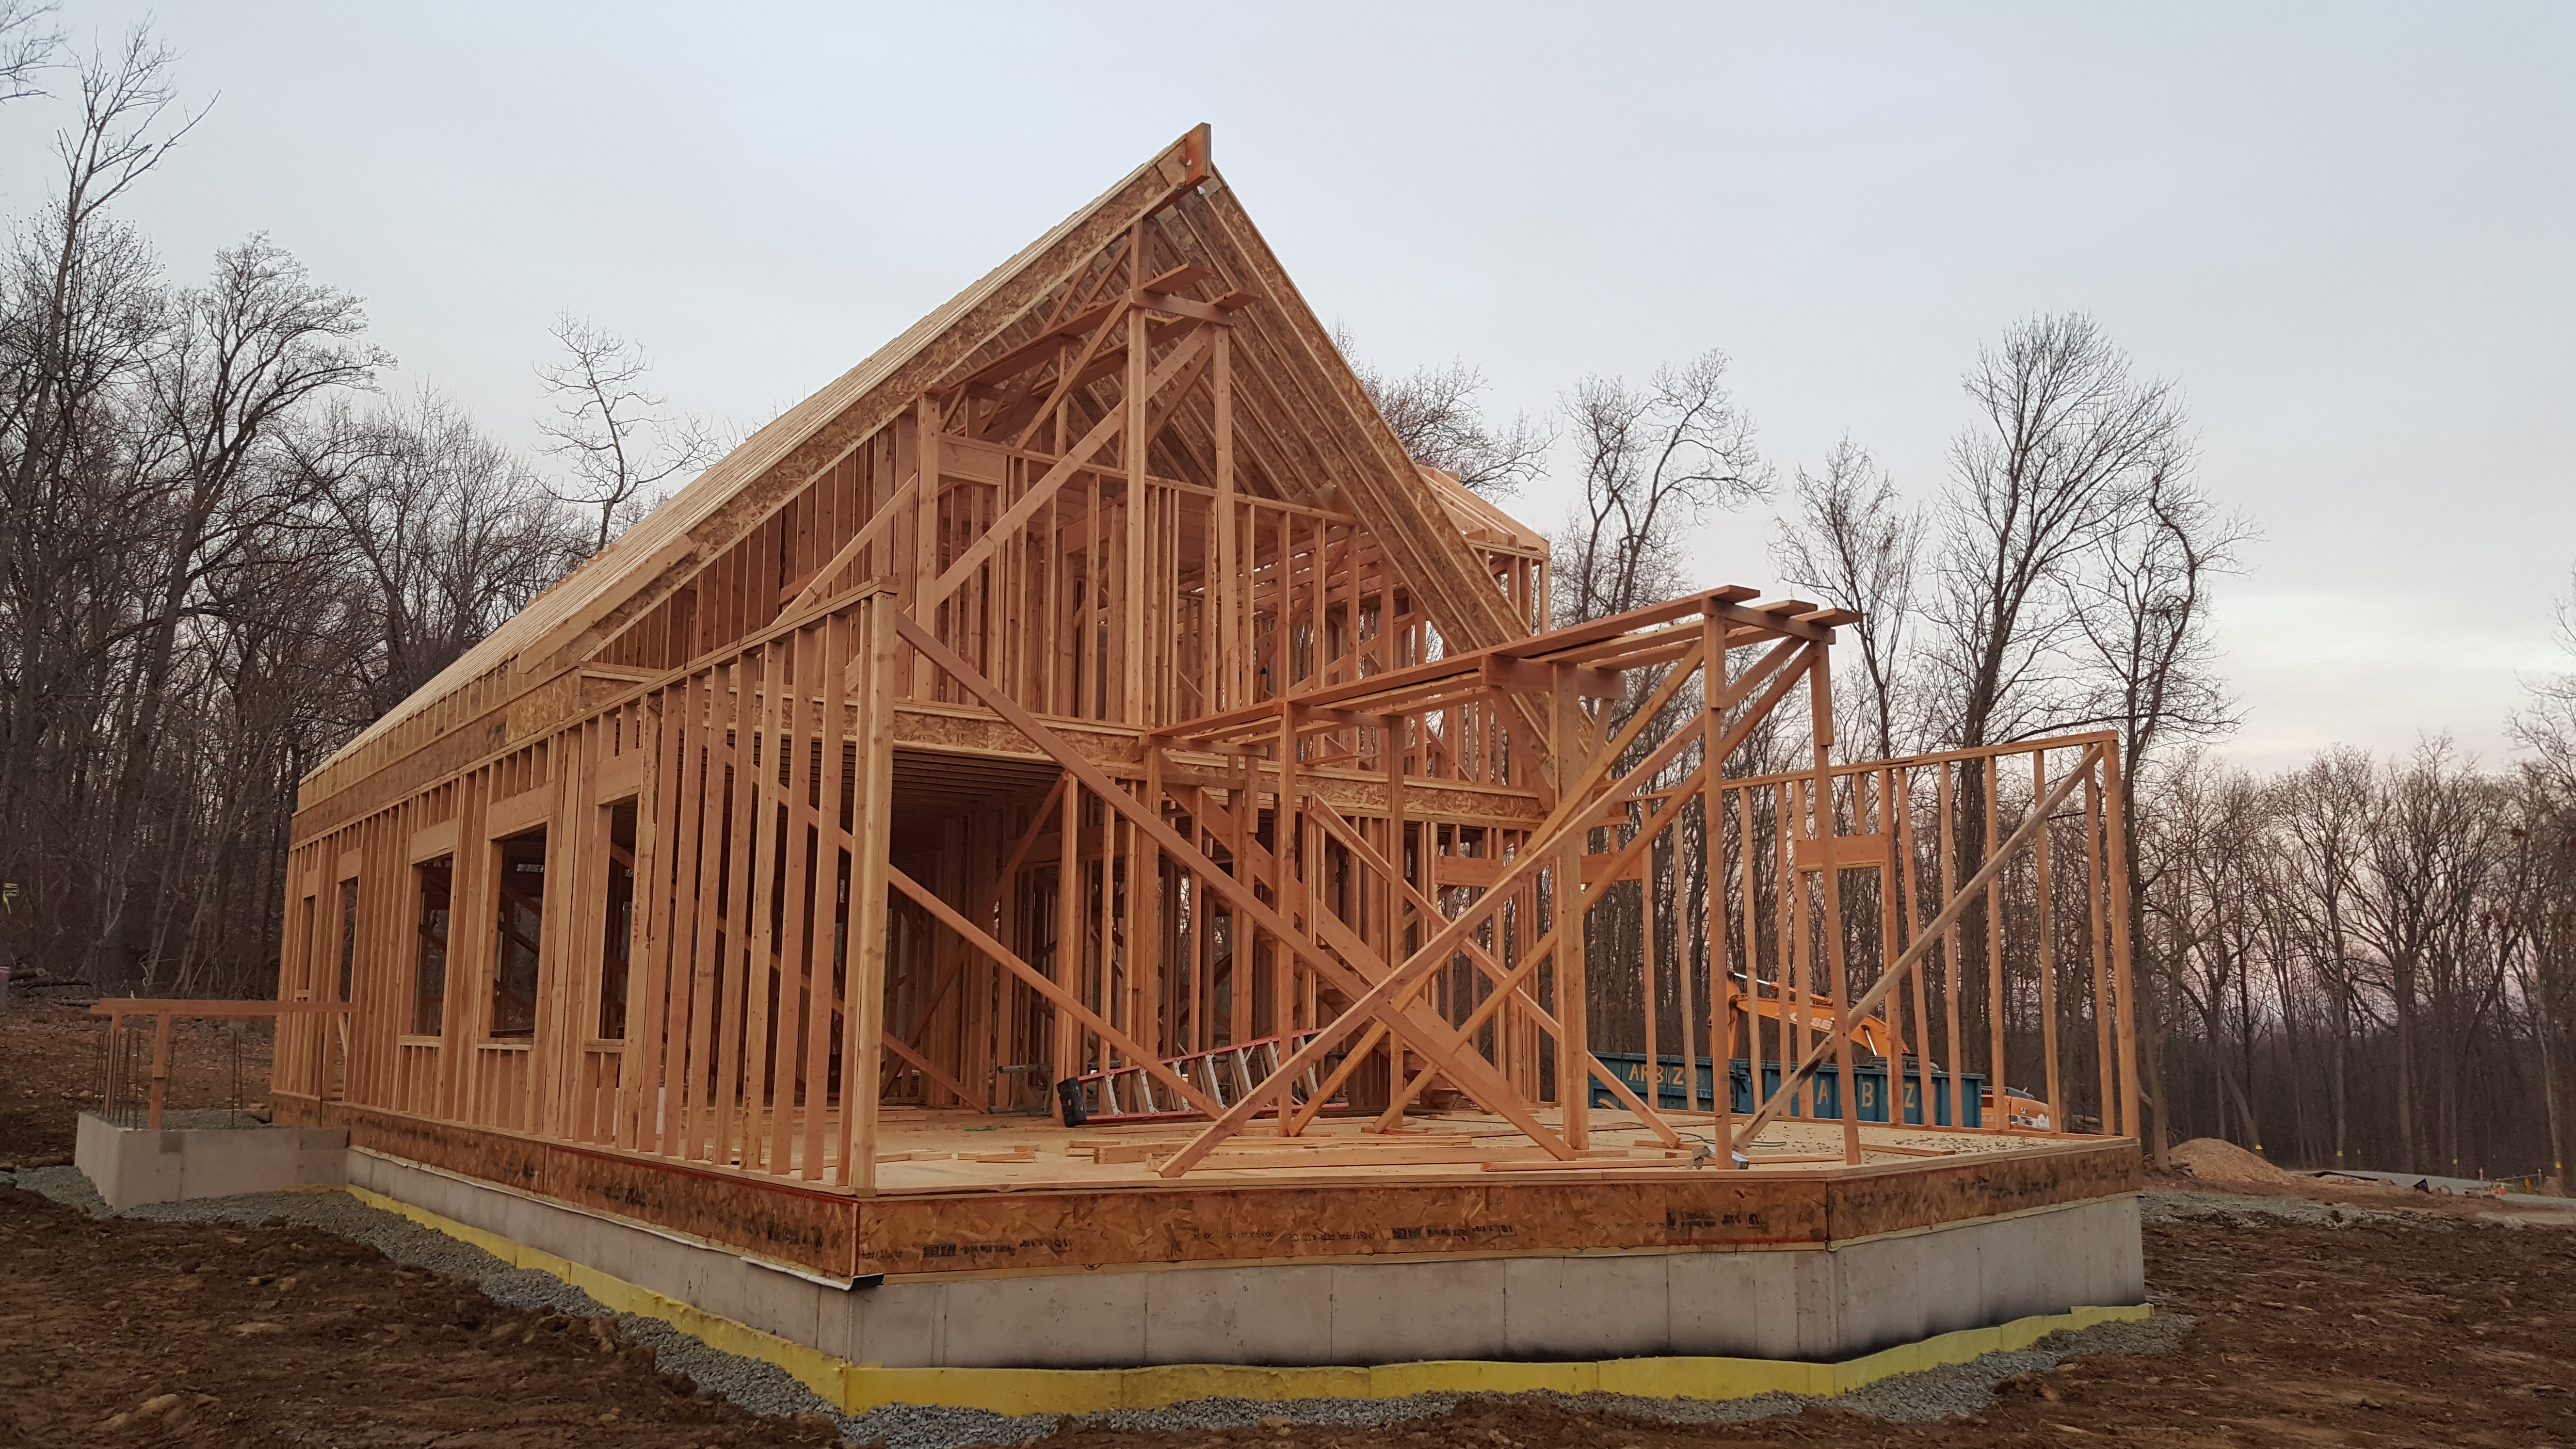
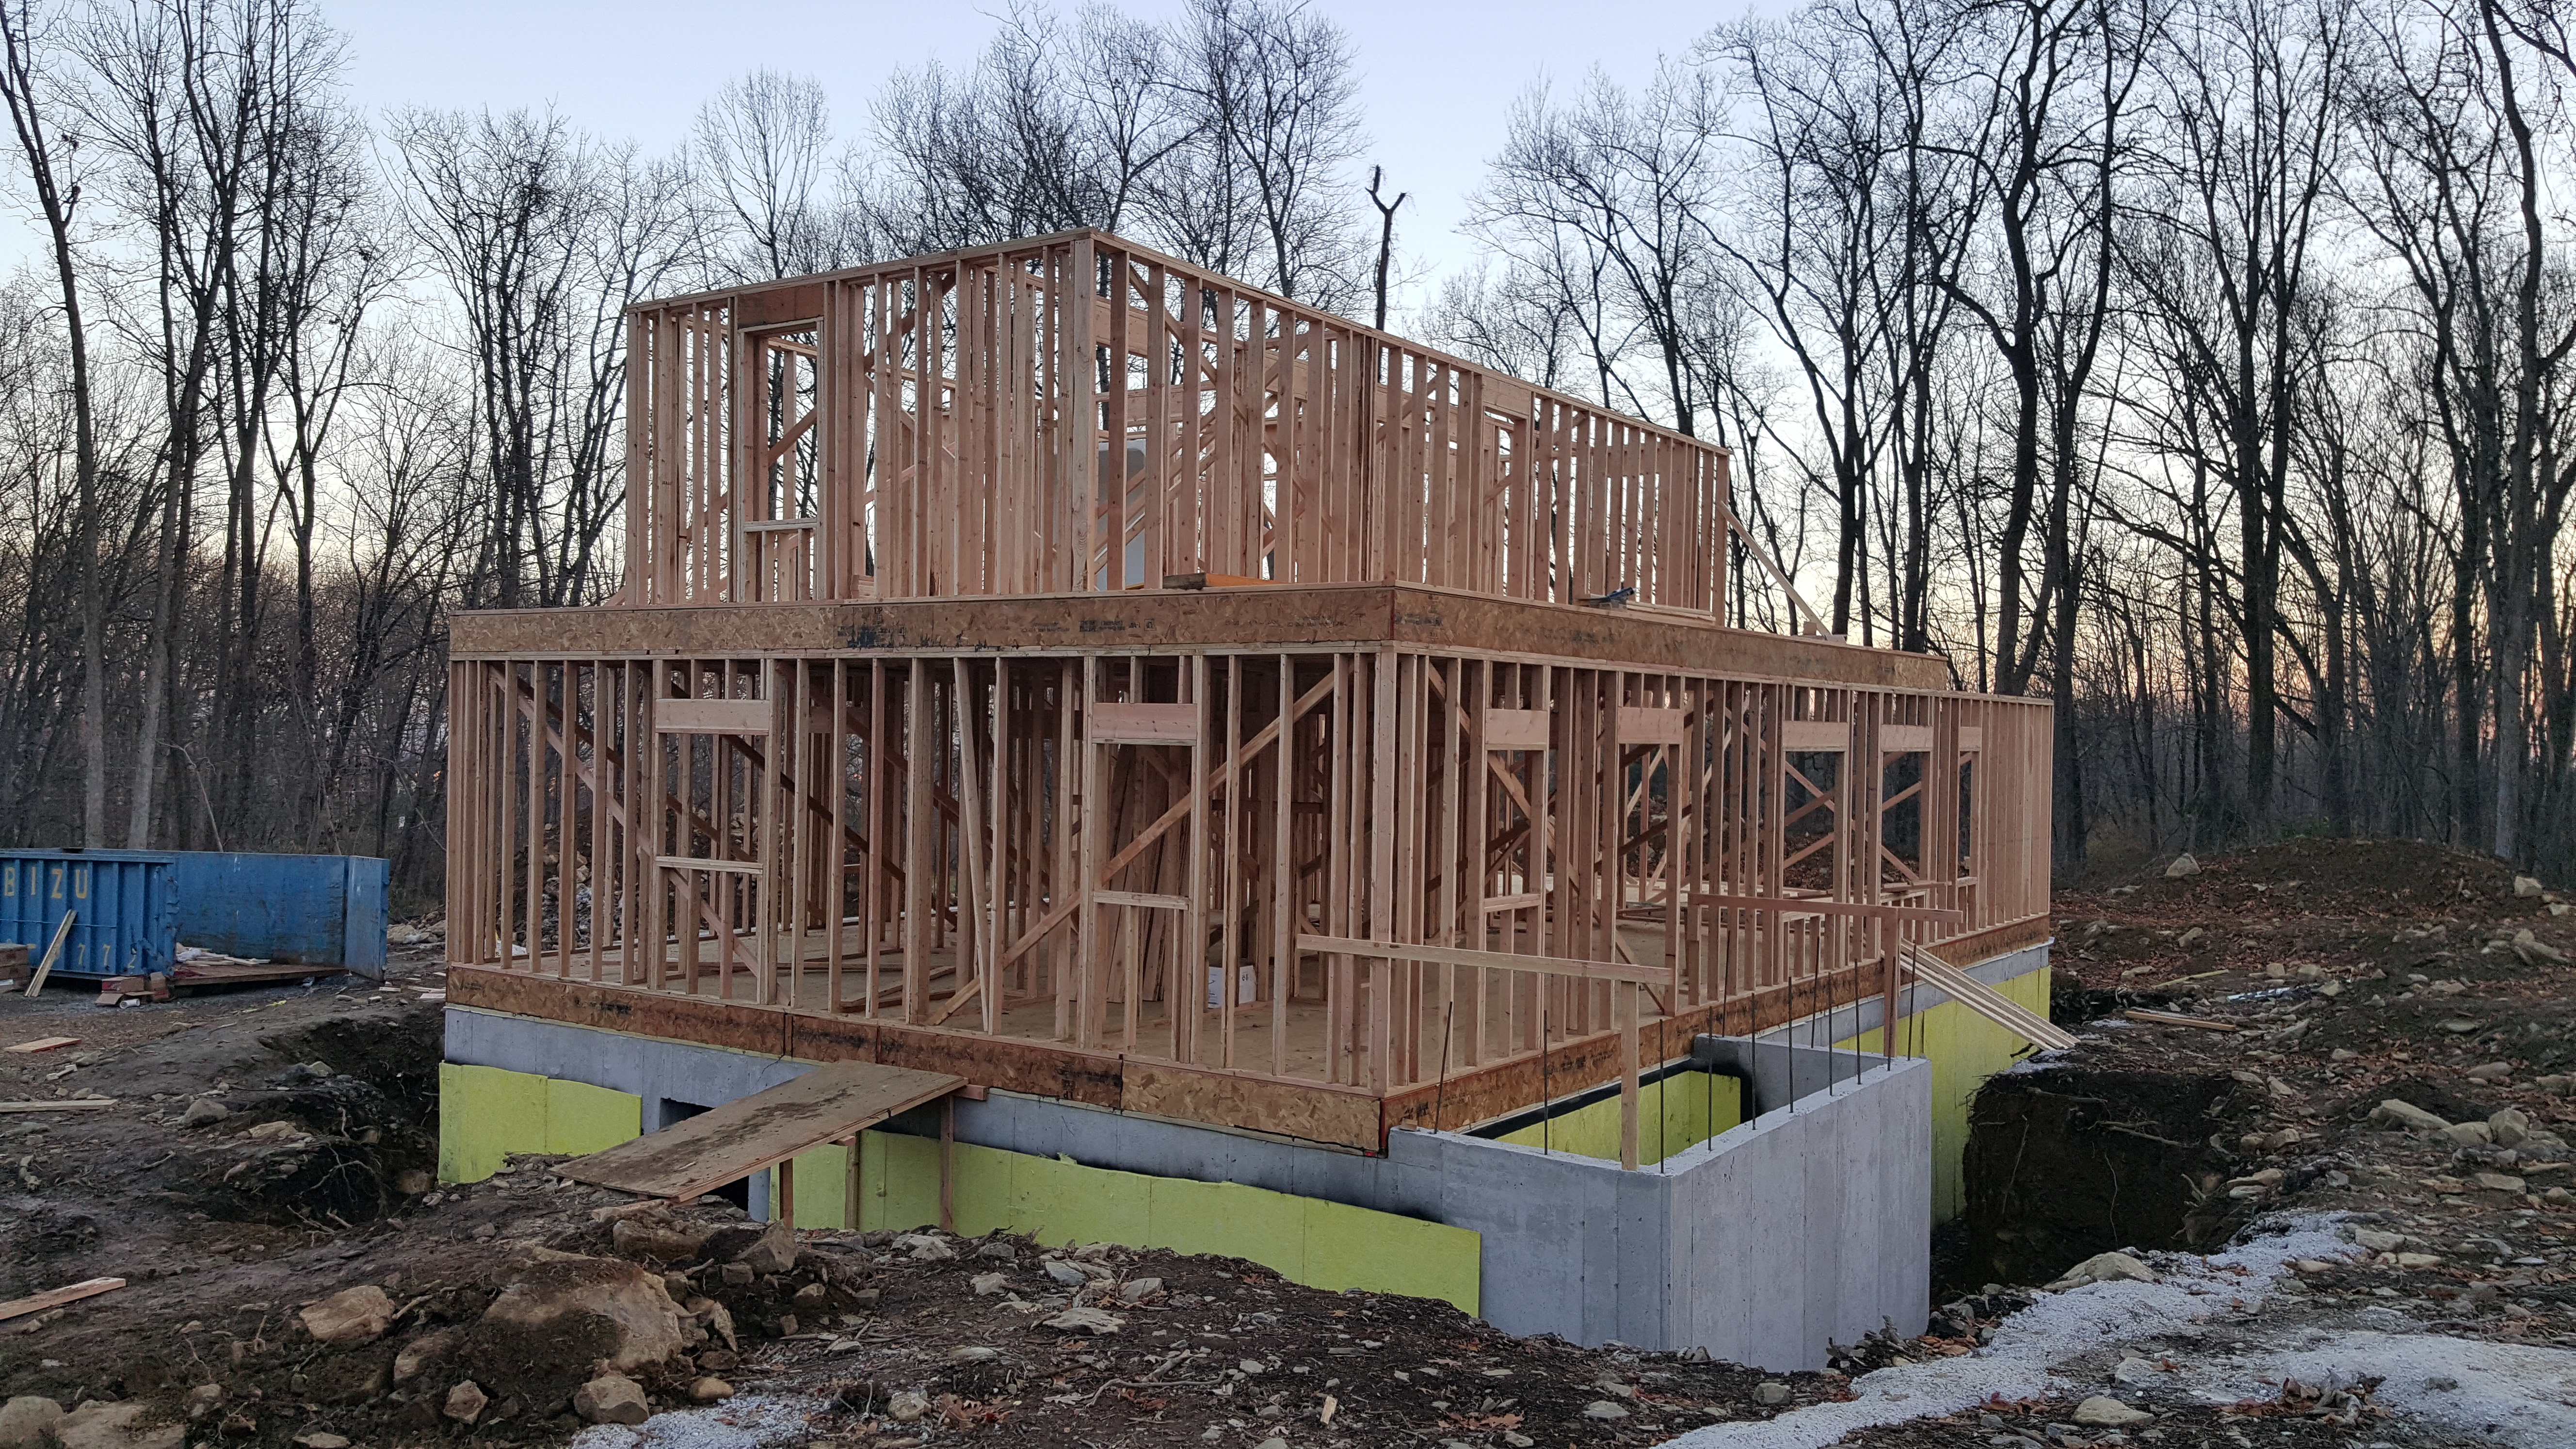
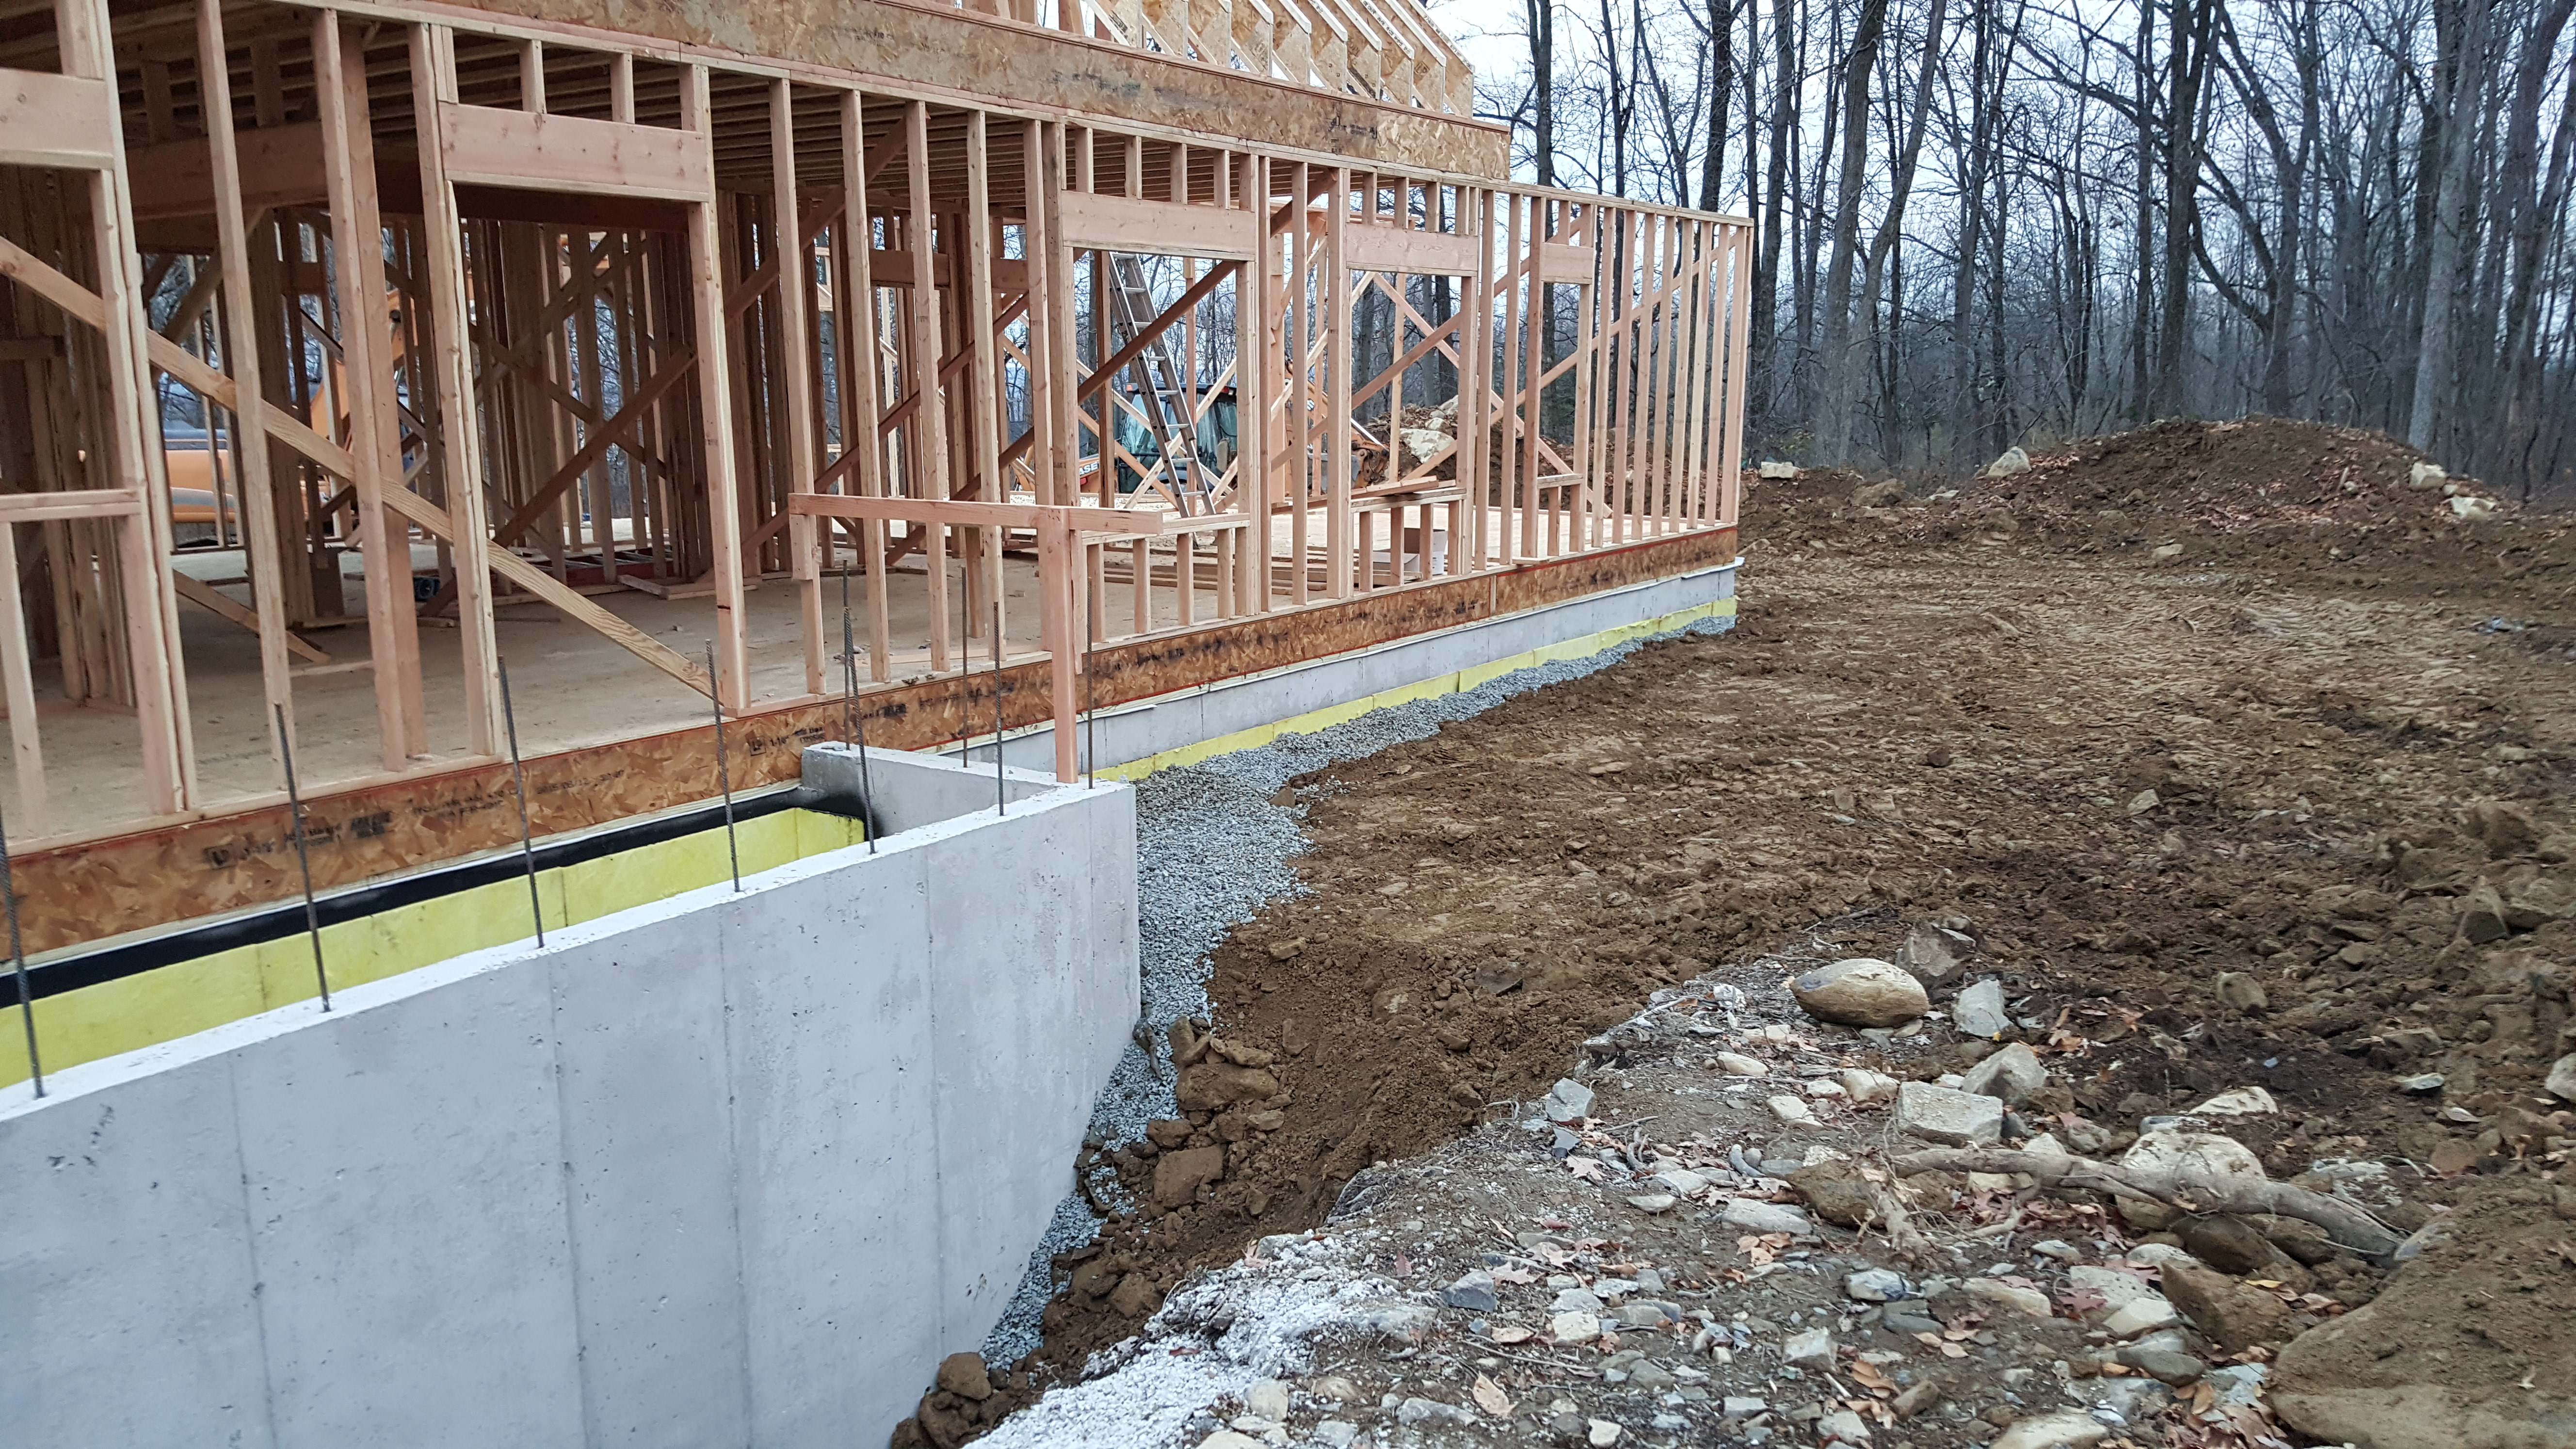
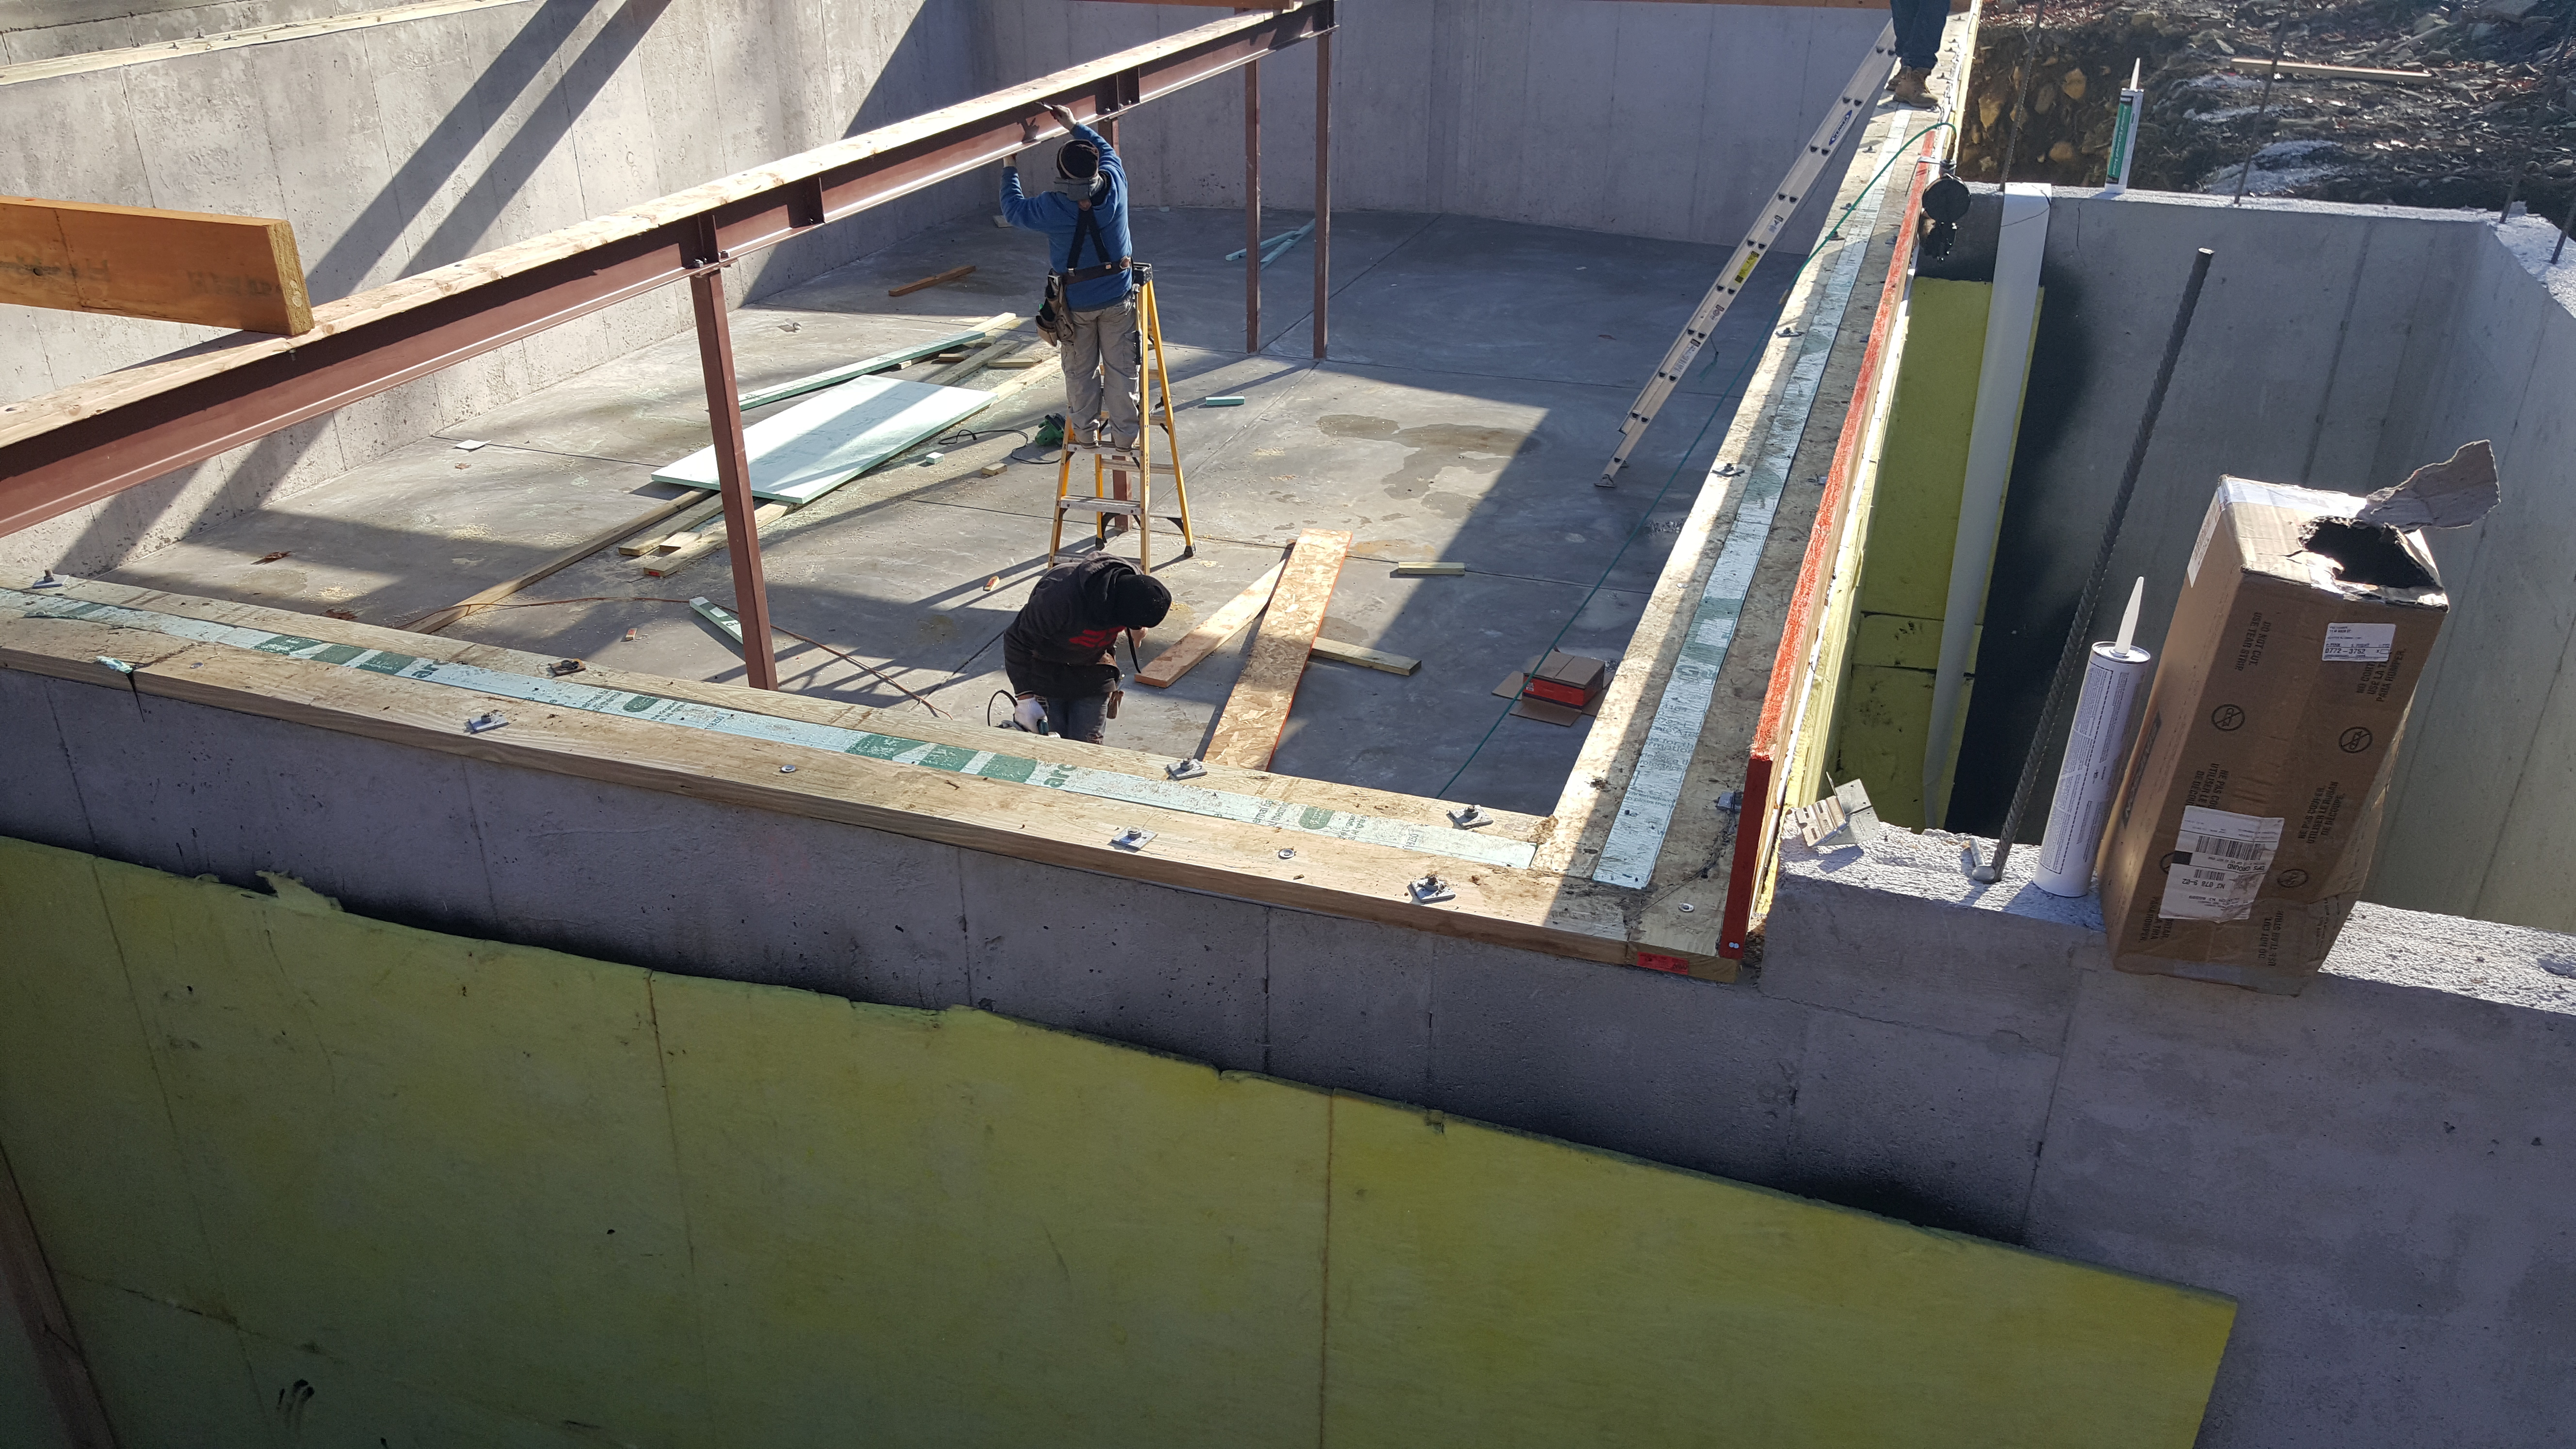
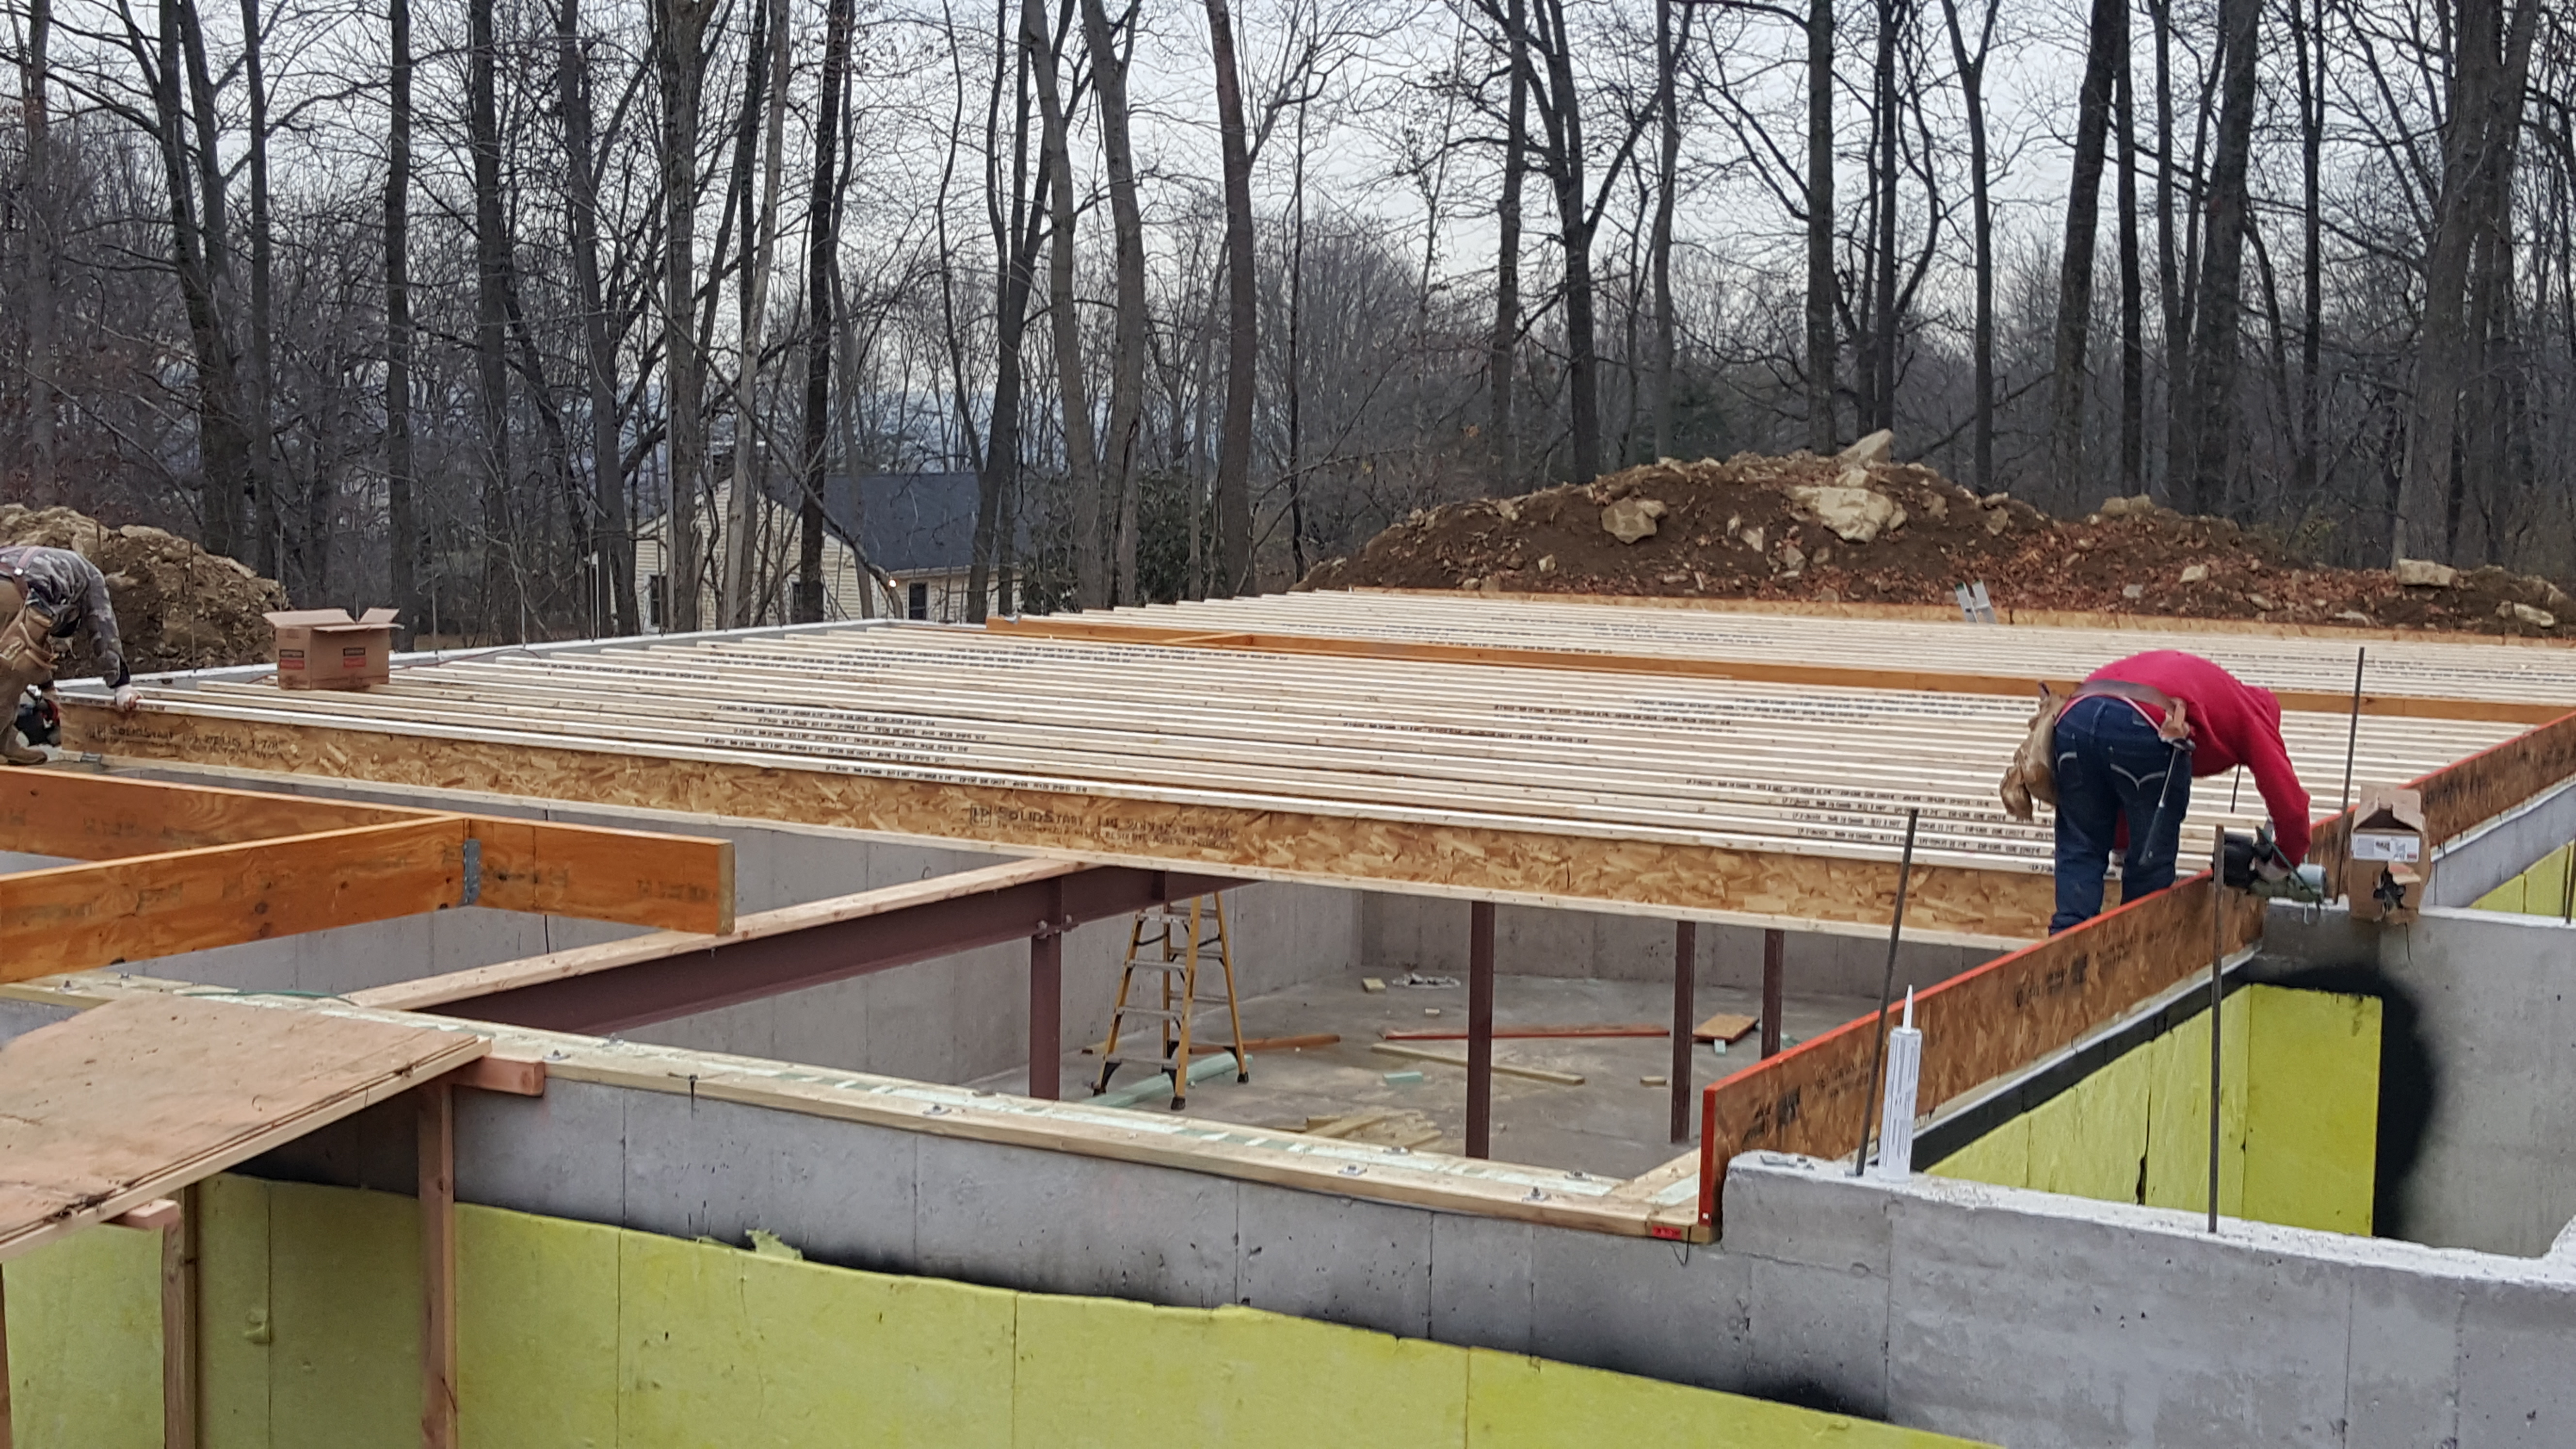
Solution:  sister the third joist and install perpendicular joists.  See photo.

93 Ledger framing (4) 93 Ledger framing (2)

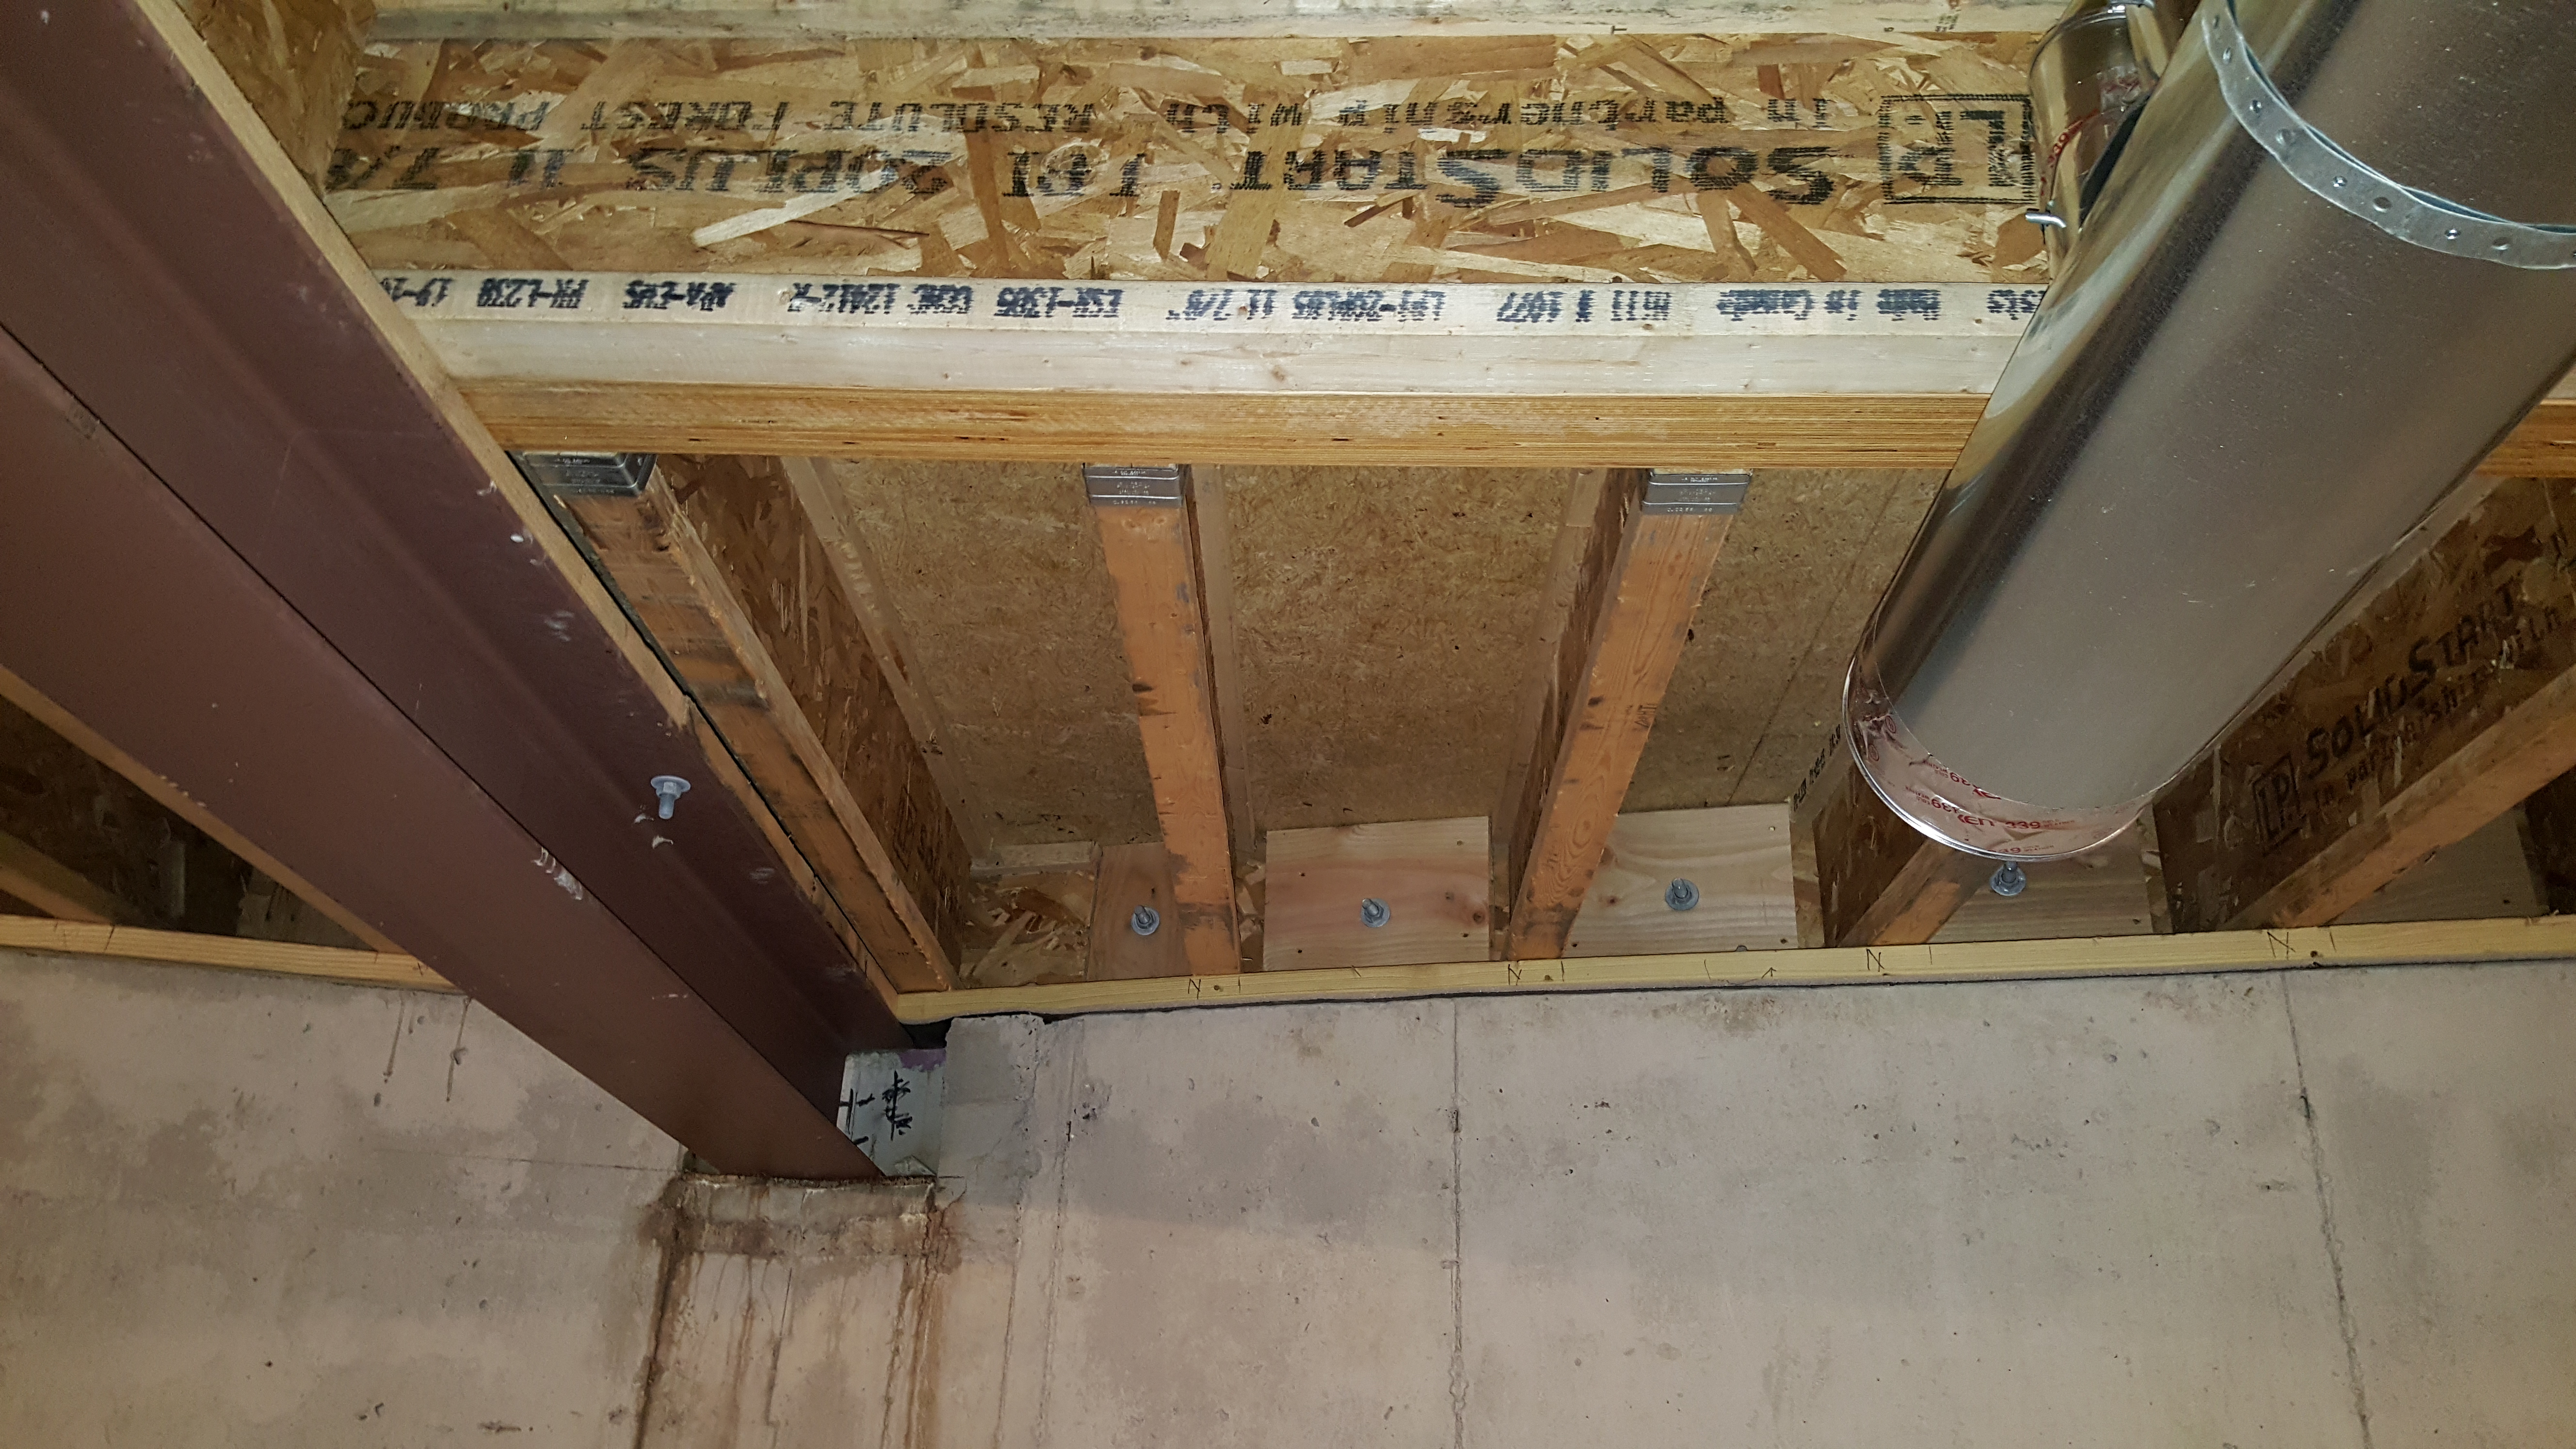
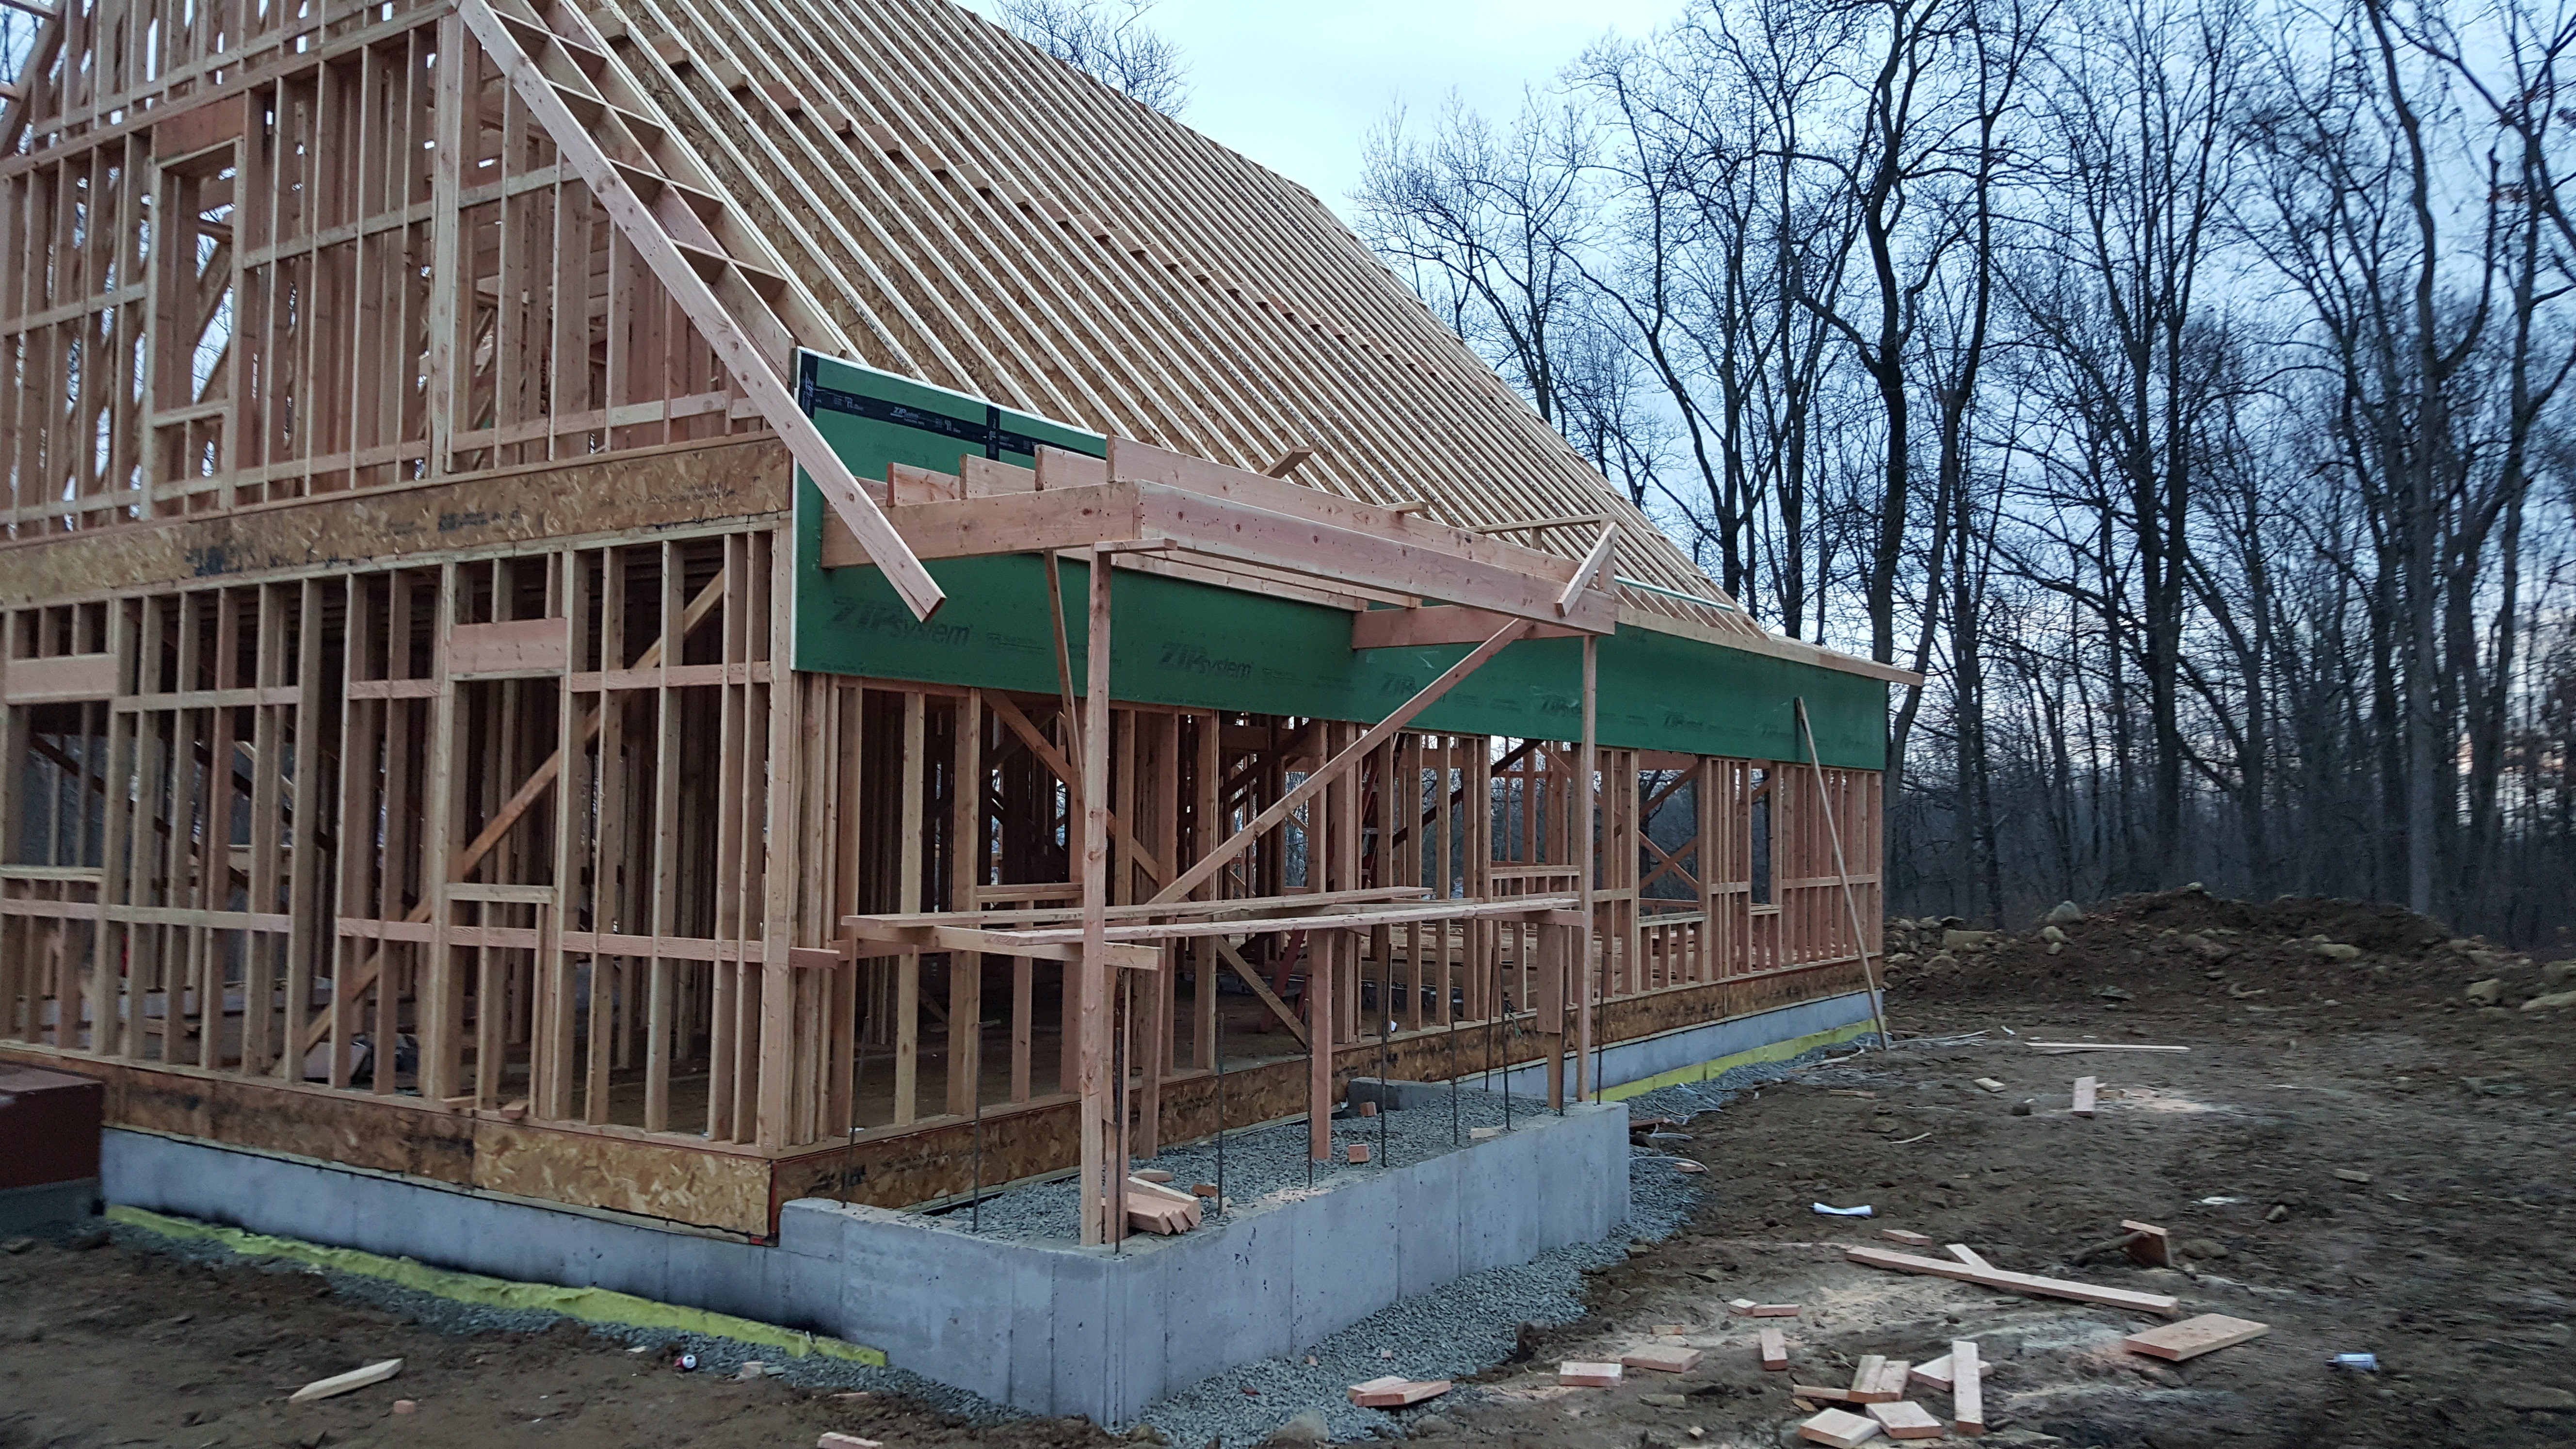
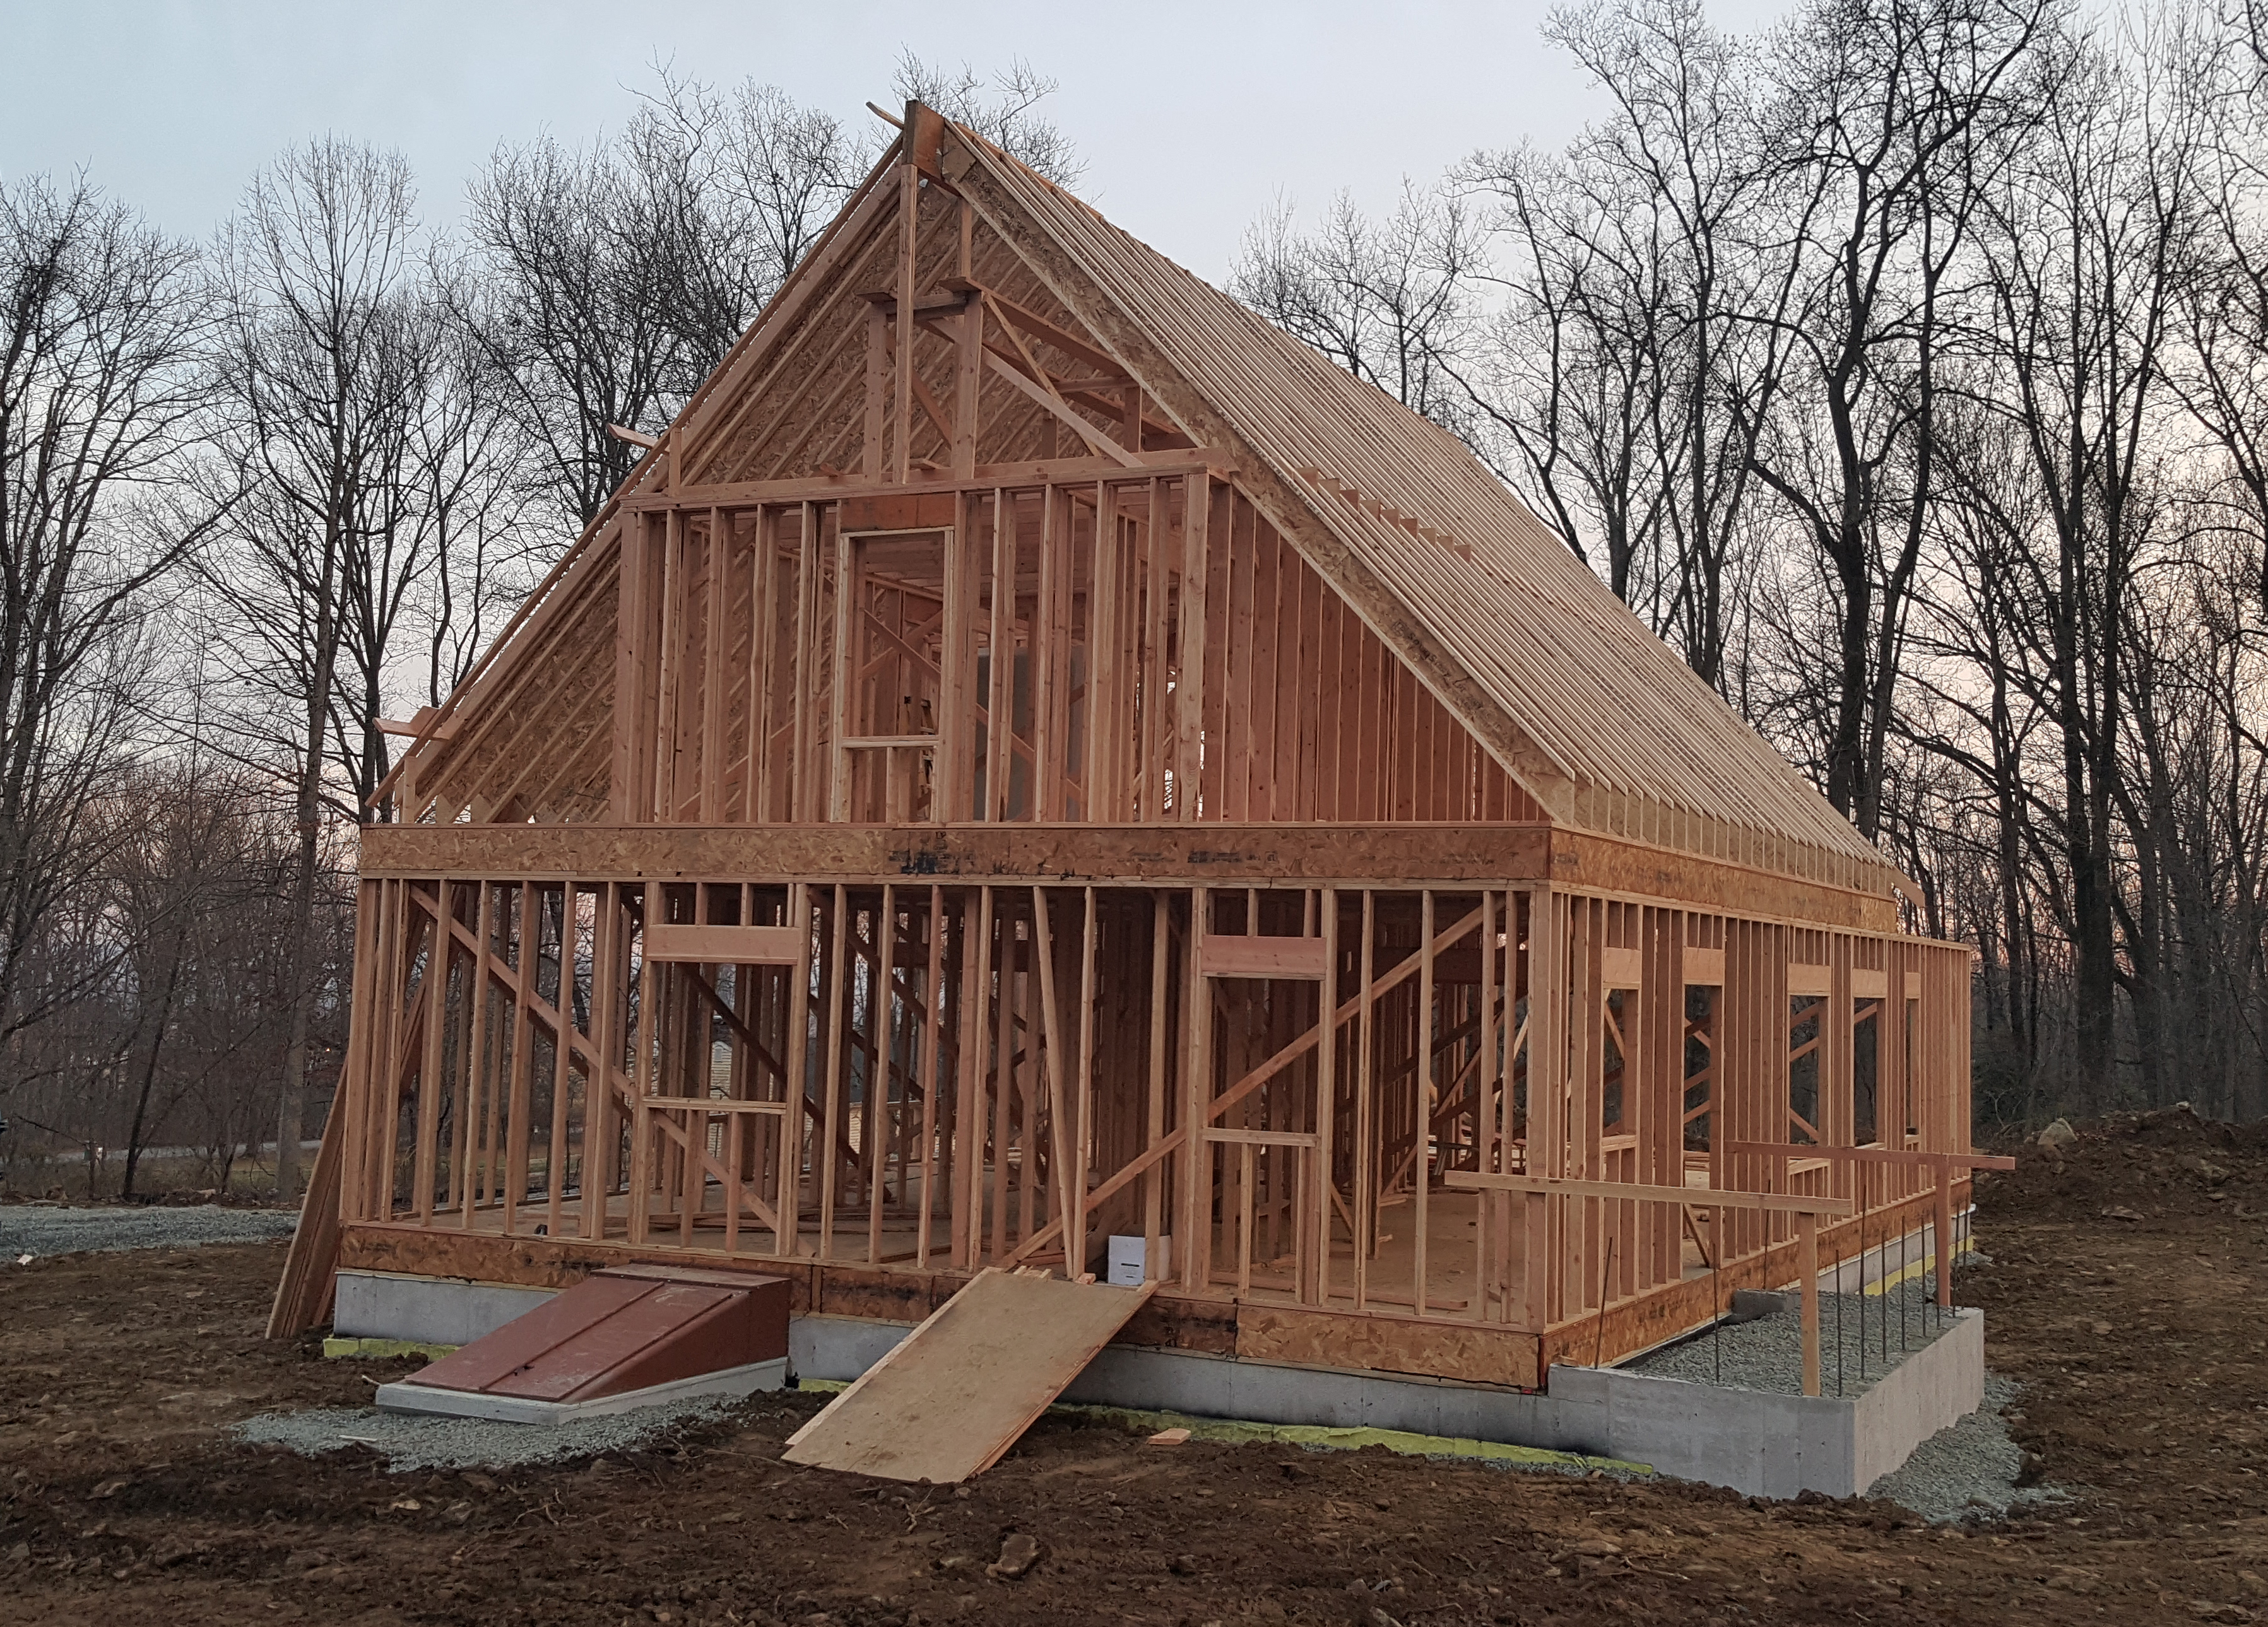
The Ledger Board all bolted up.

Ledger Board

Progress in the rain

Rain is still  sl0wing us down. But we’ve made some progress. The house is fully taped.  Rob’s guys are preparing it for the blower door test on Monday, buy installing the basement door and caulking and caulking.  Being sheathed with no windows makes it very dark inside, thus it’s easy to see light coming in any openings.  The front step arrive tomorrow.    The garage is prepped for the floor to be poured tomorrow.  And my work vehicle has arrived.  Once the blower door test is done we start the roof, followed by the siding……….

20151230_120158

Singing in the Rain

I could cry, but what good sill that do.  For those not on the right coast, we’re in a period of about 10 days of rainy stuff.  So the blower door test has been pushed out at least a week. You can see the sheathing is done.  🙂 but no taping.  And the Amish guys working on the garage, drive out from East Earl Lancaster county to get a half a days work done before getting drenched.  So, we can’t dance, to wet to plow, so we might as well sing Christmas Carols.

20151223_080622[1]20151223_080655[1] Garage Framed

A Lost week

As it turned out the roof ZIP sheathing was backordered and didn’t show up till late Wednesday.  Thursday was nothing but rain so no work got done.  Friday was a beautiful day and the sheather’s were on side before 8:00.  I was expecting it be a one day job.  I had errands to run and to head back to New London to finish packing  so I left around 10:00.  I arrived this afternoon (Sunday) around 4:00 expecting the house to be fully sheathed.  But it wasn’t, I’m guessing they ran out of roof sheathing.  Here are some photos.    I have rescheduled the first blower door test out a week to 12/29. Note we are sheathing everything but the front door for the first blower door test.   The garage material showed up on Friday, and they plan to get started Monday.  The windows were delivered Wednesday.


Let the sheathing begin.

The sheathing behind the porch roof needed to be installed before these roofs could be framed. And before the sheathing gapes needed to be caulked with the never harding “Acoustical Caulk”. Supper sticky and black. Then “blocking” needed to be added between the studs to allow the sheathing to be nailed property on 3-6″ centers  The sheathing is ZIP R-6, it puts an R-6.6 insulation on the outside of the framing and helping to minimize the thermal bridging. Note how the sheathing goes behind the roof over hangs to create an envelop of insulation around the exterior of the house.

Tomorrow the final delivery of the sheathing will arrive and the full sheathing will happen at full bore.

81 Sheathing 81 Sheathing (2) 81 Sheathing (3)81 Sheathing (4)

82 Porch Roof 82 Porch Roof (2) 82 Porch Roof (3) 82 Porch Roof (4) 82 Porch Roof (5) 82 Porch Roof (6)

The Framing goes on

Today no big changes.  They finished the roof over the family room and the window end of the family room. And roof over hangs and final exterior framing.  Monday they plan to start sheathing.   Weather permitting the shed get delivered Monday, and windows Wednesday.  And we are shooting for the first Blower door test the following Monday.79 Framing 79 Framing (2) 79 Framing (3) 79 Framing (4) 79 Framing (5)


Backfill and roofs

Today it’s starting to look like a house.  The rafters and dormers  on the second floor bedroom section are done.  The roof  rafters 18′ x 12″ TJIs were a challenge to get up.  It took much longer than the framers though. You can see from yesterday’s photos how they had to swing them into place. It also looks like we can’t use the window designed for the second bathroom  because of the angle of the porch roof.  We will swap it with a smaller one form the office.

Backfill and rough grading is done and a pad is set up for the shed.

Back

77 Roof & Dormors (3)

Family Room end

77 Roof & Dormors (4)

Front

77 Roof & Dormors

Office end

77 Roof & Dormors (2)

Shed pad

78 Shed pad


Busy Monday (Backfill & Framing)

In the first photo the Bilco door crew was still on site, the excavators started backfilling and the framers were working on the roof rafters.  Look how long the rafters are and the framer swing them into position to be lifted up.  A very uneventful day other than it was the first day of Deer season and shotguns were going off in the distance and deer were running around.

Three things at once.

71 A busy day

Second floor framing

72 Second Floor (2) 72 Second Floor (3) 72 Second Floor

Backfill

74 Backfill 1 74 Backfill Front 74 Backfill

Doing the roof rafters.75 Roof Rafters

75 Roof Rafters (2) 75 Roof Rafters (3) 75 Roof Rafters (4) 75 Roof Rafters (5)

End of Day

76 End of Day (2)

Let the Framing Begin

The big day begins.  One of the most important thing with a Energy Efficient house is it’s air TIGHTness.  The house has to be as tight as possible starting with the sill plate to foundation connection. There are a number of way we’ve seen to do this, the best in our opinion is a combination of Protecto Wrap Premium Energy Sill Sealer and acoustical caulk.  The tape comes in 5.5″ & 3.5″ widths and is 3/8″ thick close cell foam.  At 3/8″ we think it will fill in the irregularities of the foundation wall and sill plate connection.  And because of the double wall foundation we have two sill plates, a 6 x 2 & a 4 x 2. The sill plate and foundation wall connection is so long it is one of the biggest points for air leaks. Side joints are gupped up with the acoustical caulk. Acoustical caulk is a none harding caulk the sticks to everything. Insulation is installed between the double sill plates to block bridging. The insulation is gupped down with acoustical caulk too.

68 Sill Plate Tape (2) 68 Sill Plate Tape (3) 67 First Floor Framing 67 First Floor Framing (2)

67 First Floor Framing (5)

Once the sill plate is bolted and sealed the TJI floor joists and installed.  Again a little different than a standard foundation,  because of the double sill plates.  Tomorrow the sub floor and up the walls go. We are putting in a no-step shower, which requires a little difference in the floor joist under the shower floor. But we have two days of rain in the forecast.


67 First Floor Framing (3) 67 First Floor Framing (4) 67 First Floor Framing (6) 67 First Floor Framing (7) 67 First Floor Framing (8)