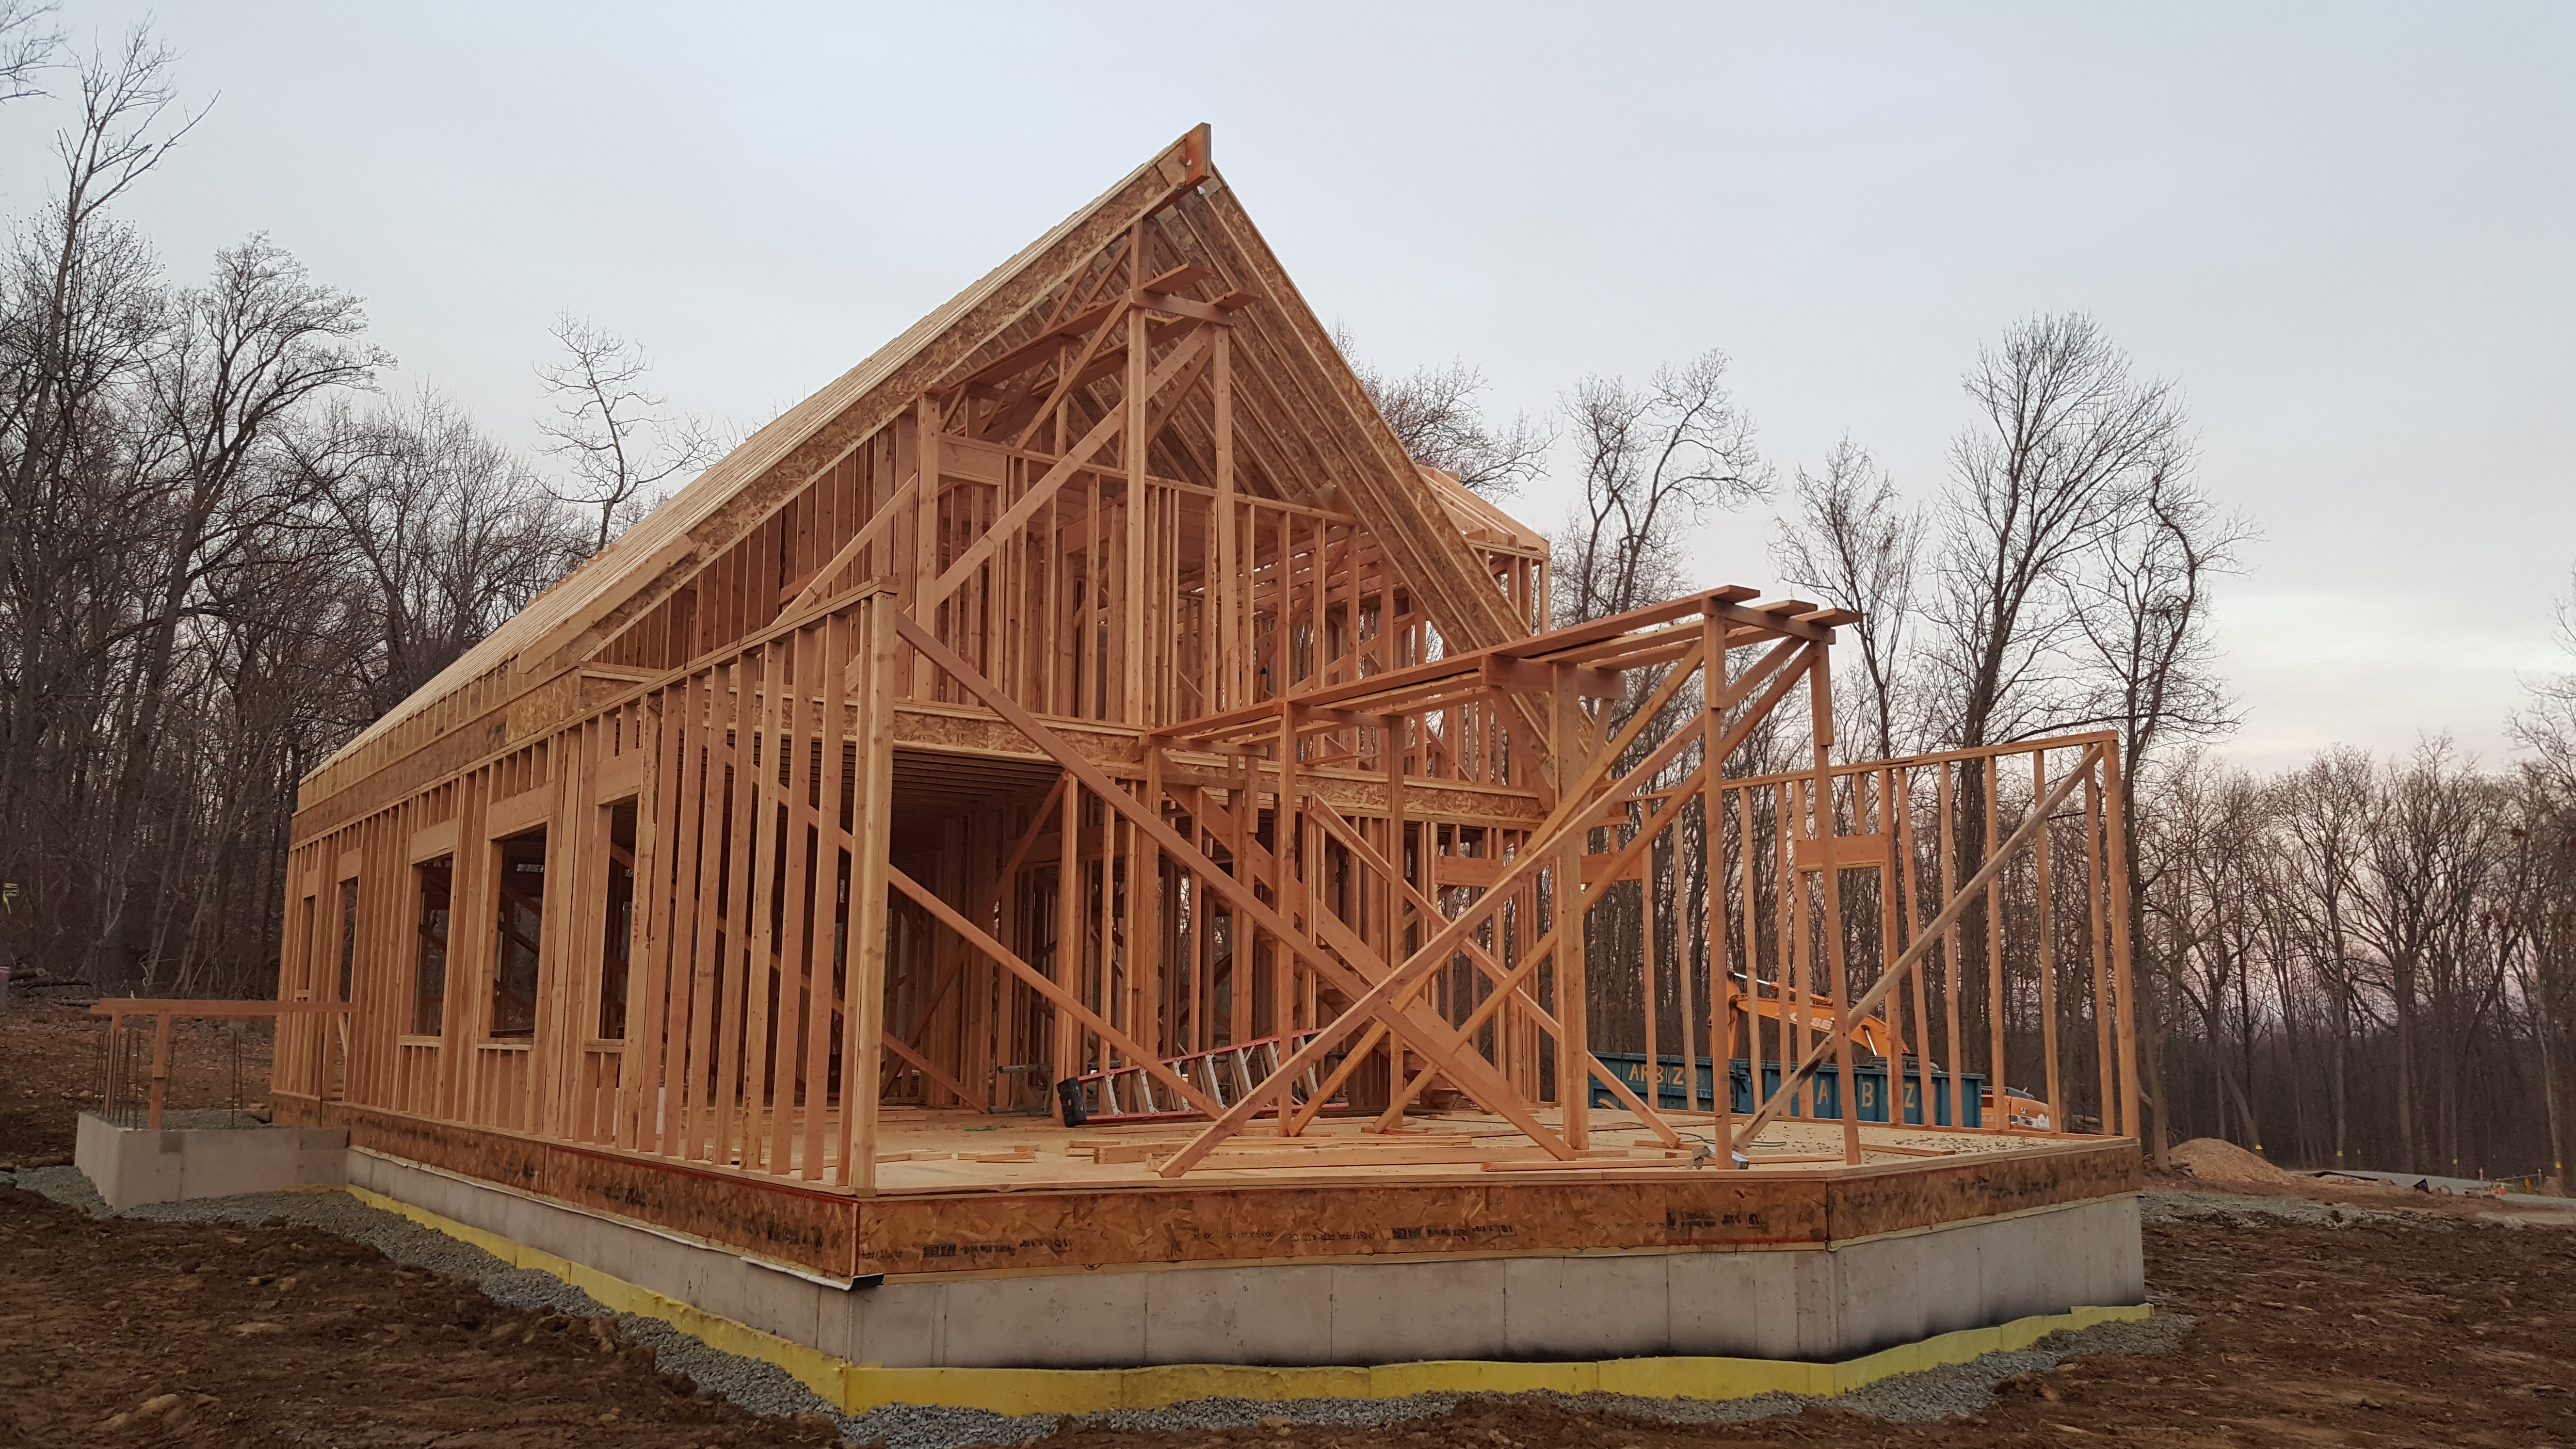
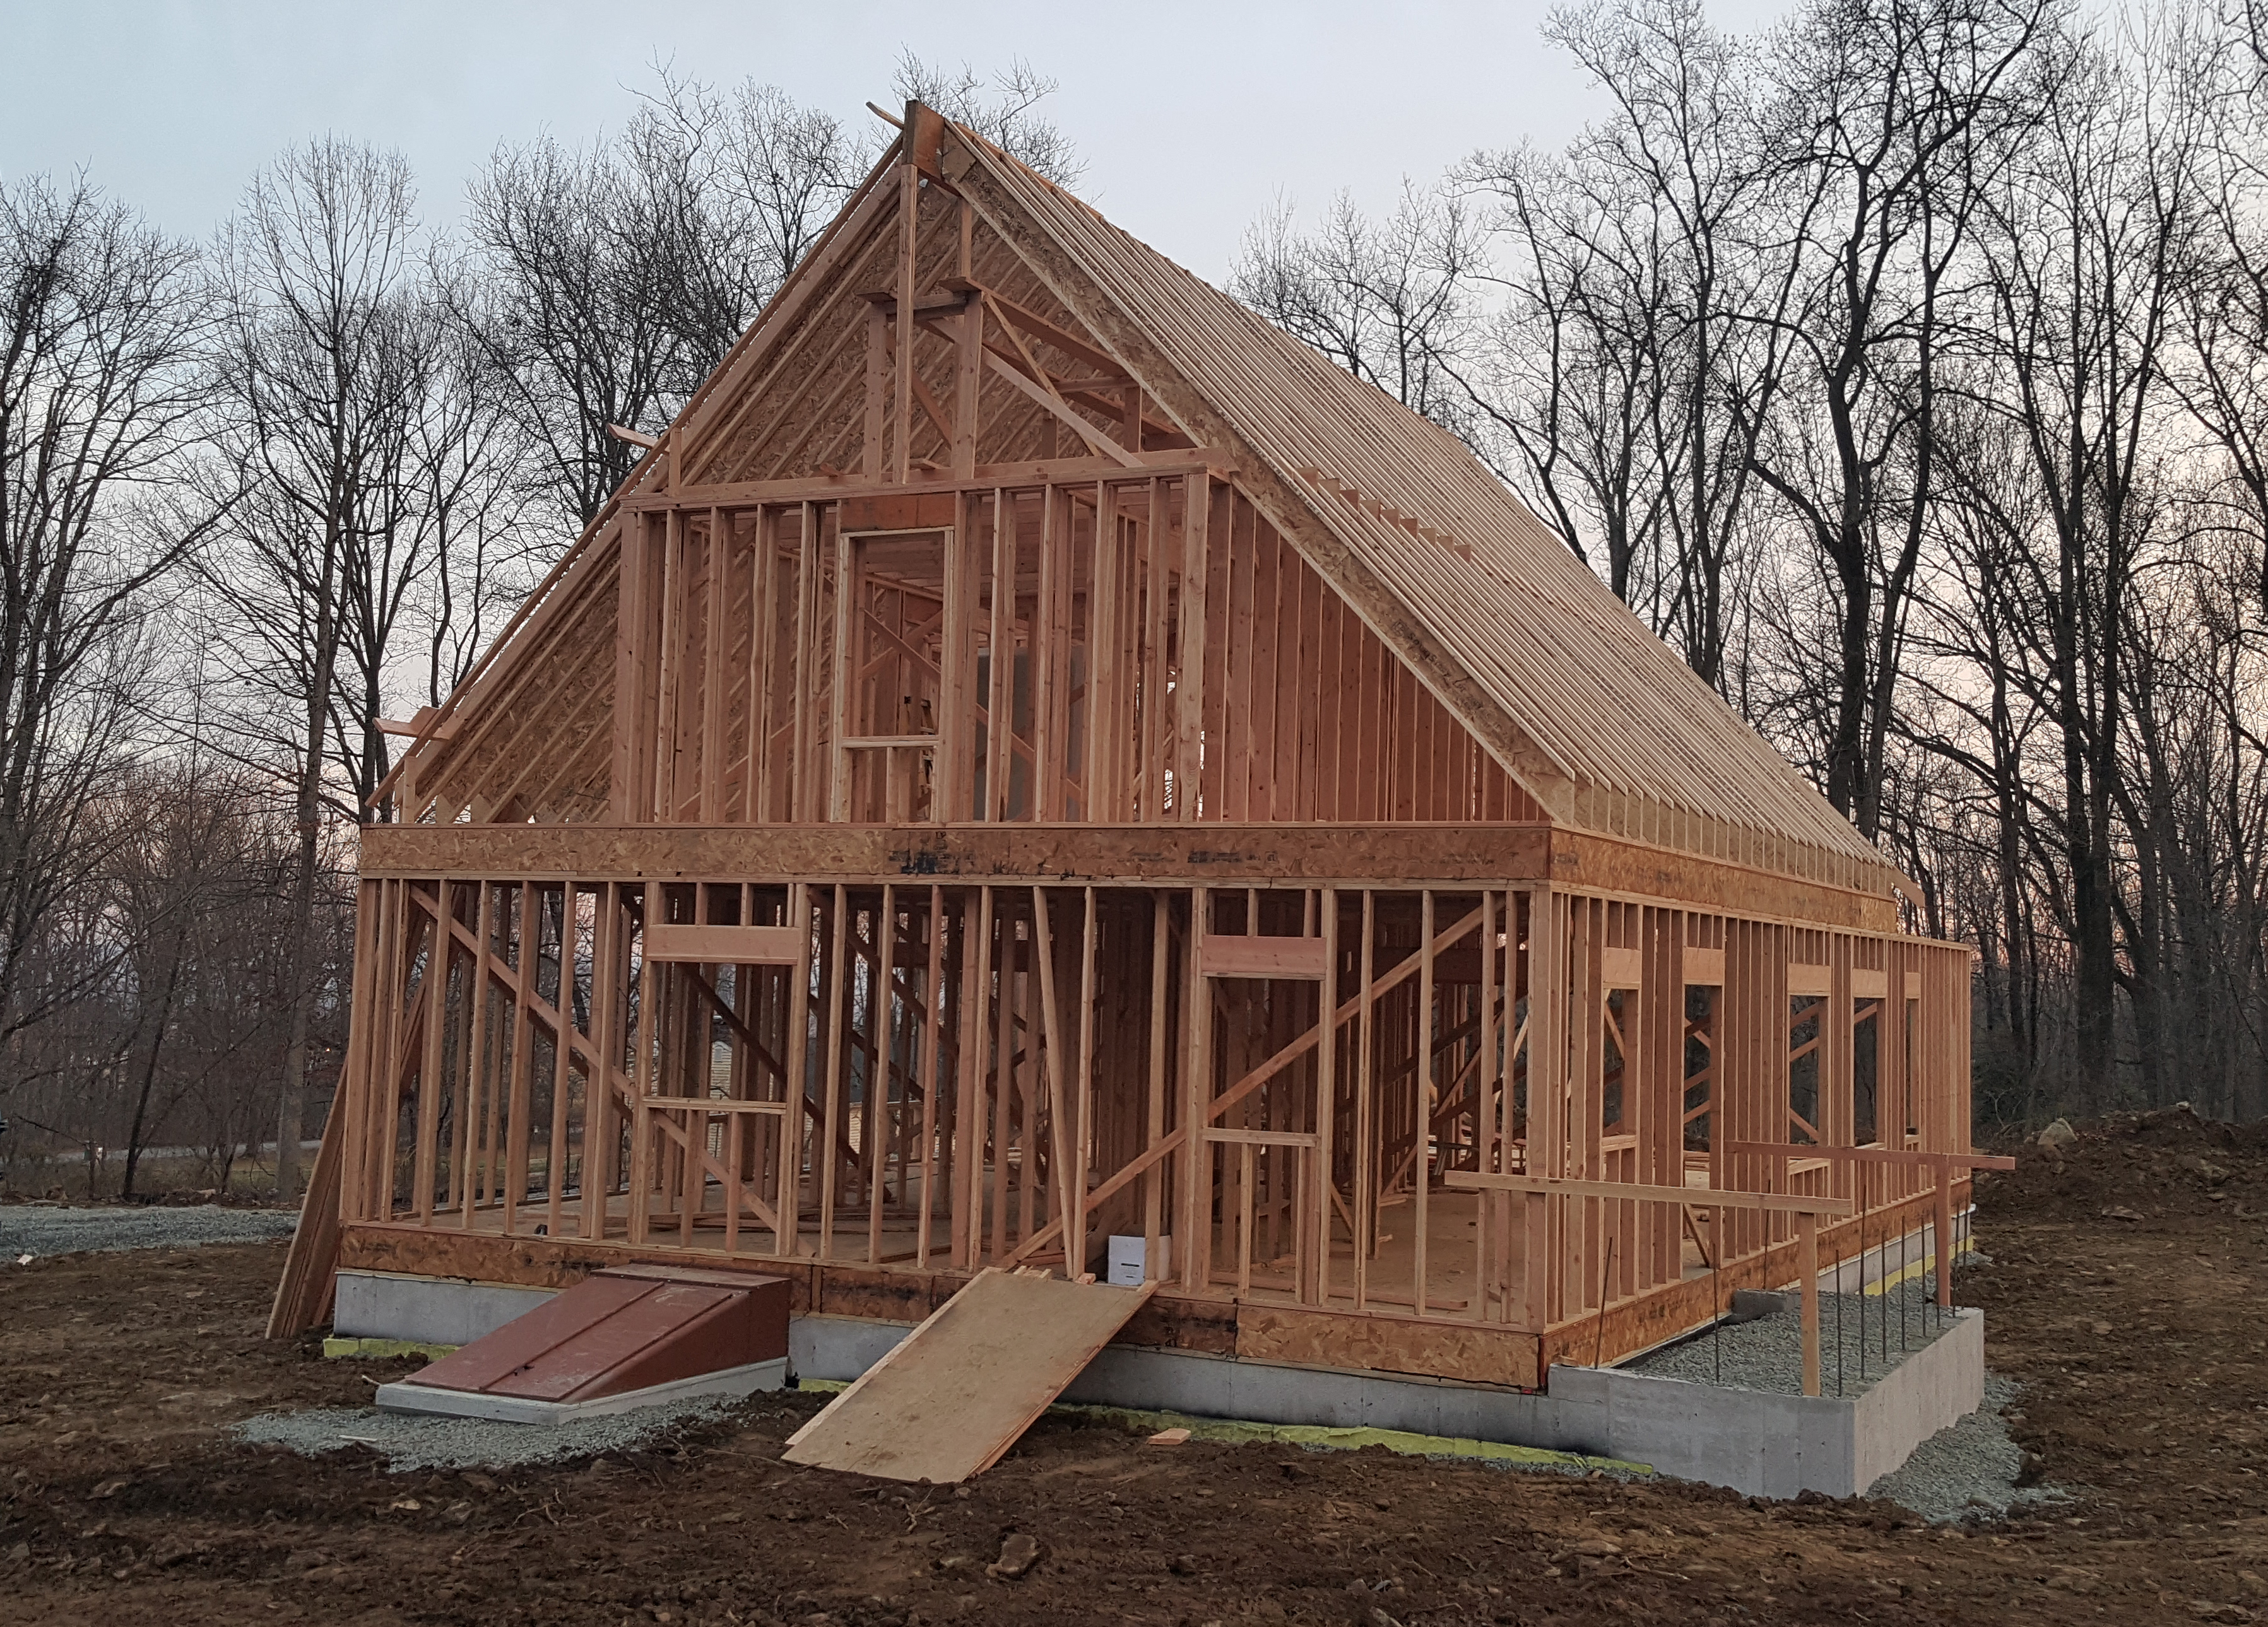
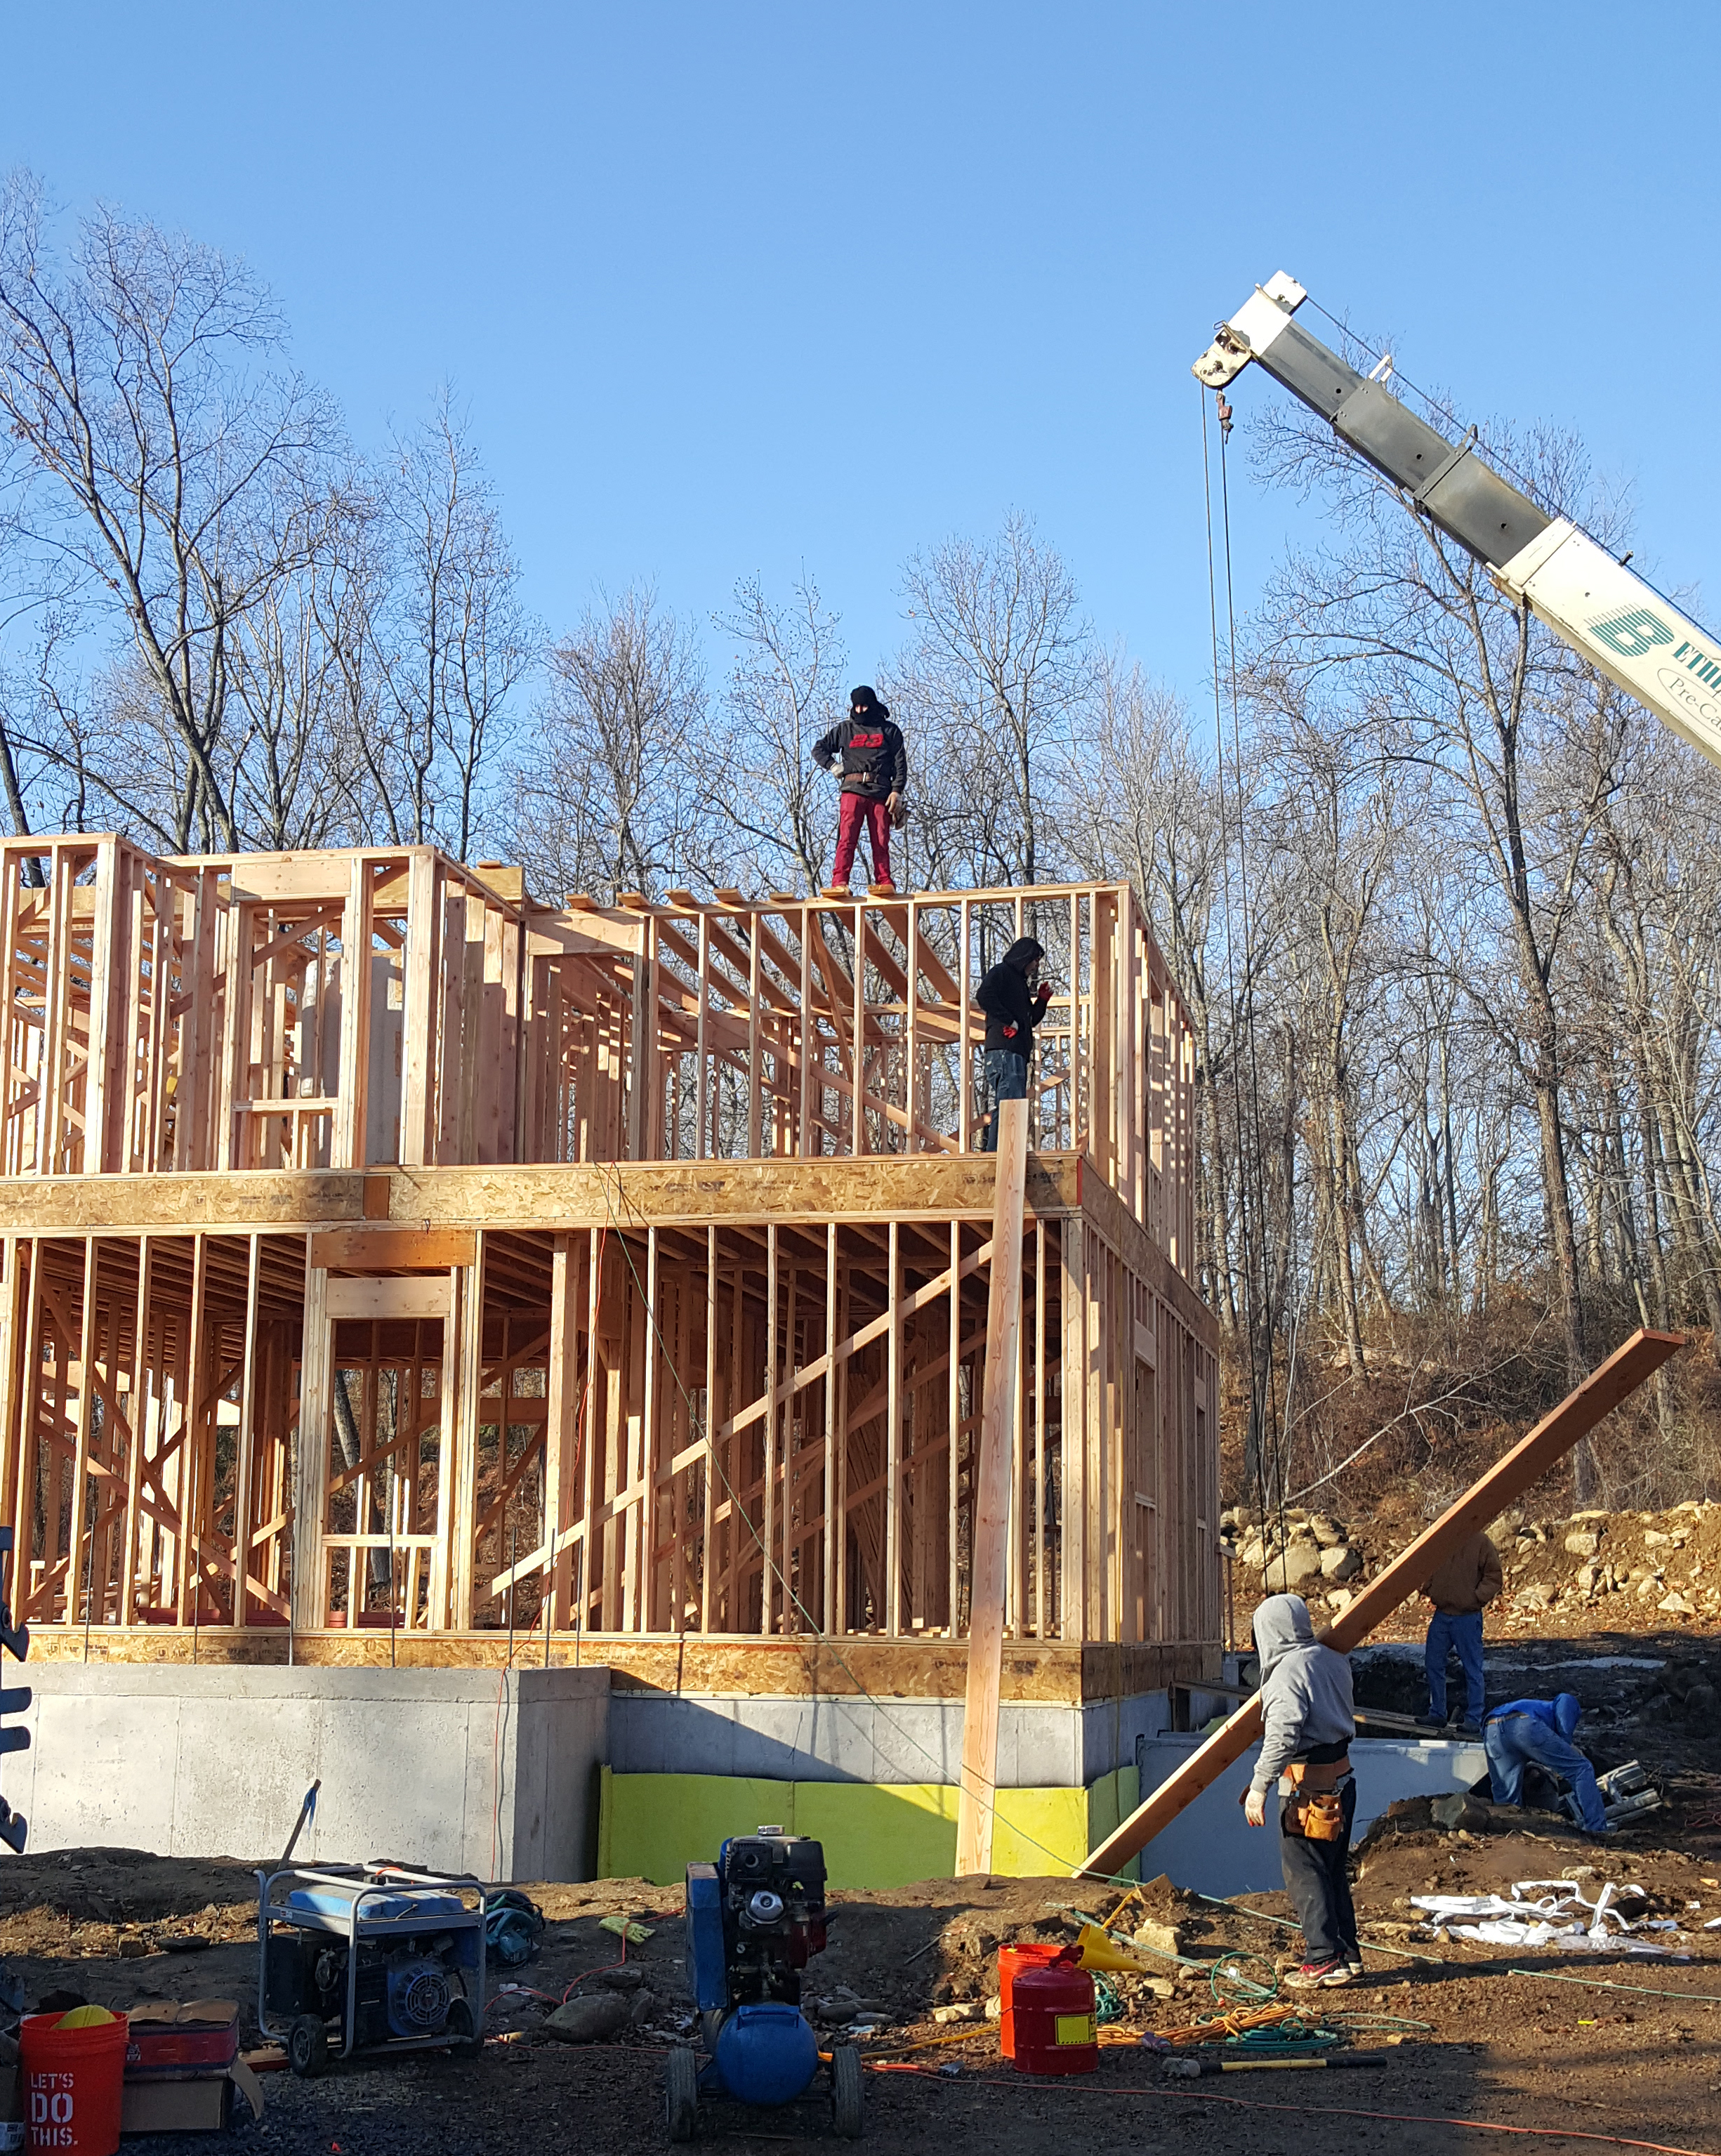
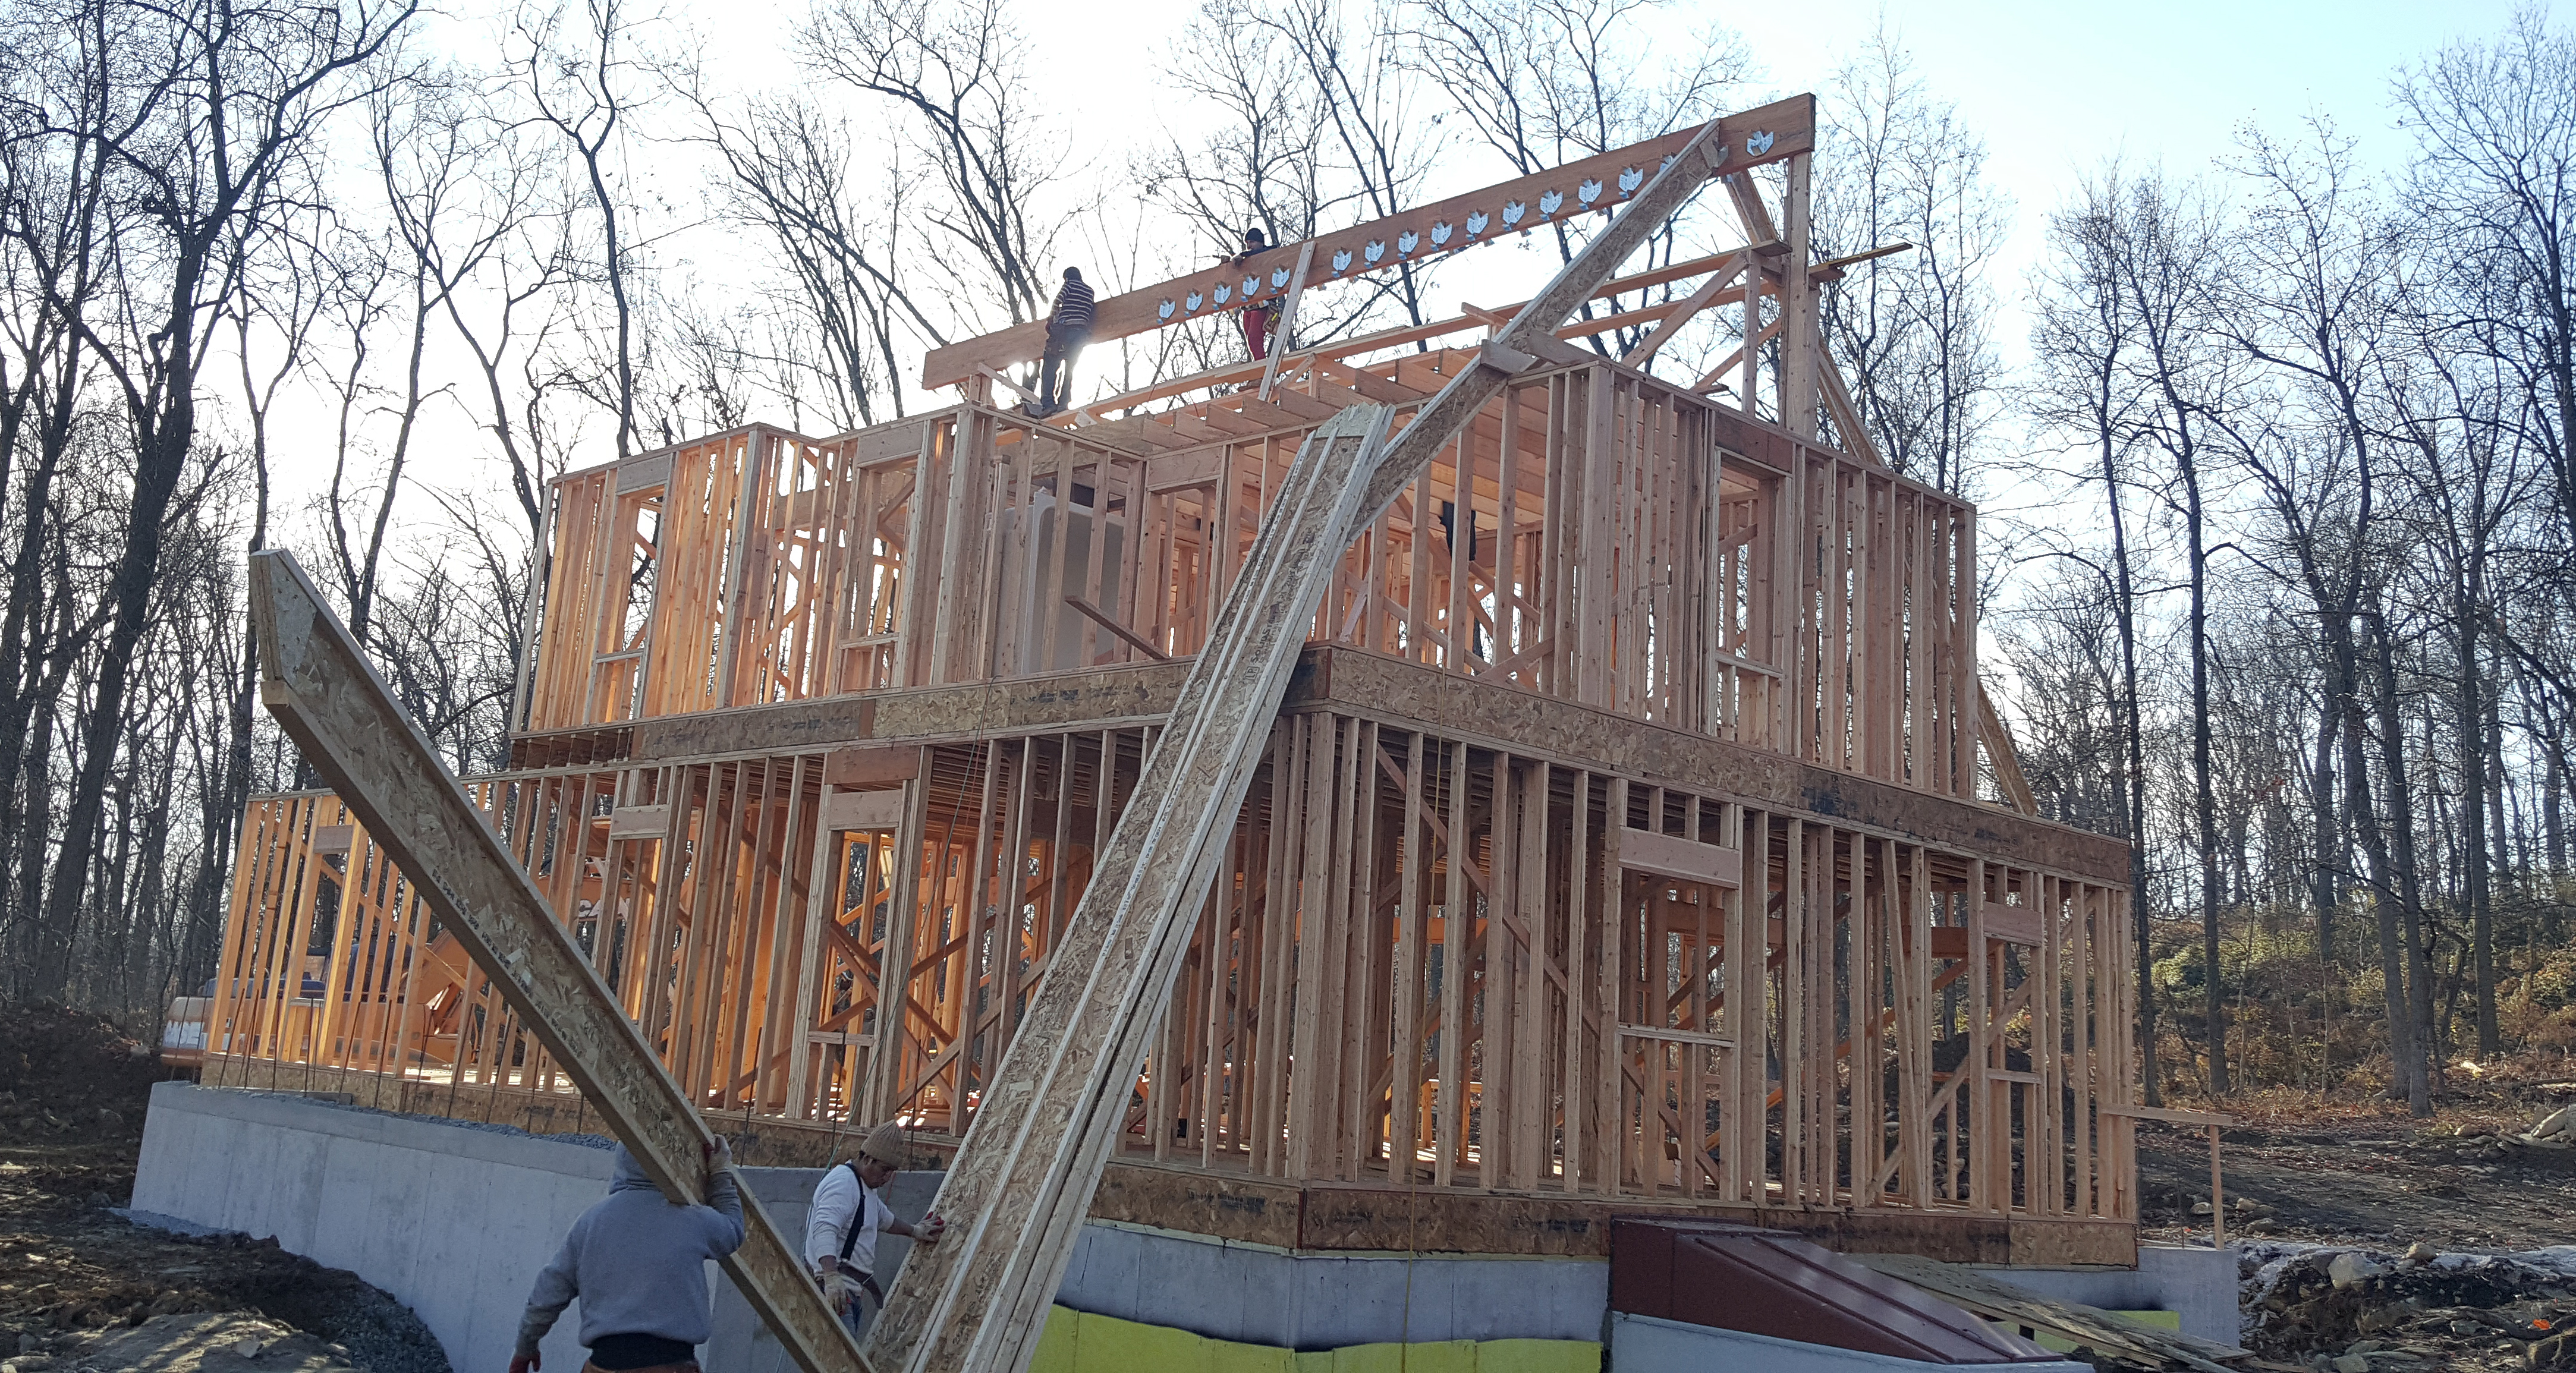
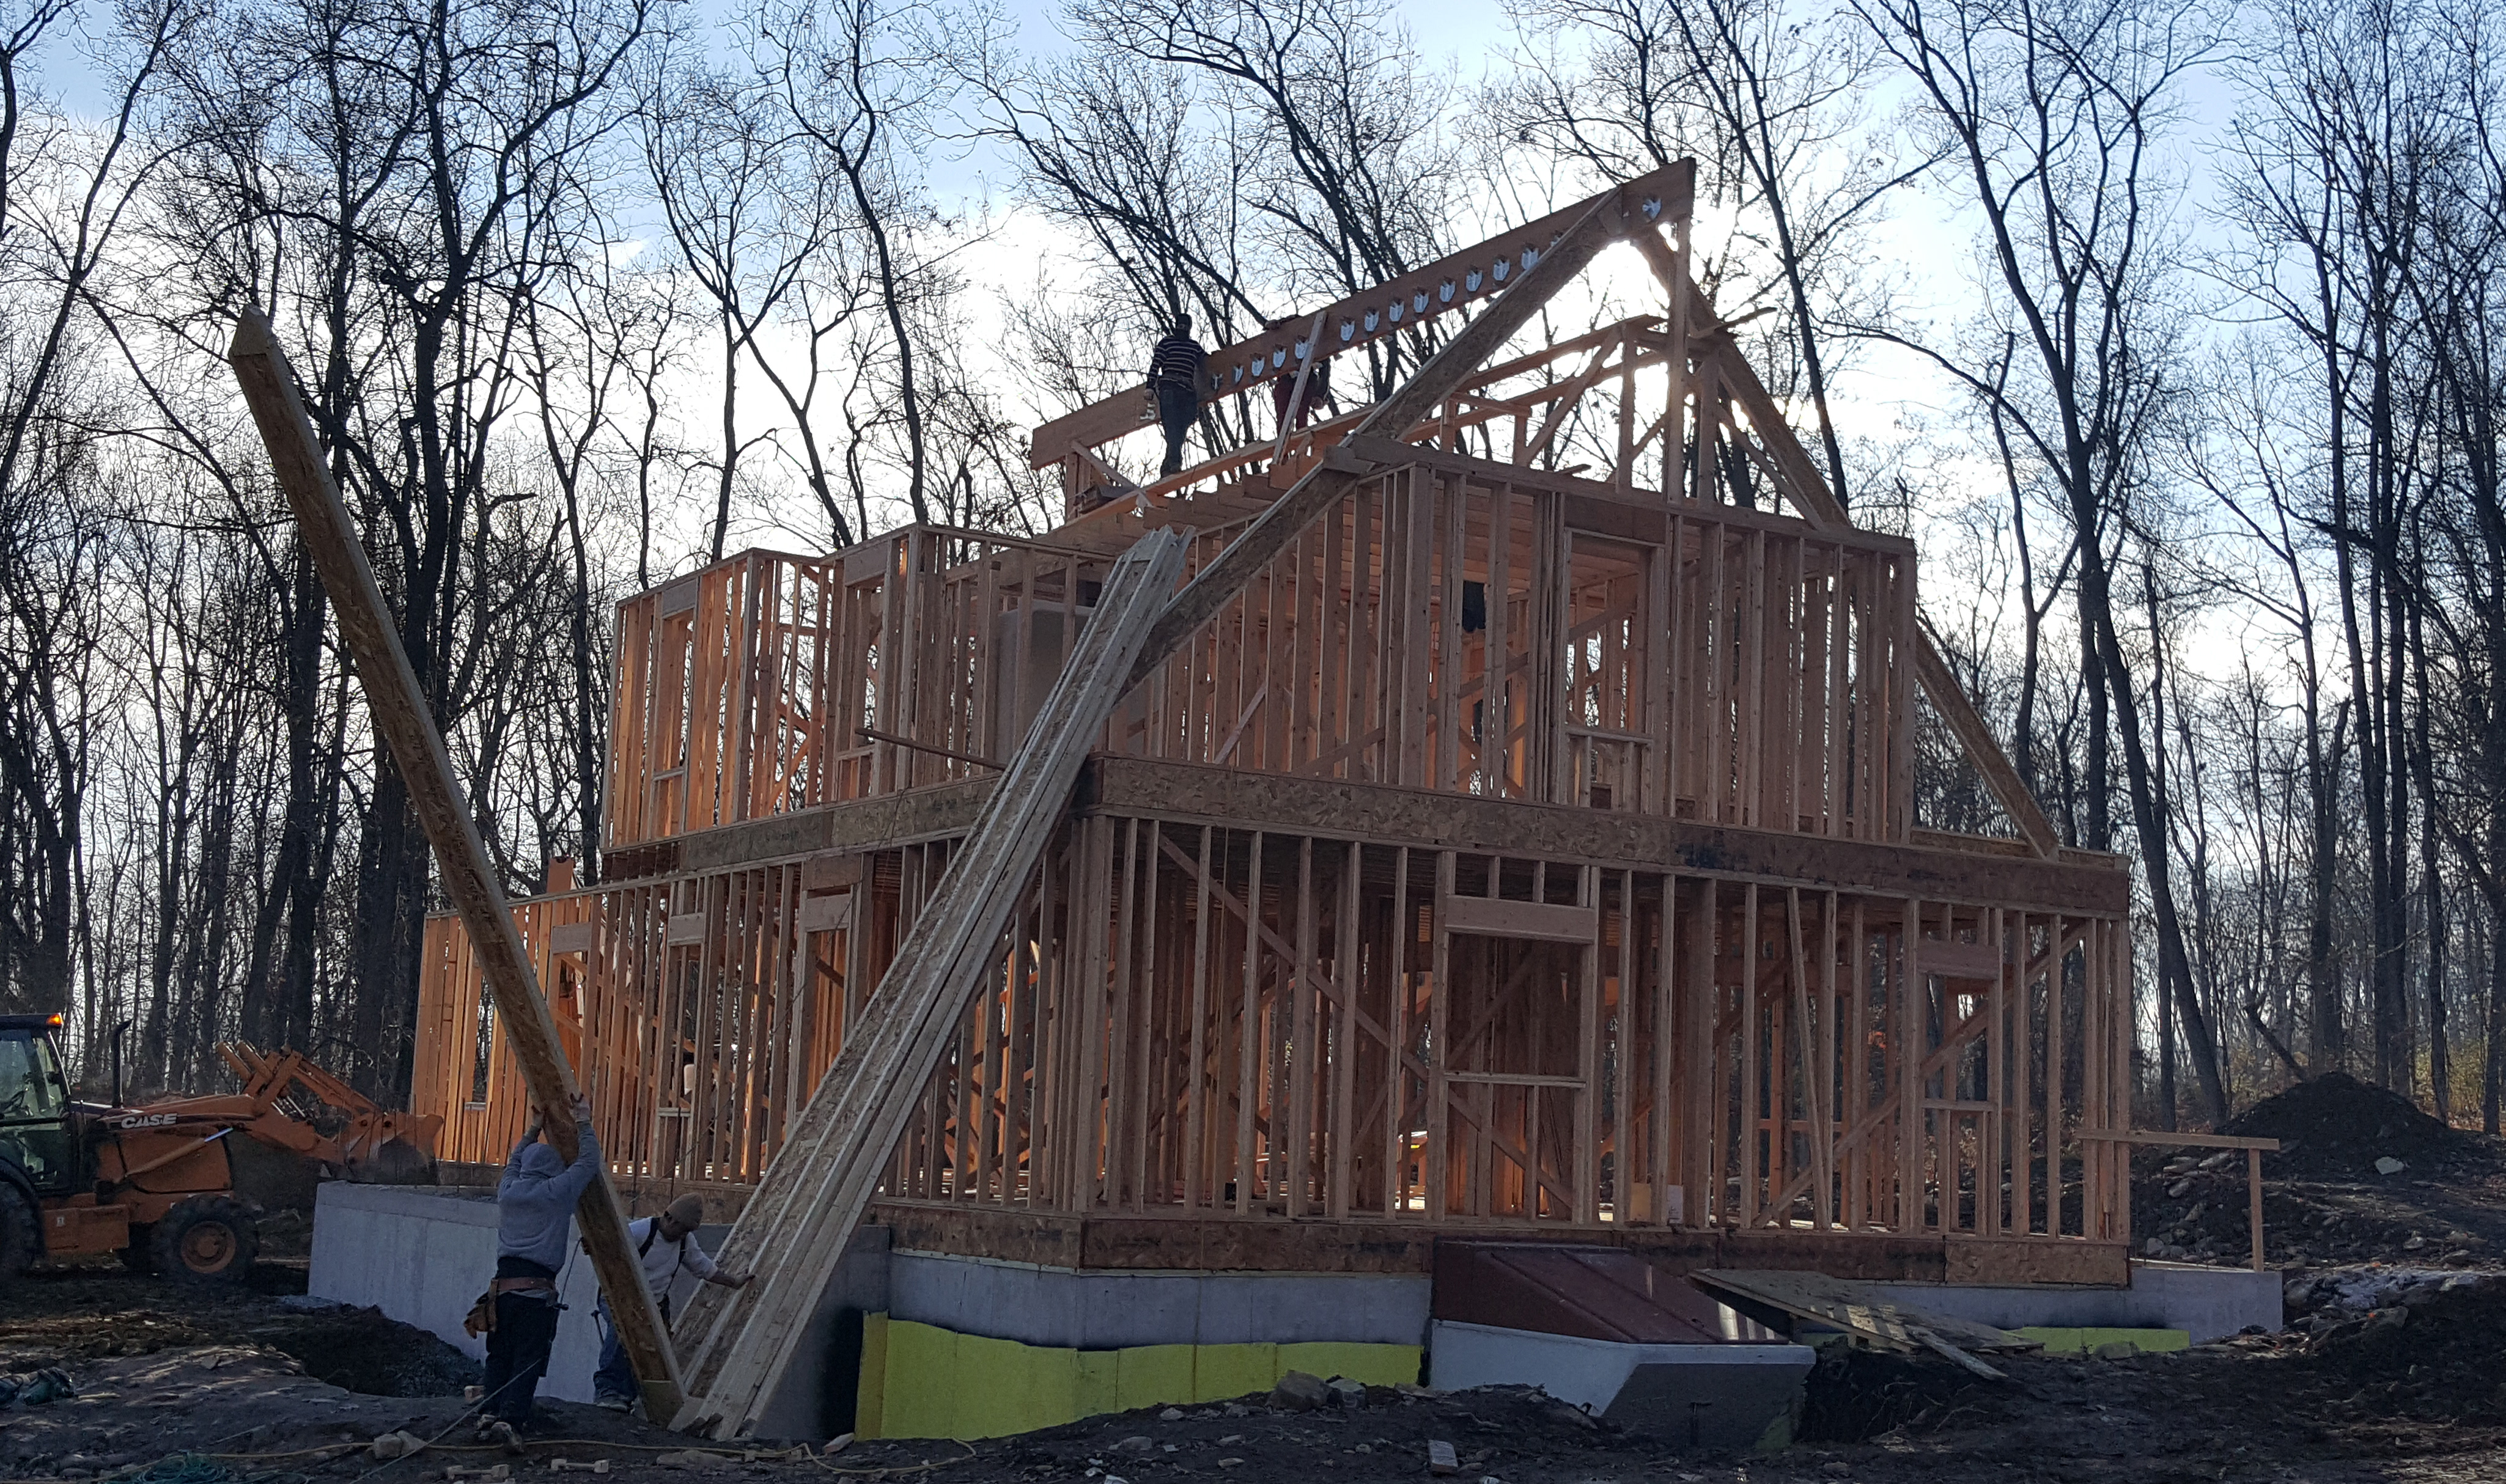
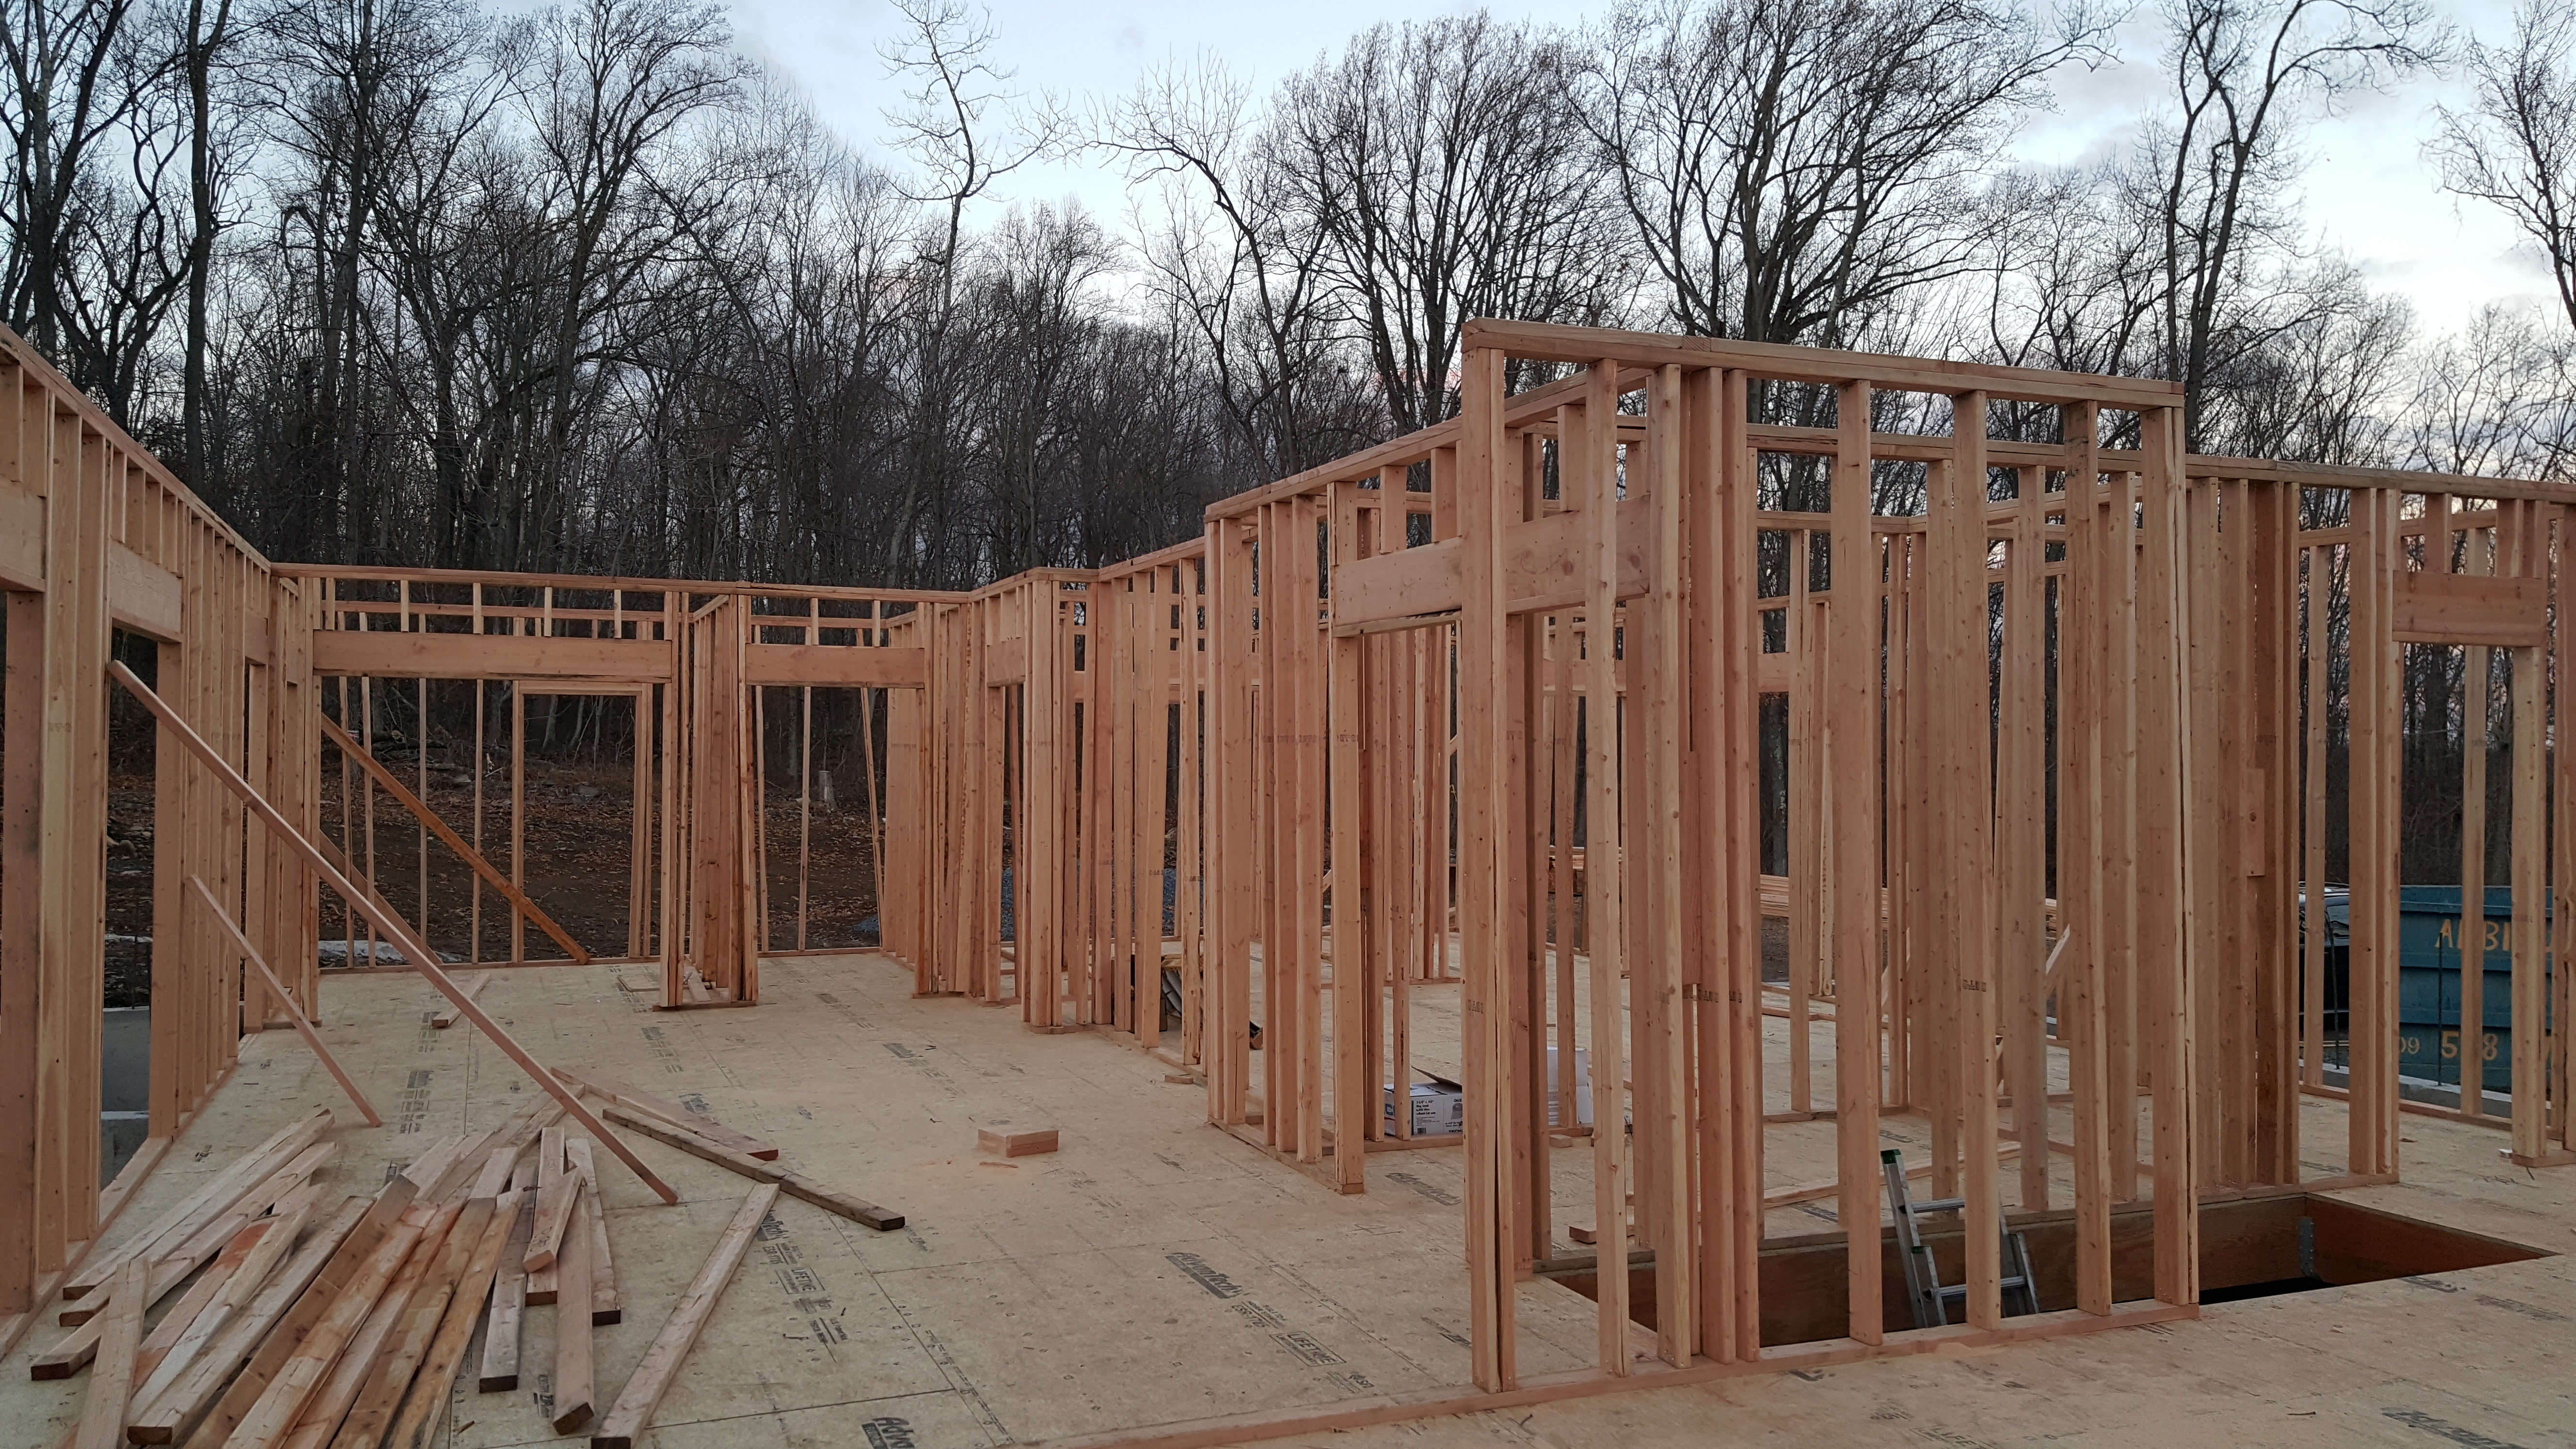
Today it’s starting to look like a house. The rafters and dormers on the second floor bedroom section are done. The roof rafters 18′ x 12″ TJIs were a challenge to get up. It took much longer than the framers though. You can see from yesterday’s photos how they had to swing them into place. It also looks like we can’t use the window designed for the second bathroom because of the angle of the porch roof. We will swap it with a smaller one form the office.
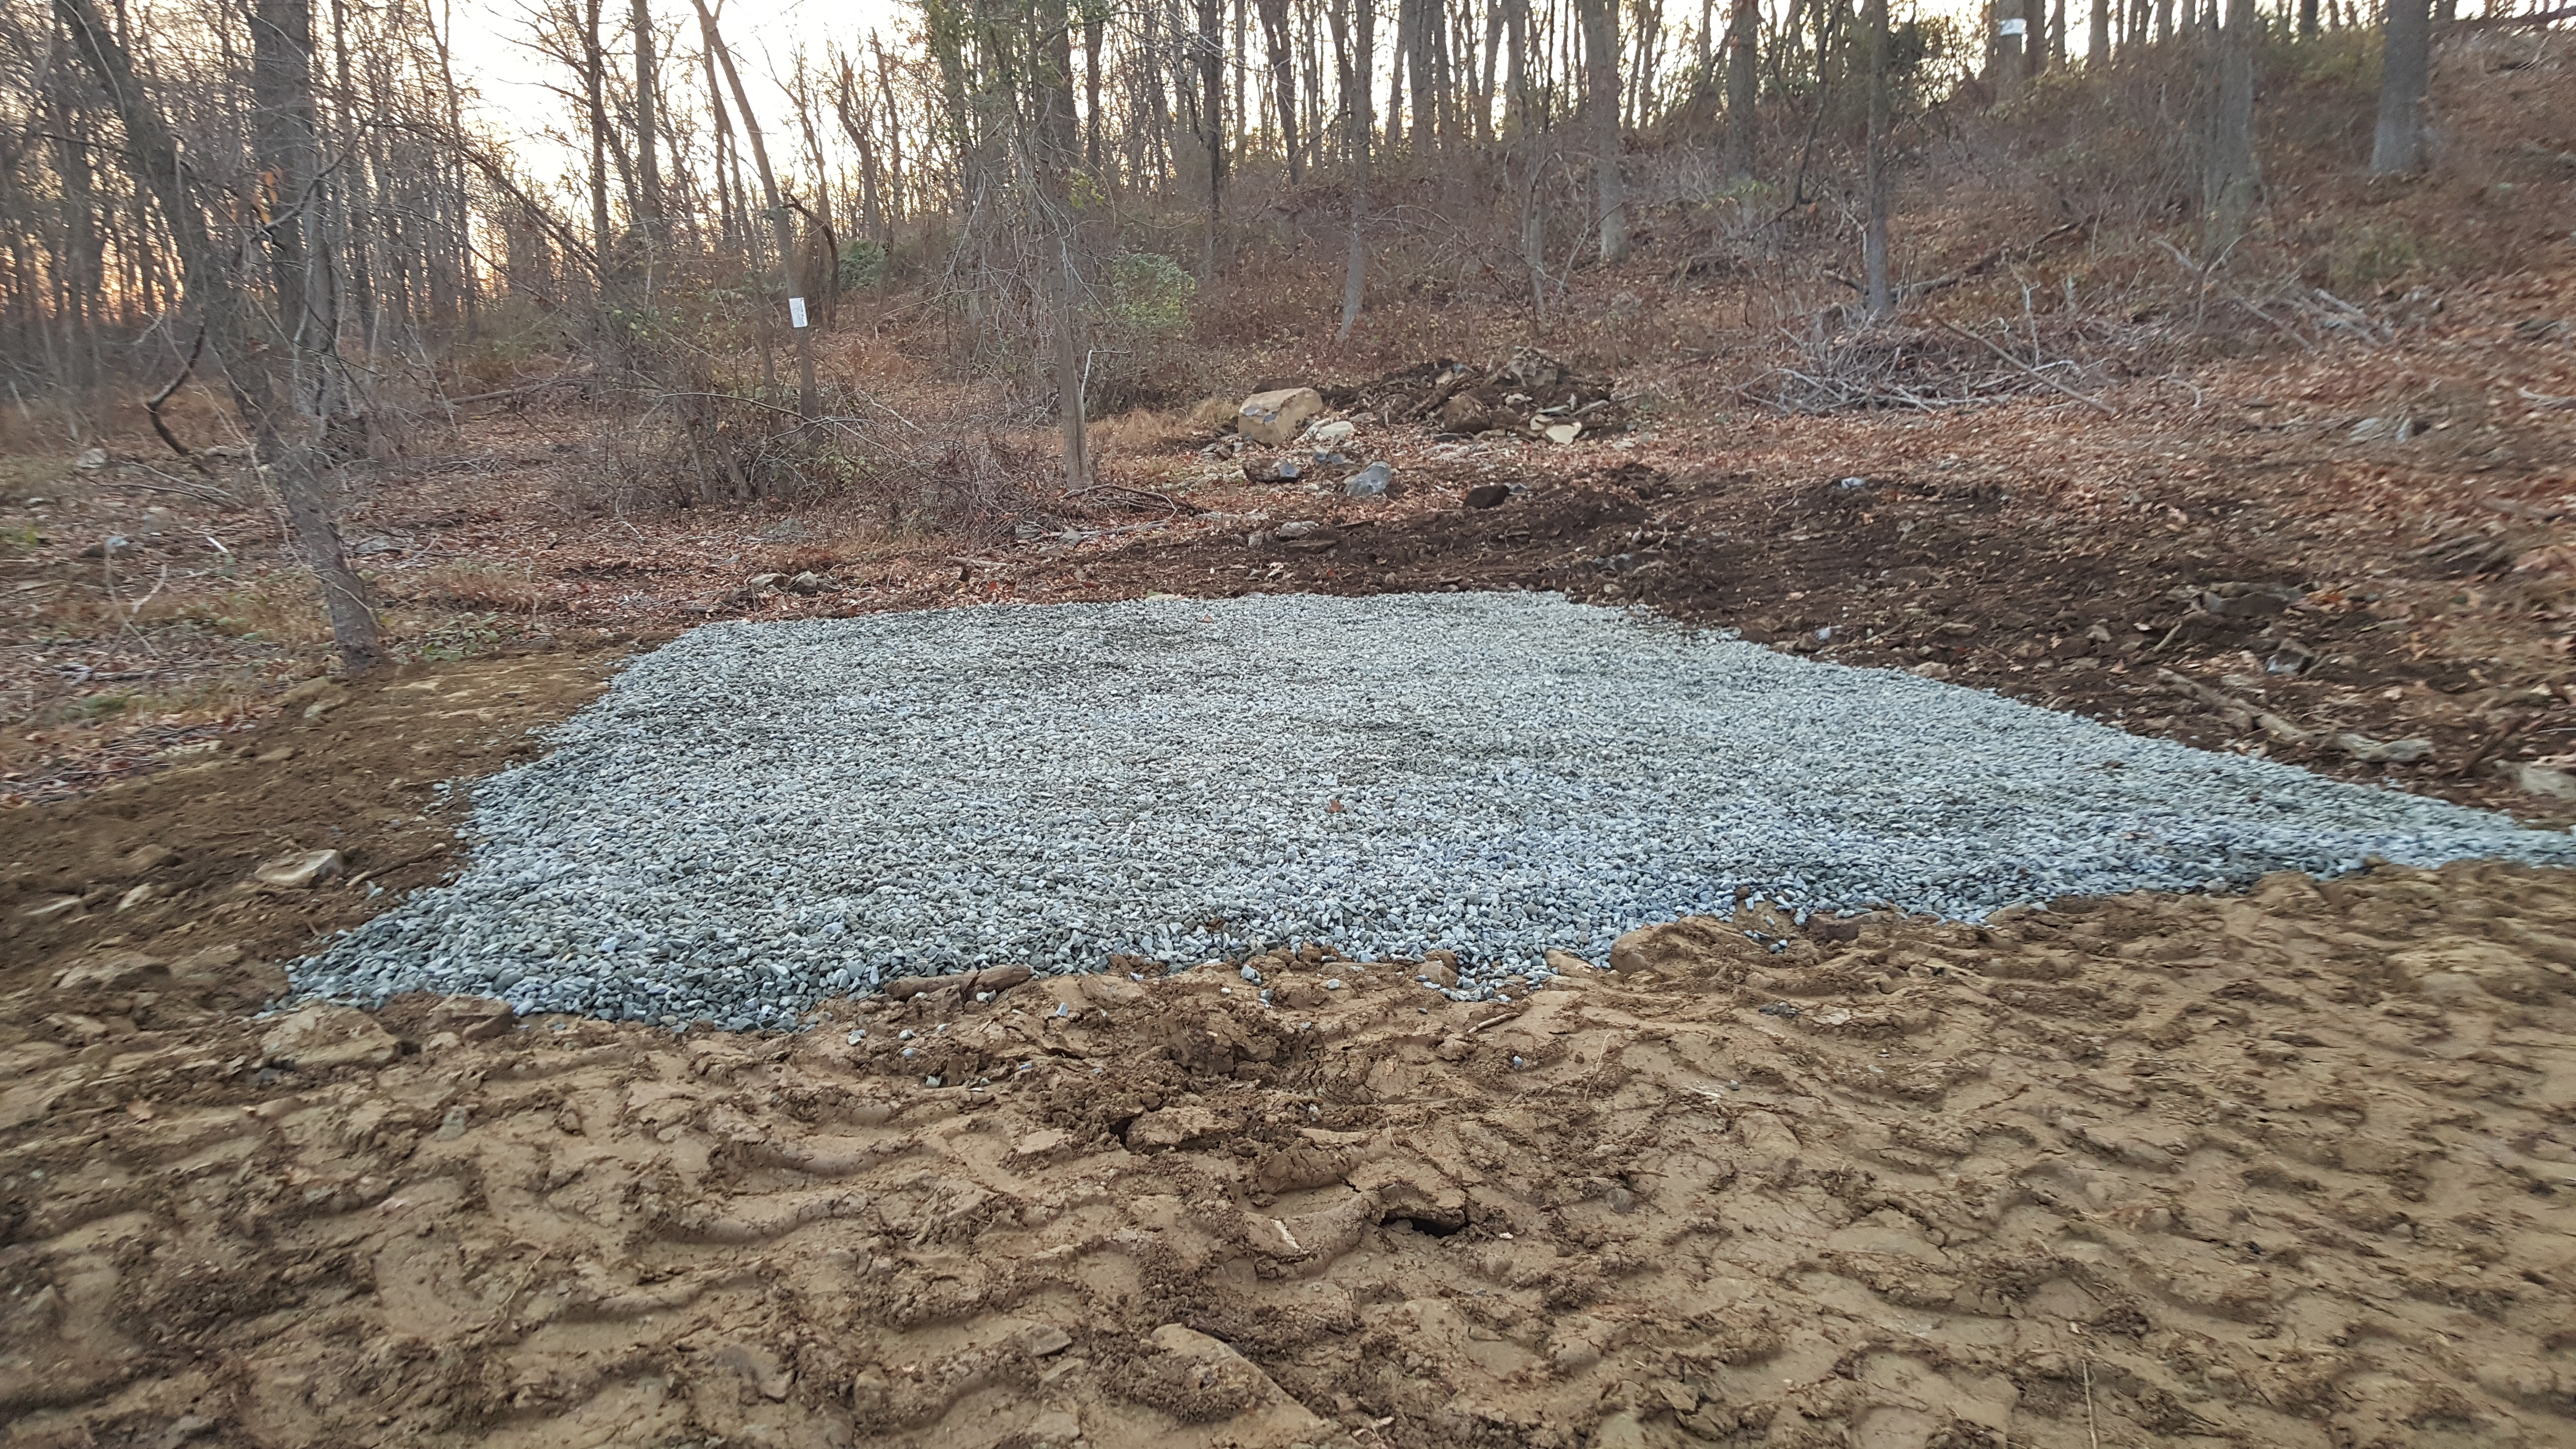
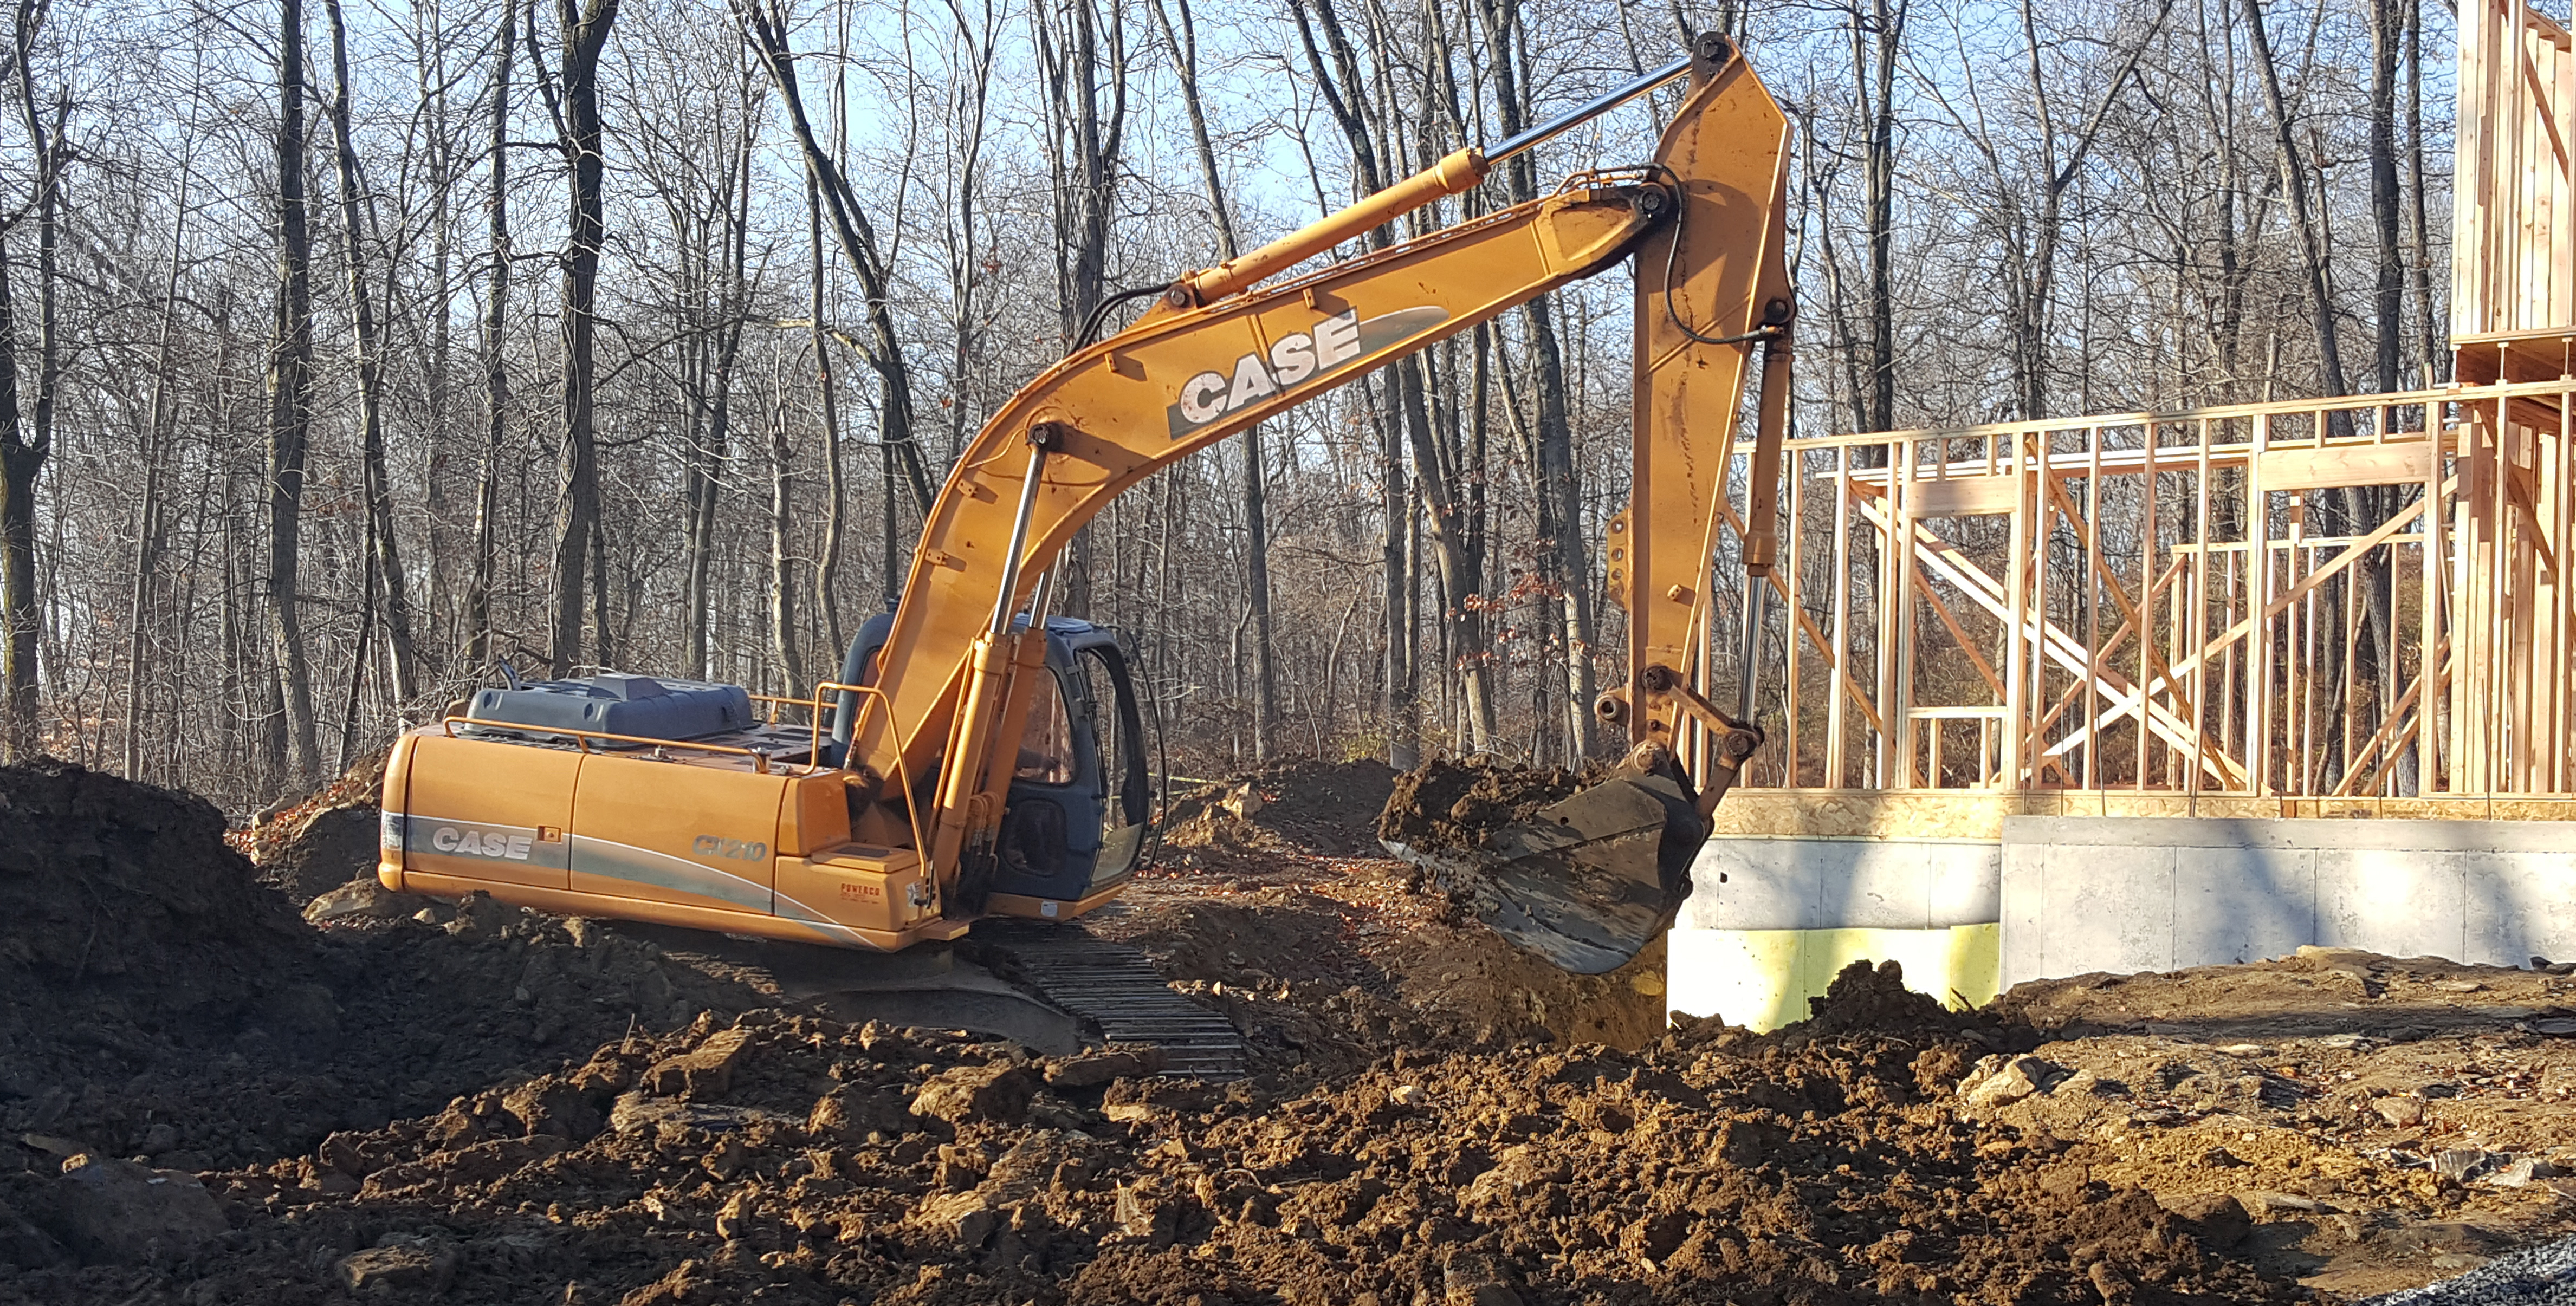
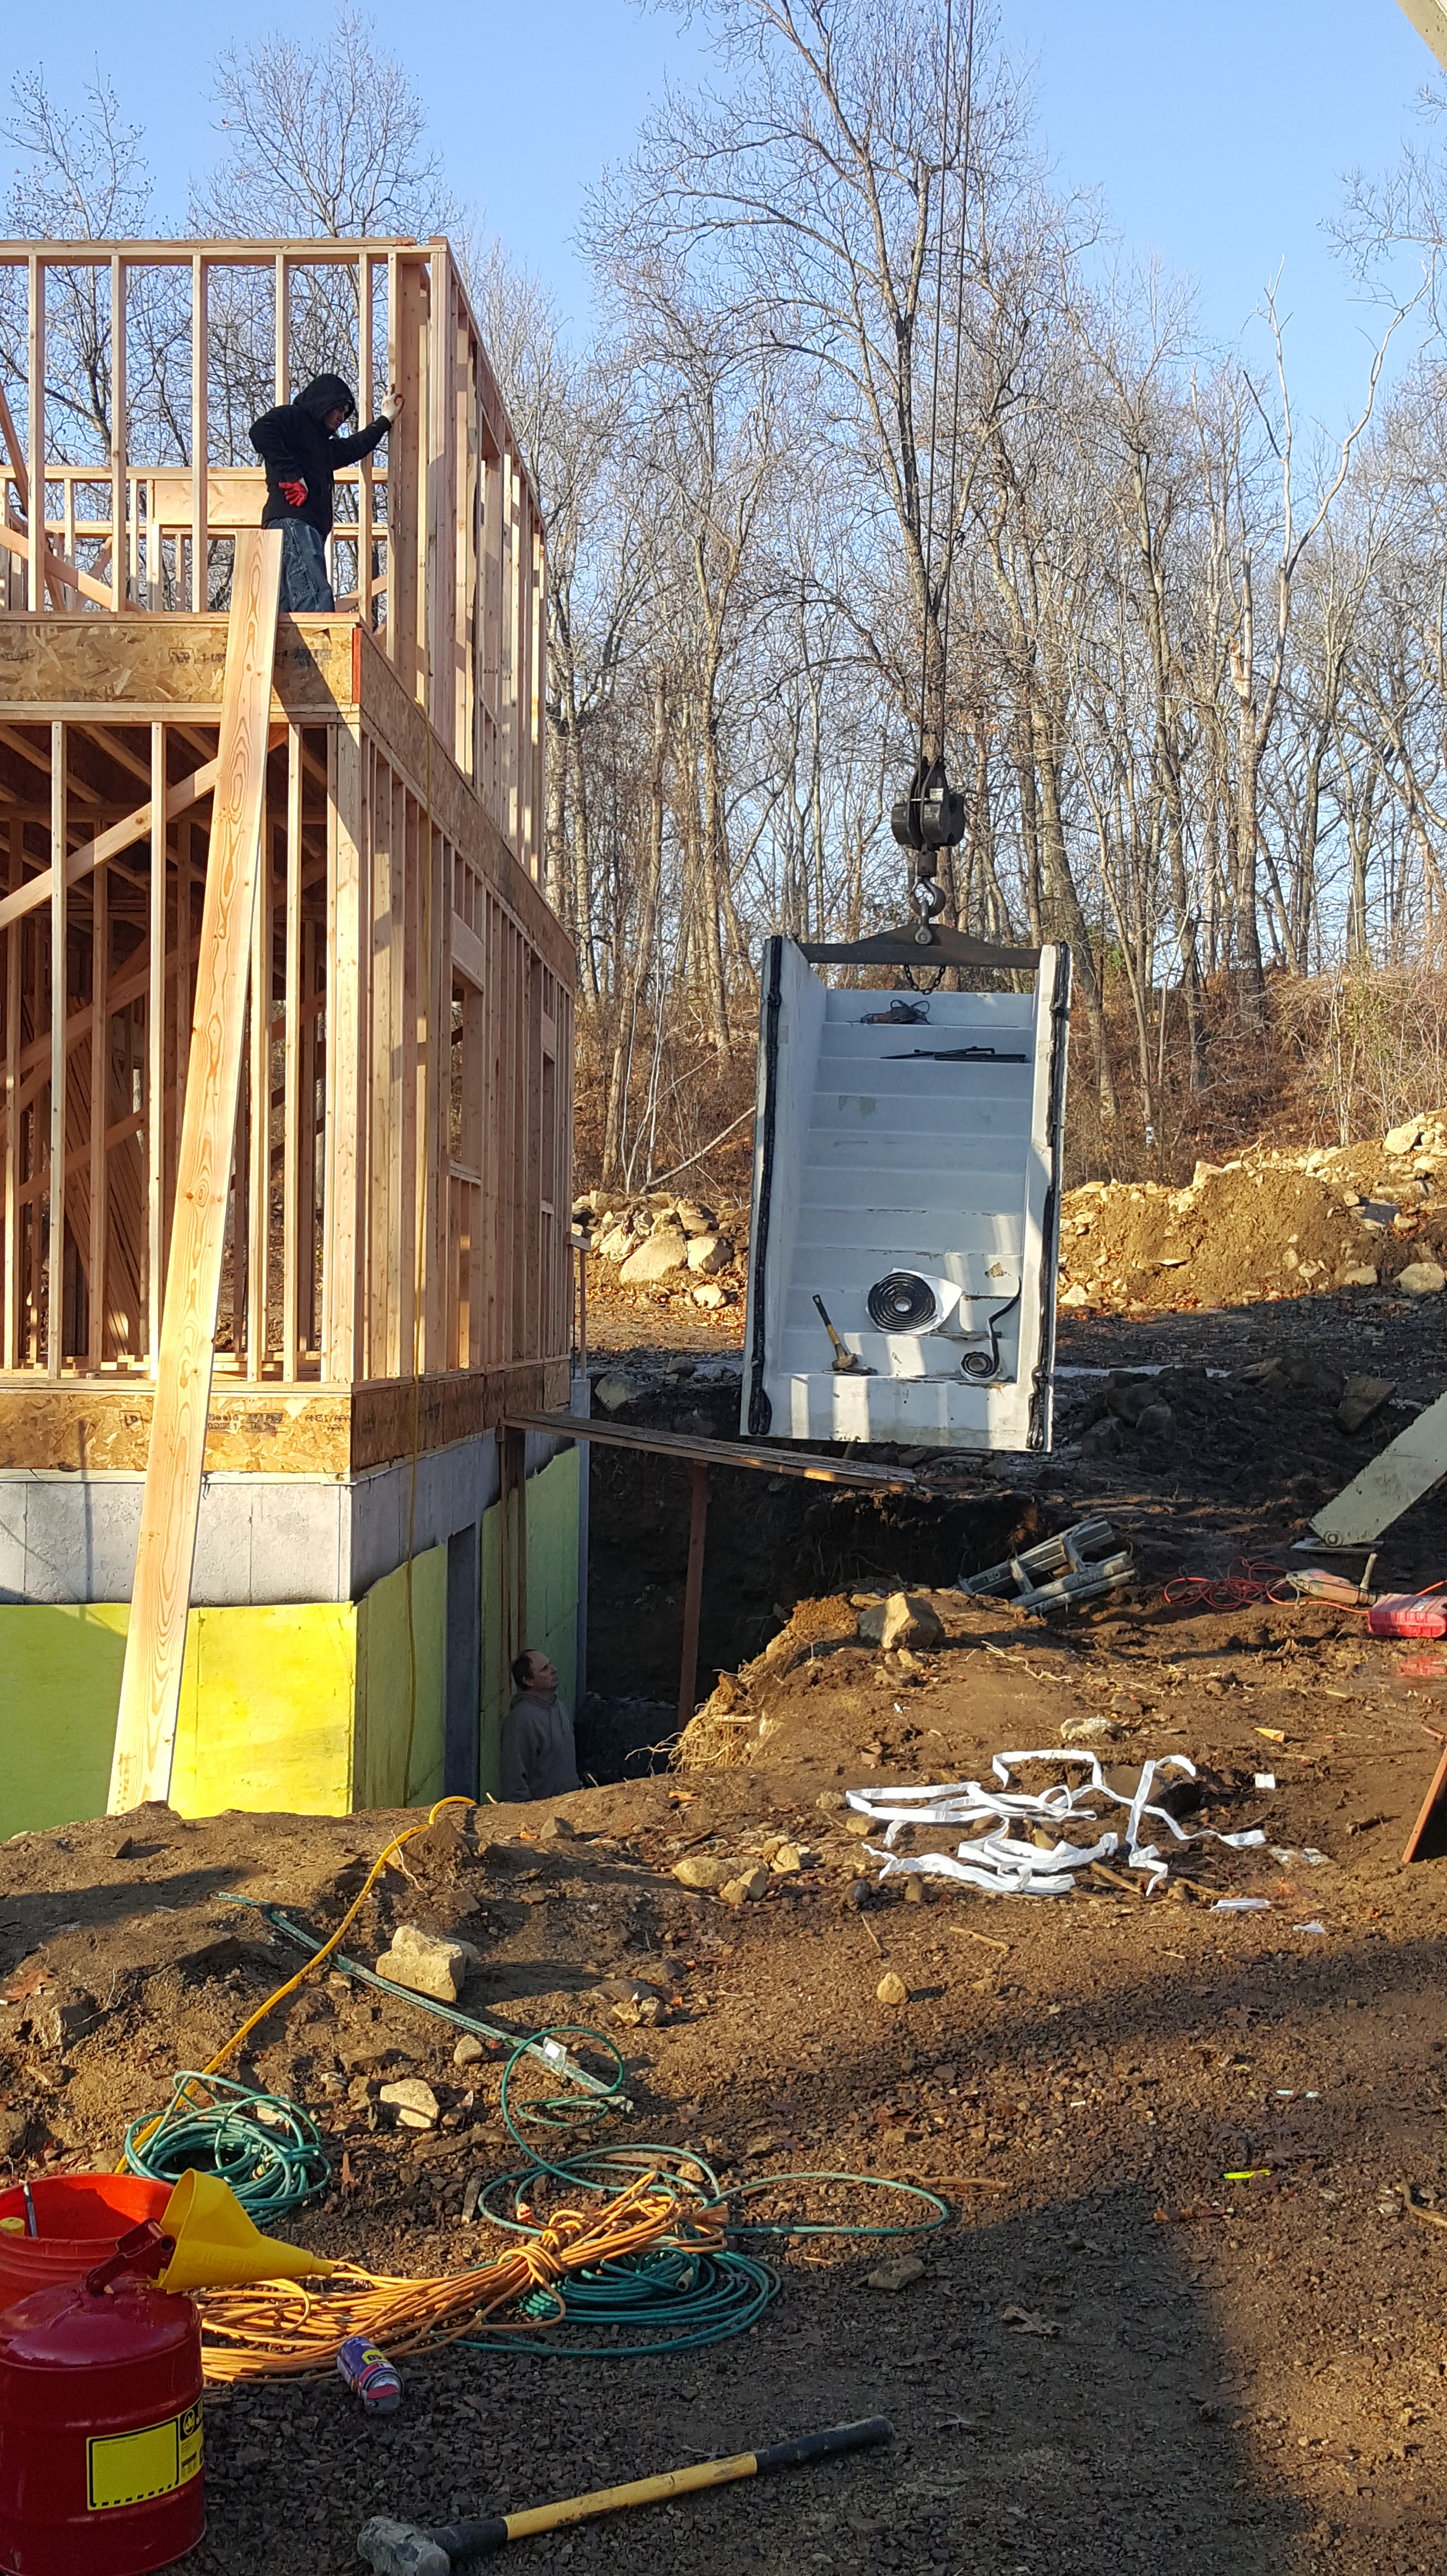
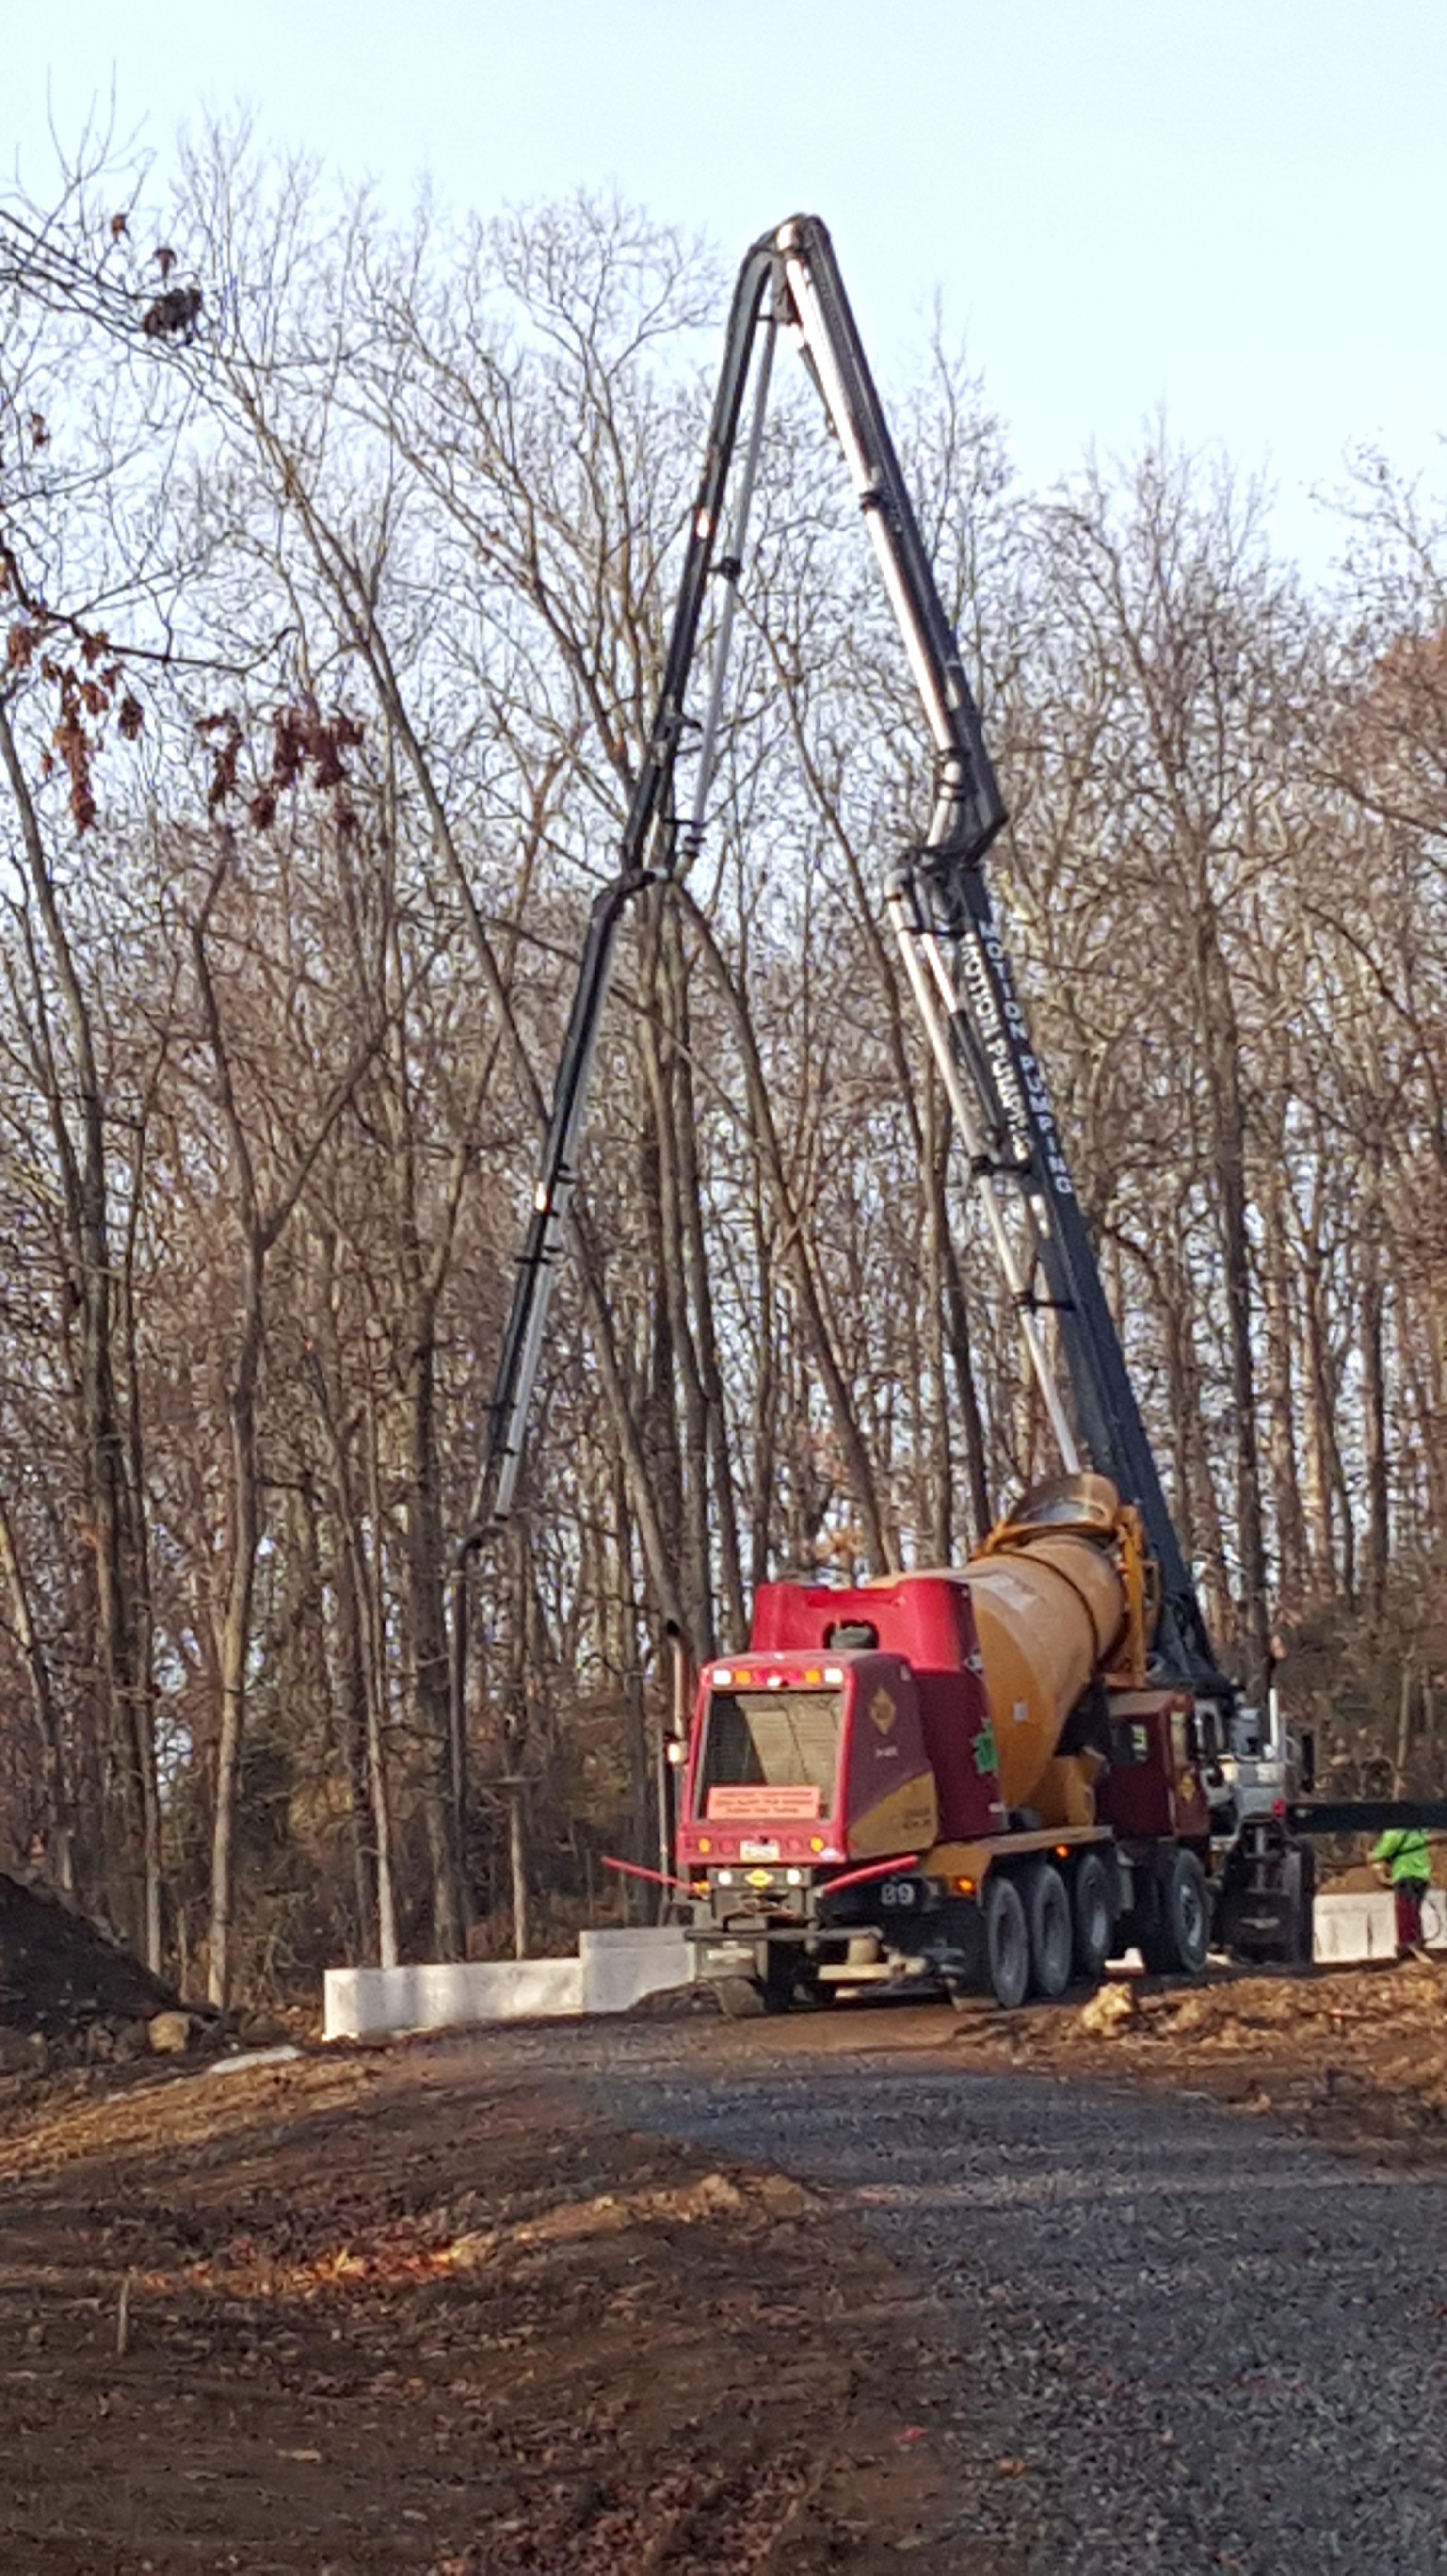
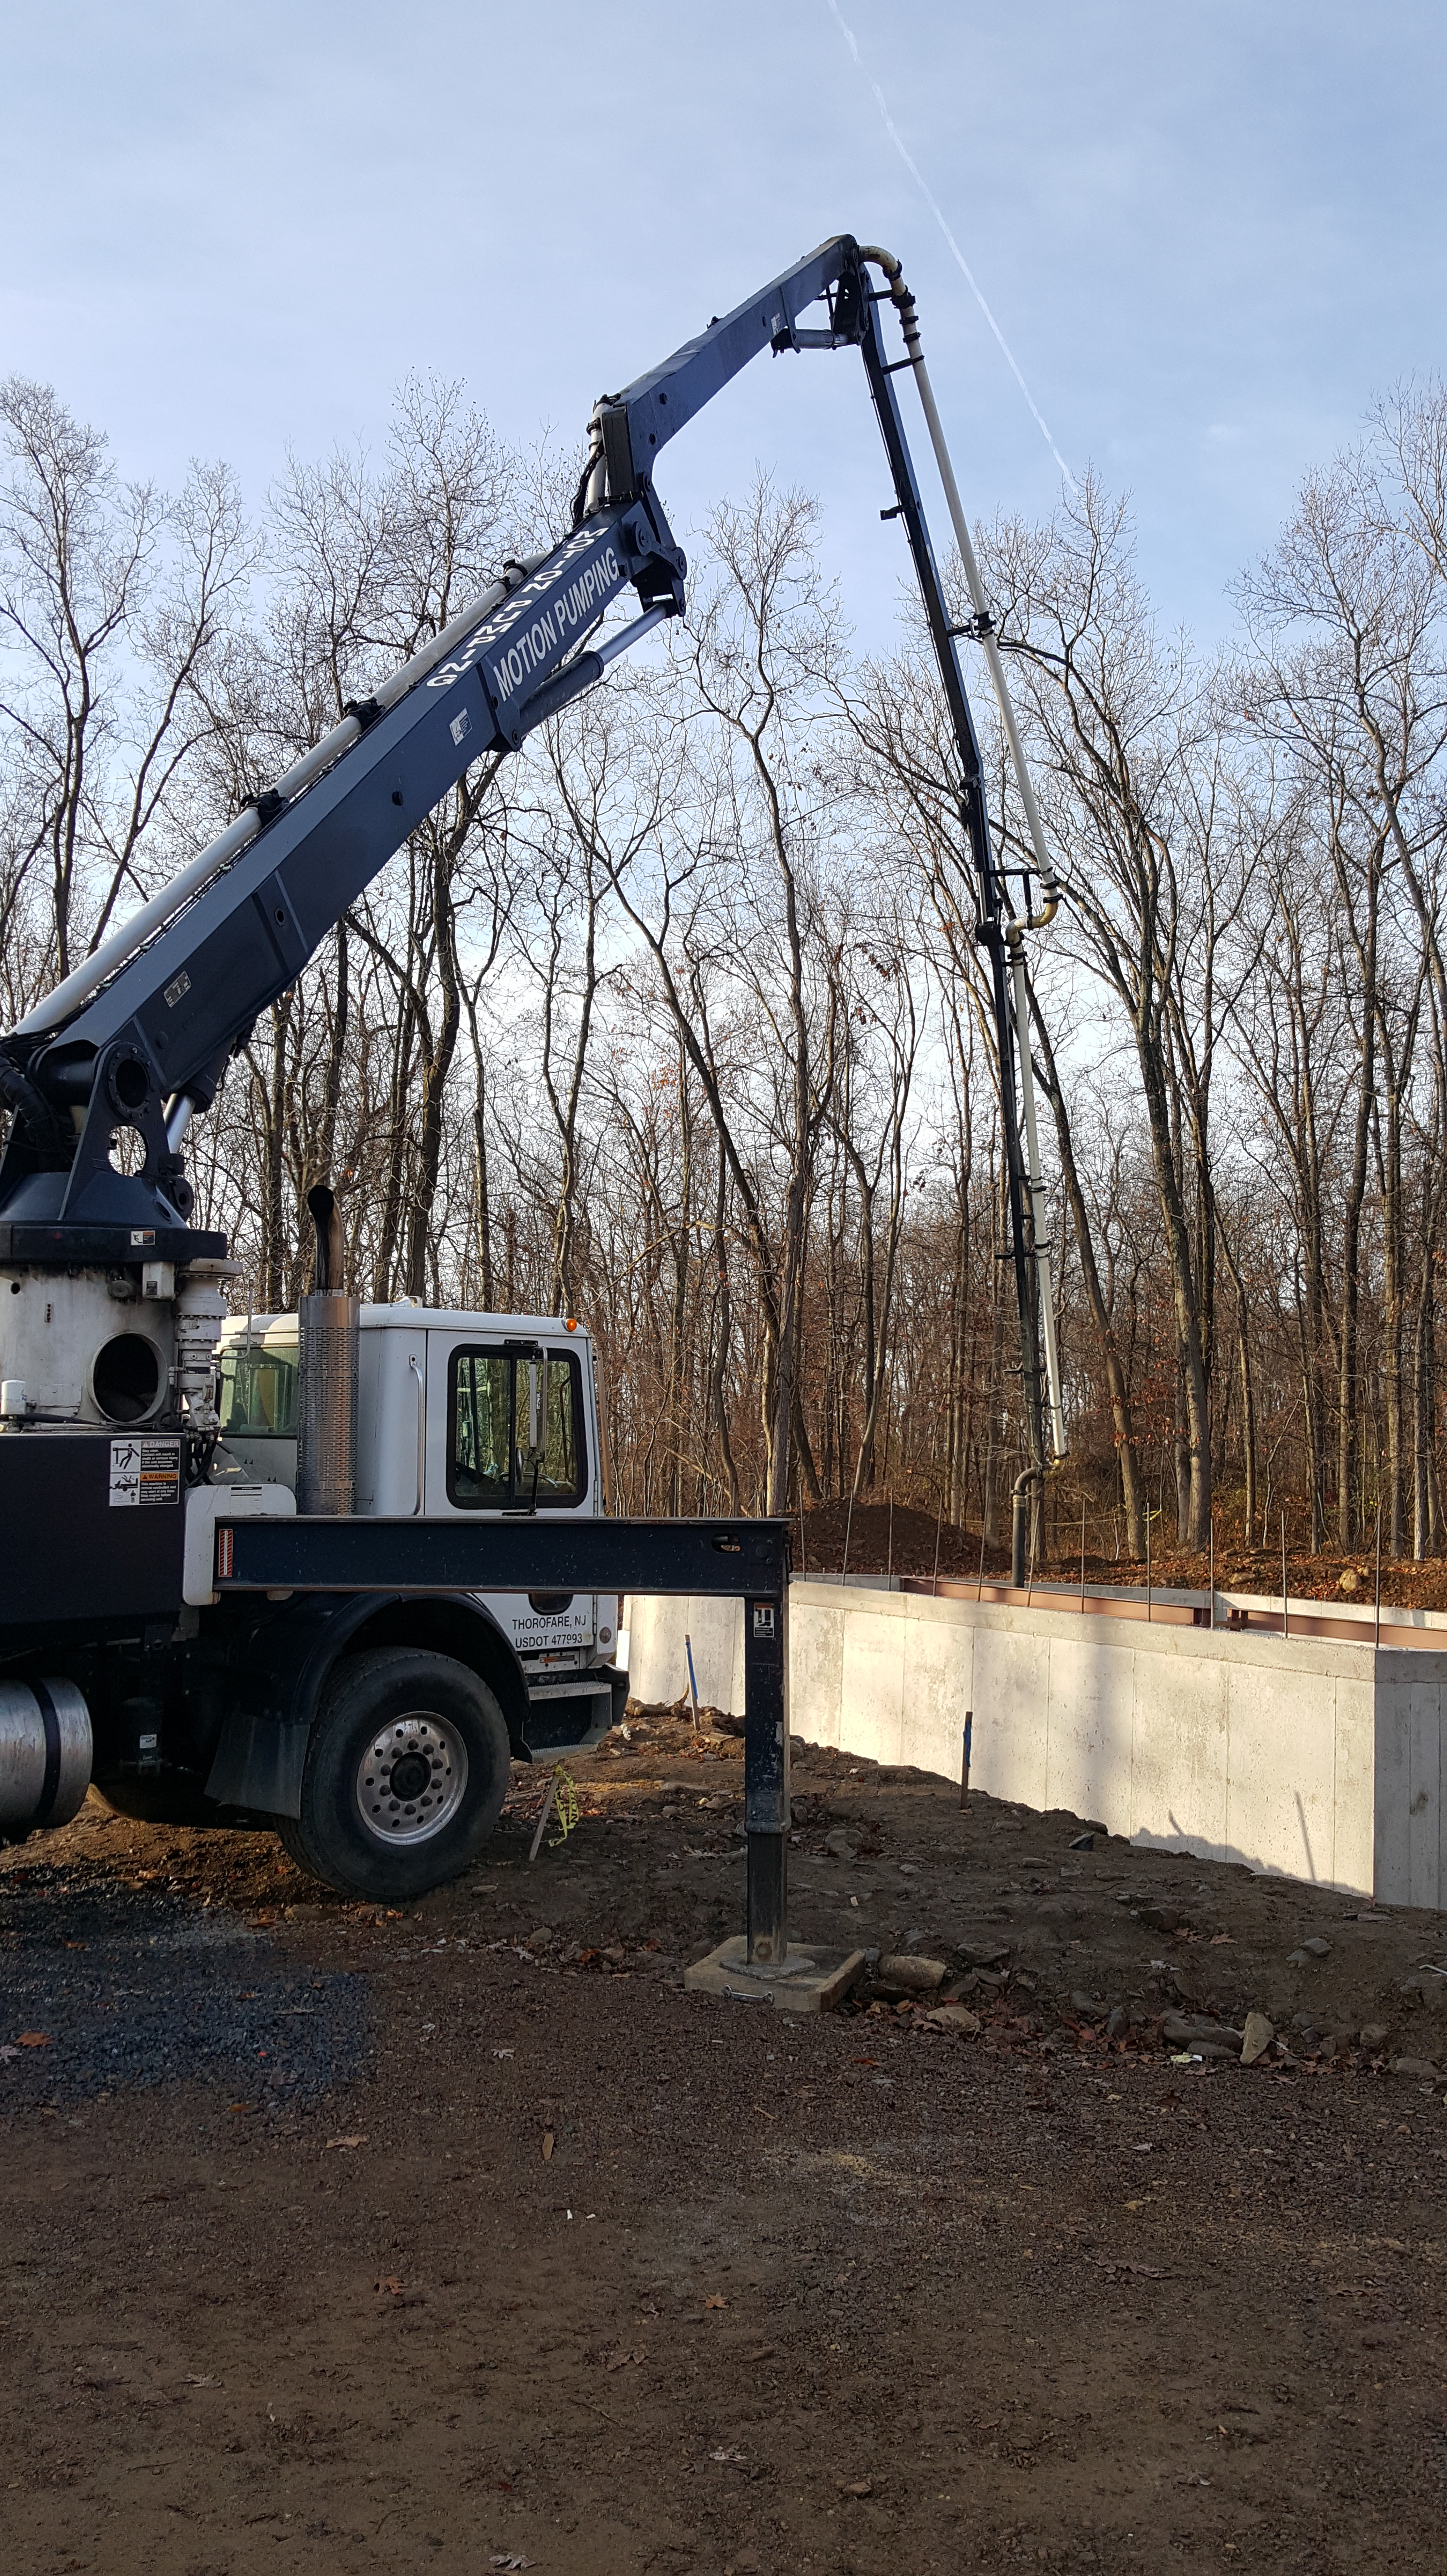
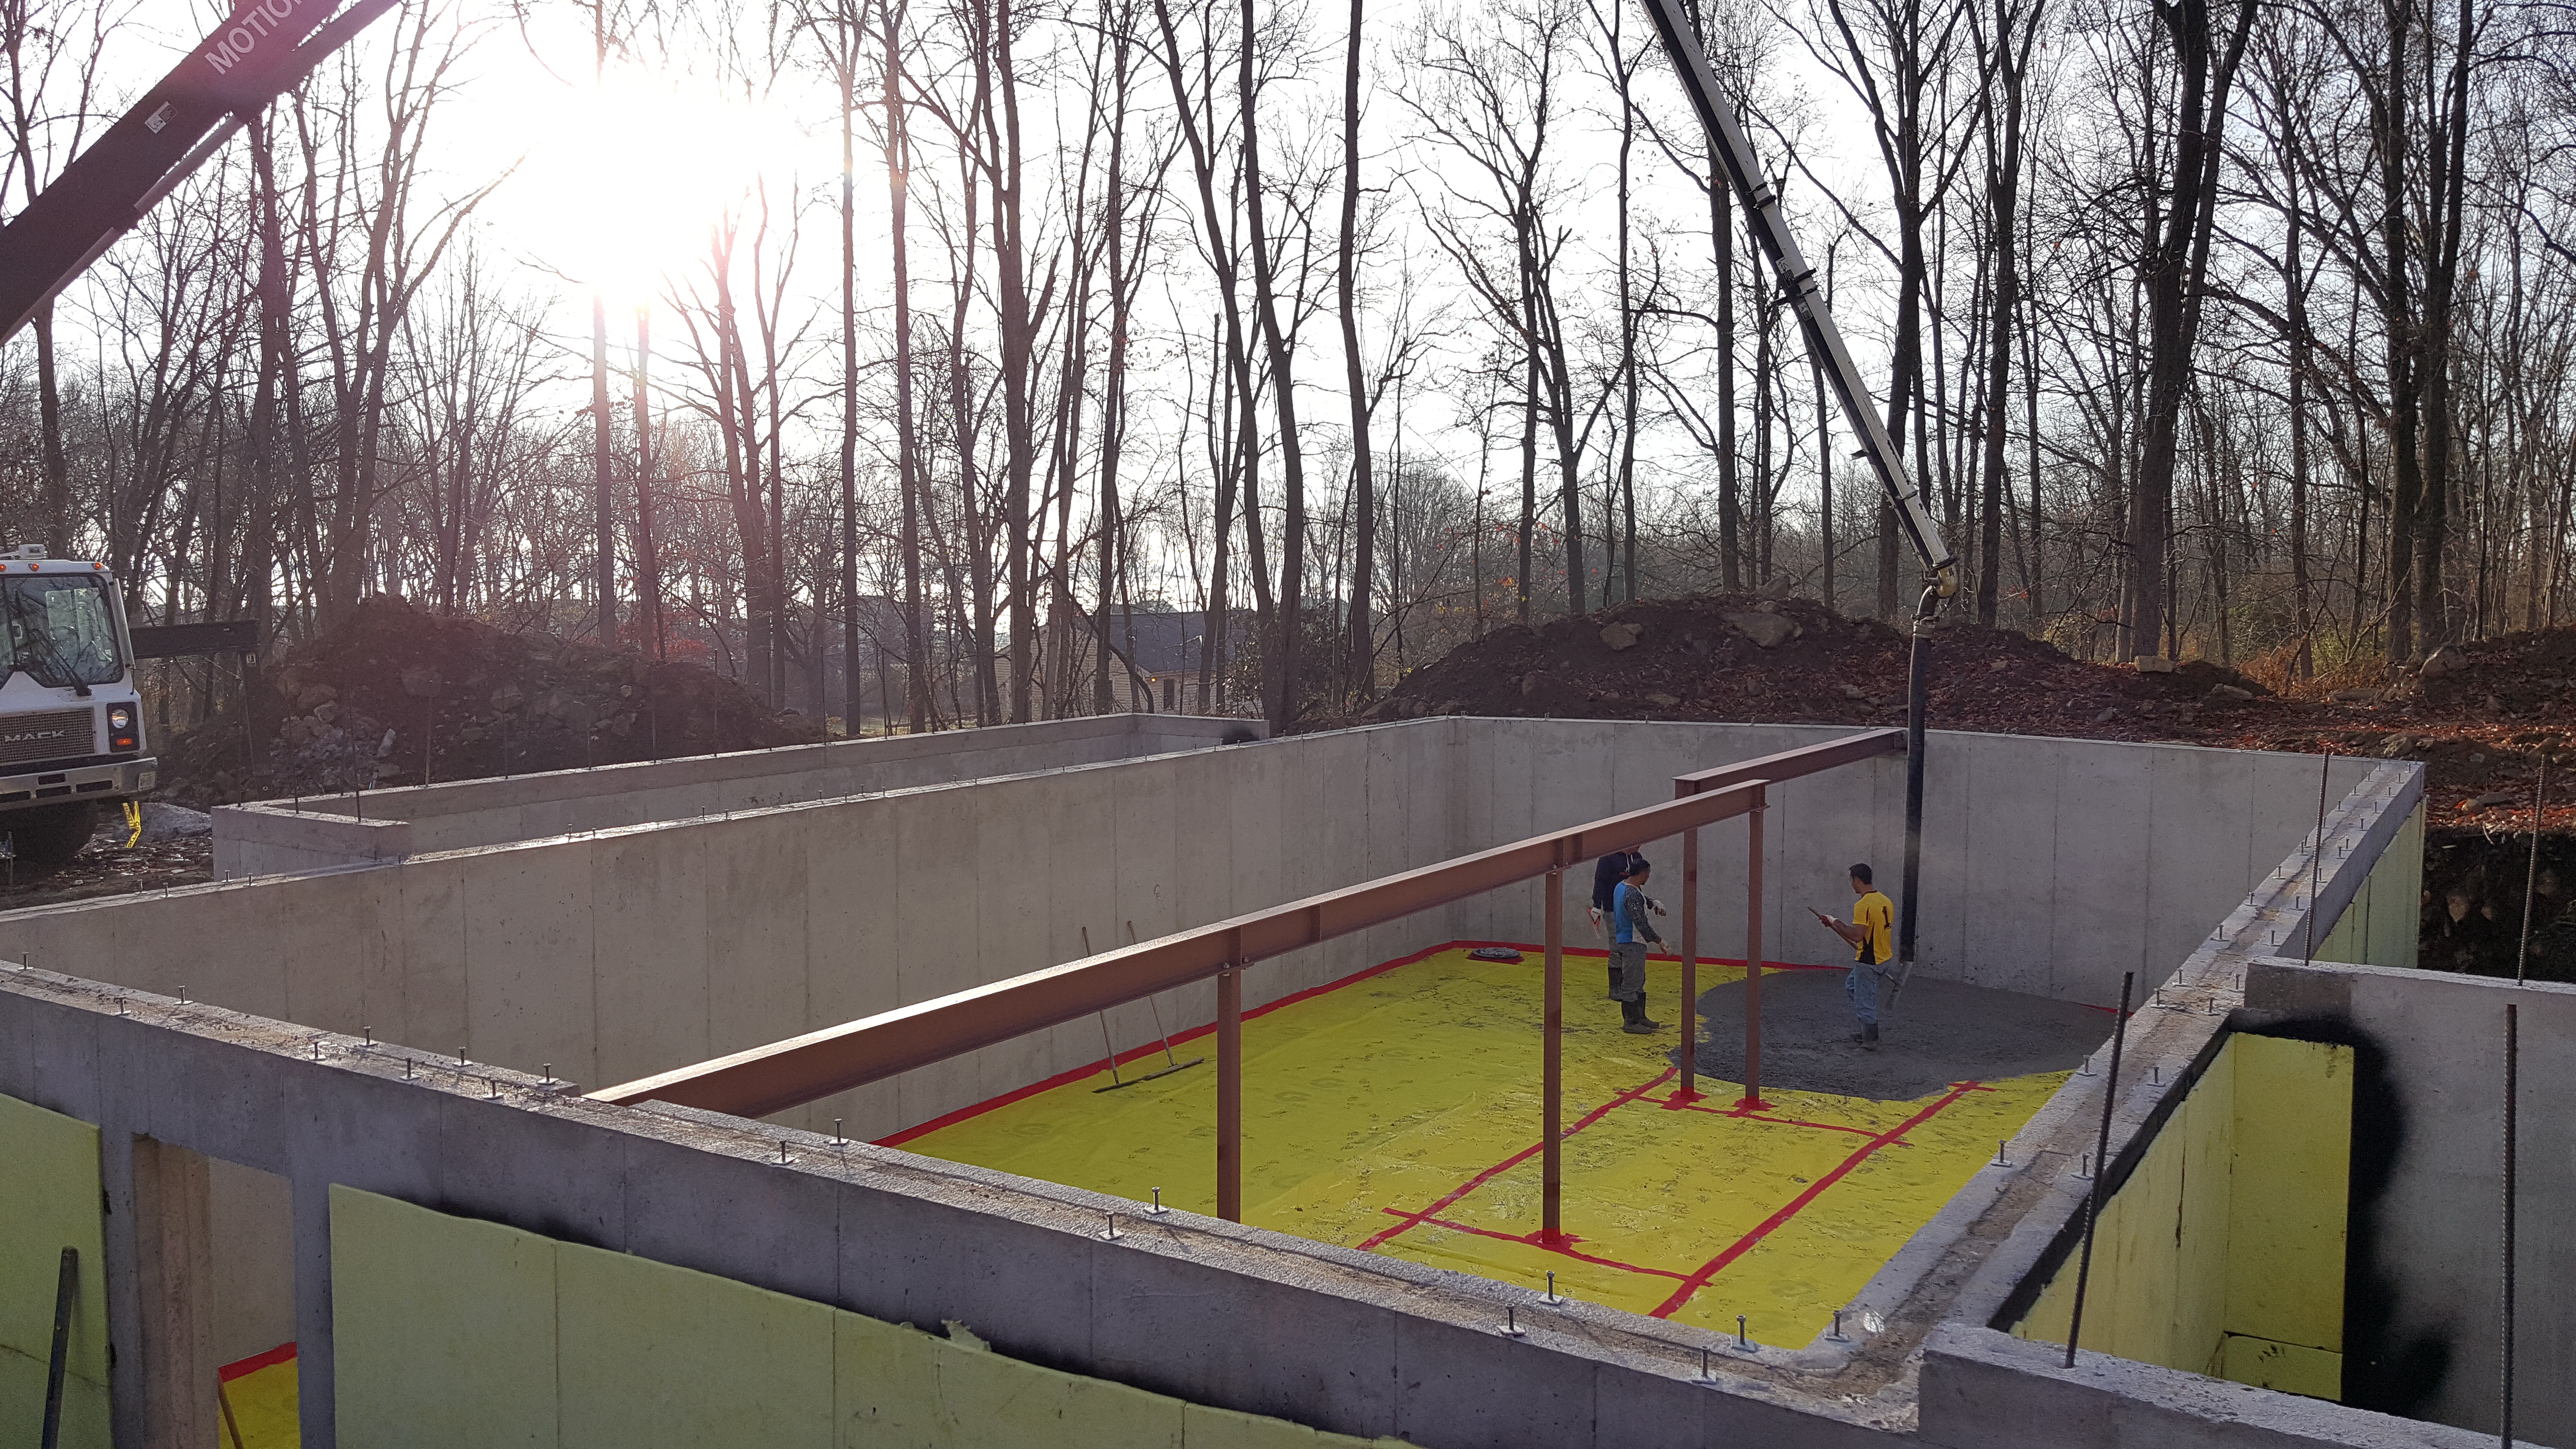
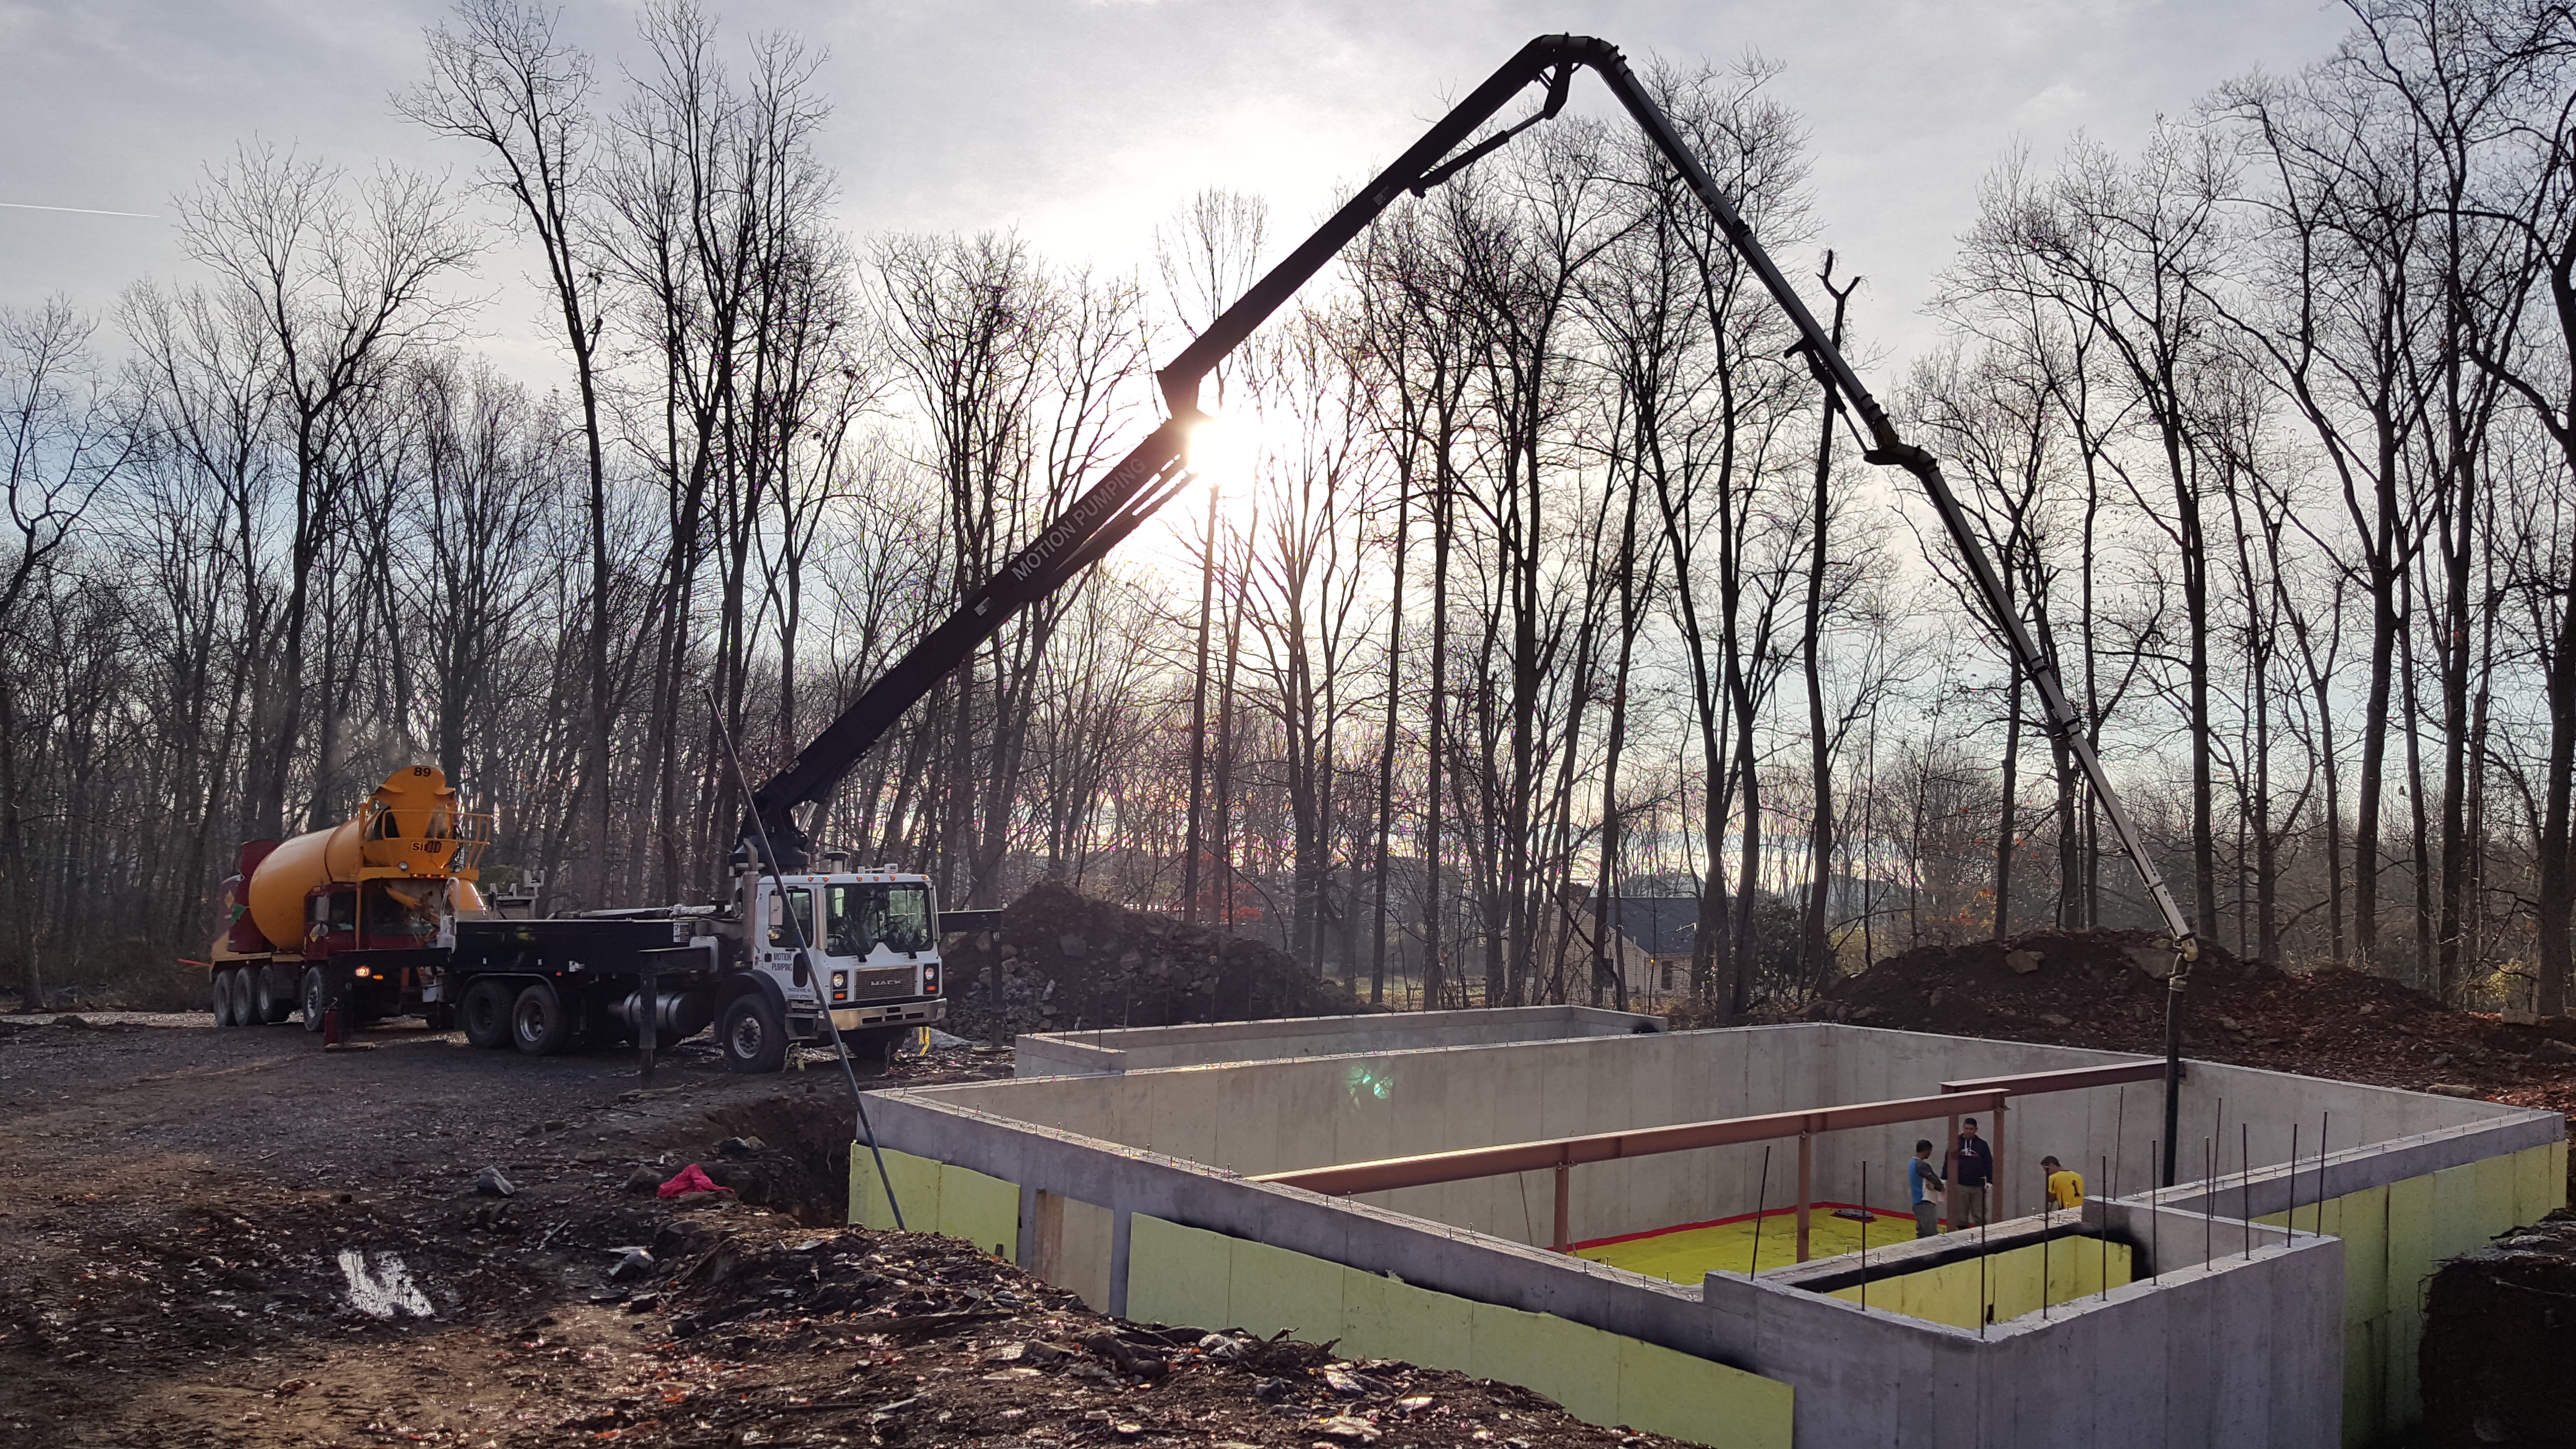
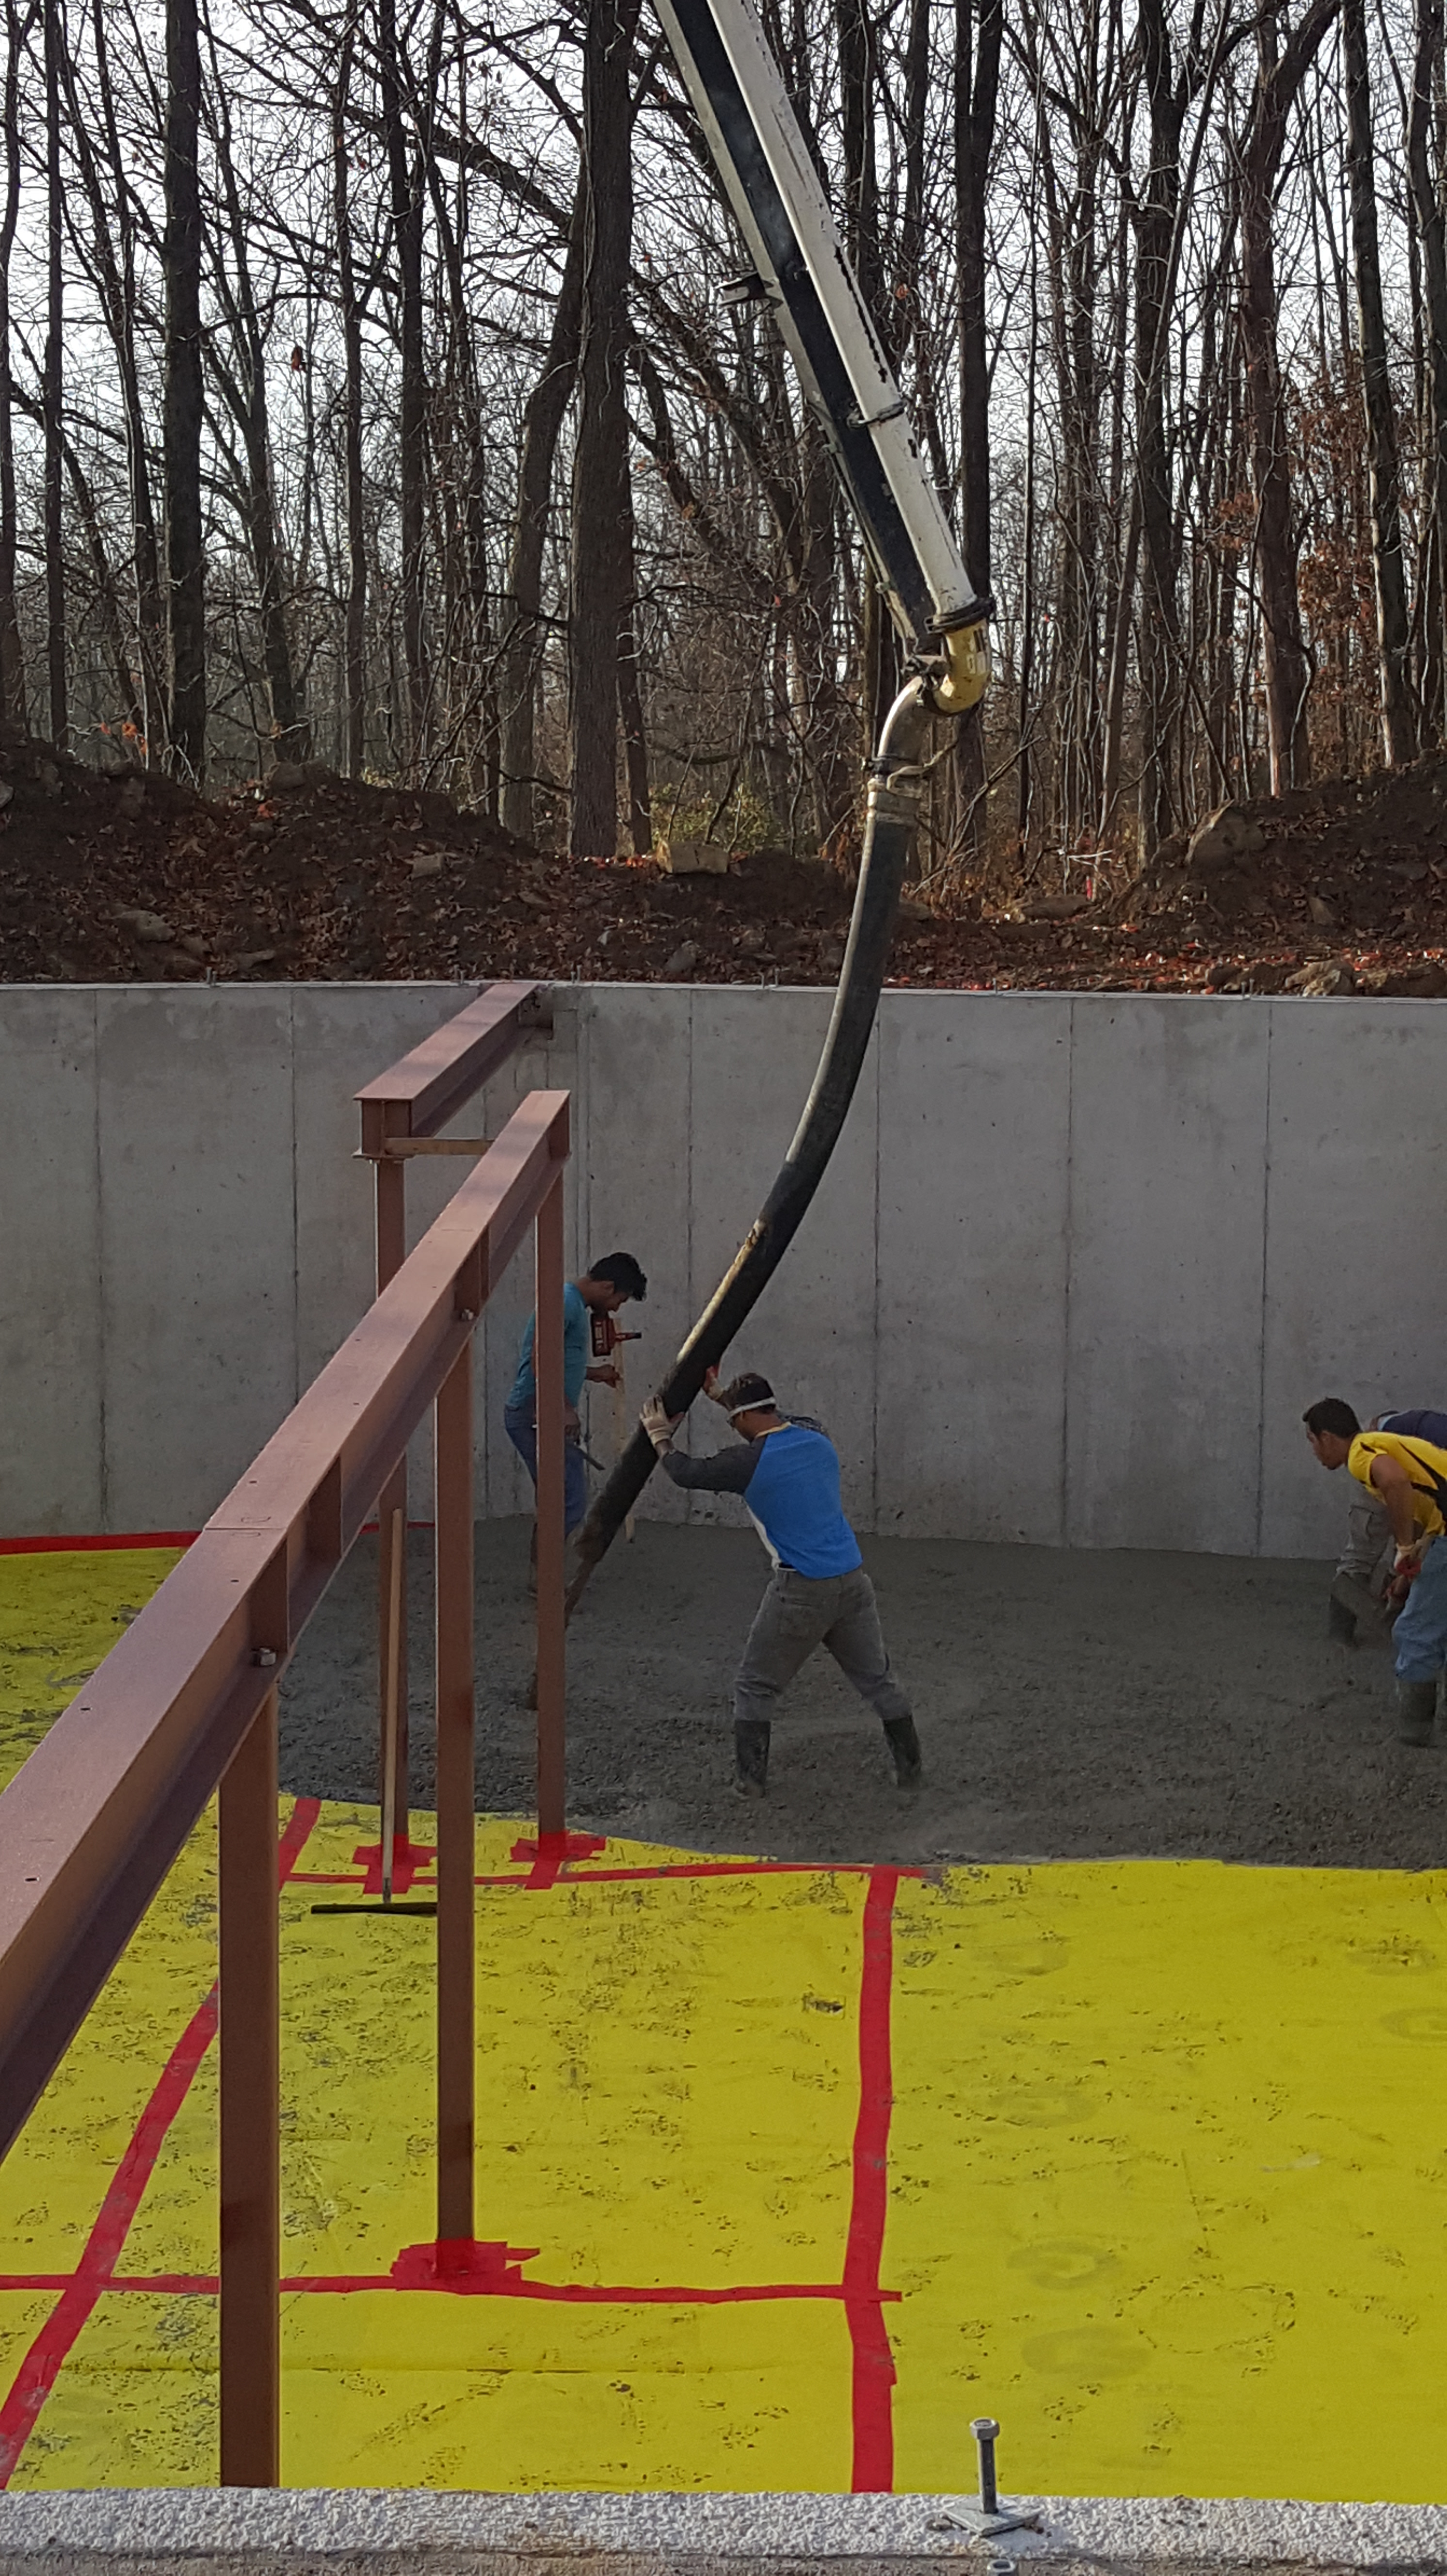
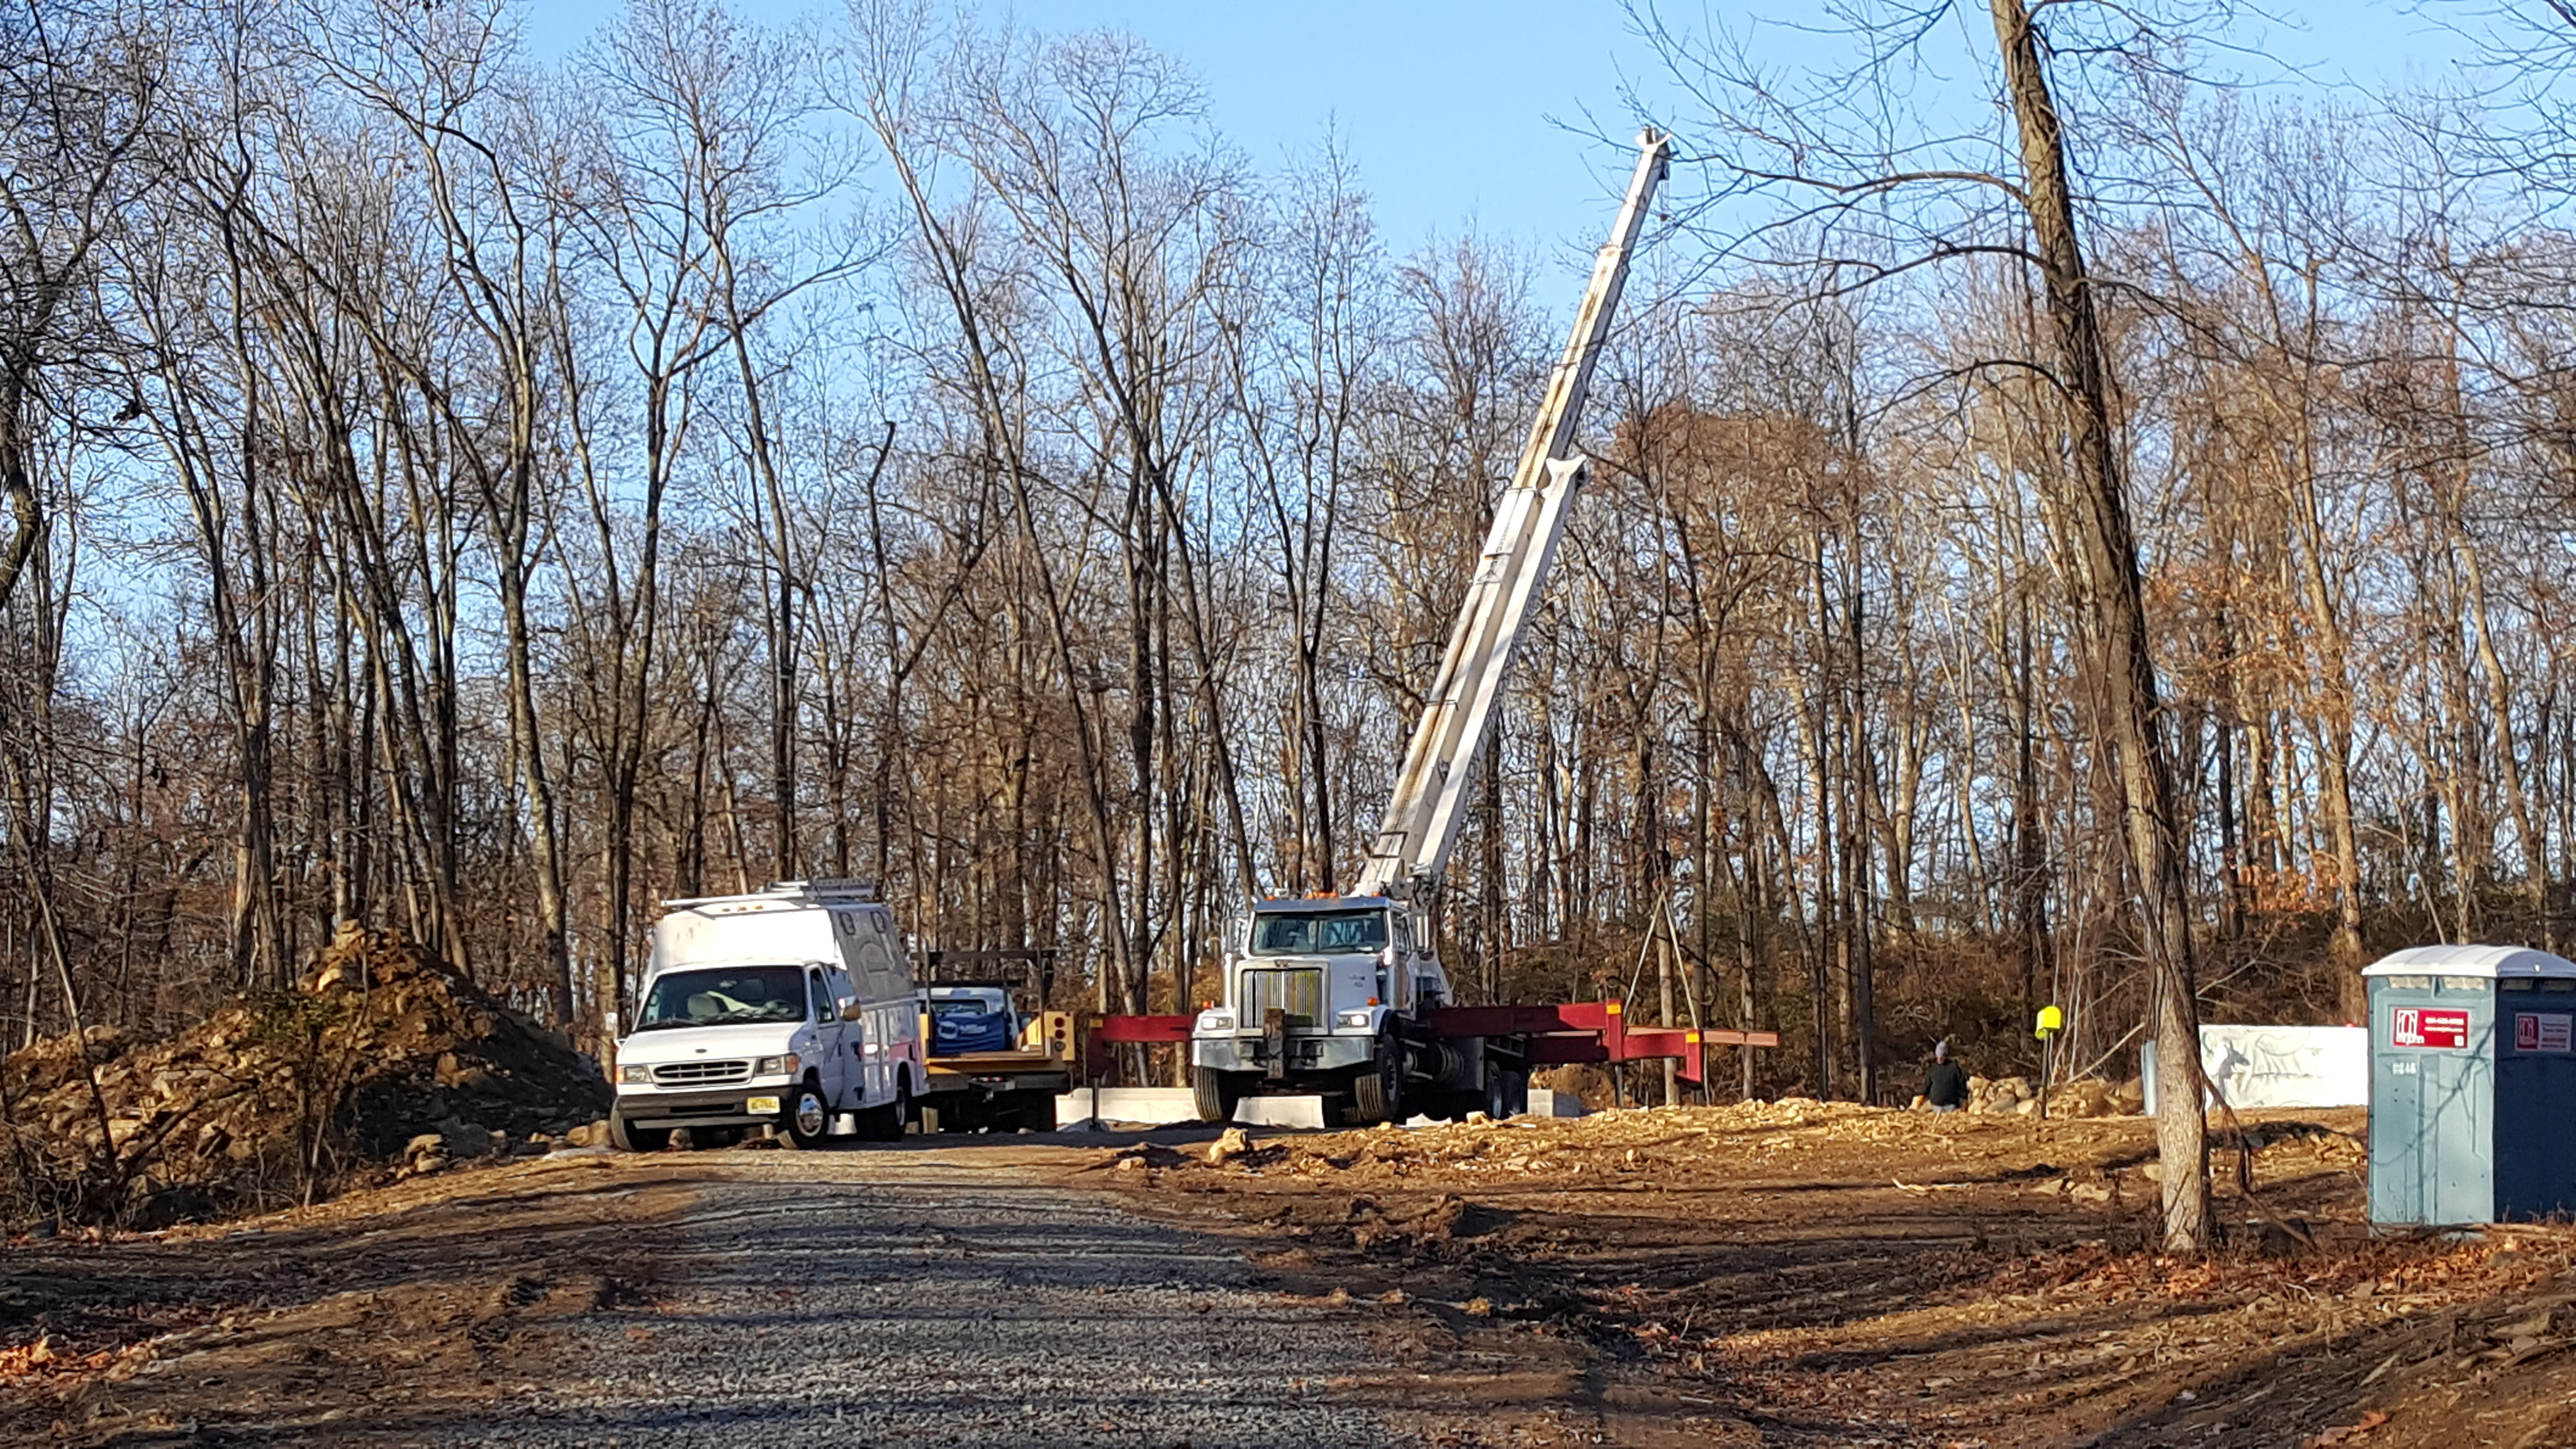
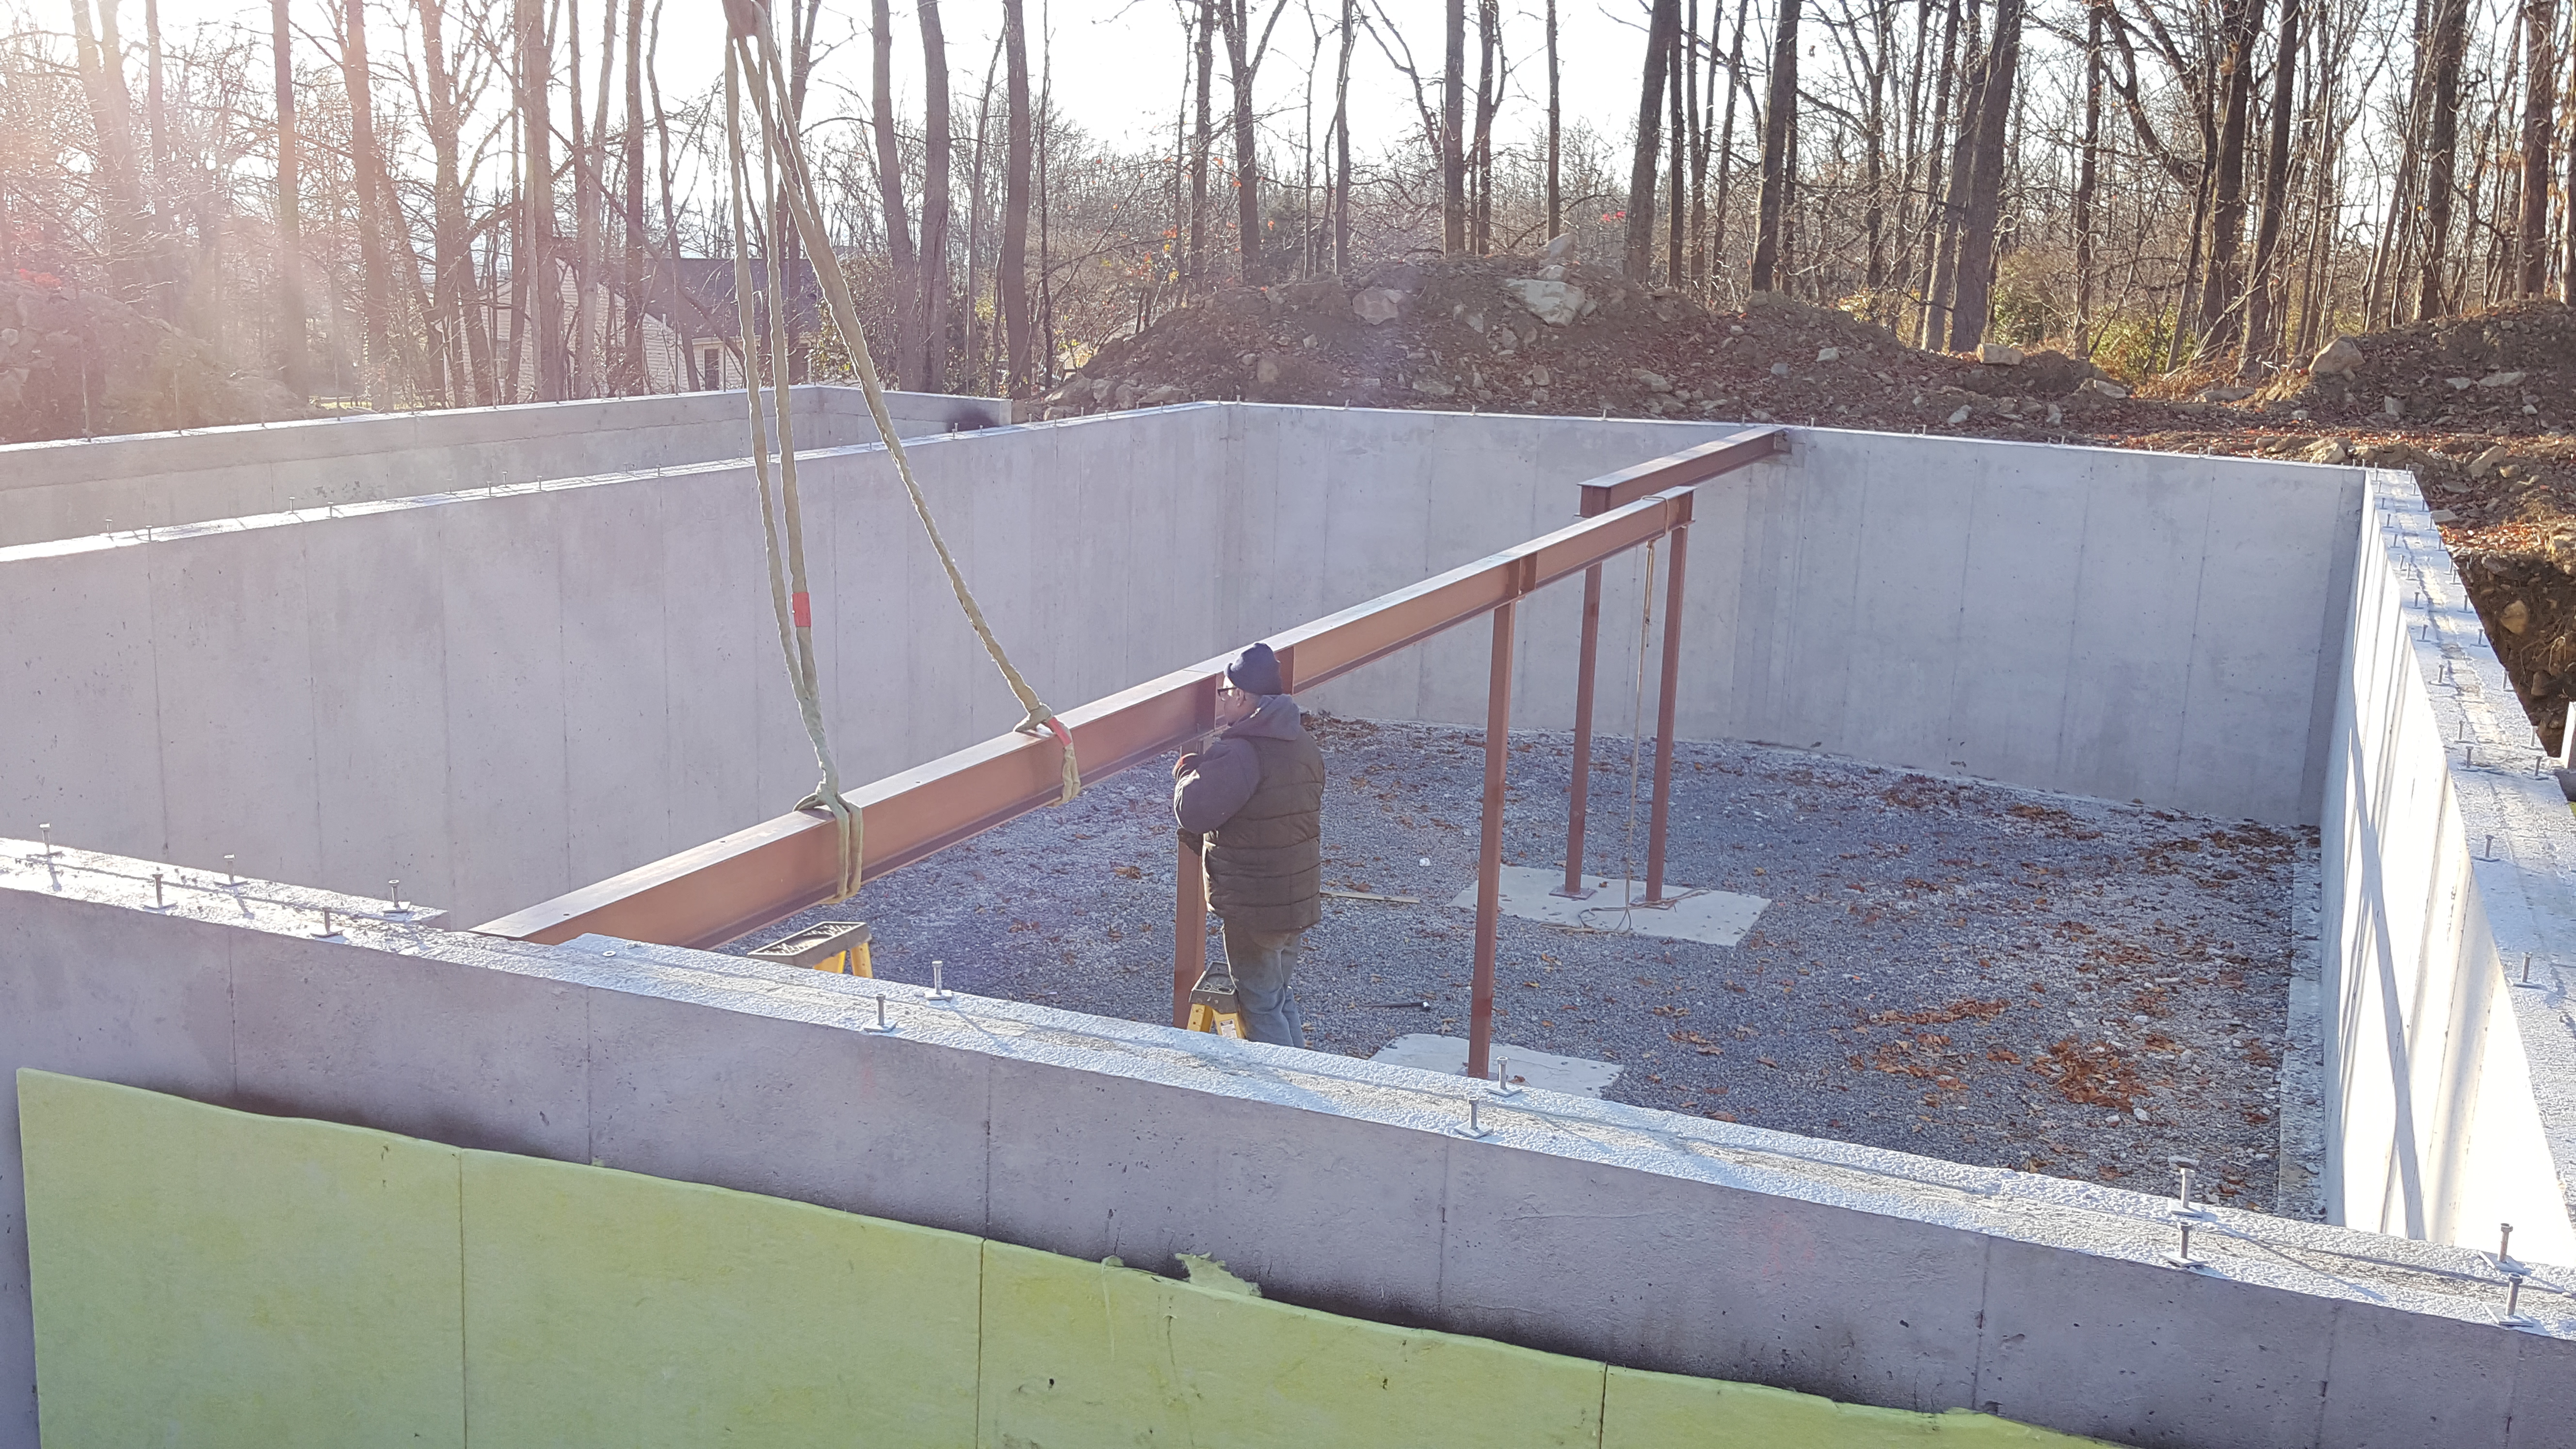
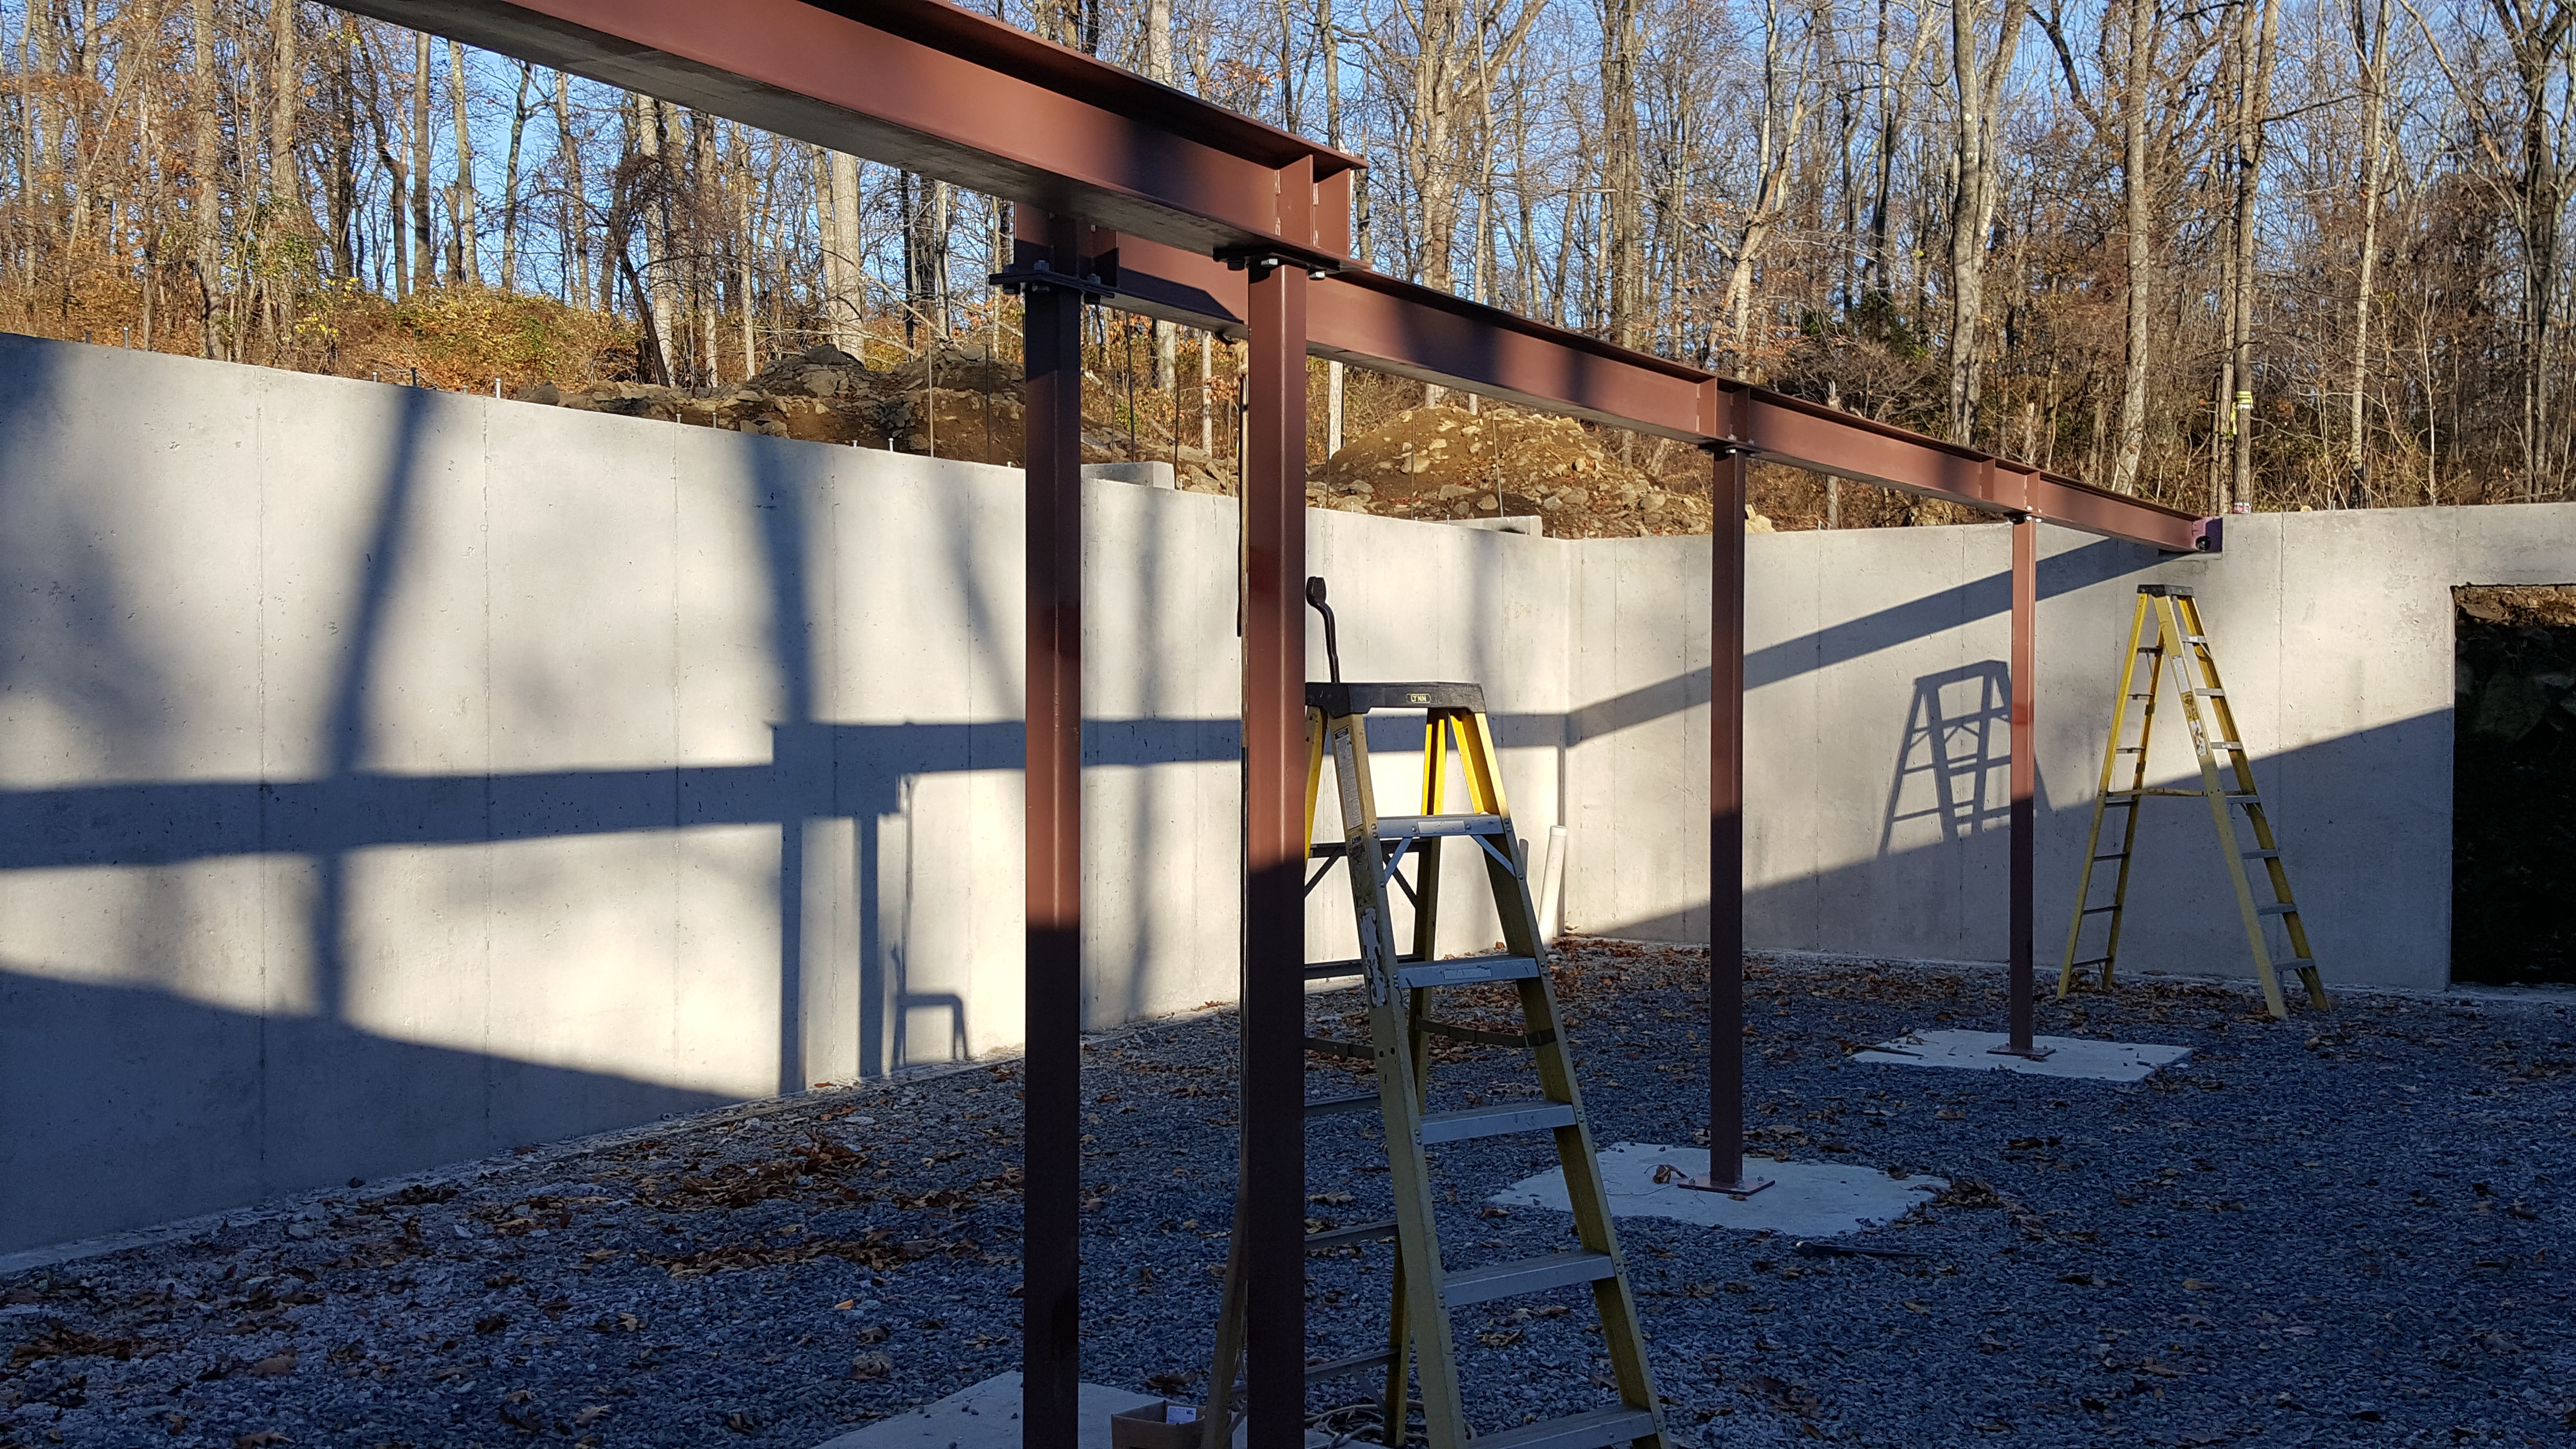
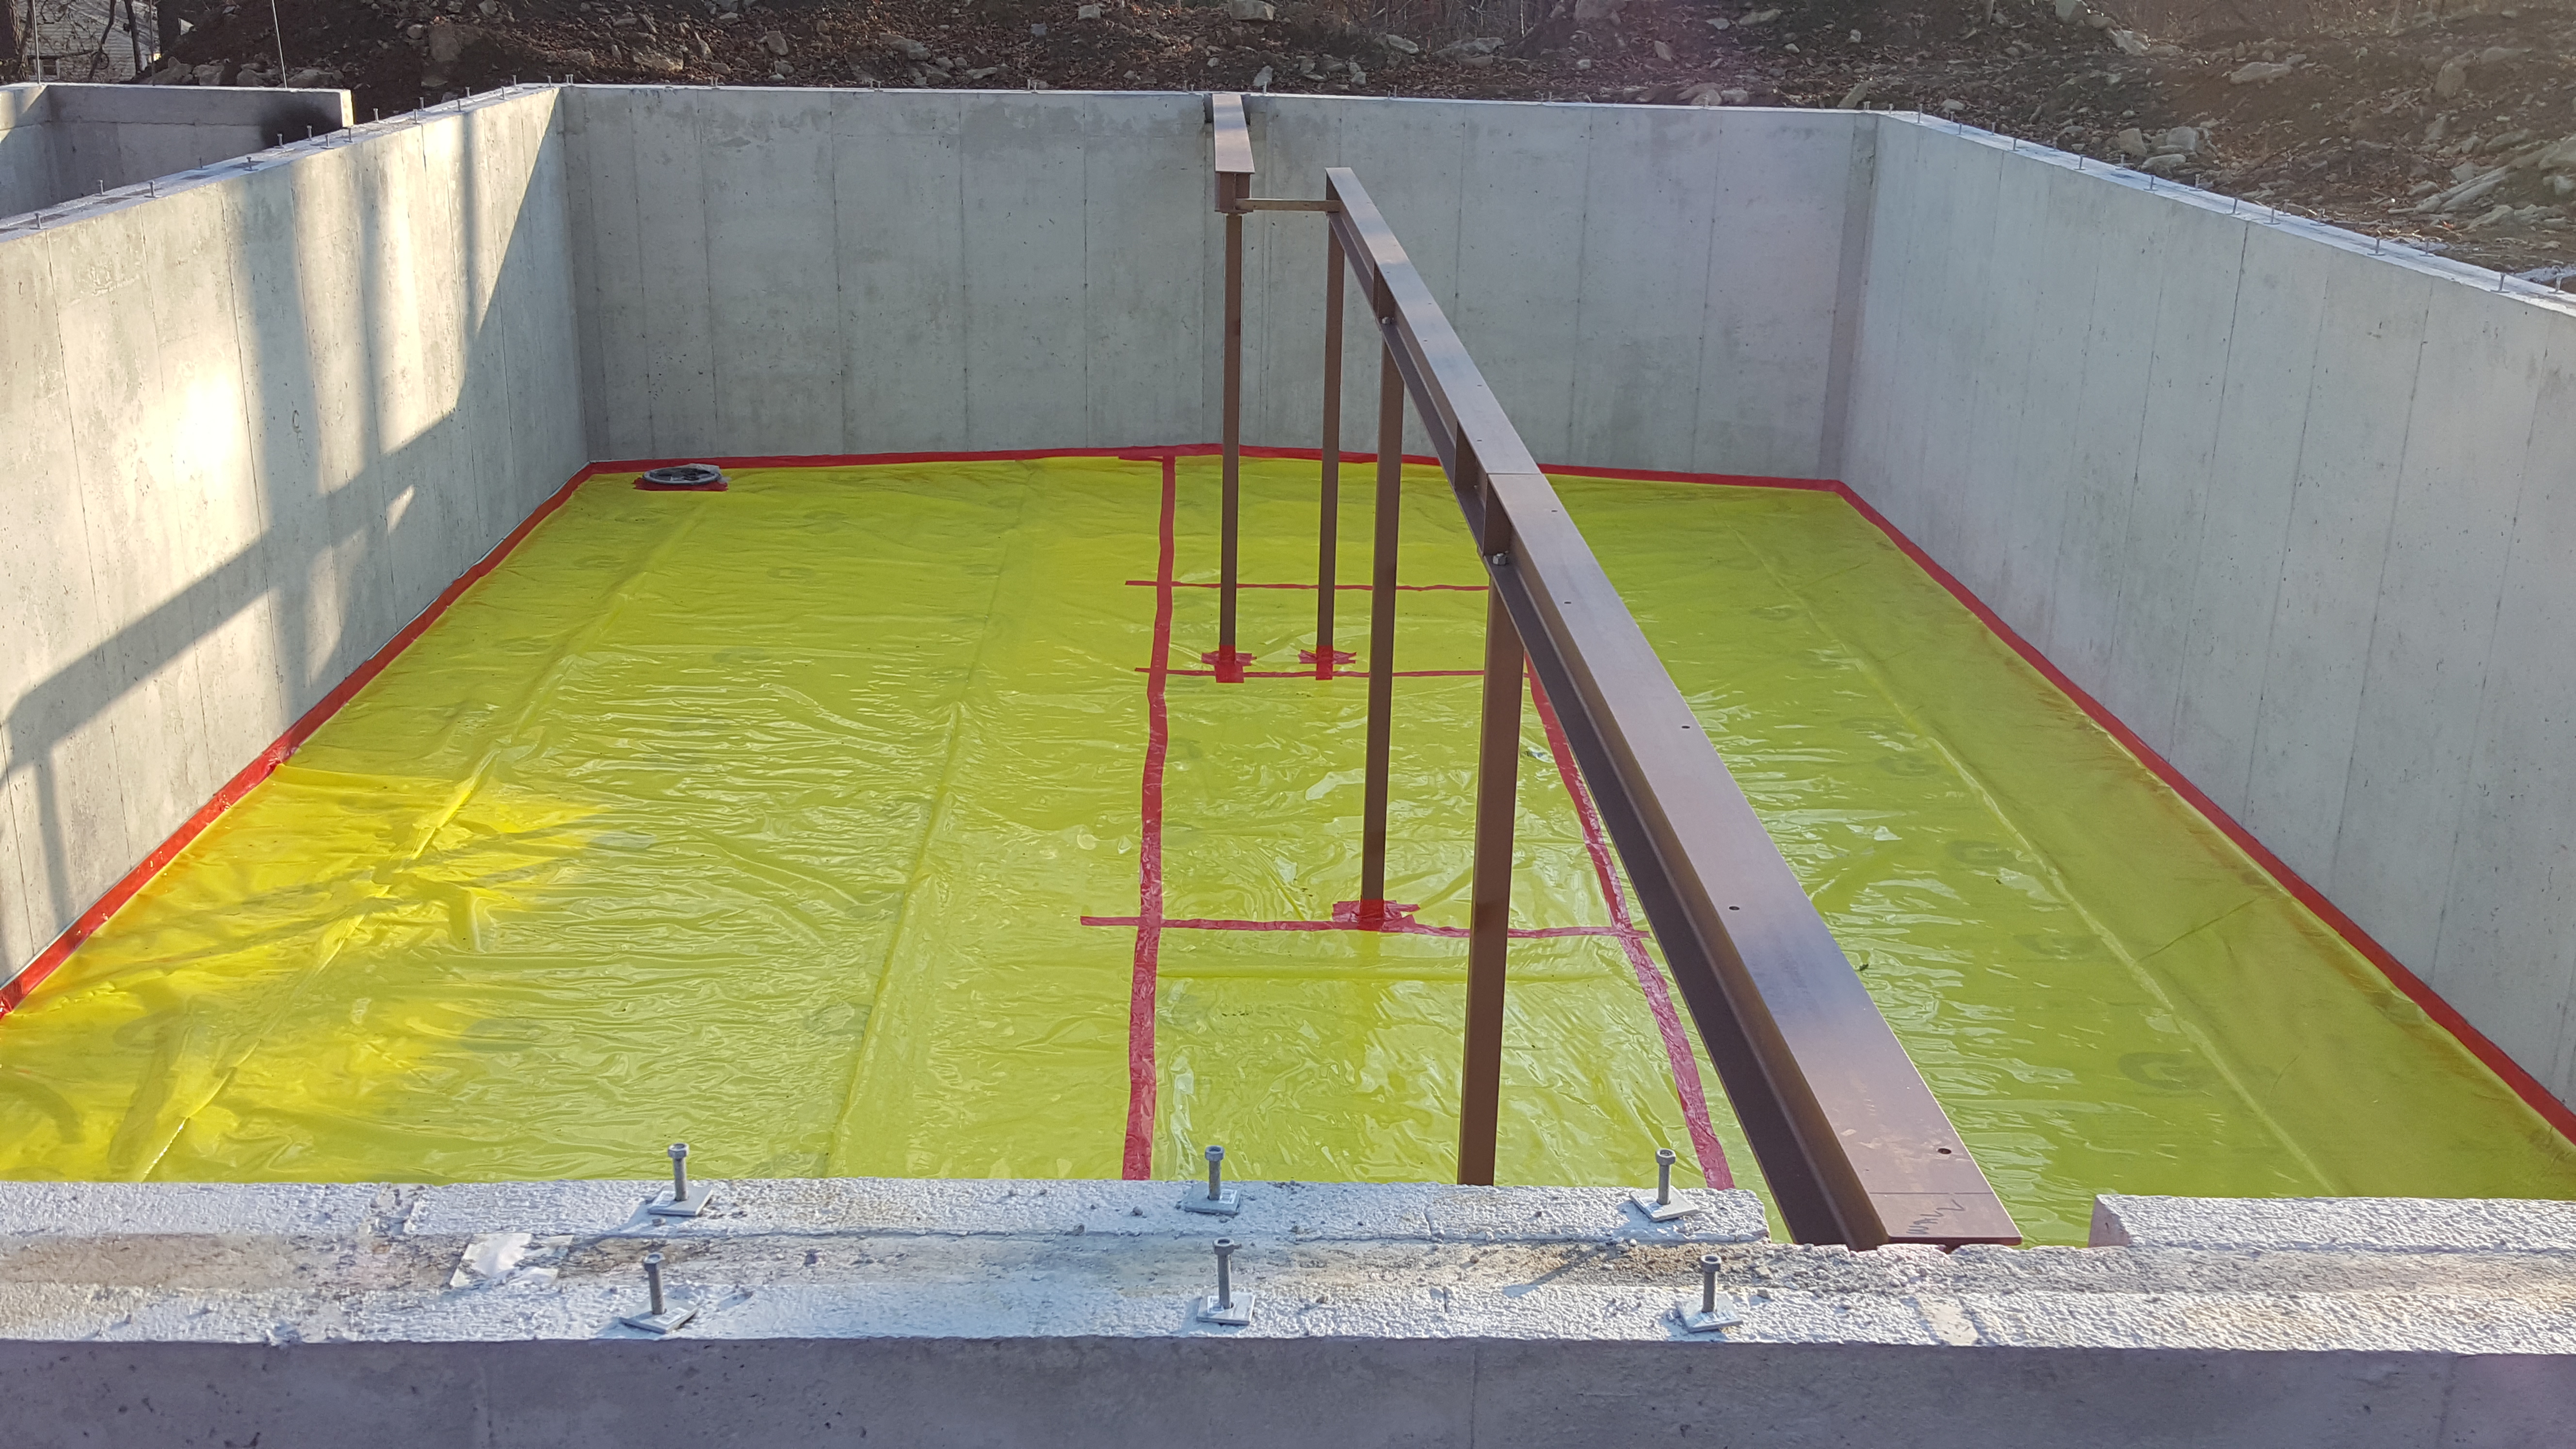
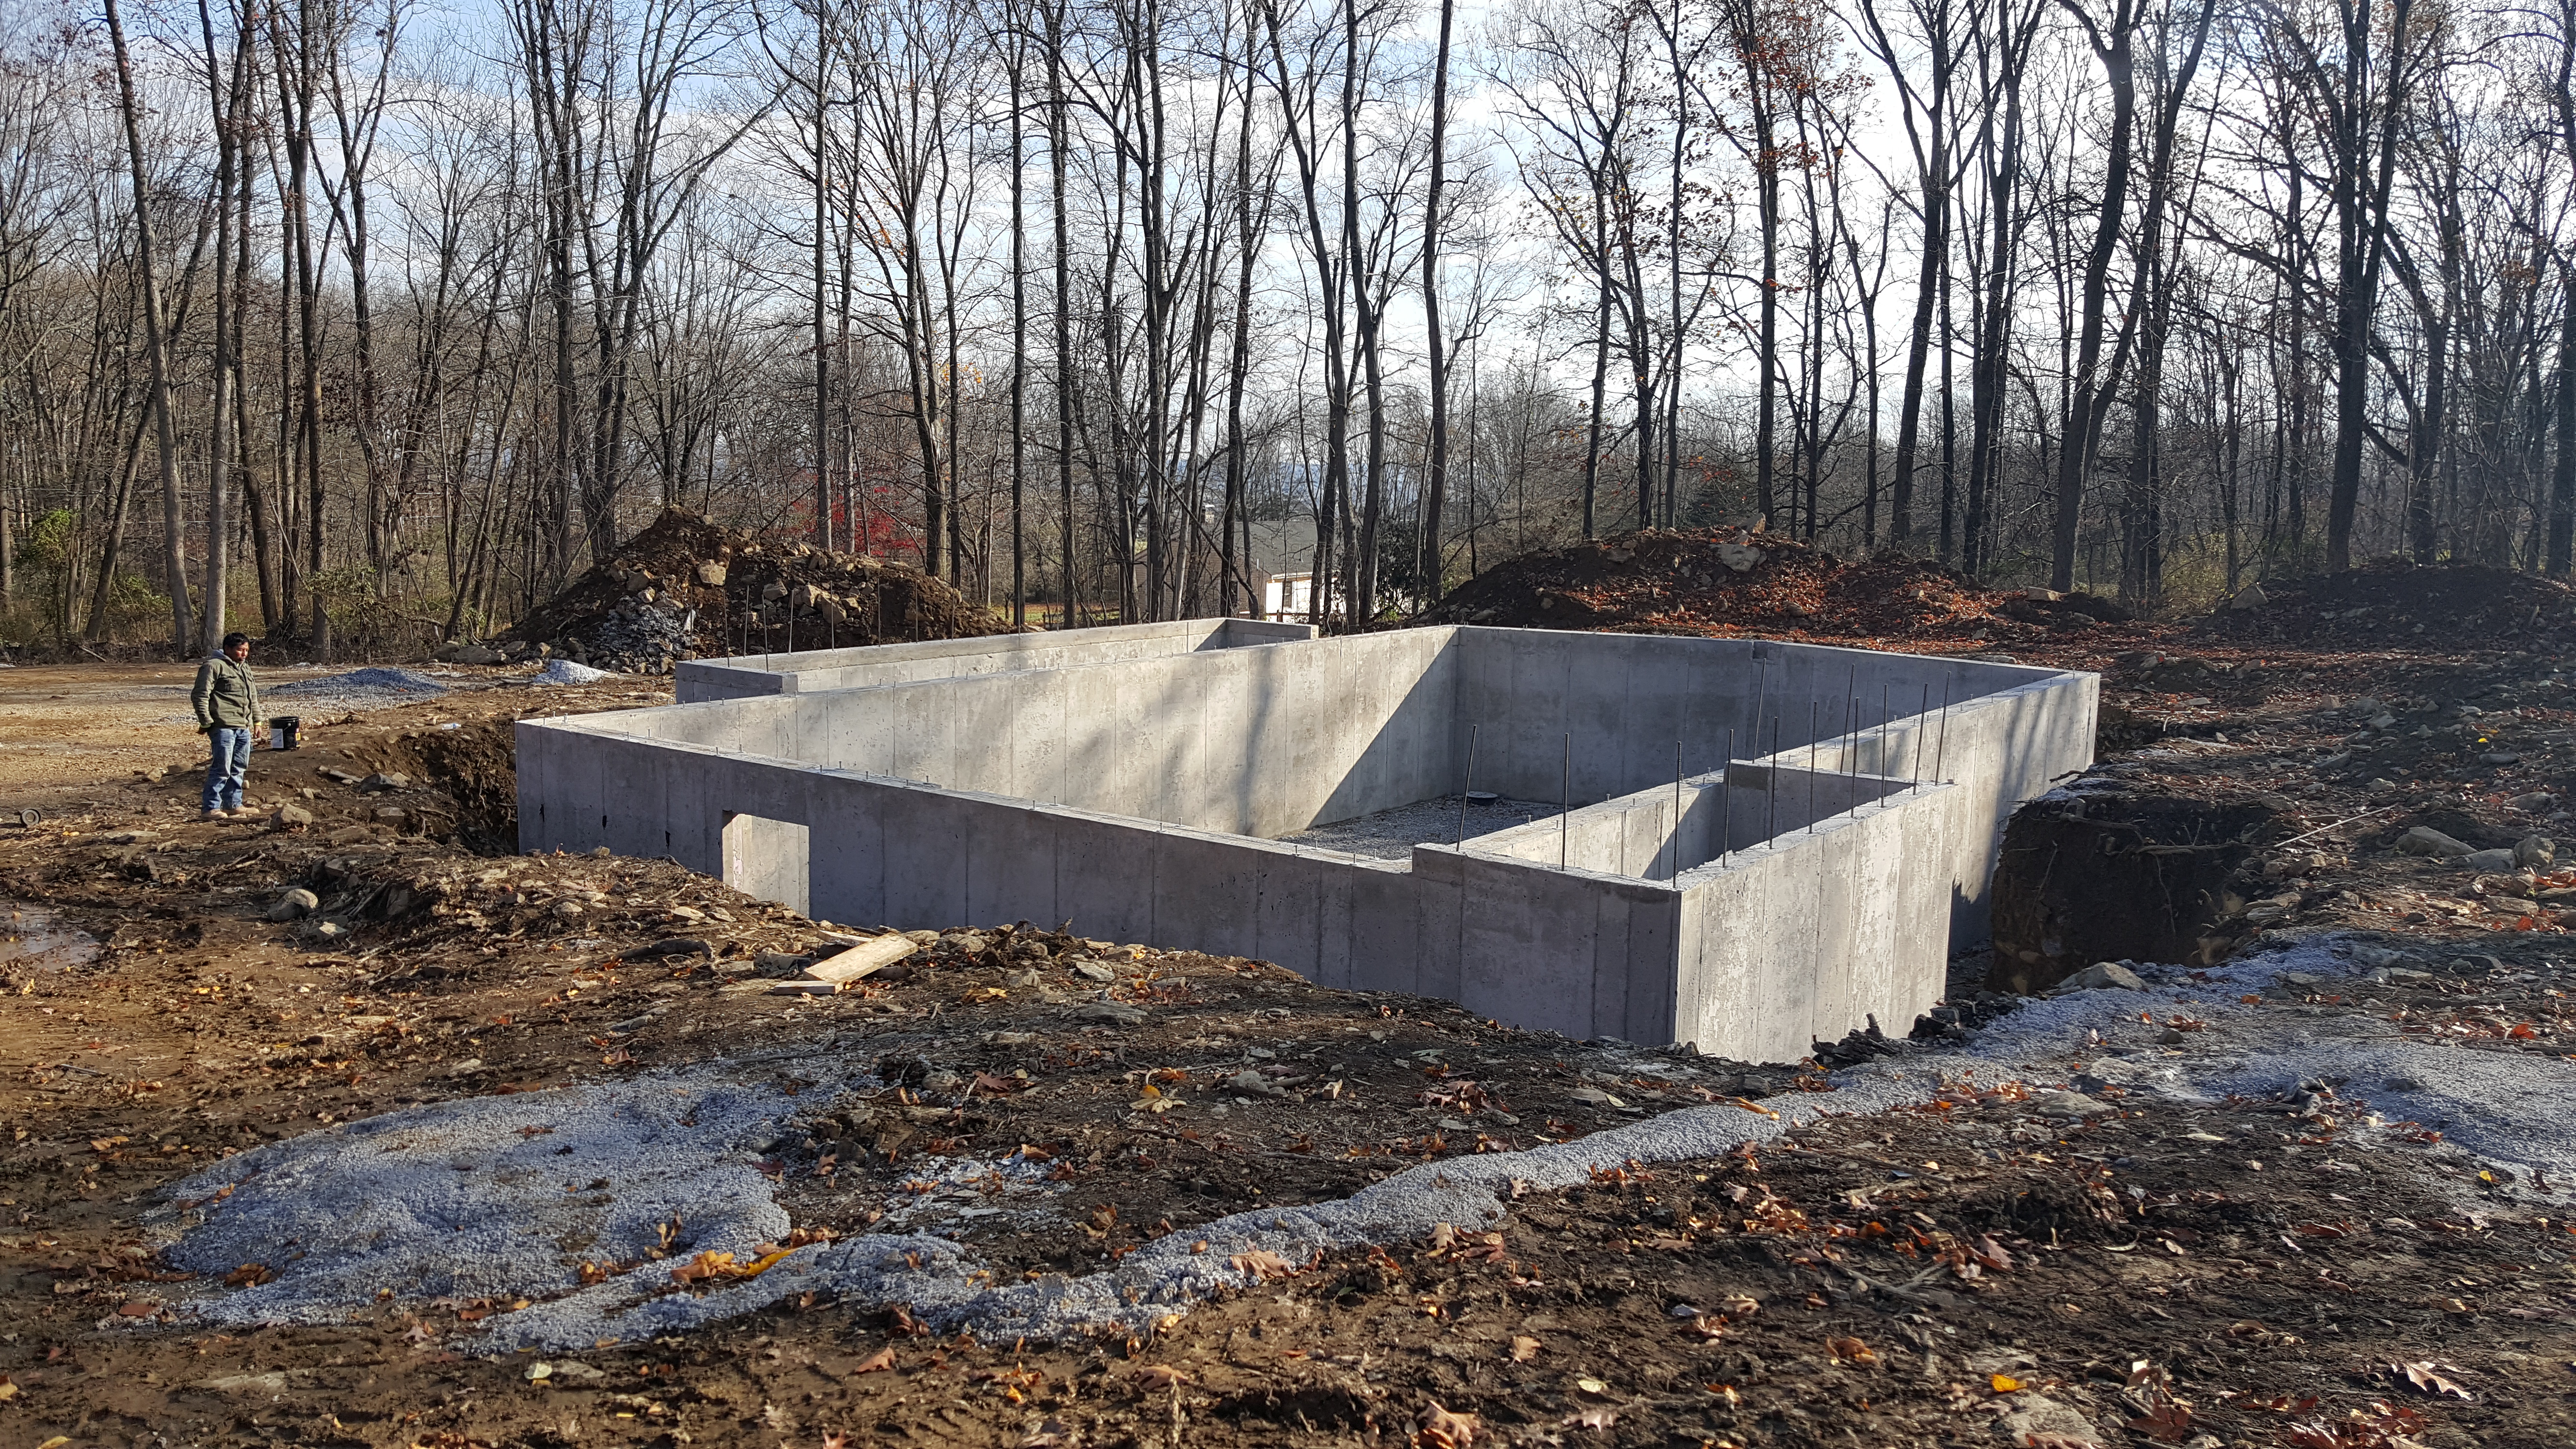
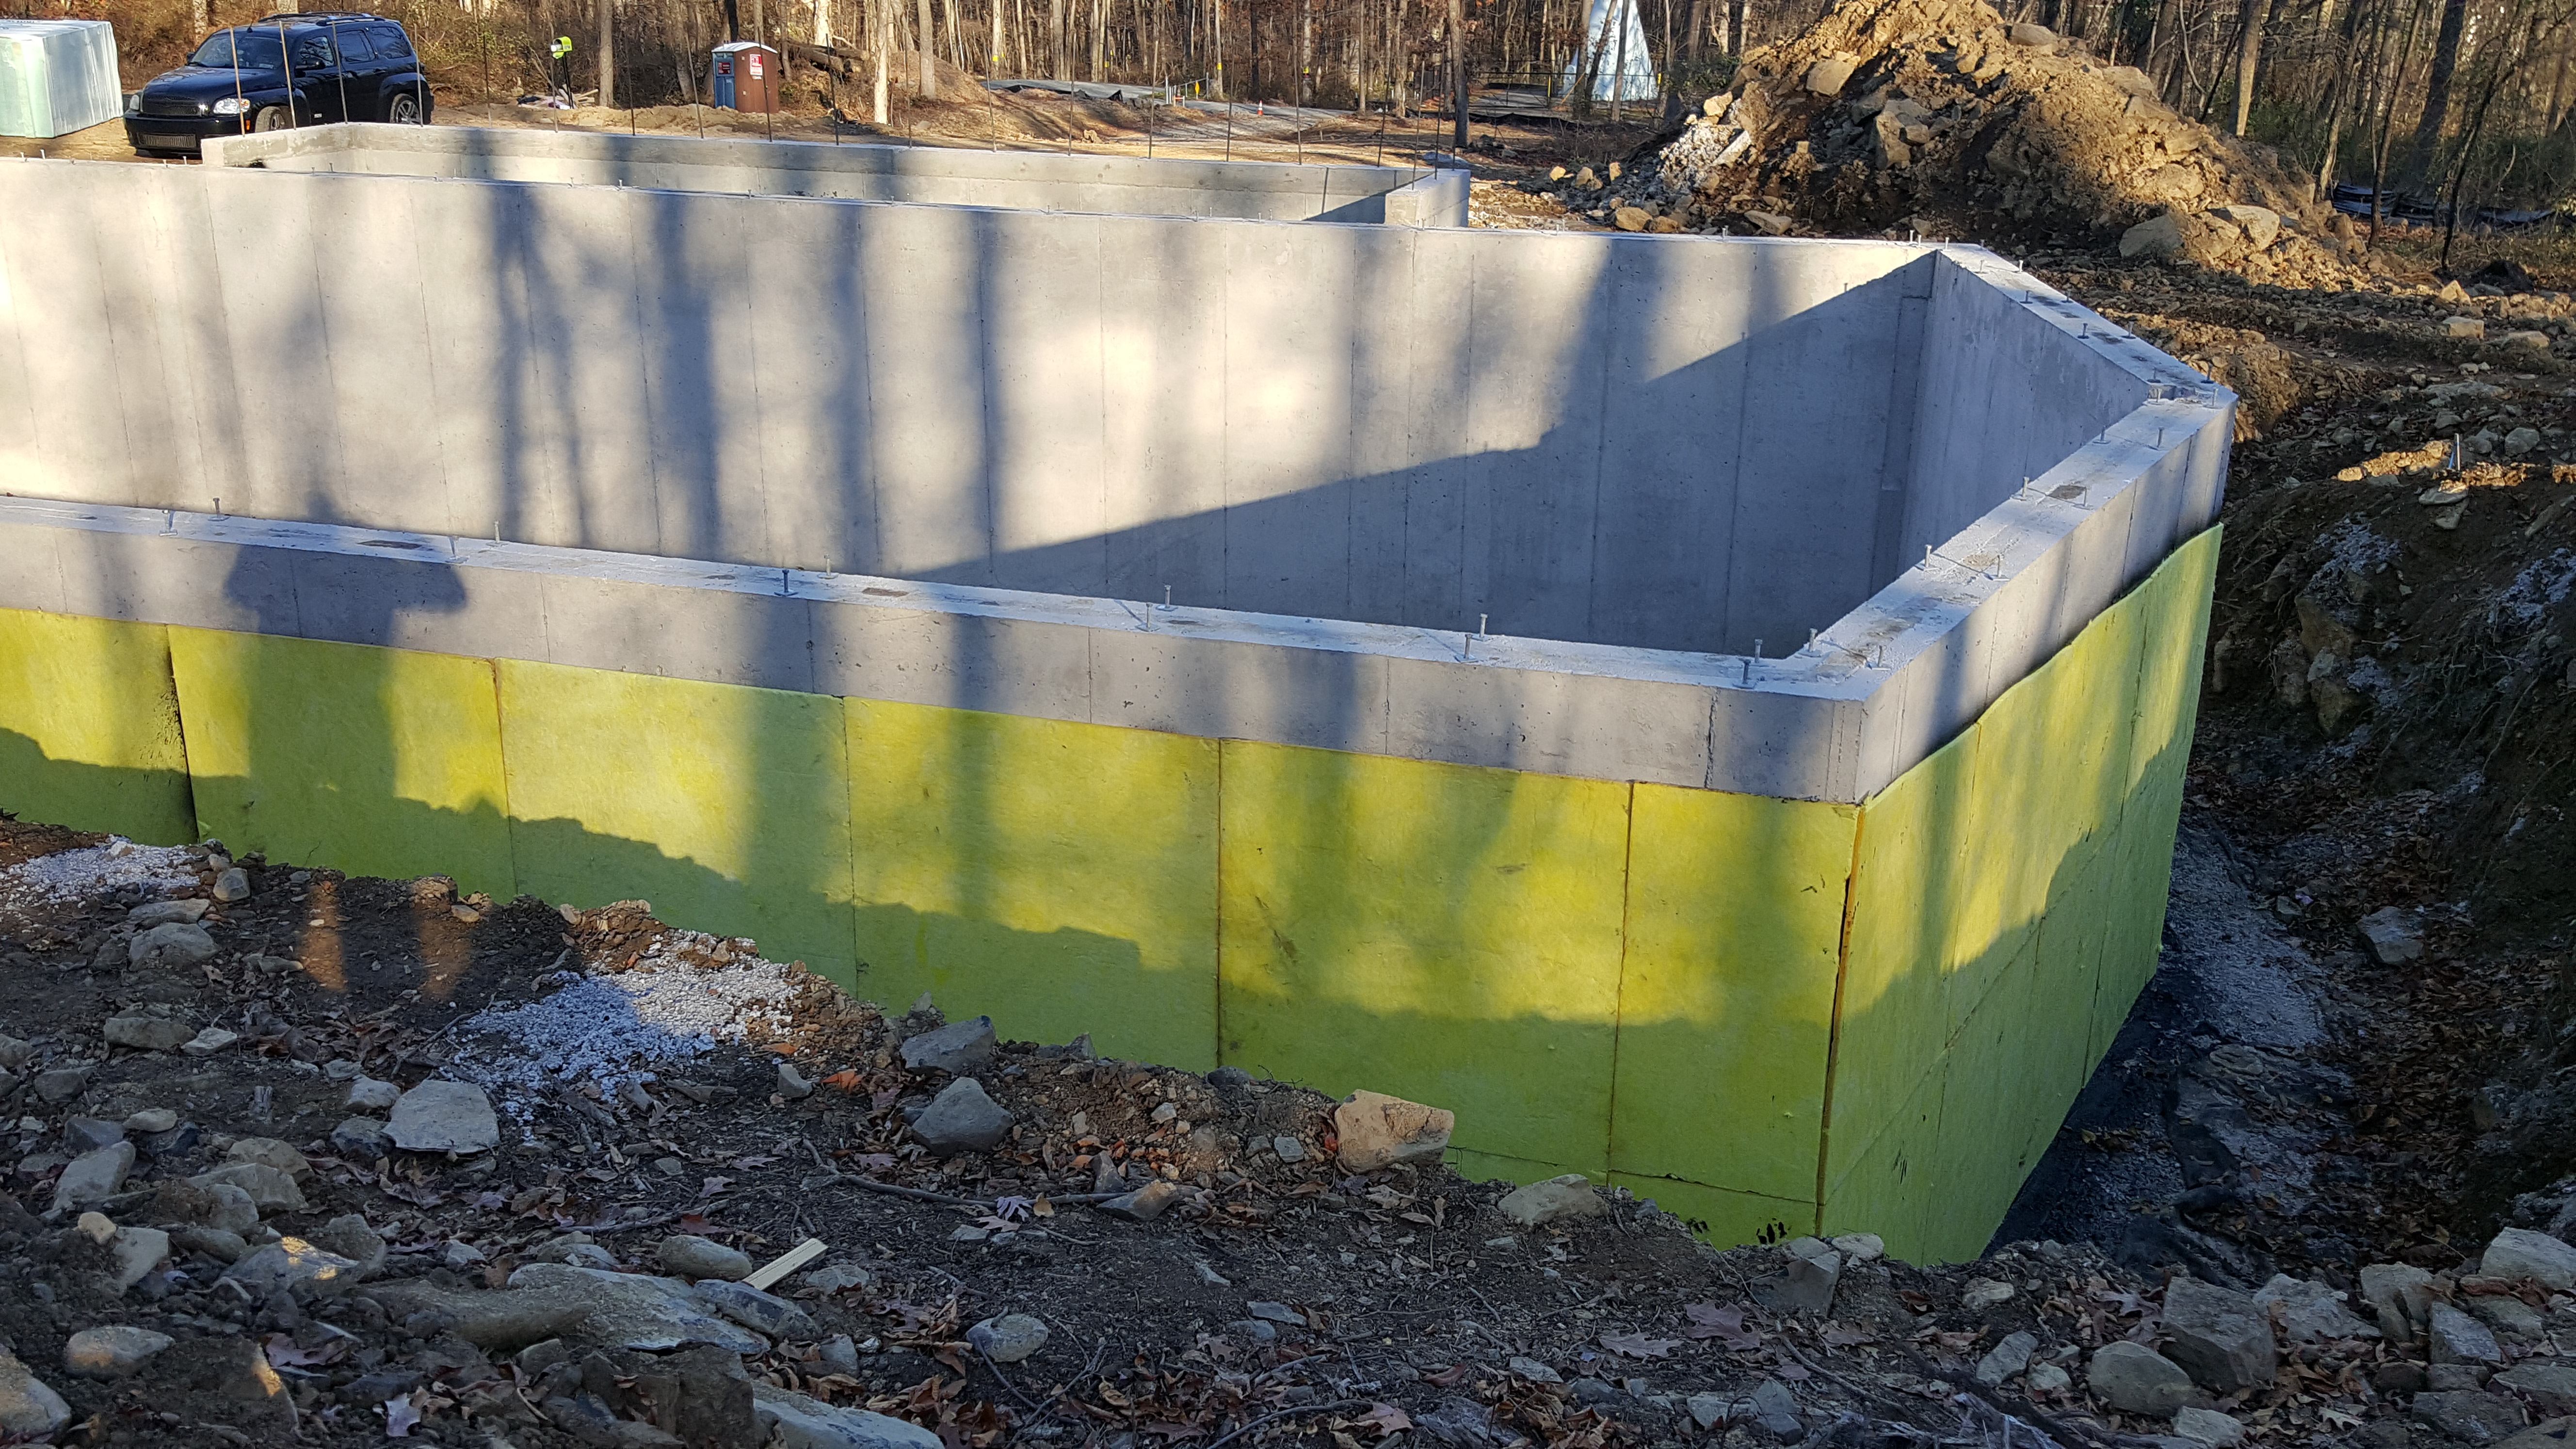
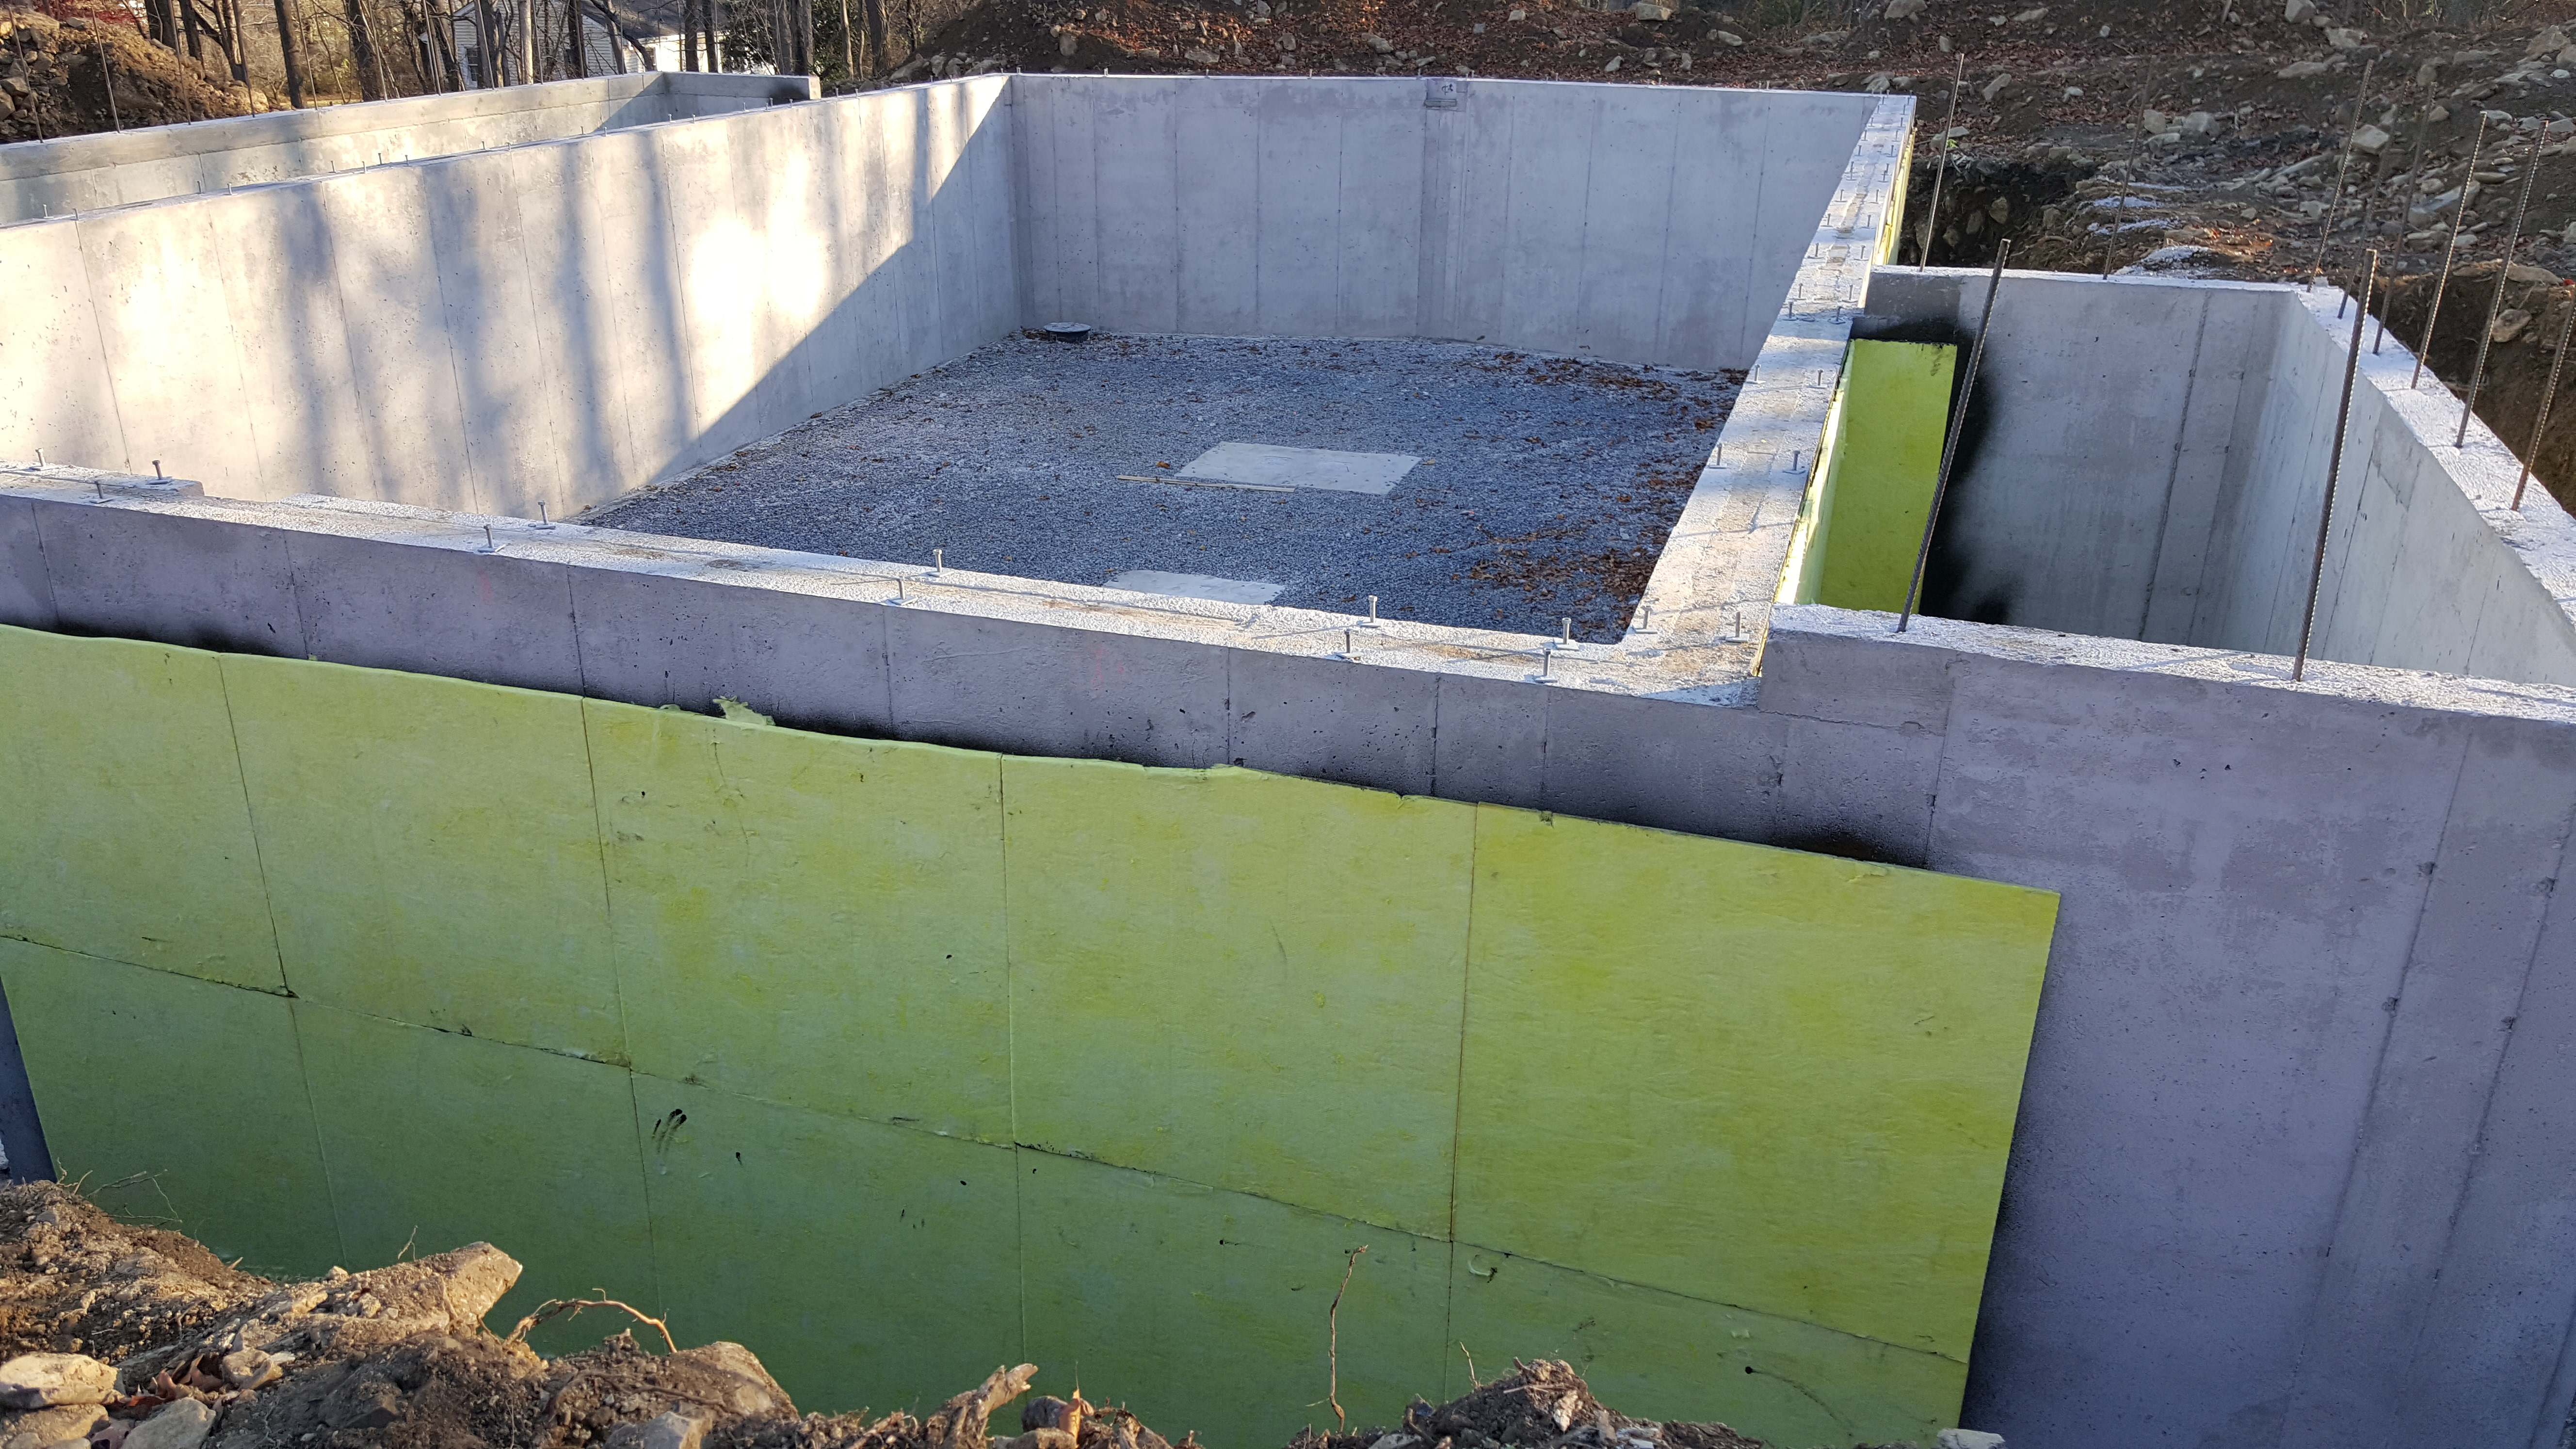
Backfill and rough grading is done and a pad is set up for the shed.
Back

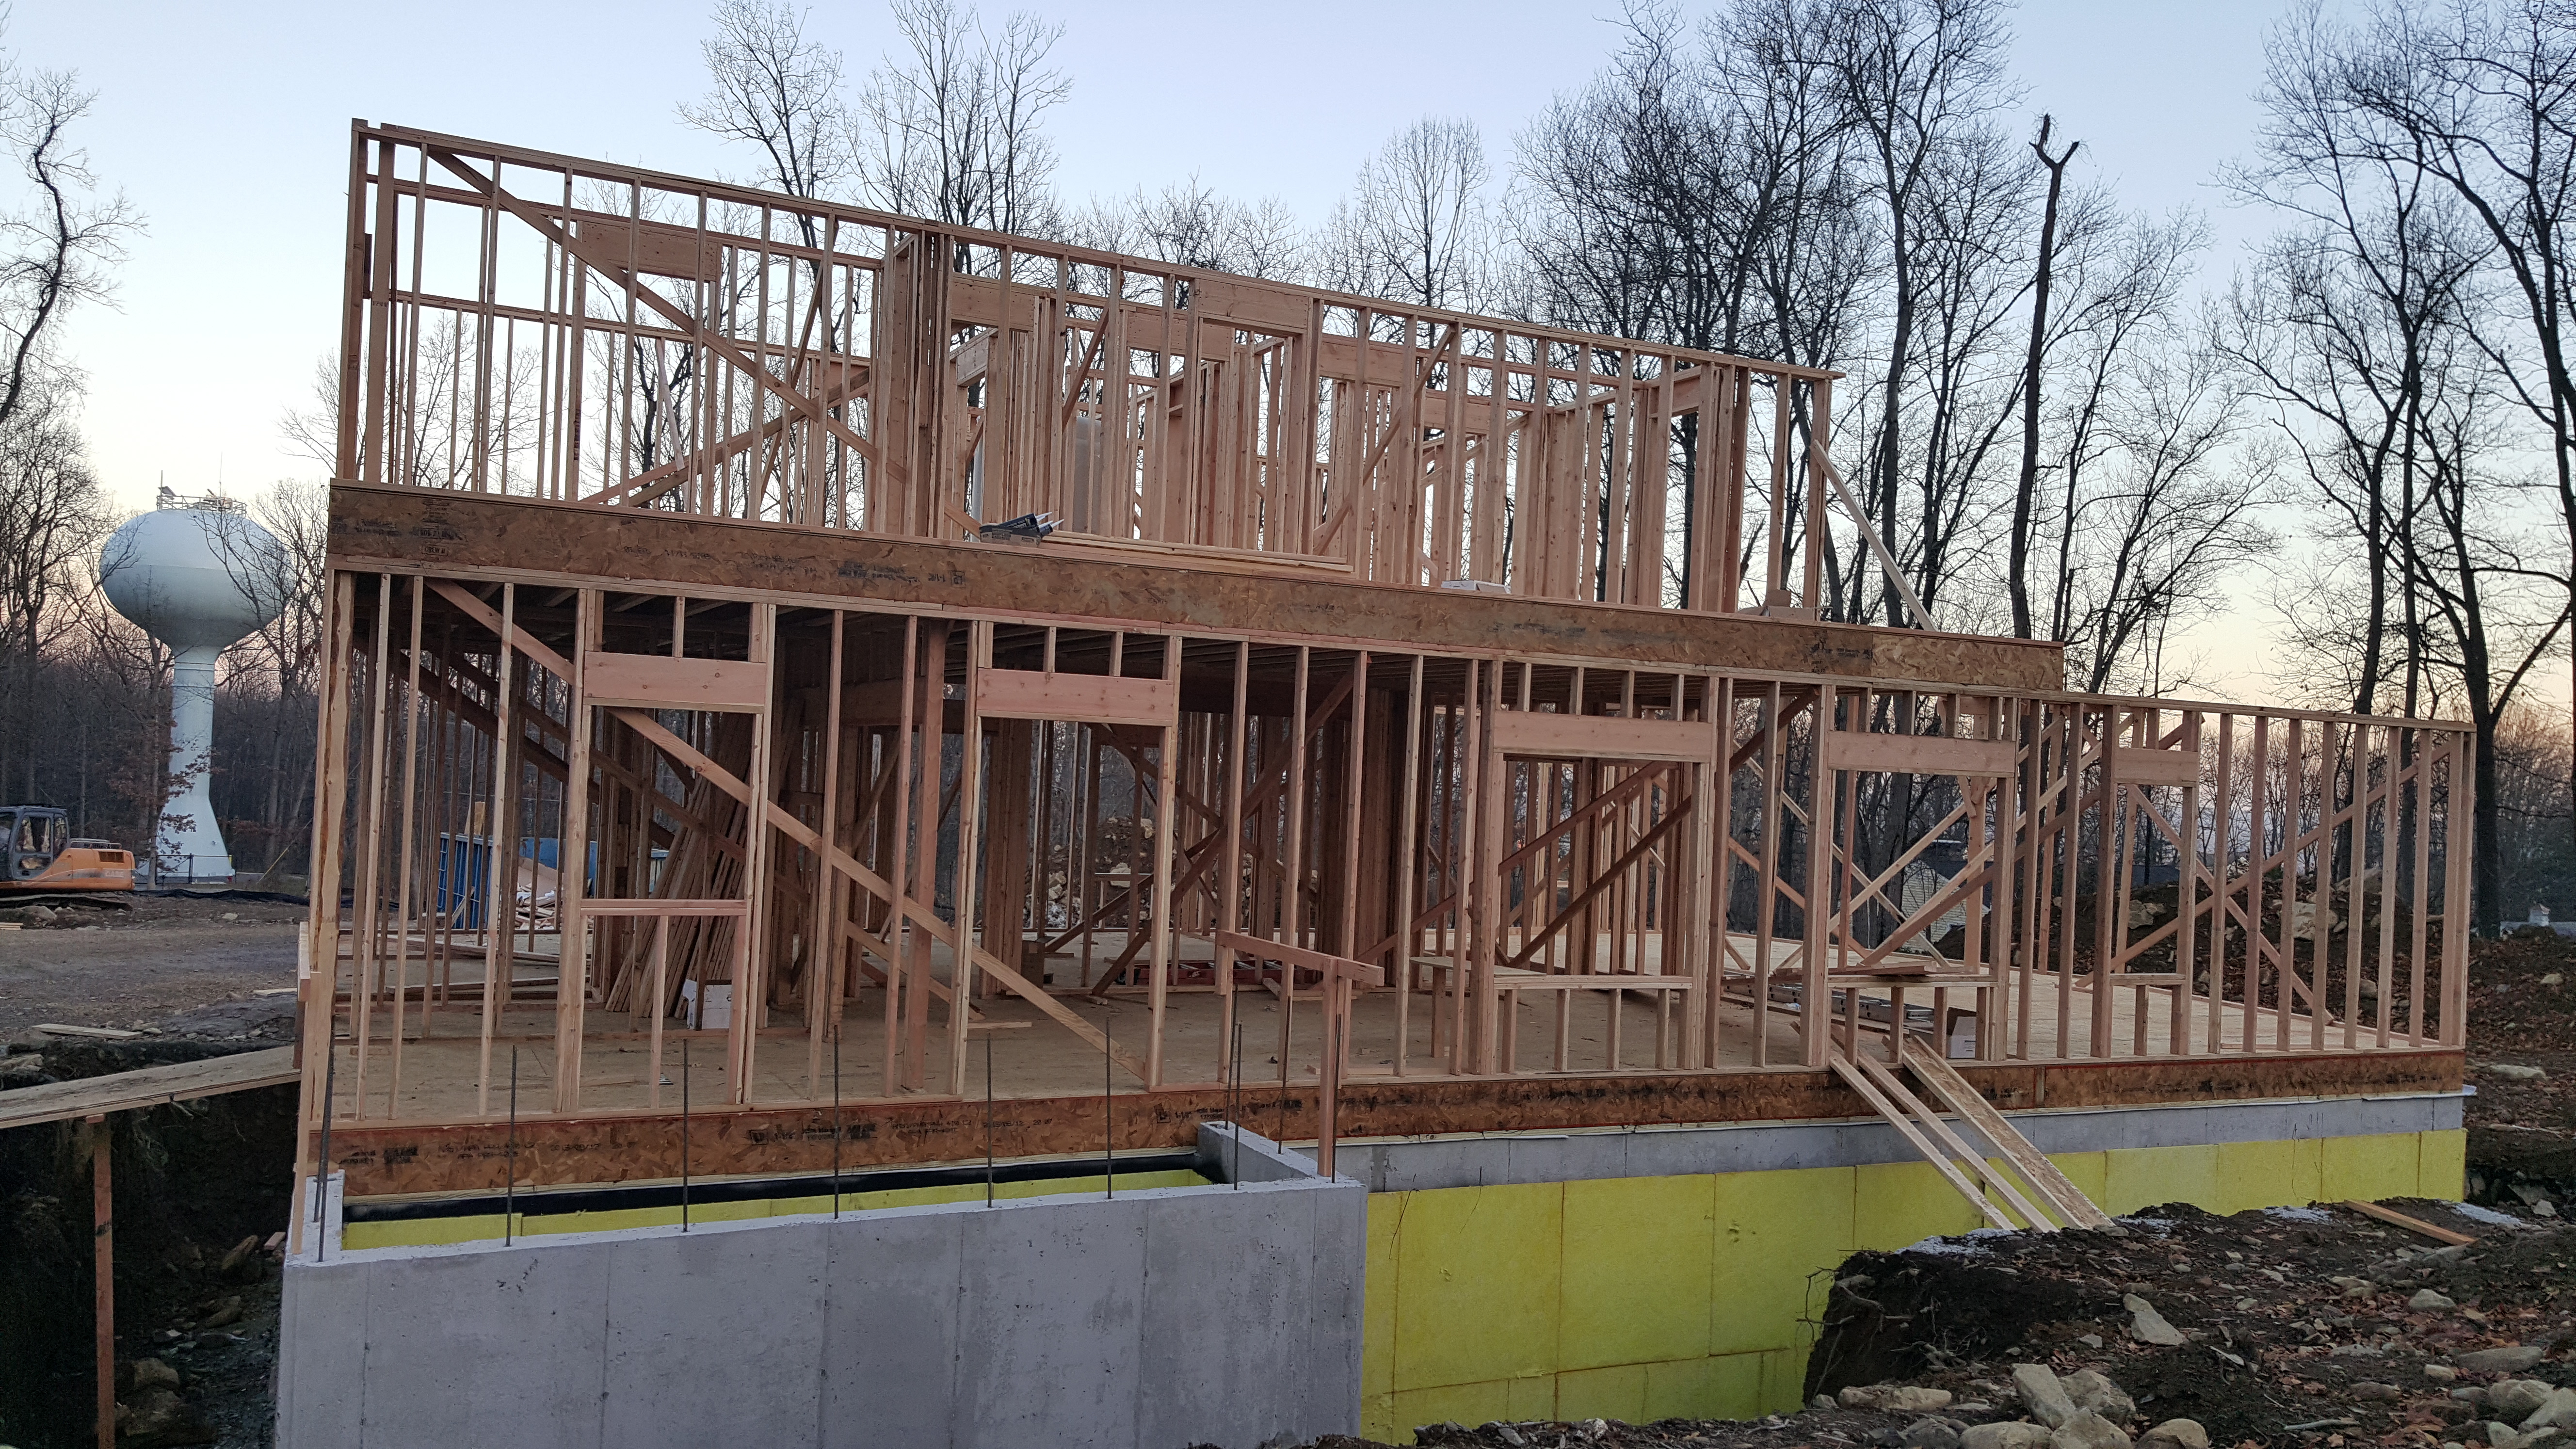
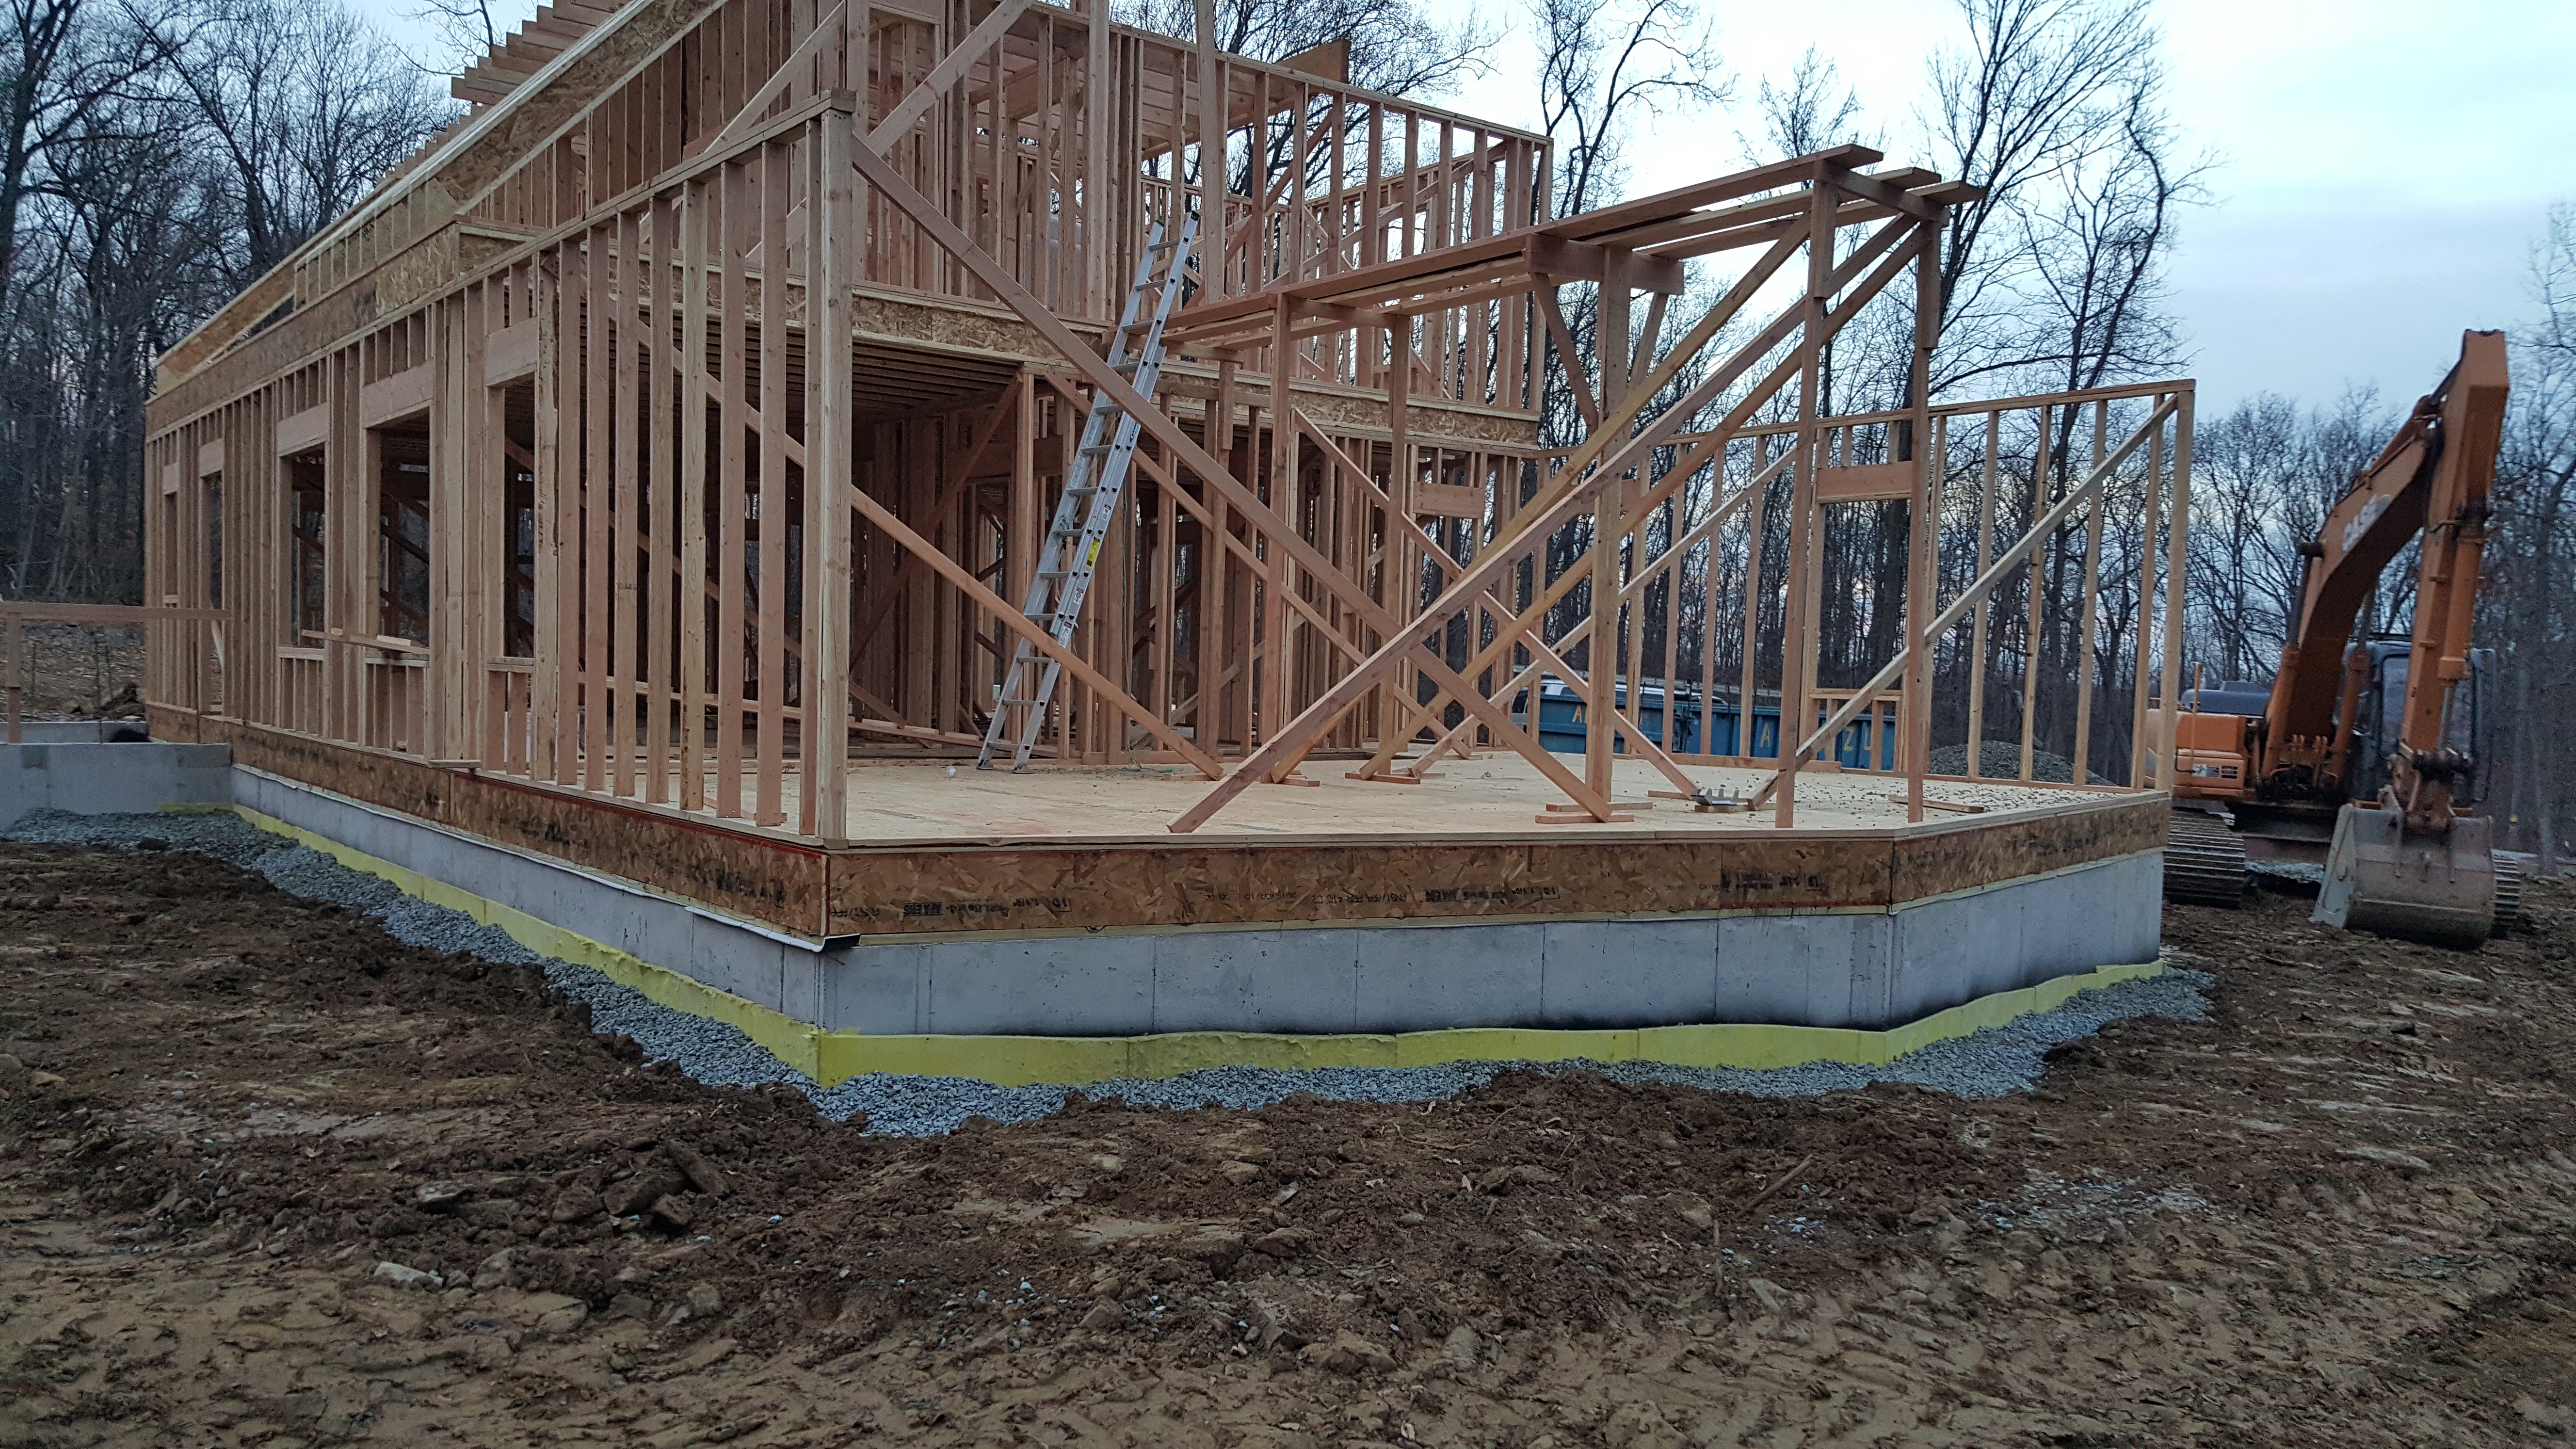
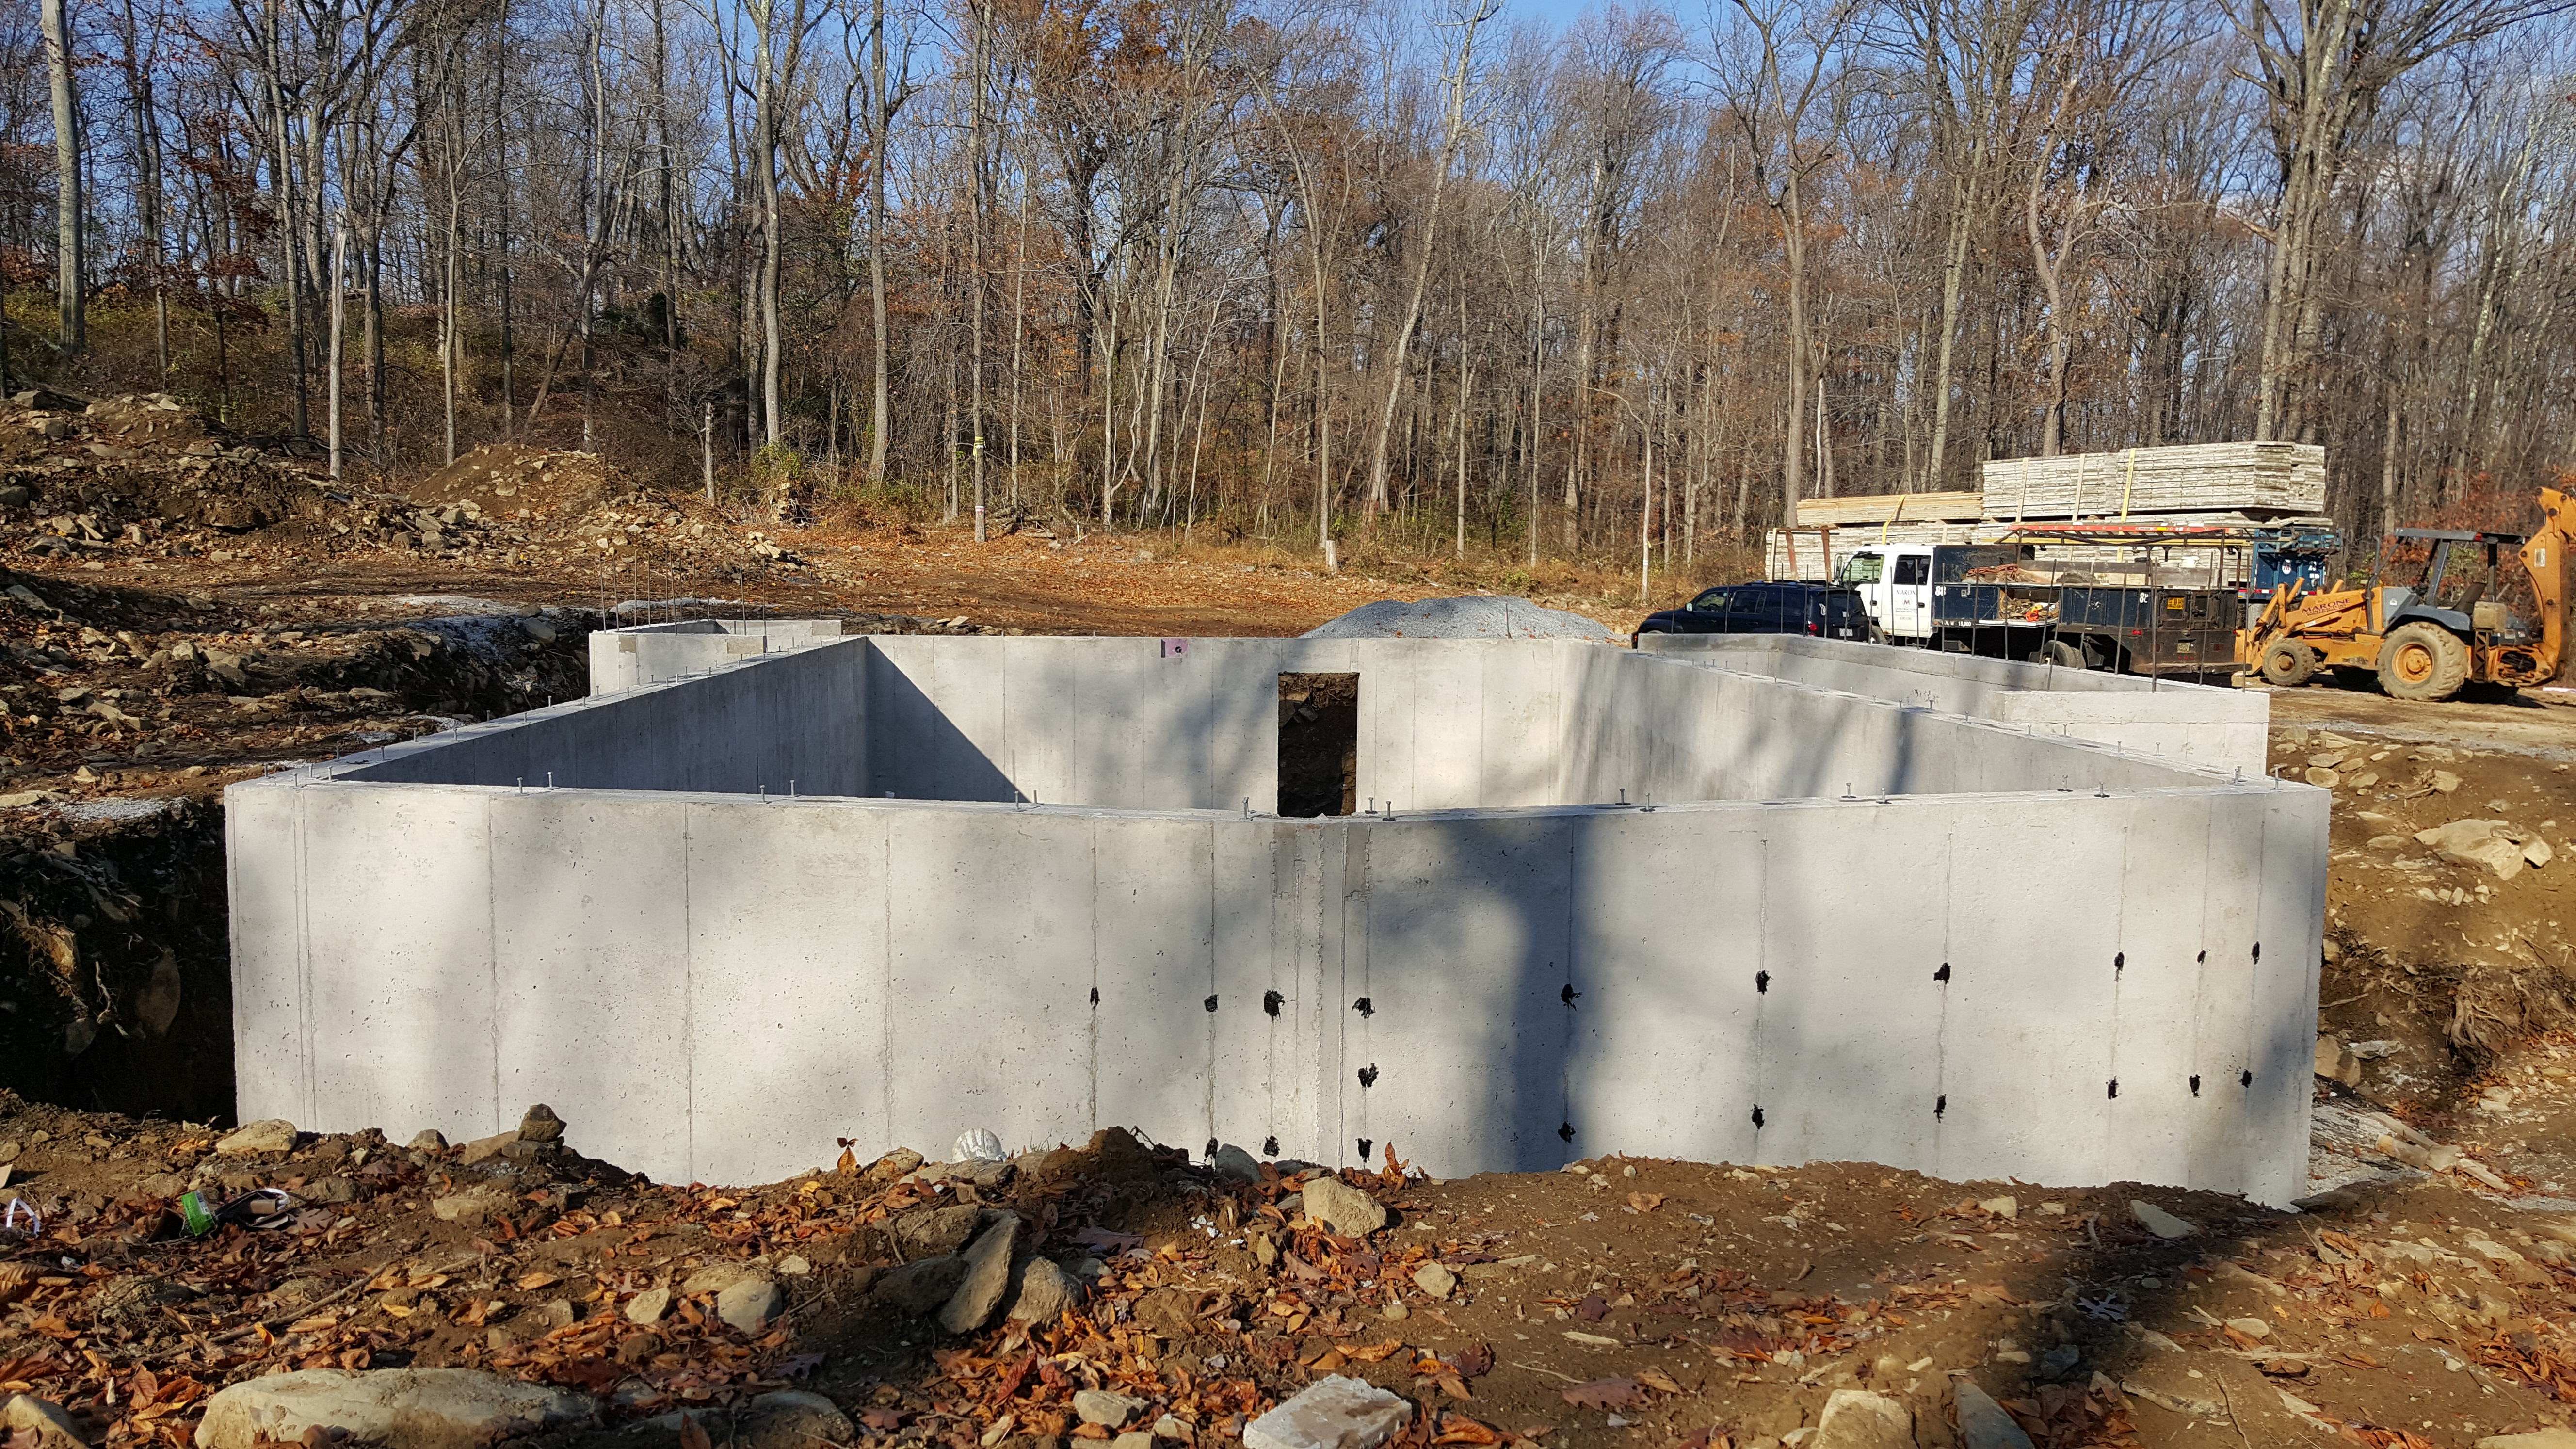
Family Room end
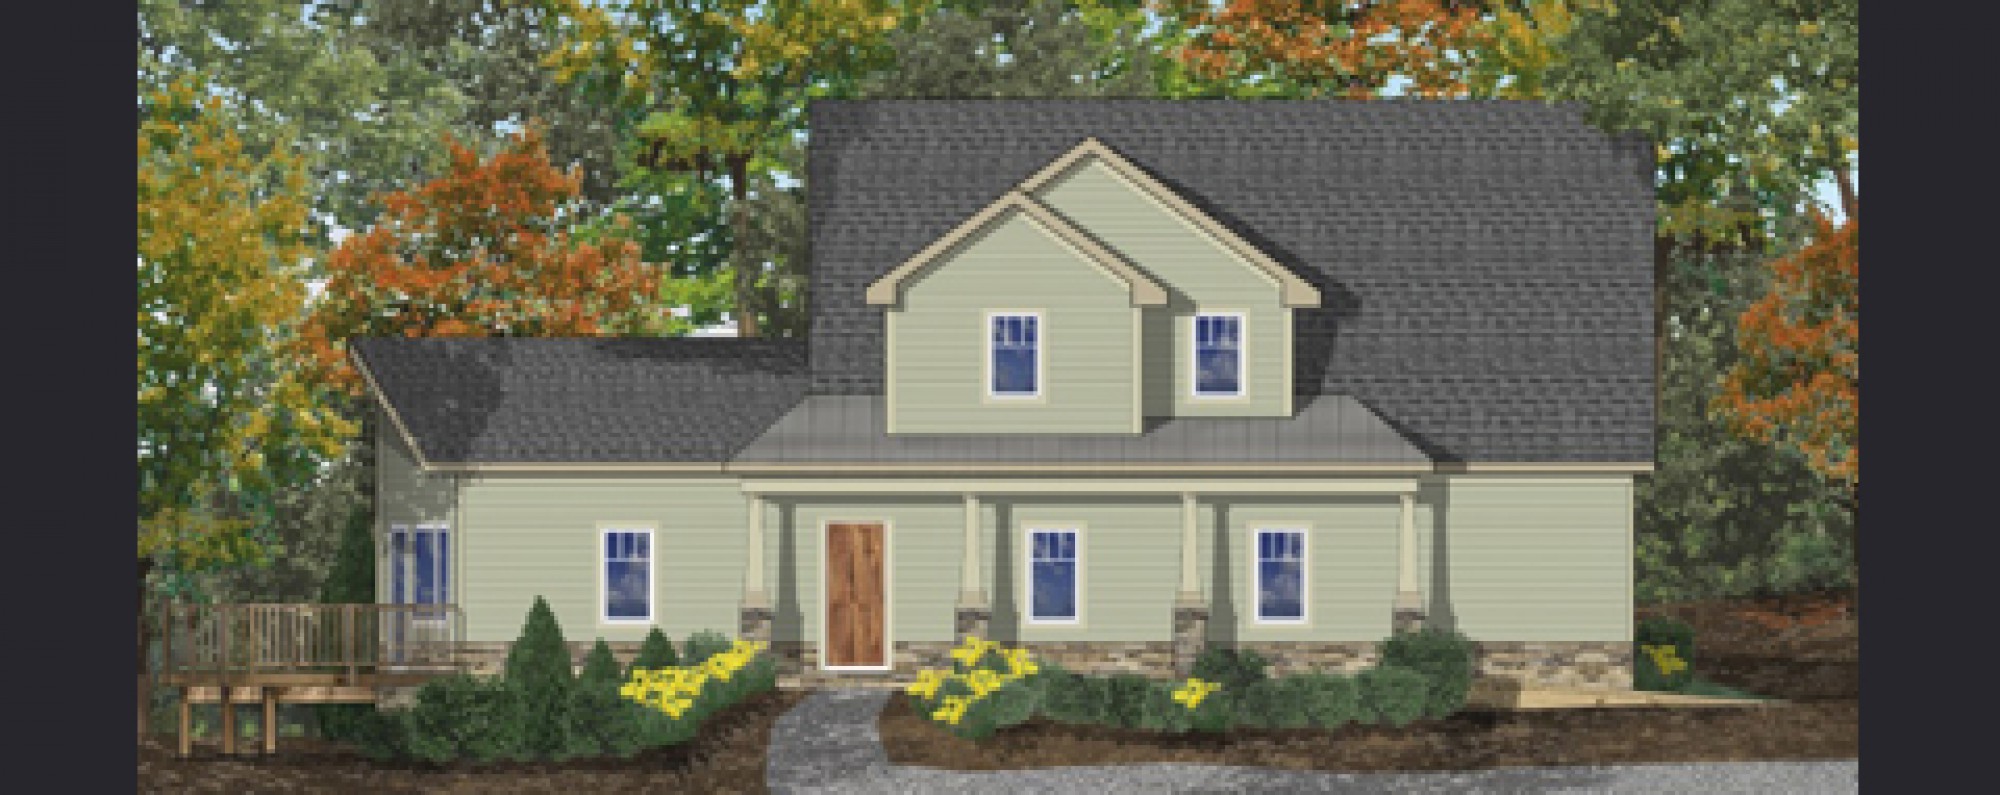
Front

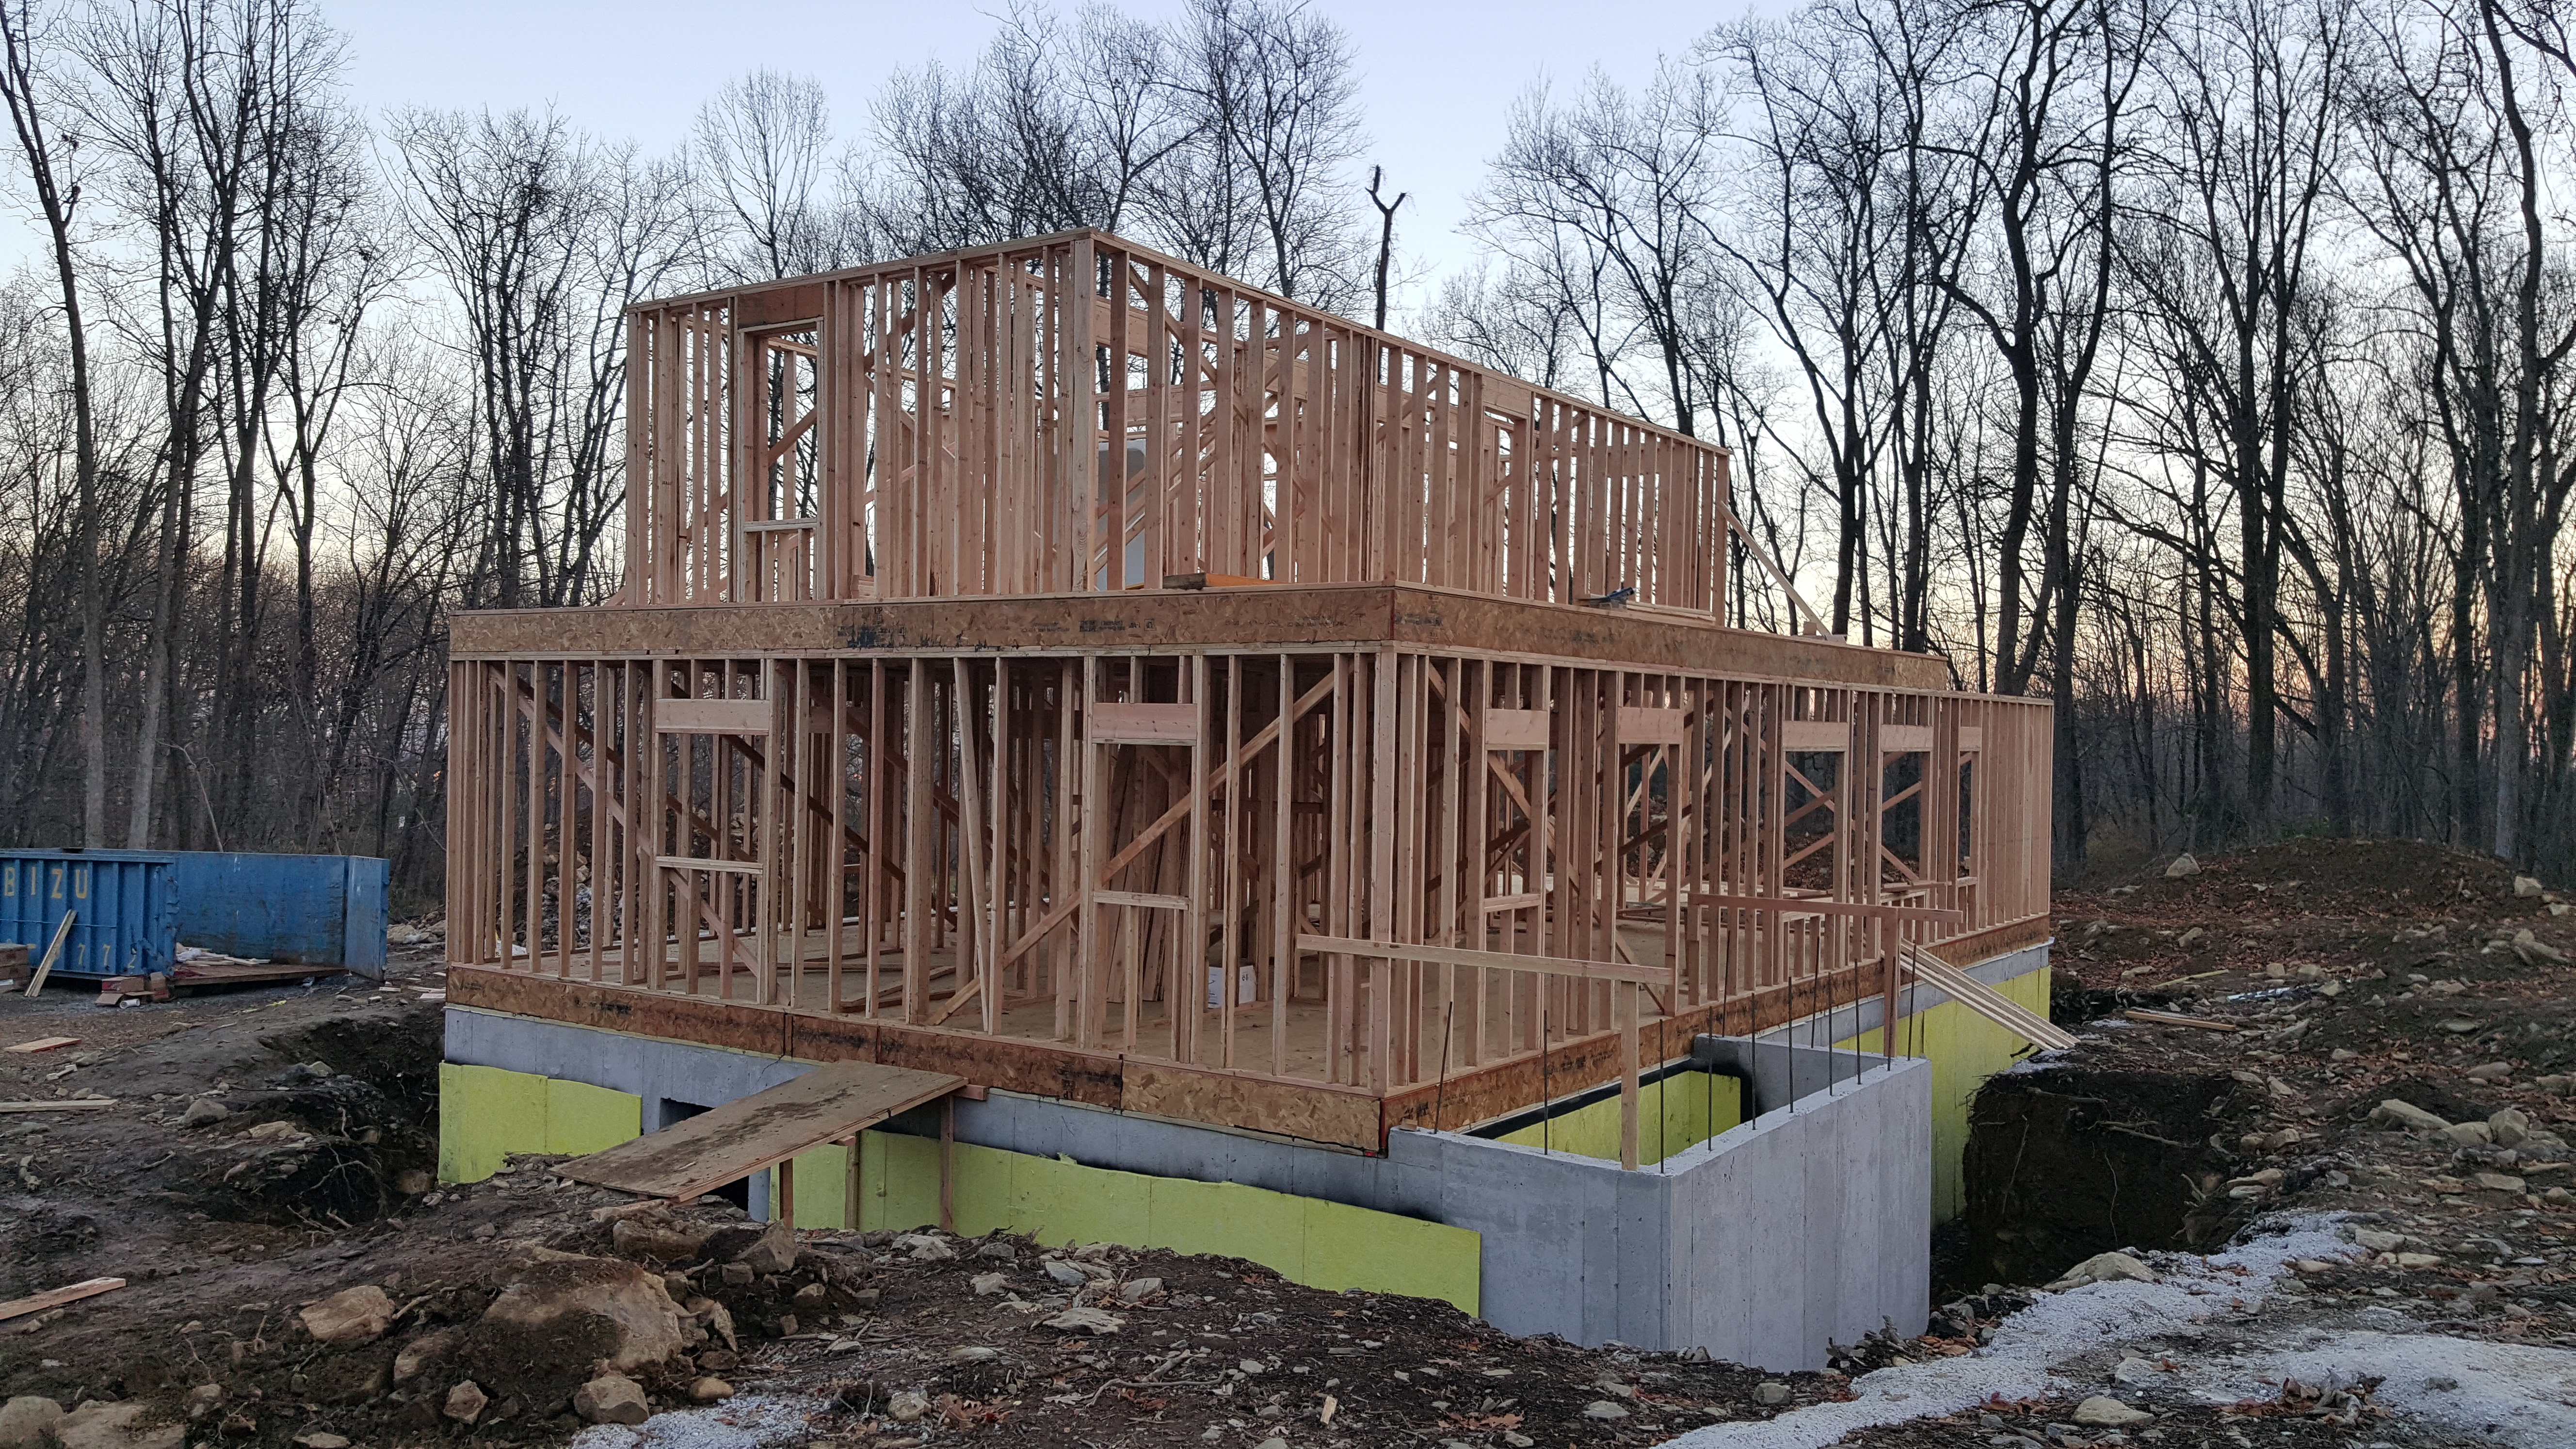
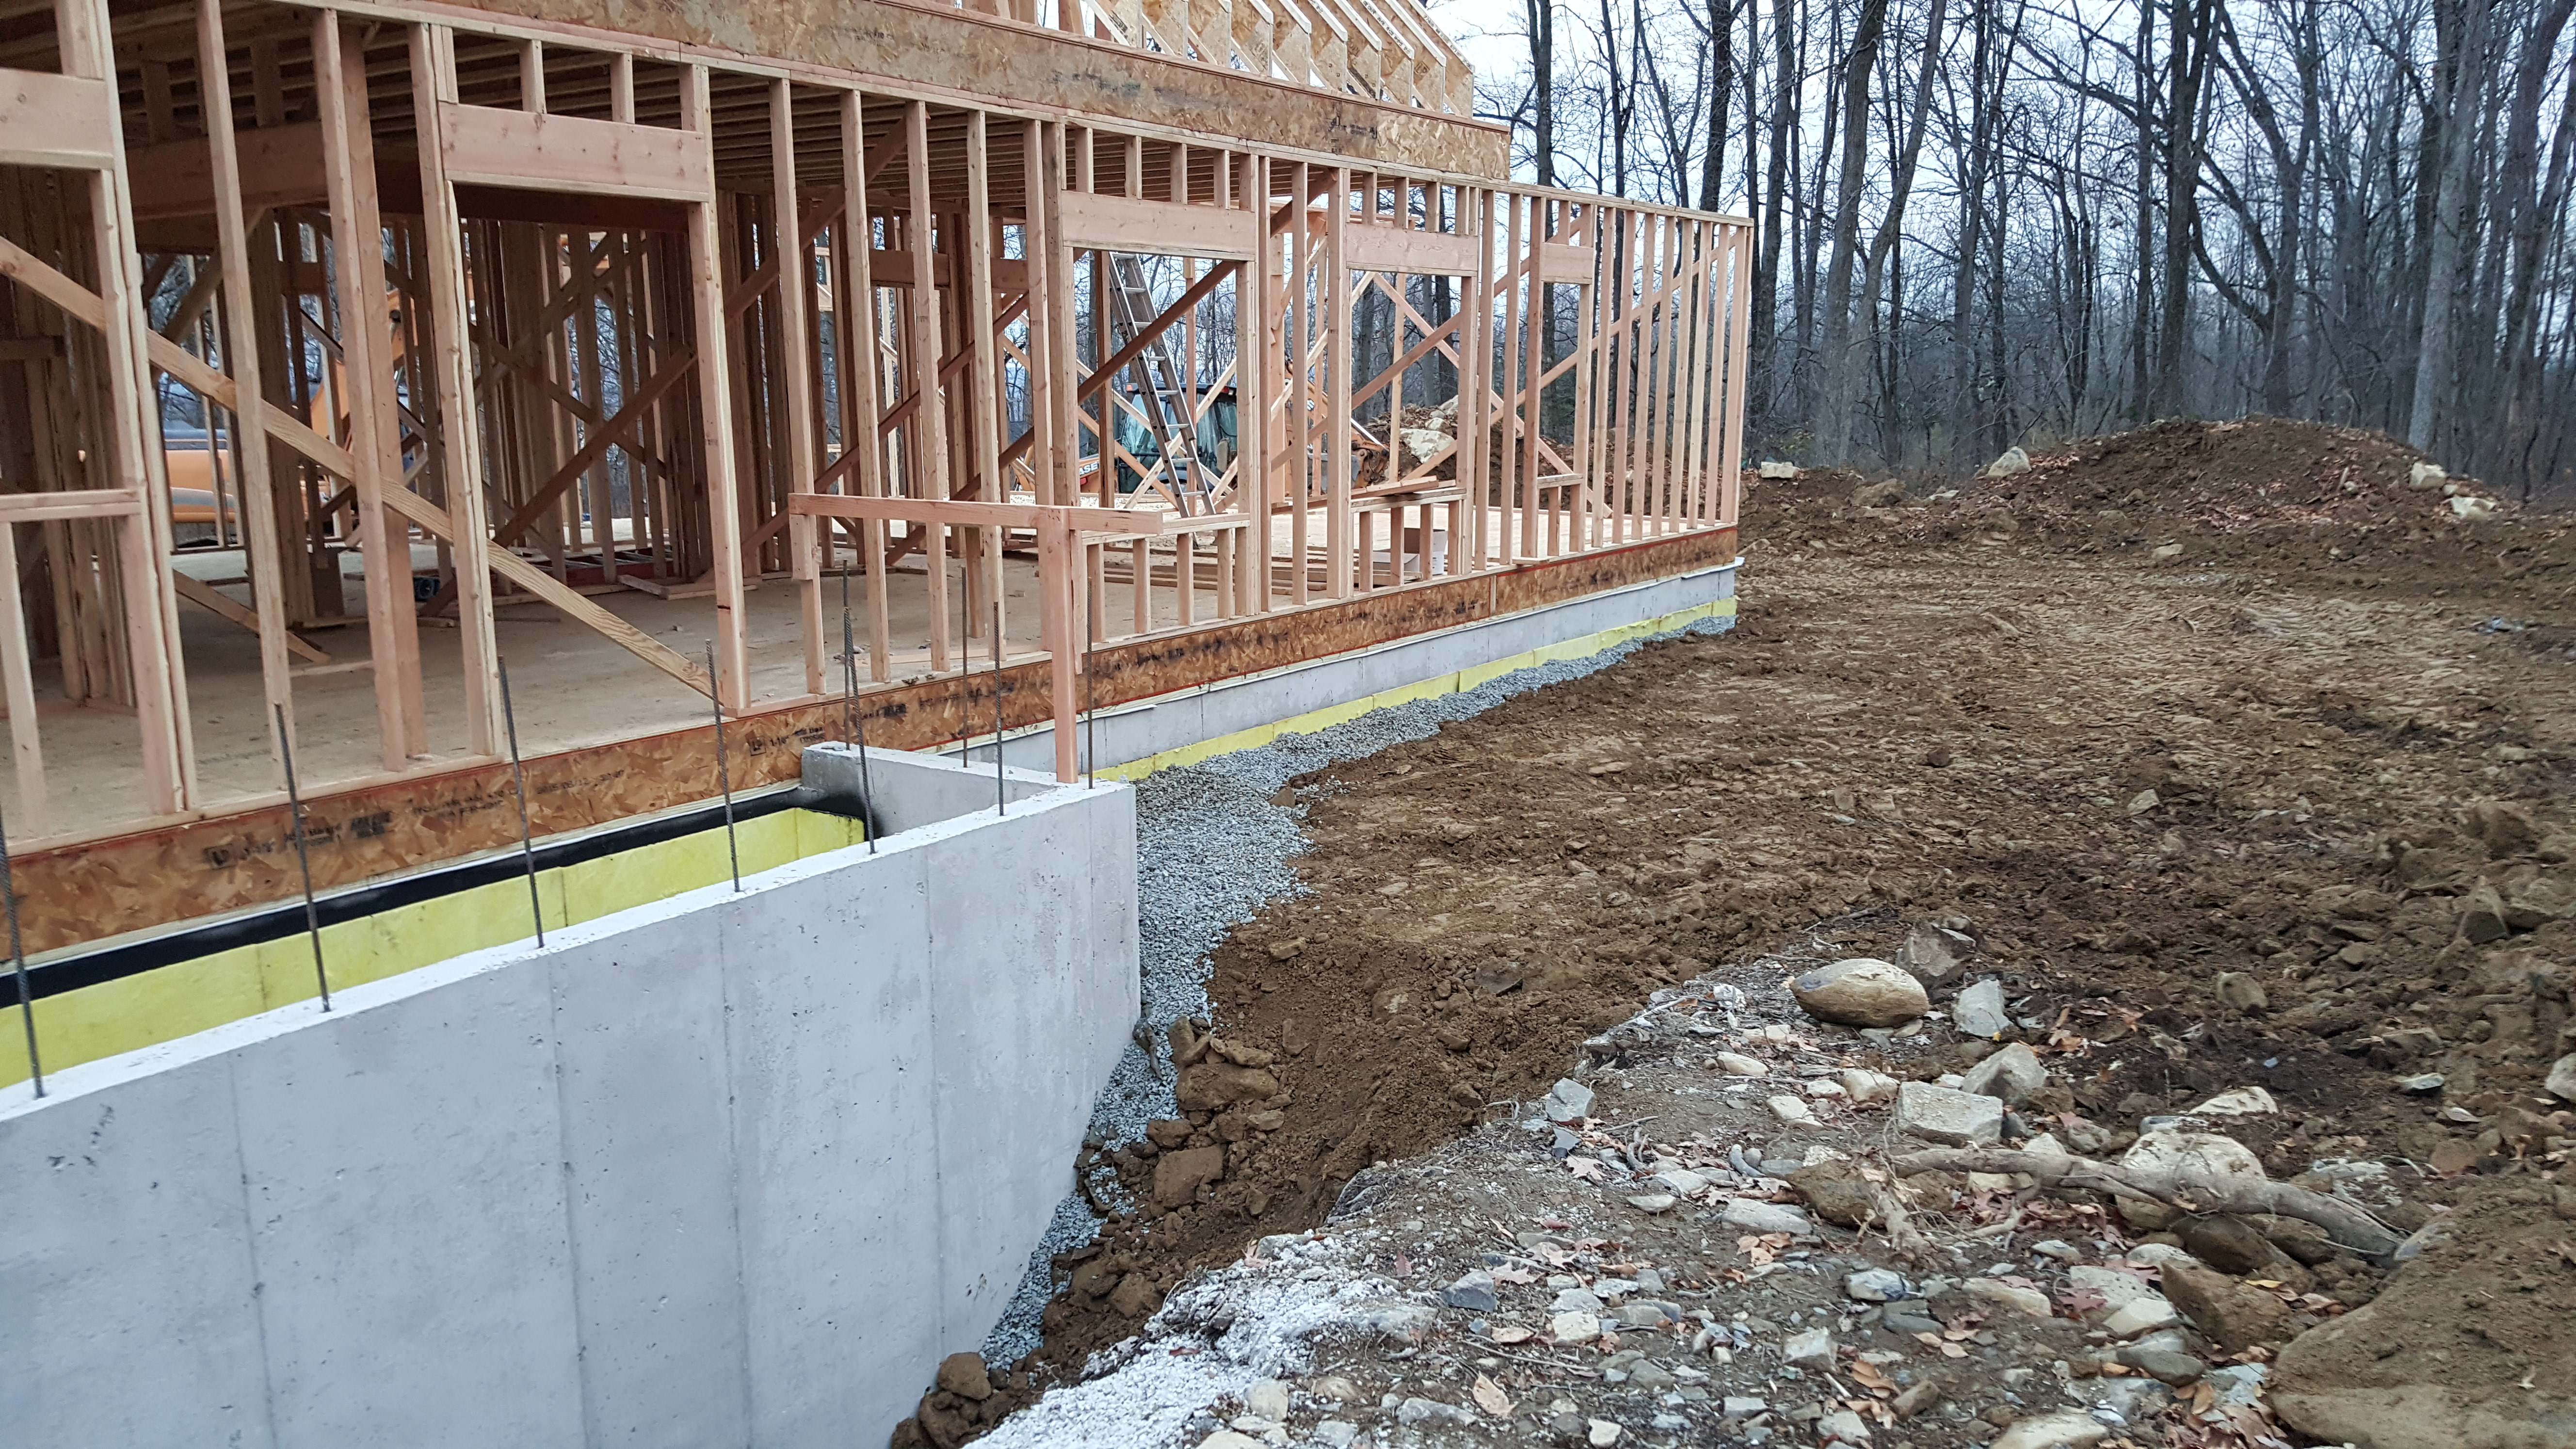
Office end
Shed pad


![20151109_090020[1]](https://net-zerohouse.com/wp-content/uploads/2015/11/20151109_0900201.jpg)
![20151109_085922[1]](https://net-zerohouse.com/wp-content/uploads/2015/11/20151109_0859221.jpg)
