Sill plate details

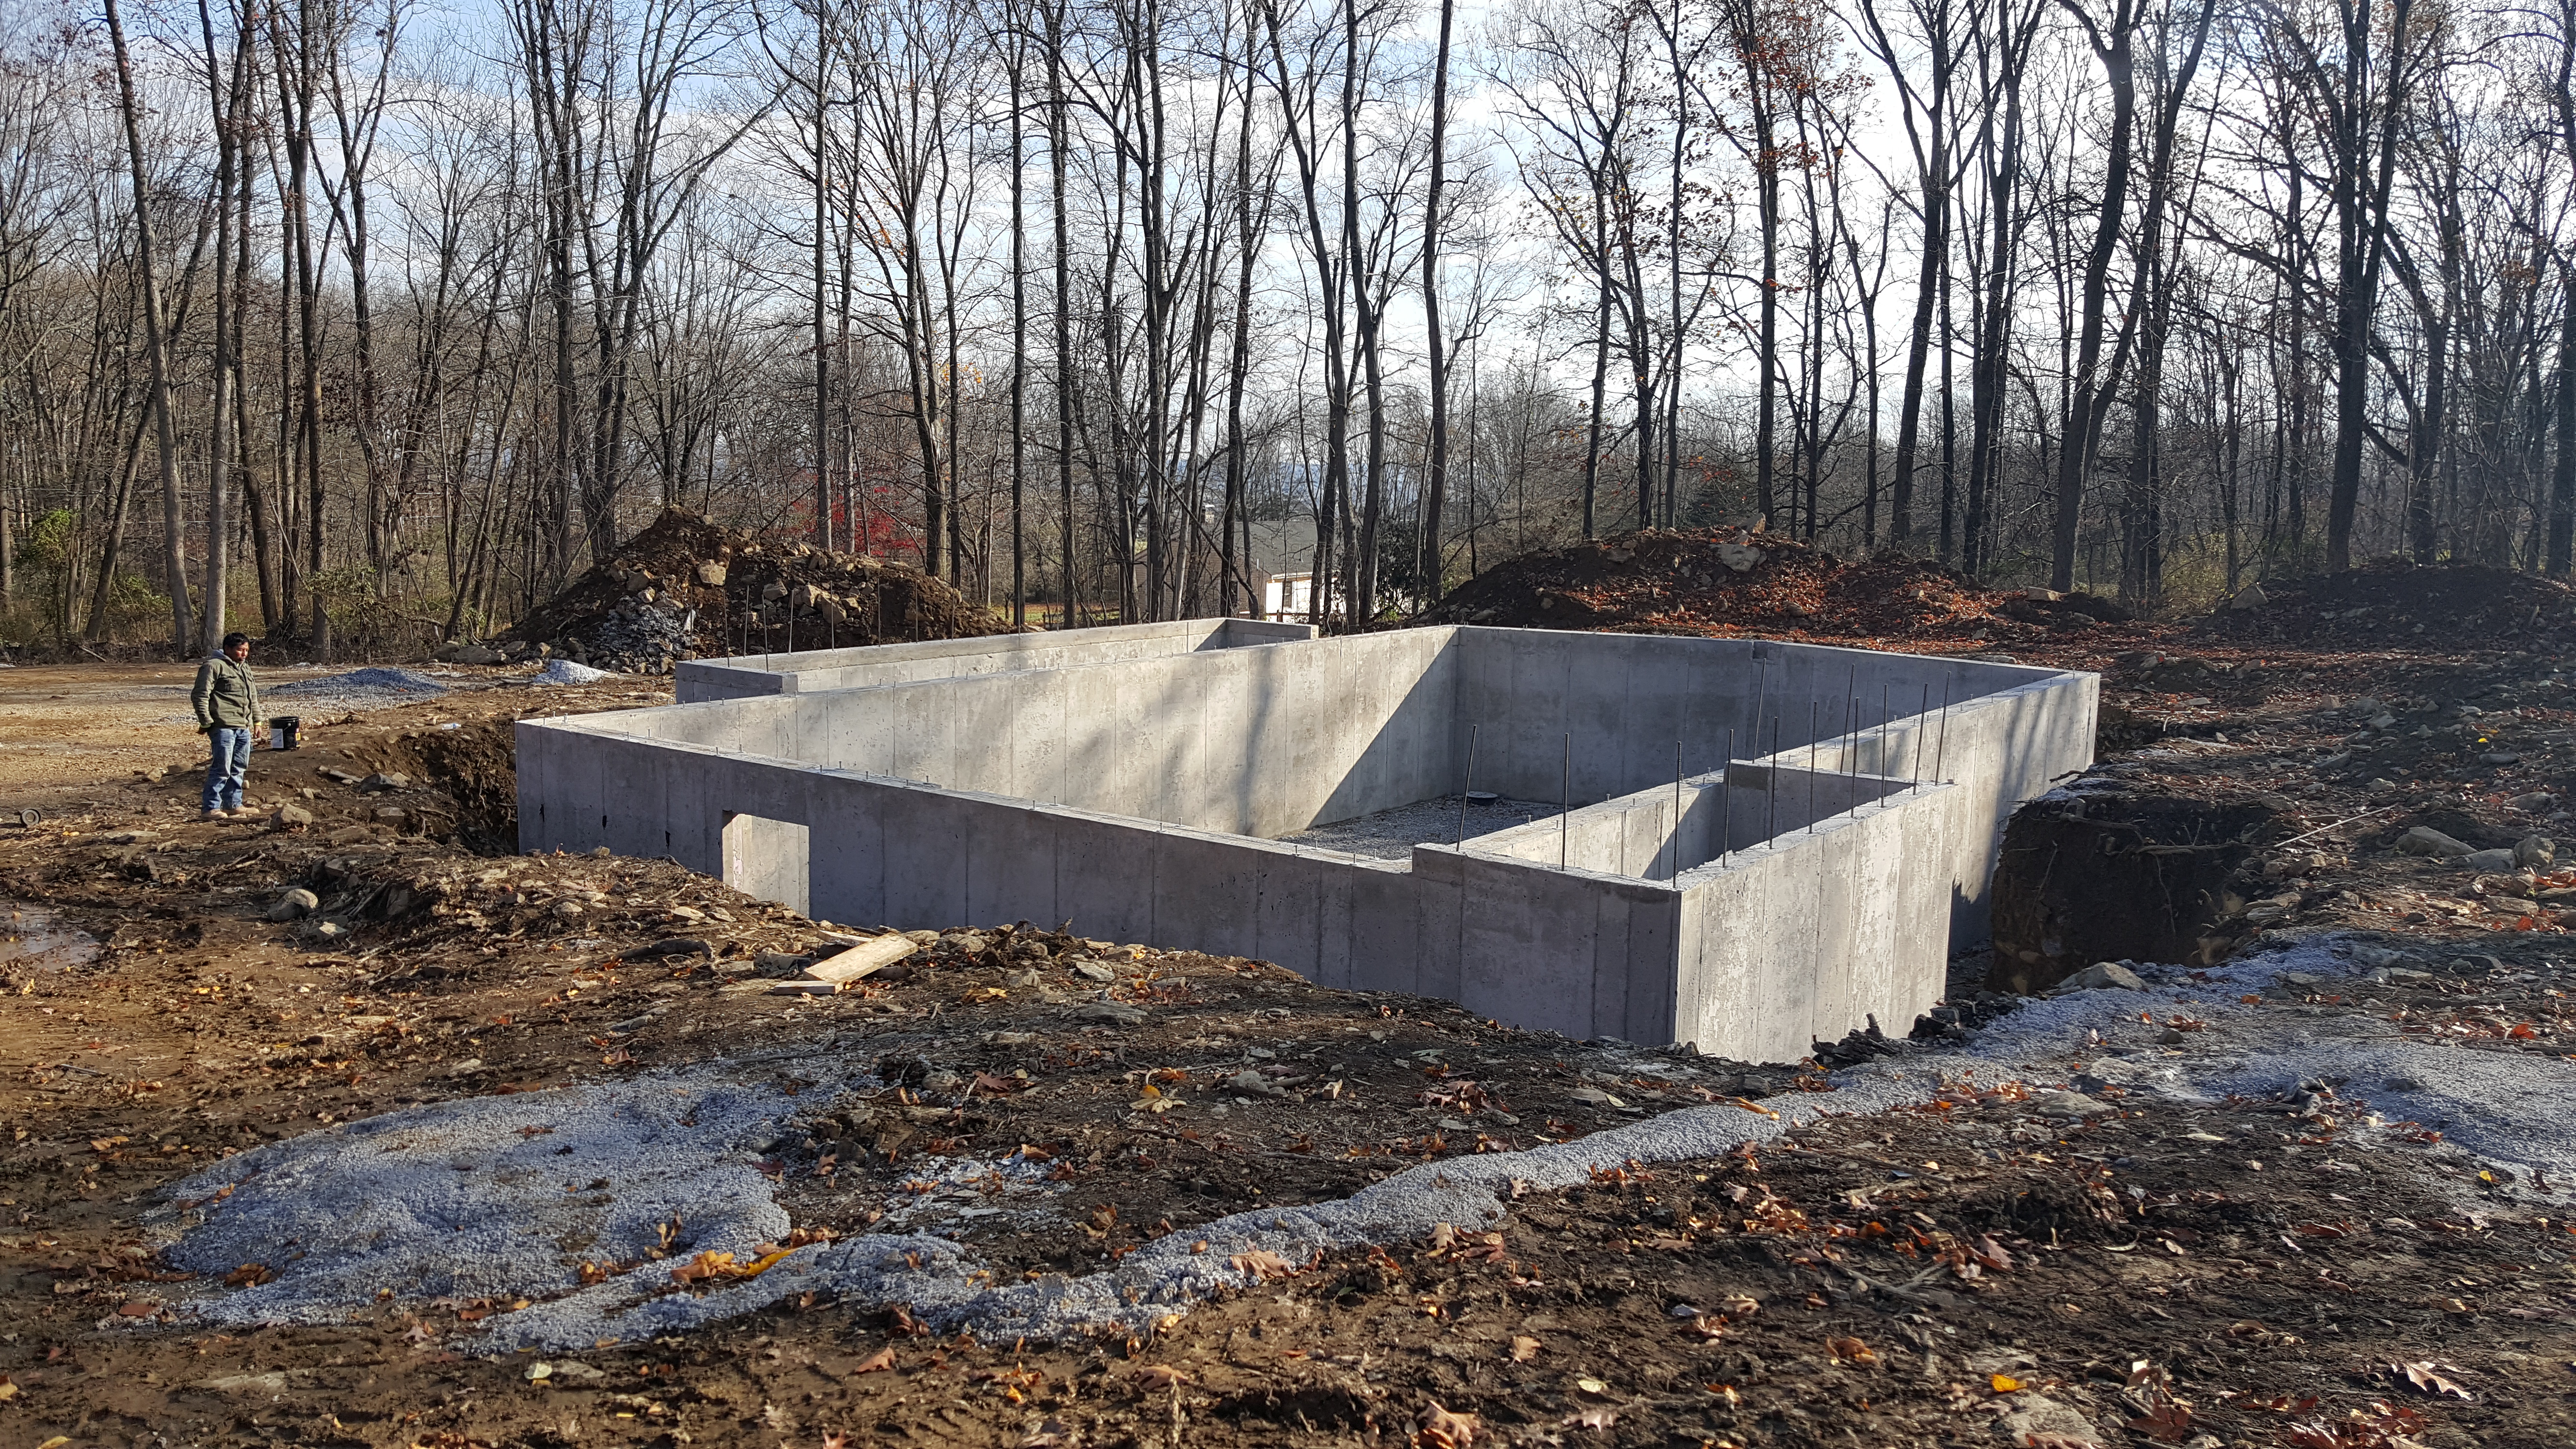
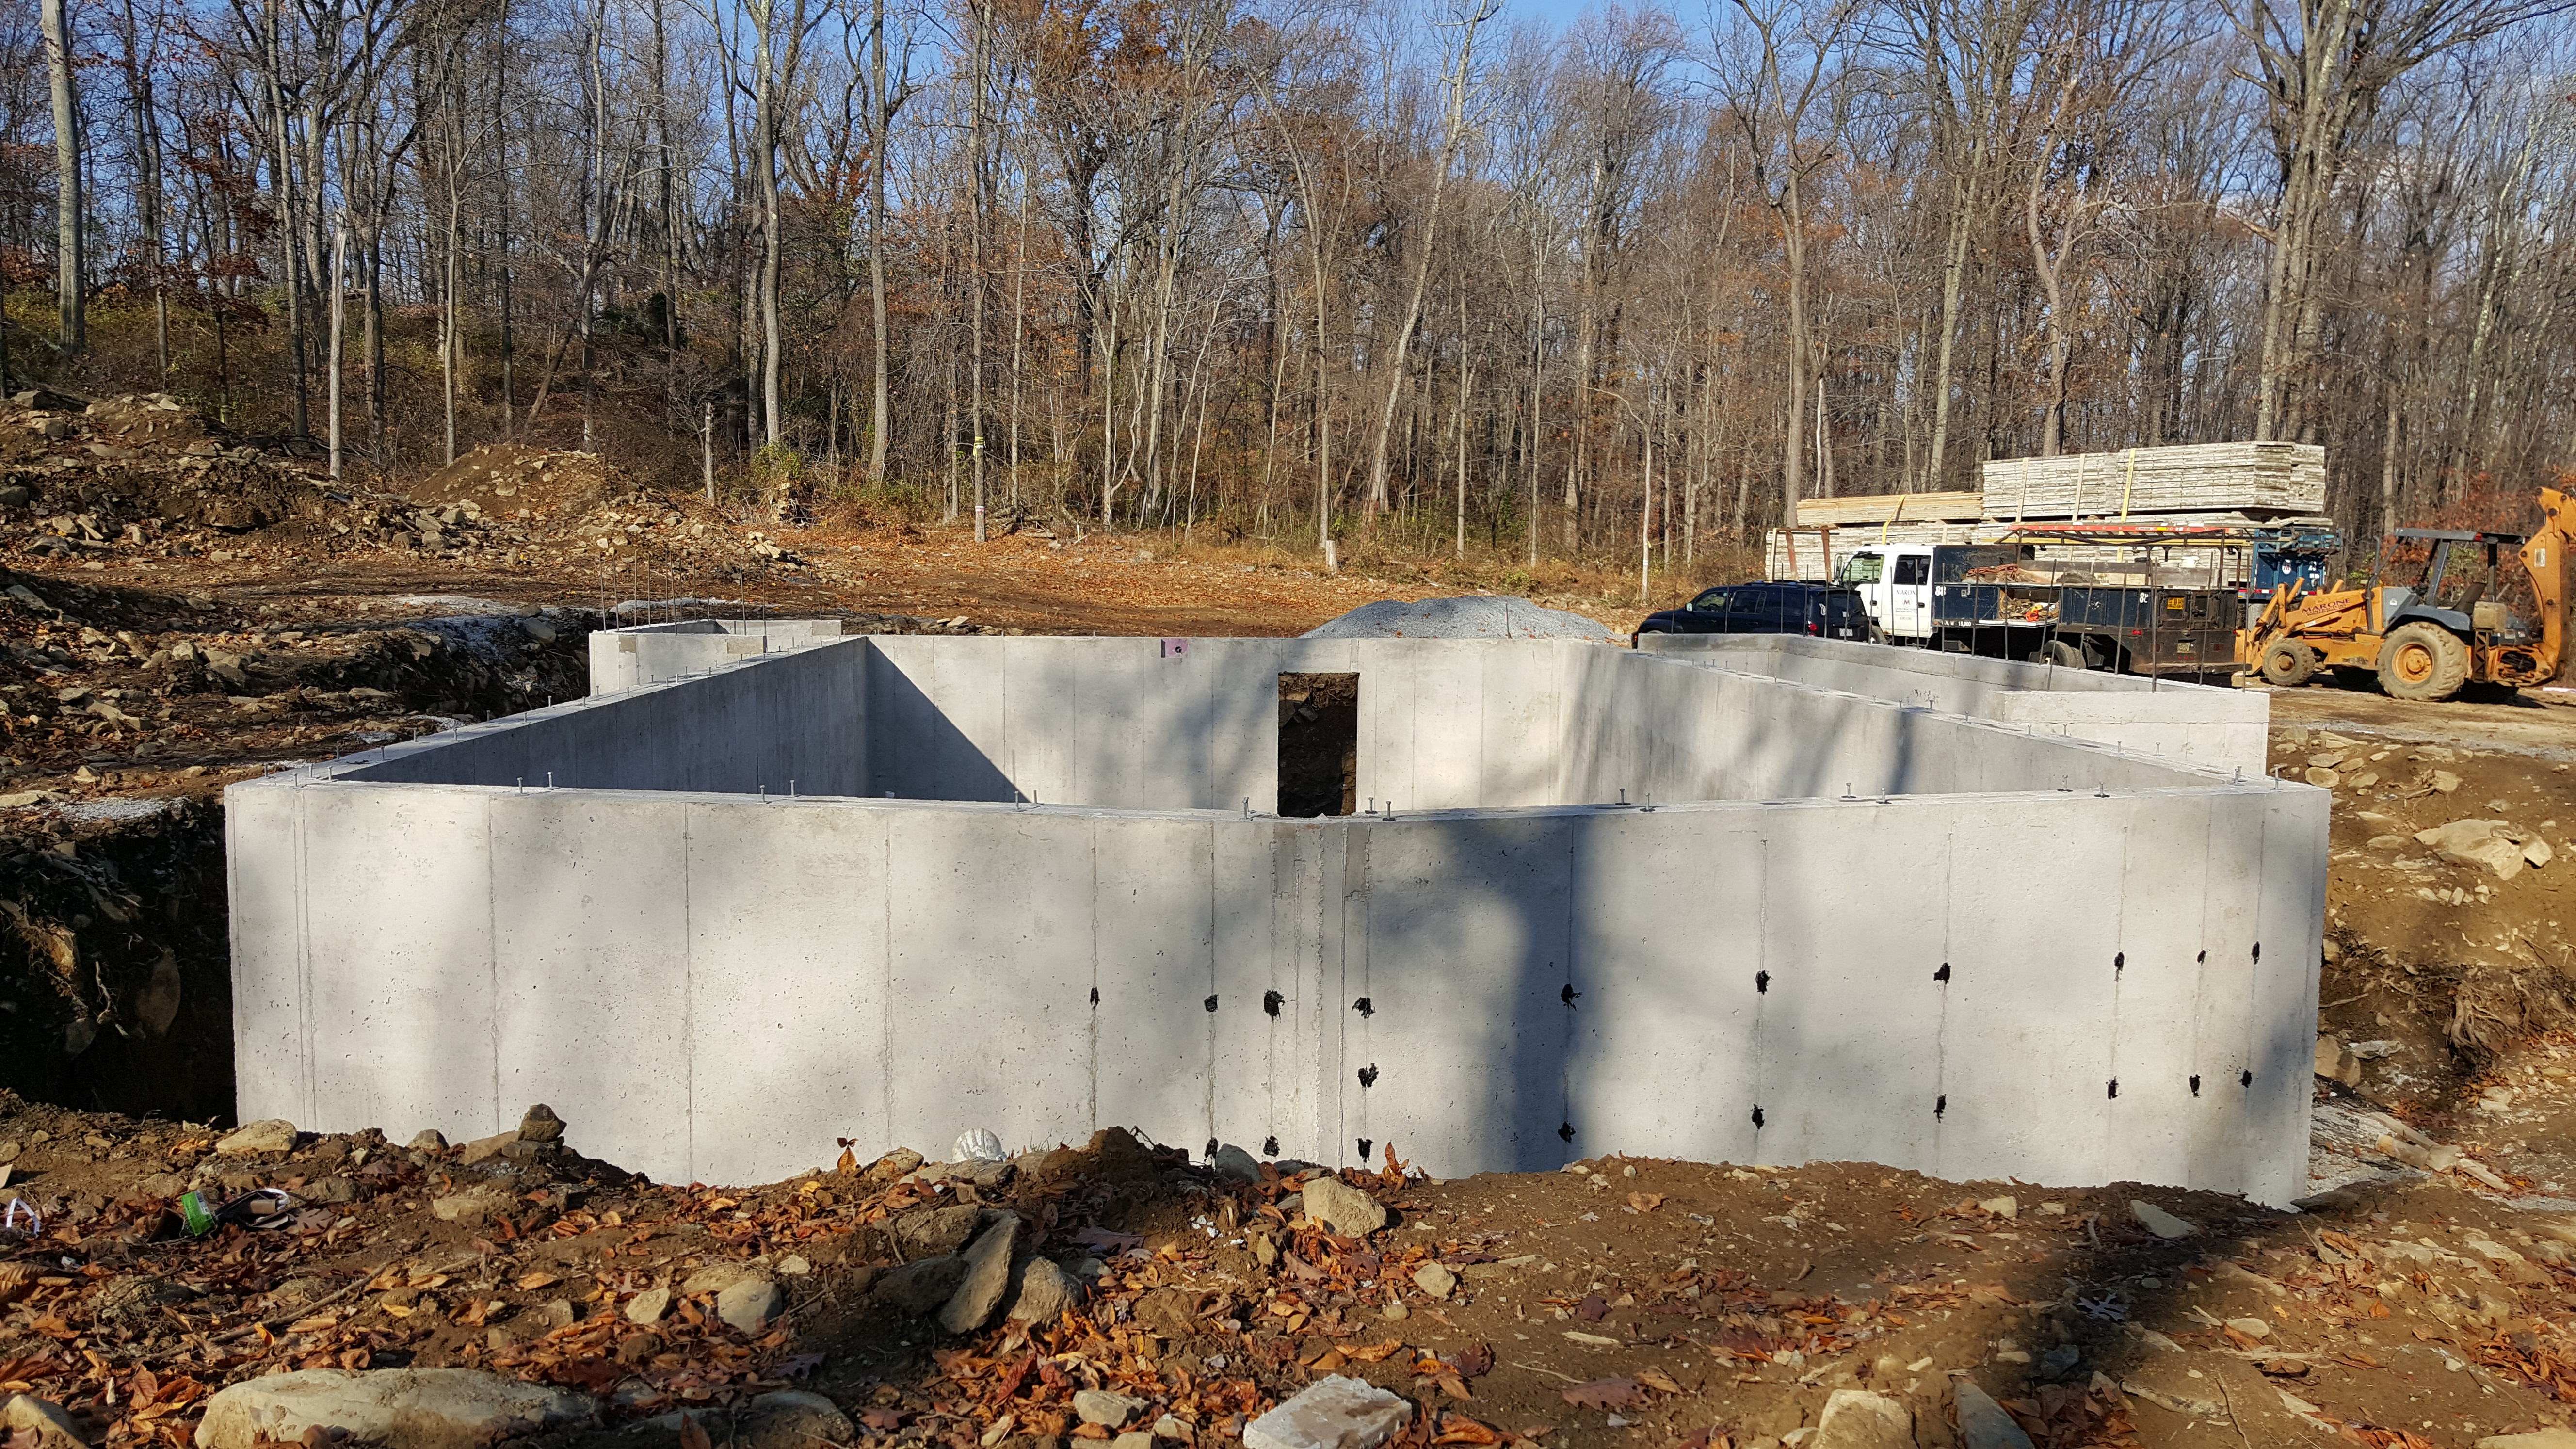
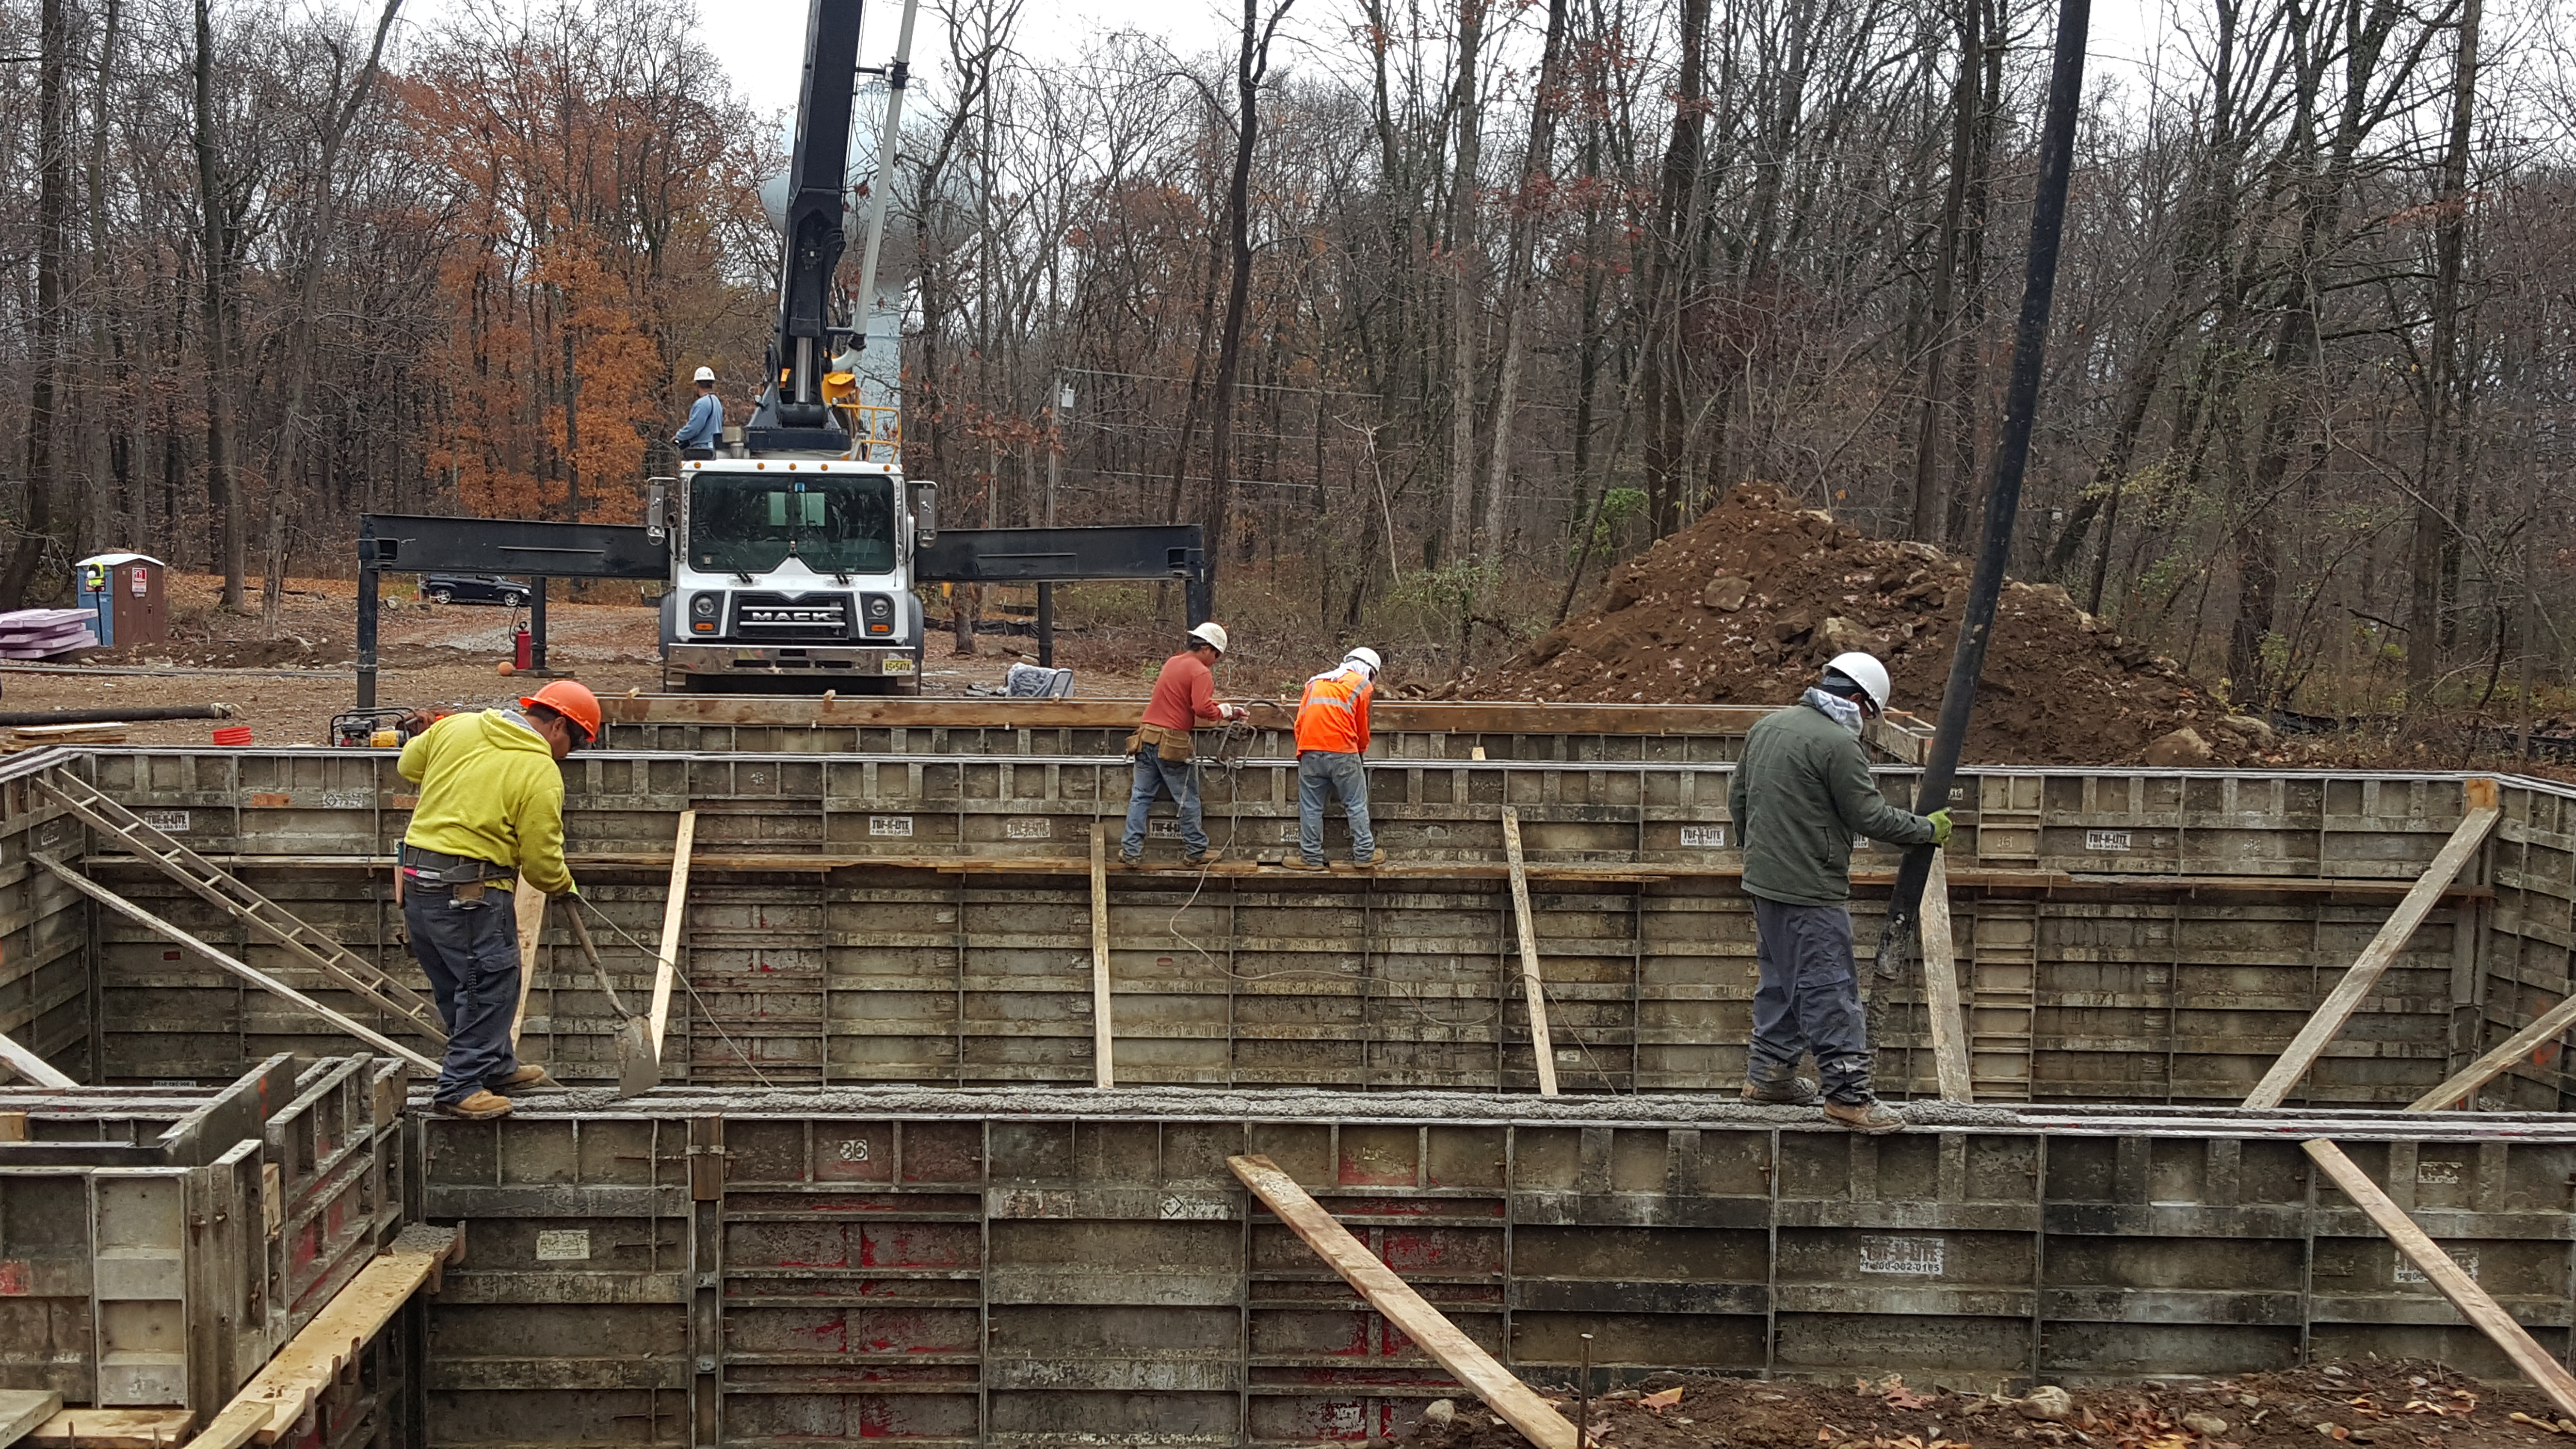
Just a rainy day in Jersey.  Just the Township’s back fill inspection today, passed.

With a full day of  rain forecast for today and tomorrow the isn’t any progress, the bilco door system is rescheduled for Monday. They need dry weather for their seal to dry properly.

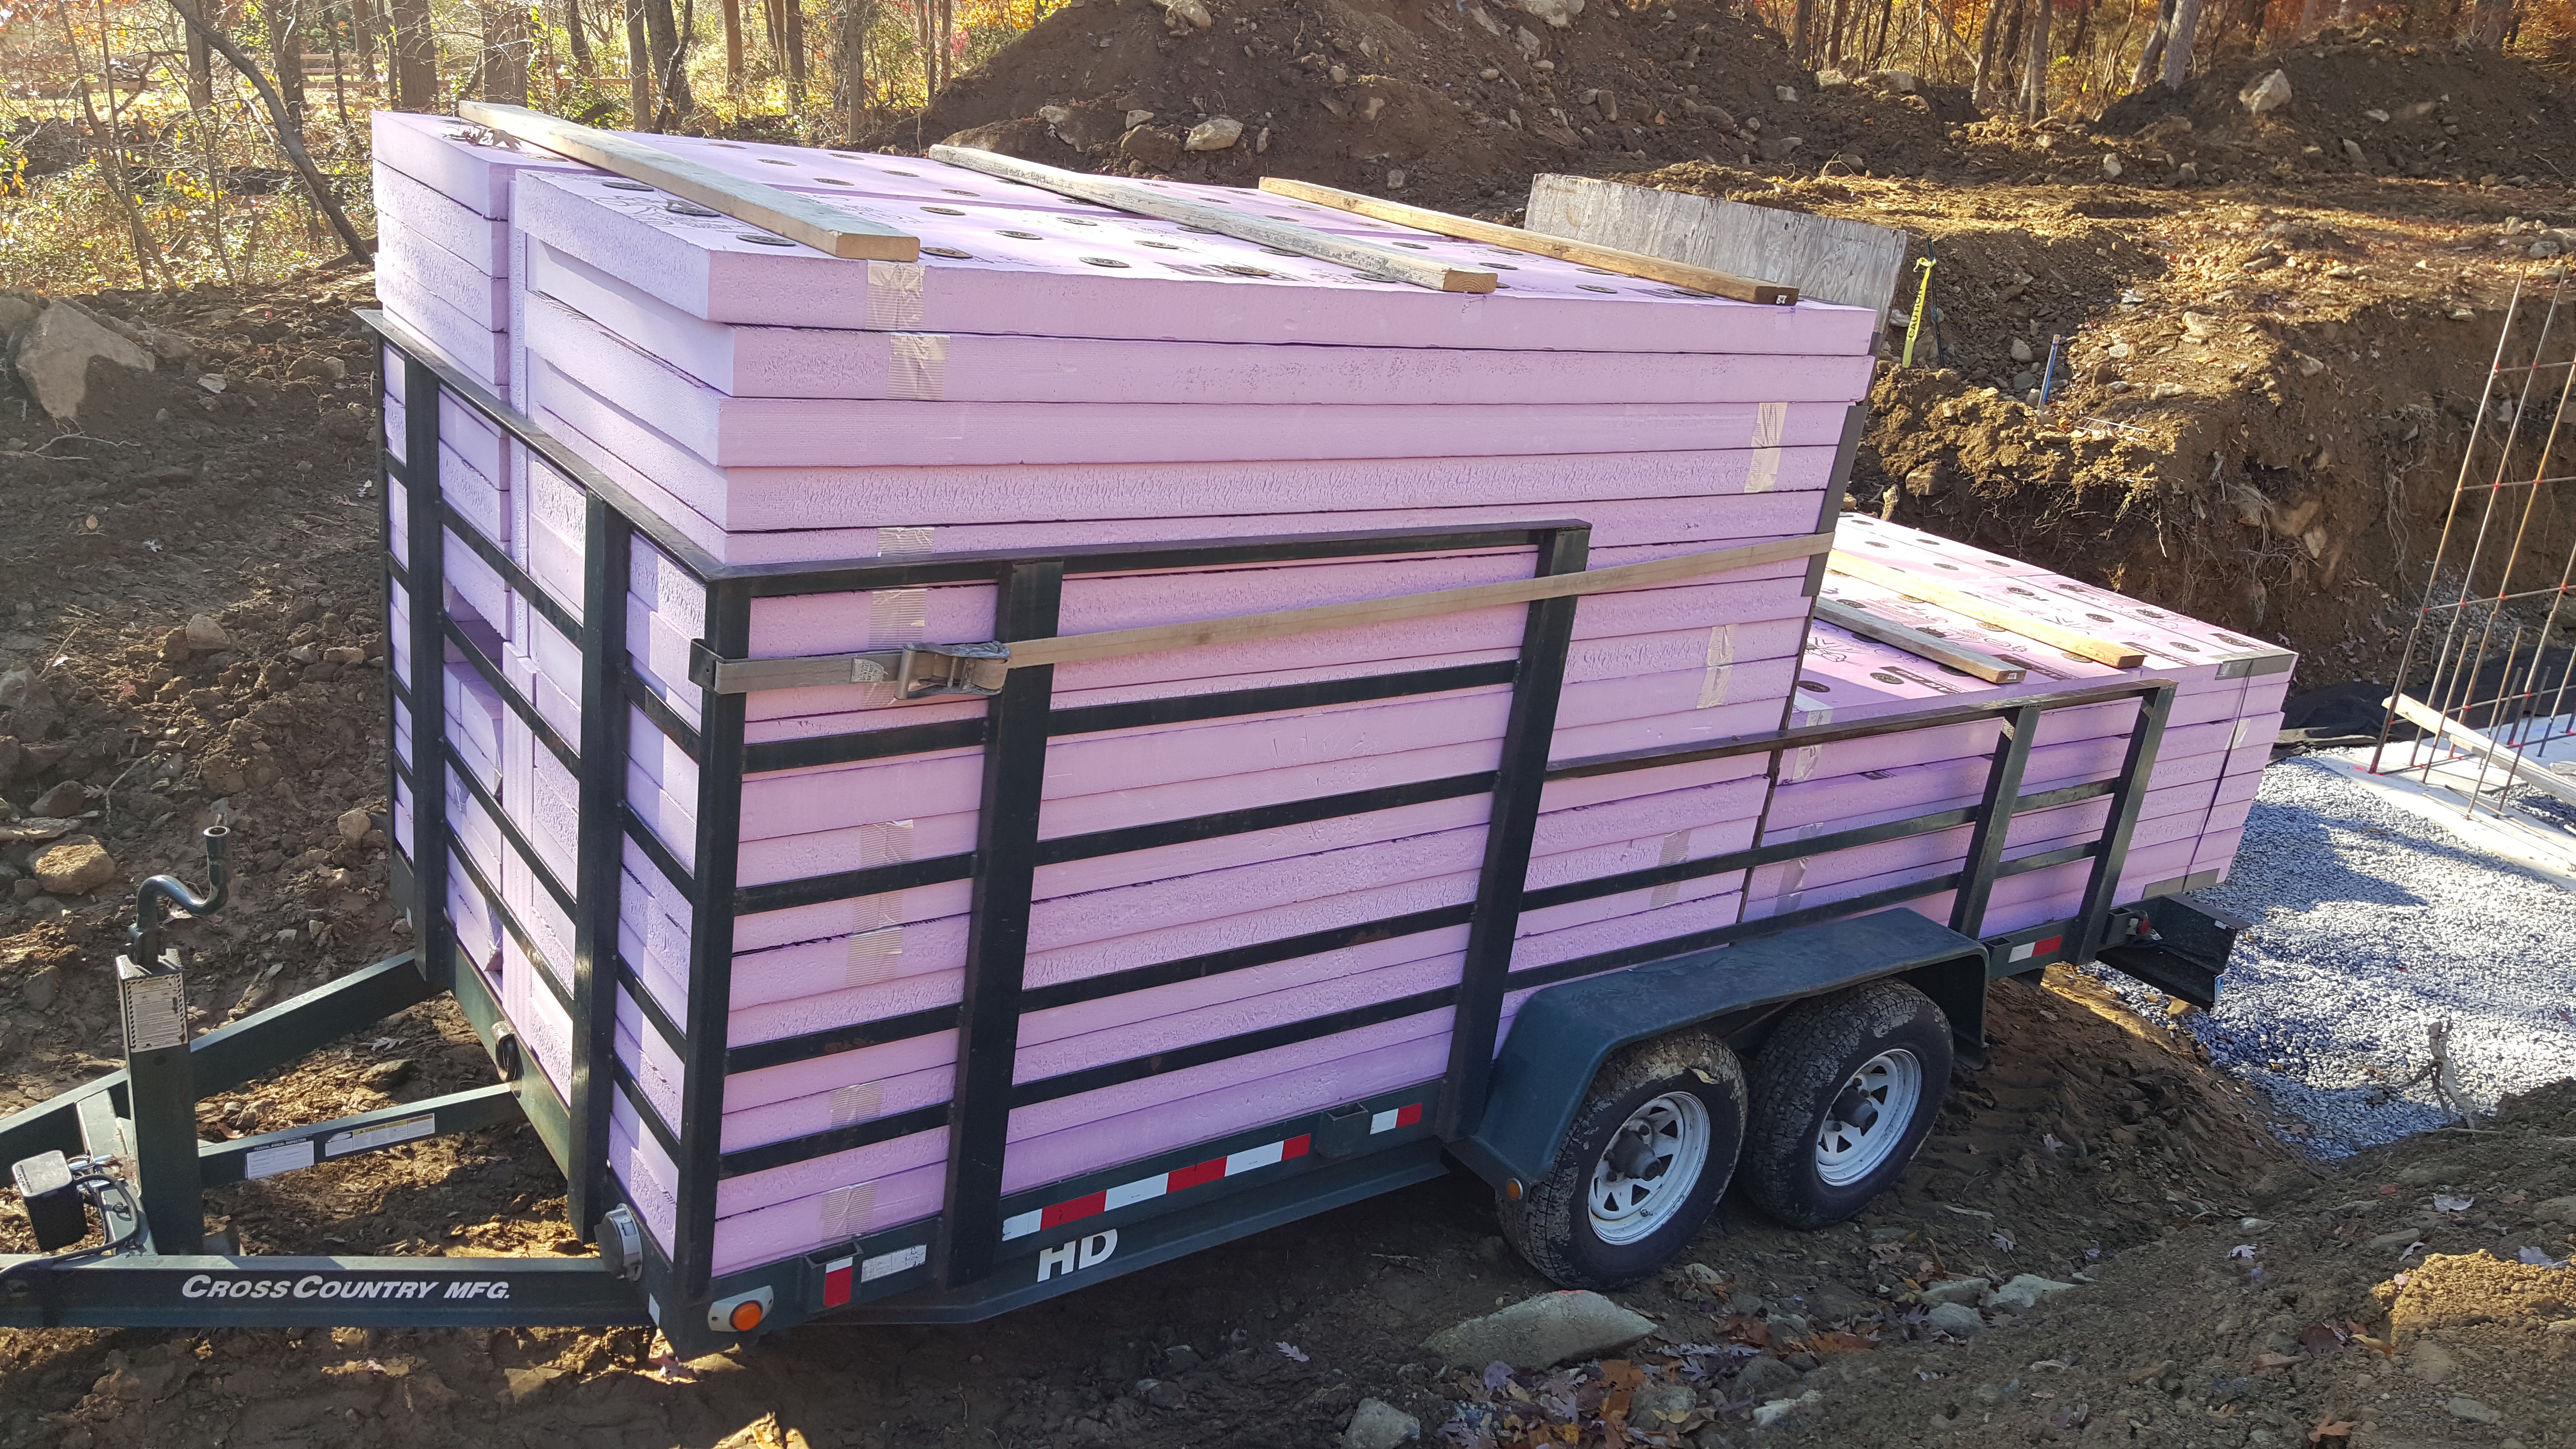
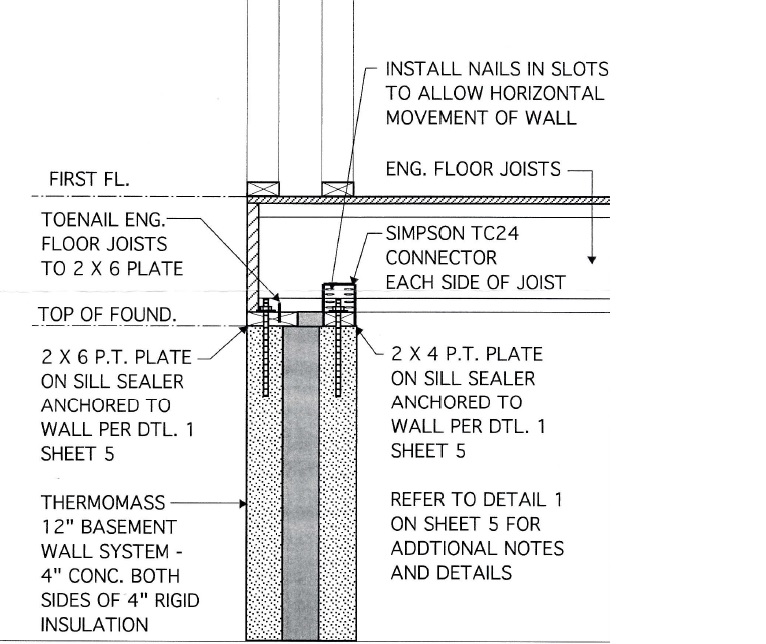
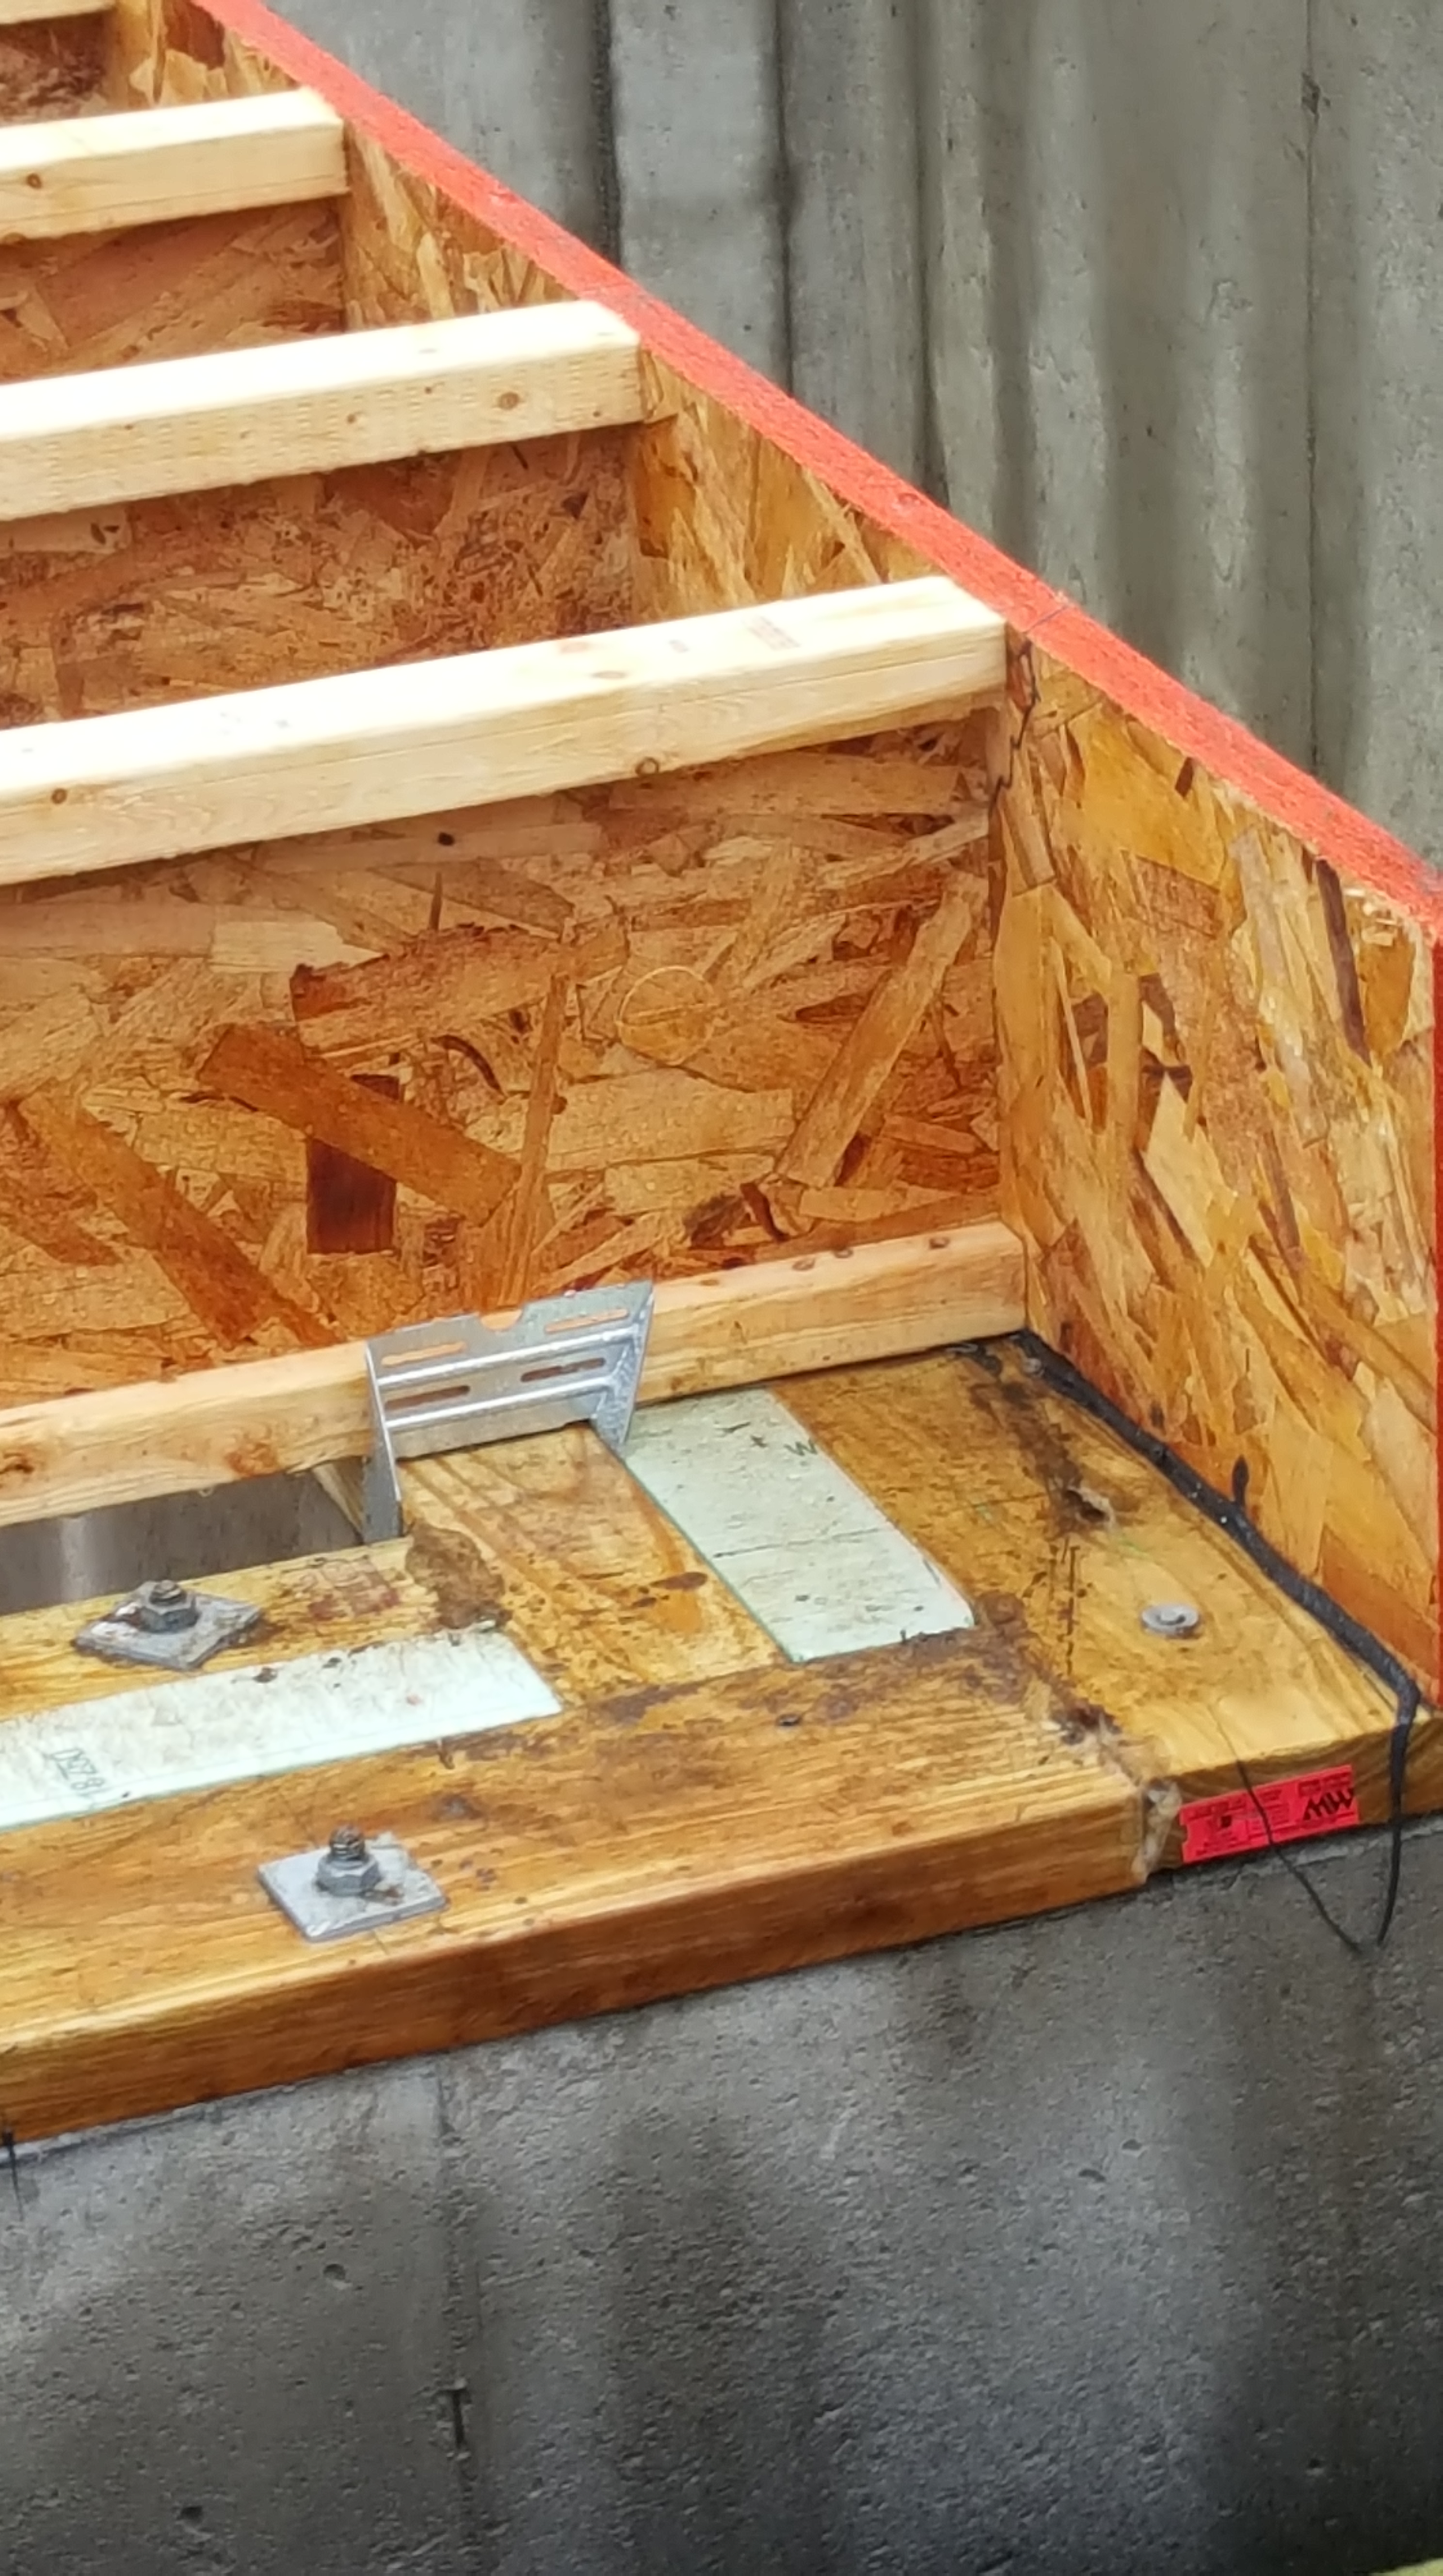
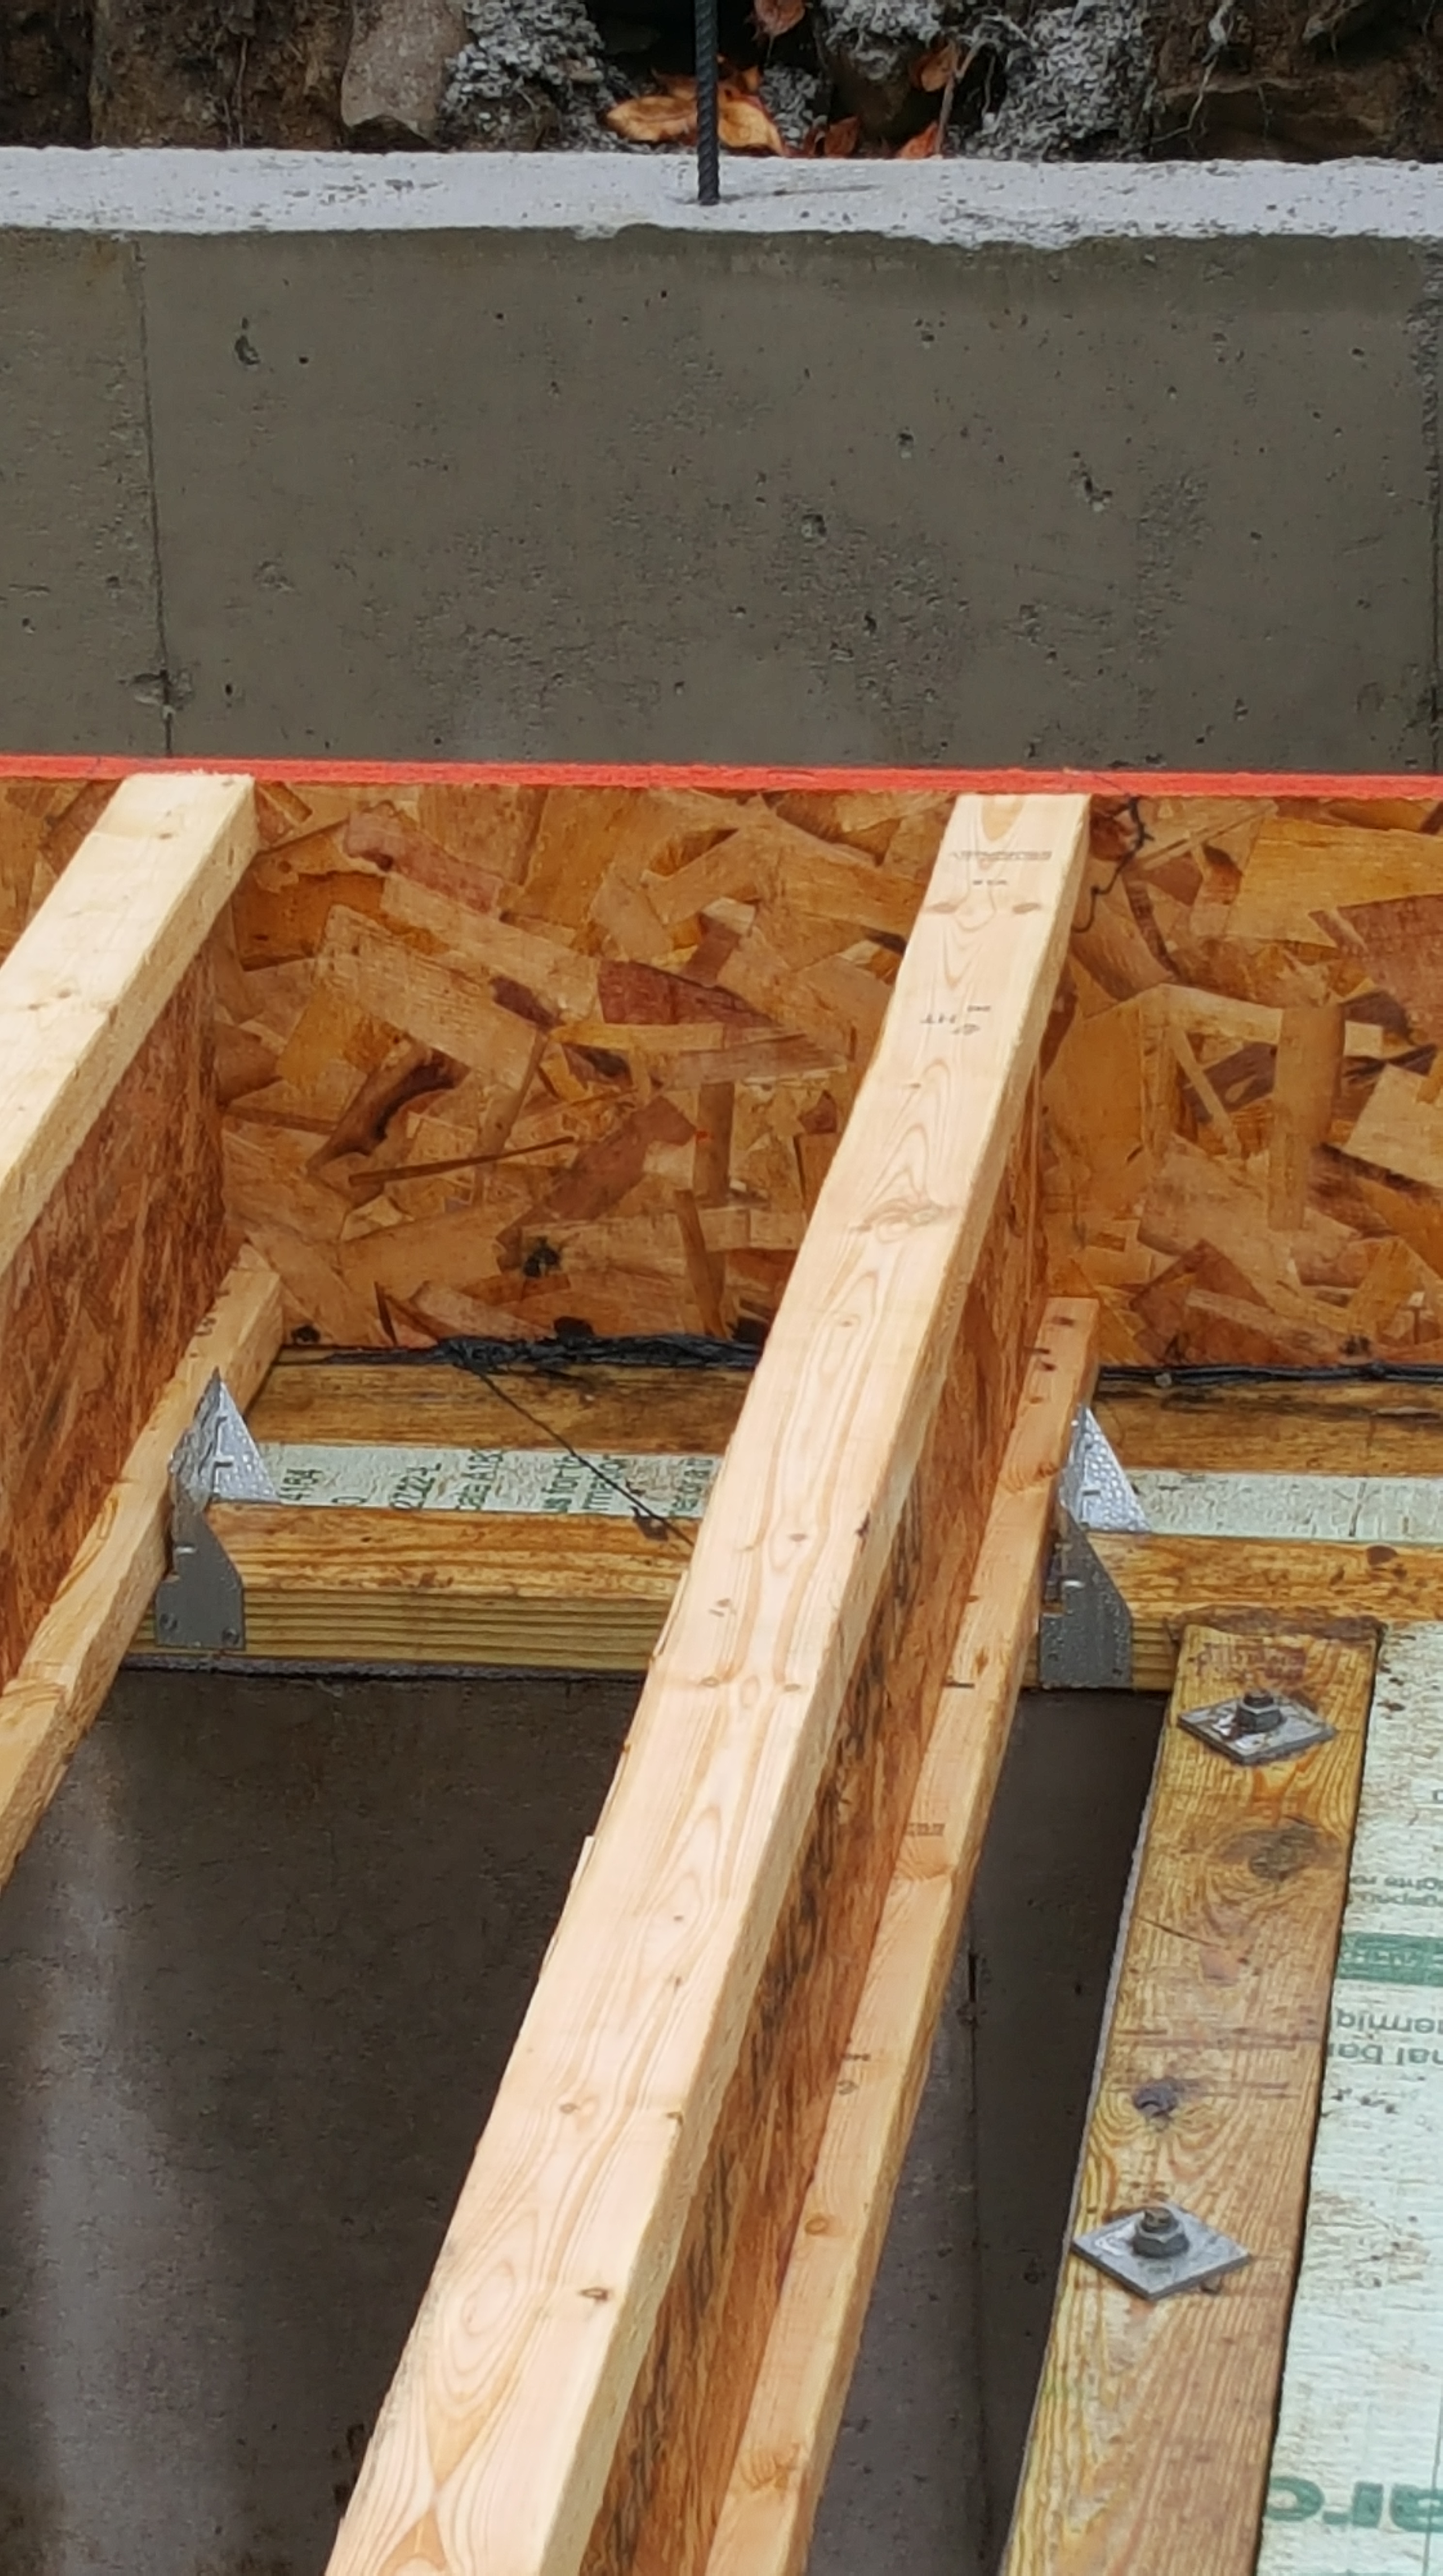
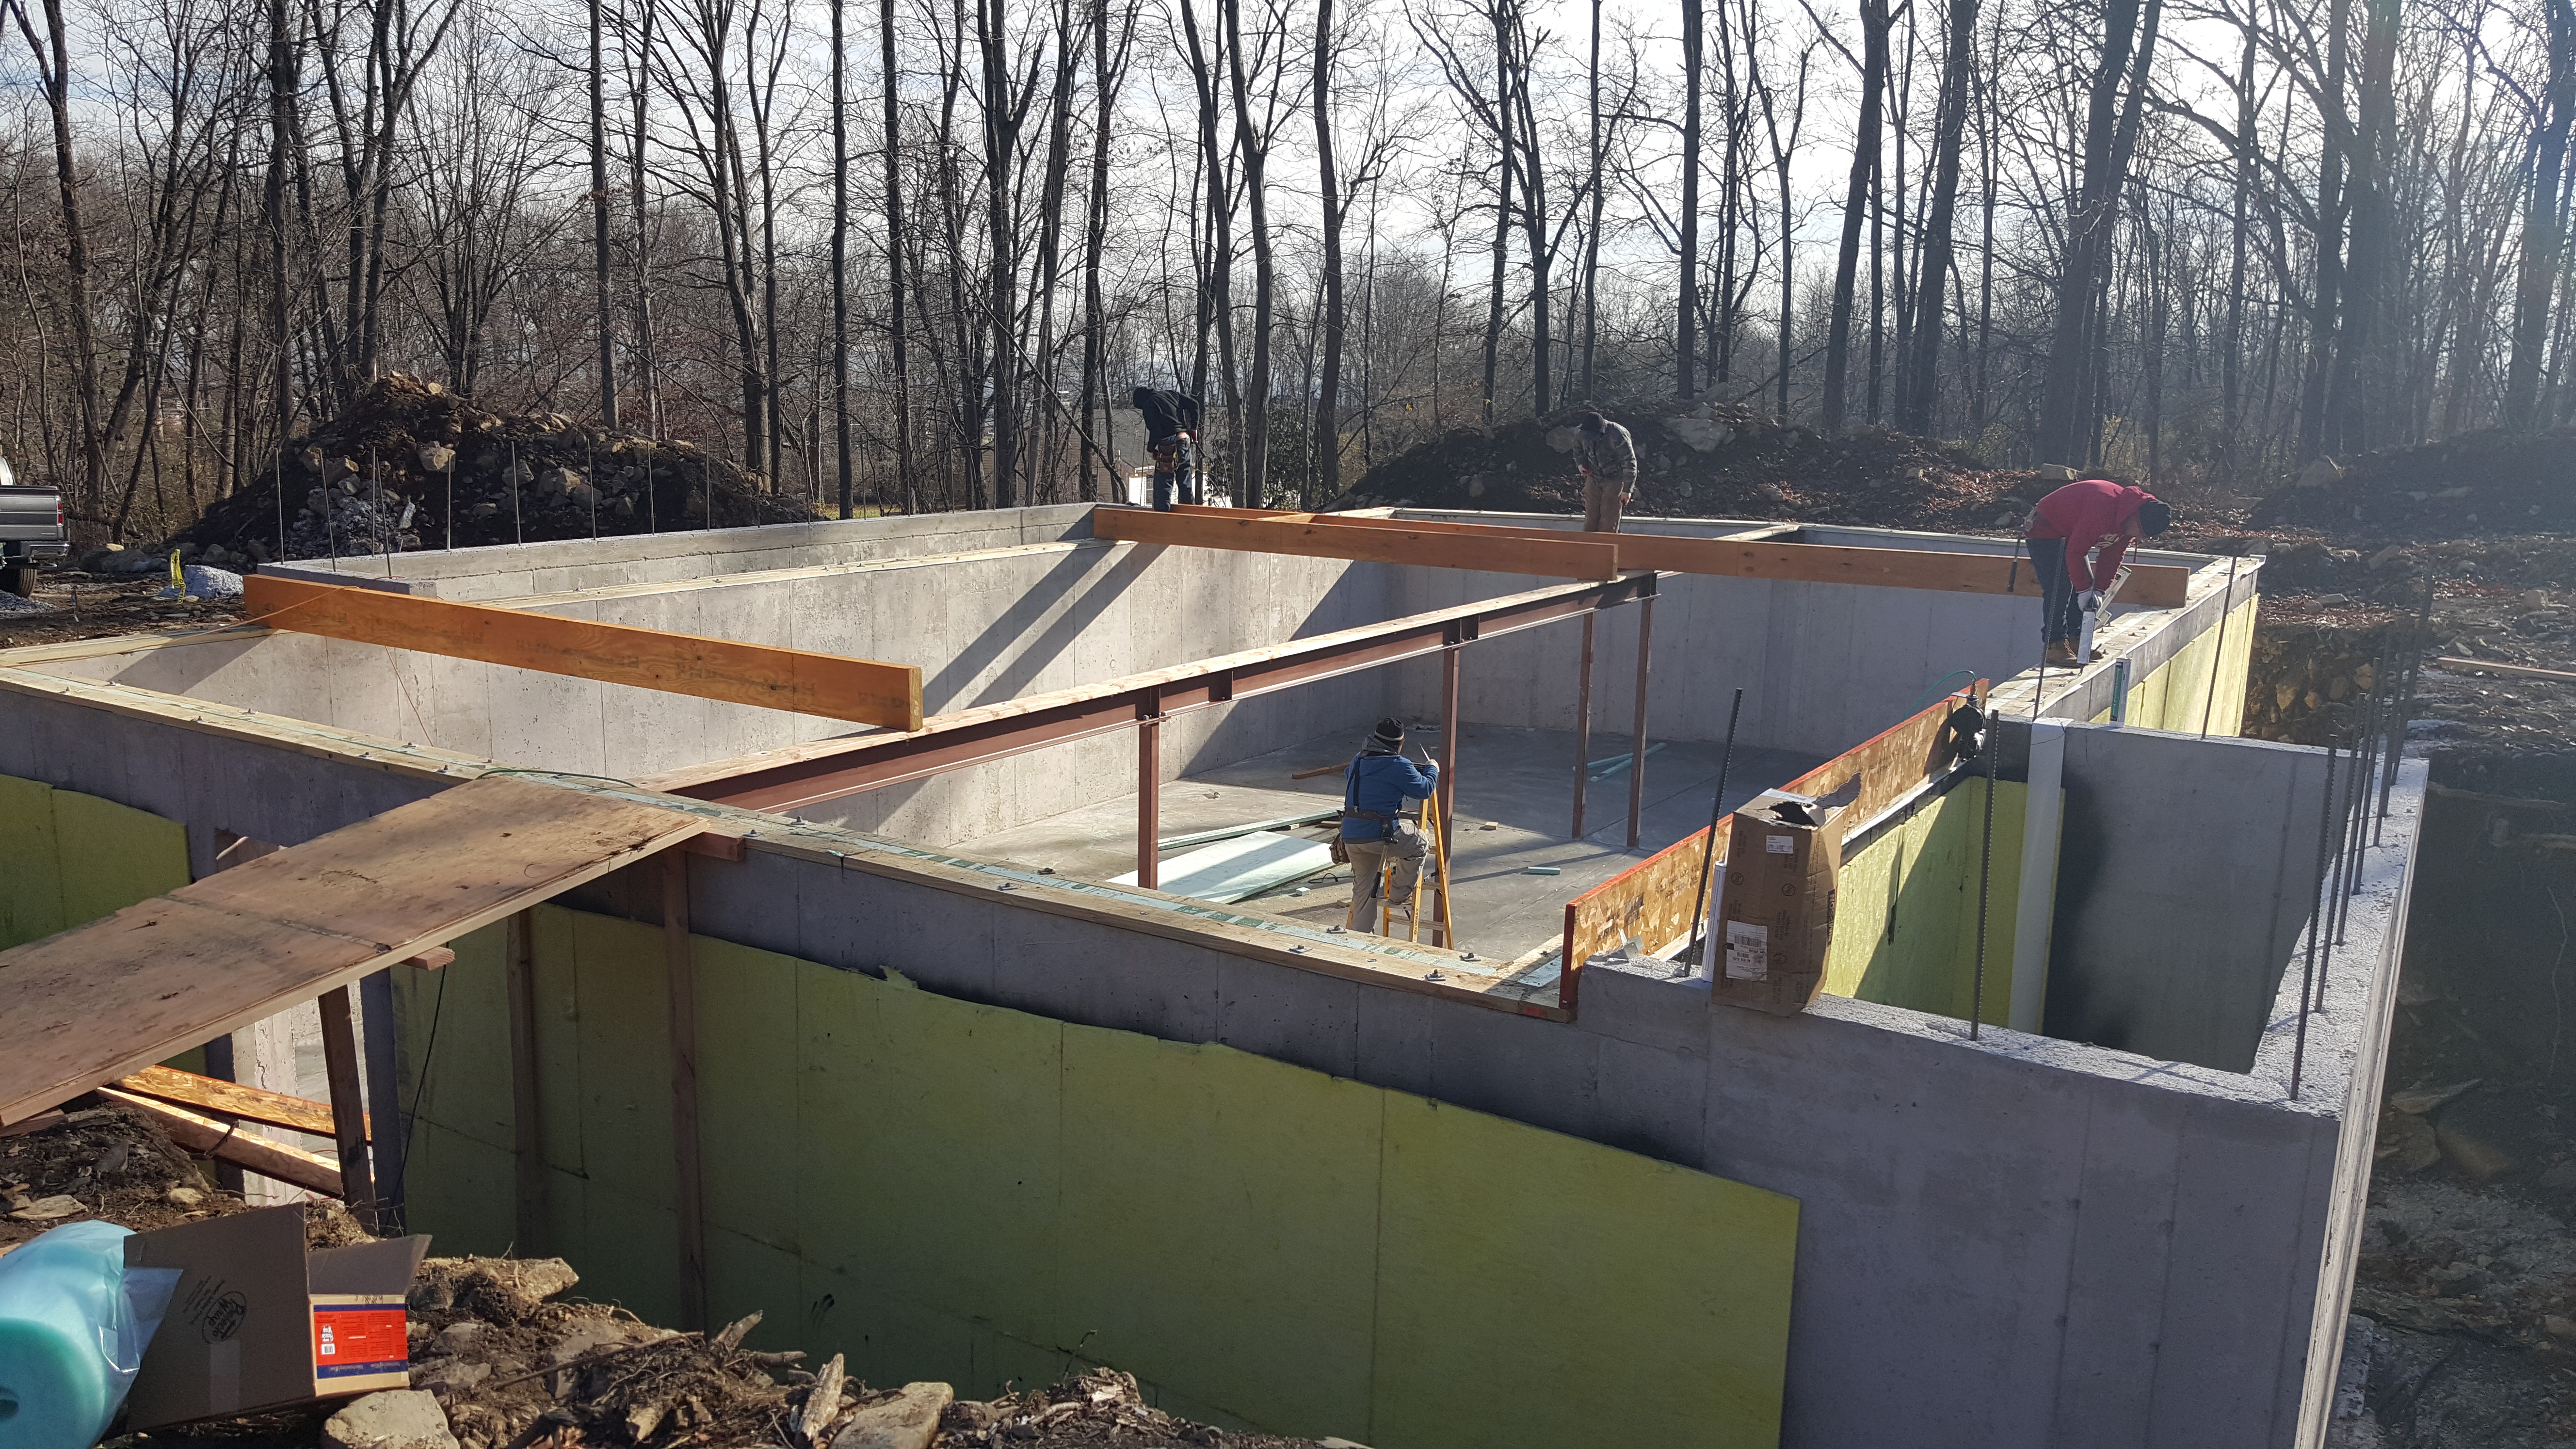
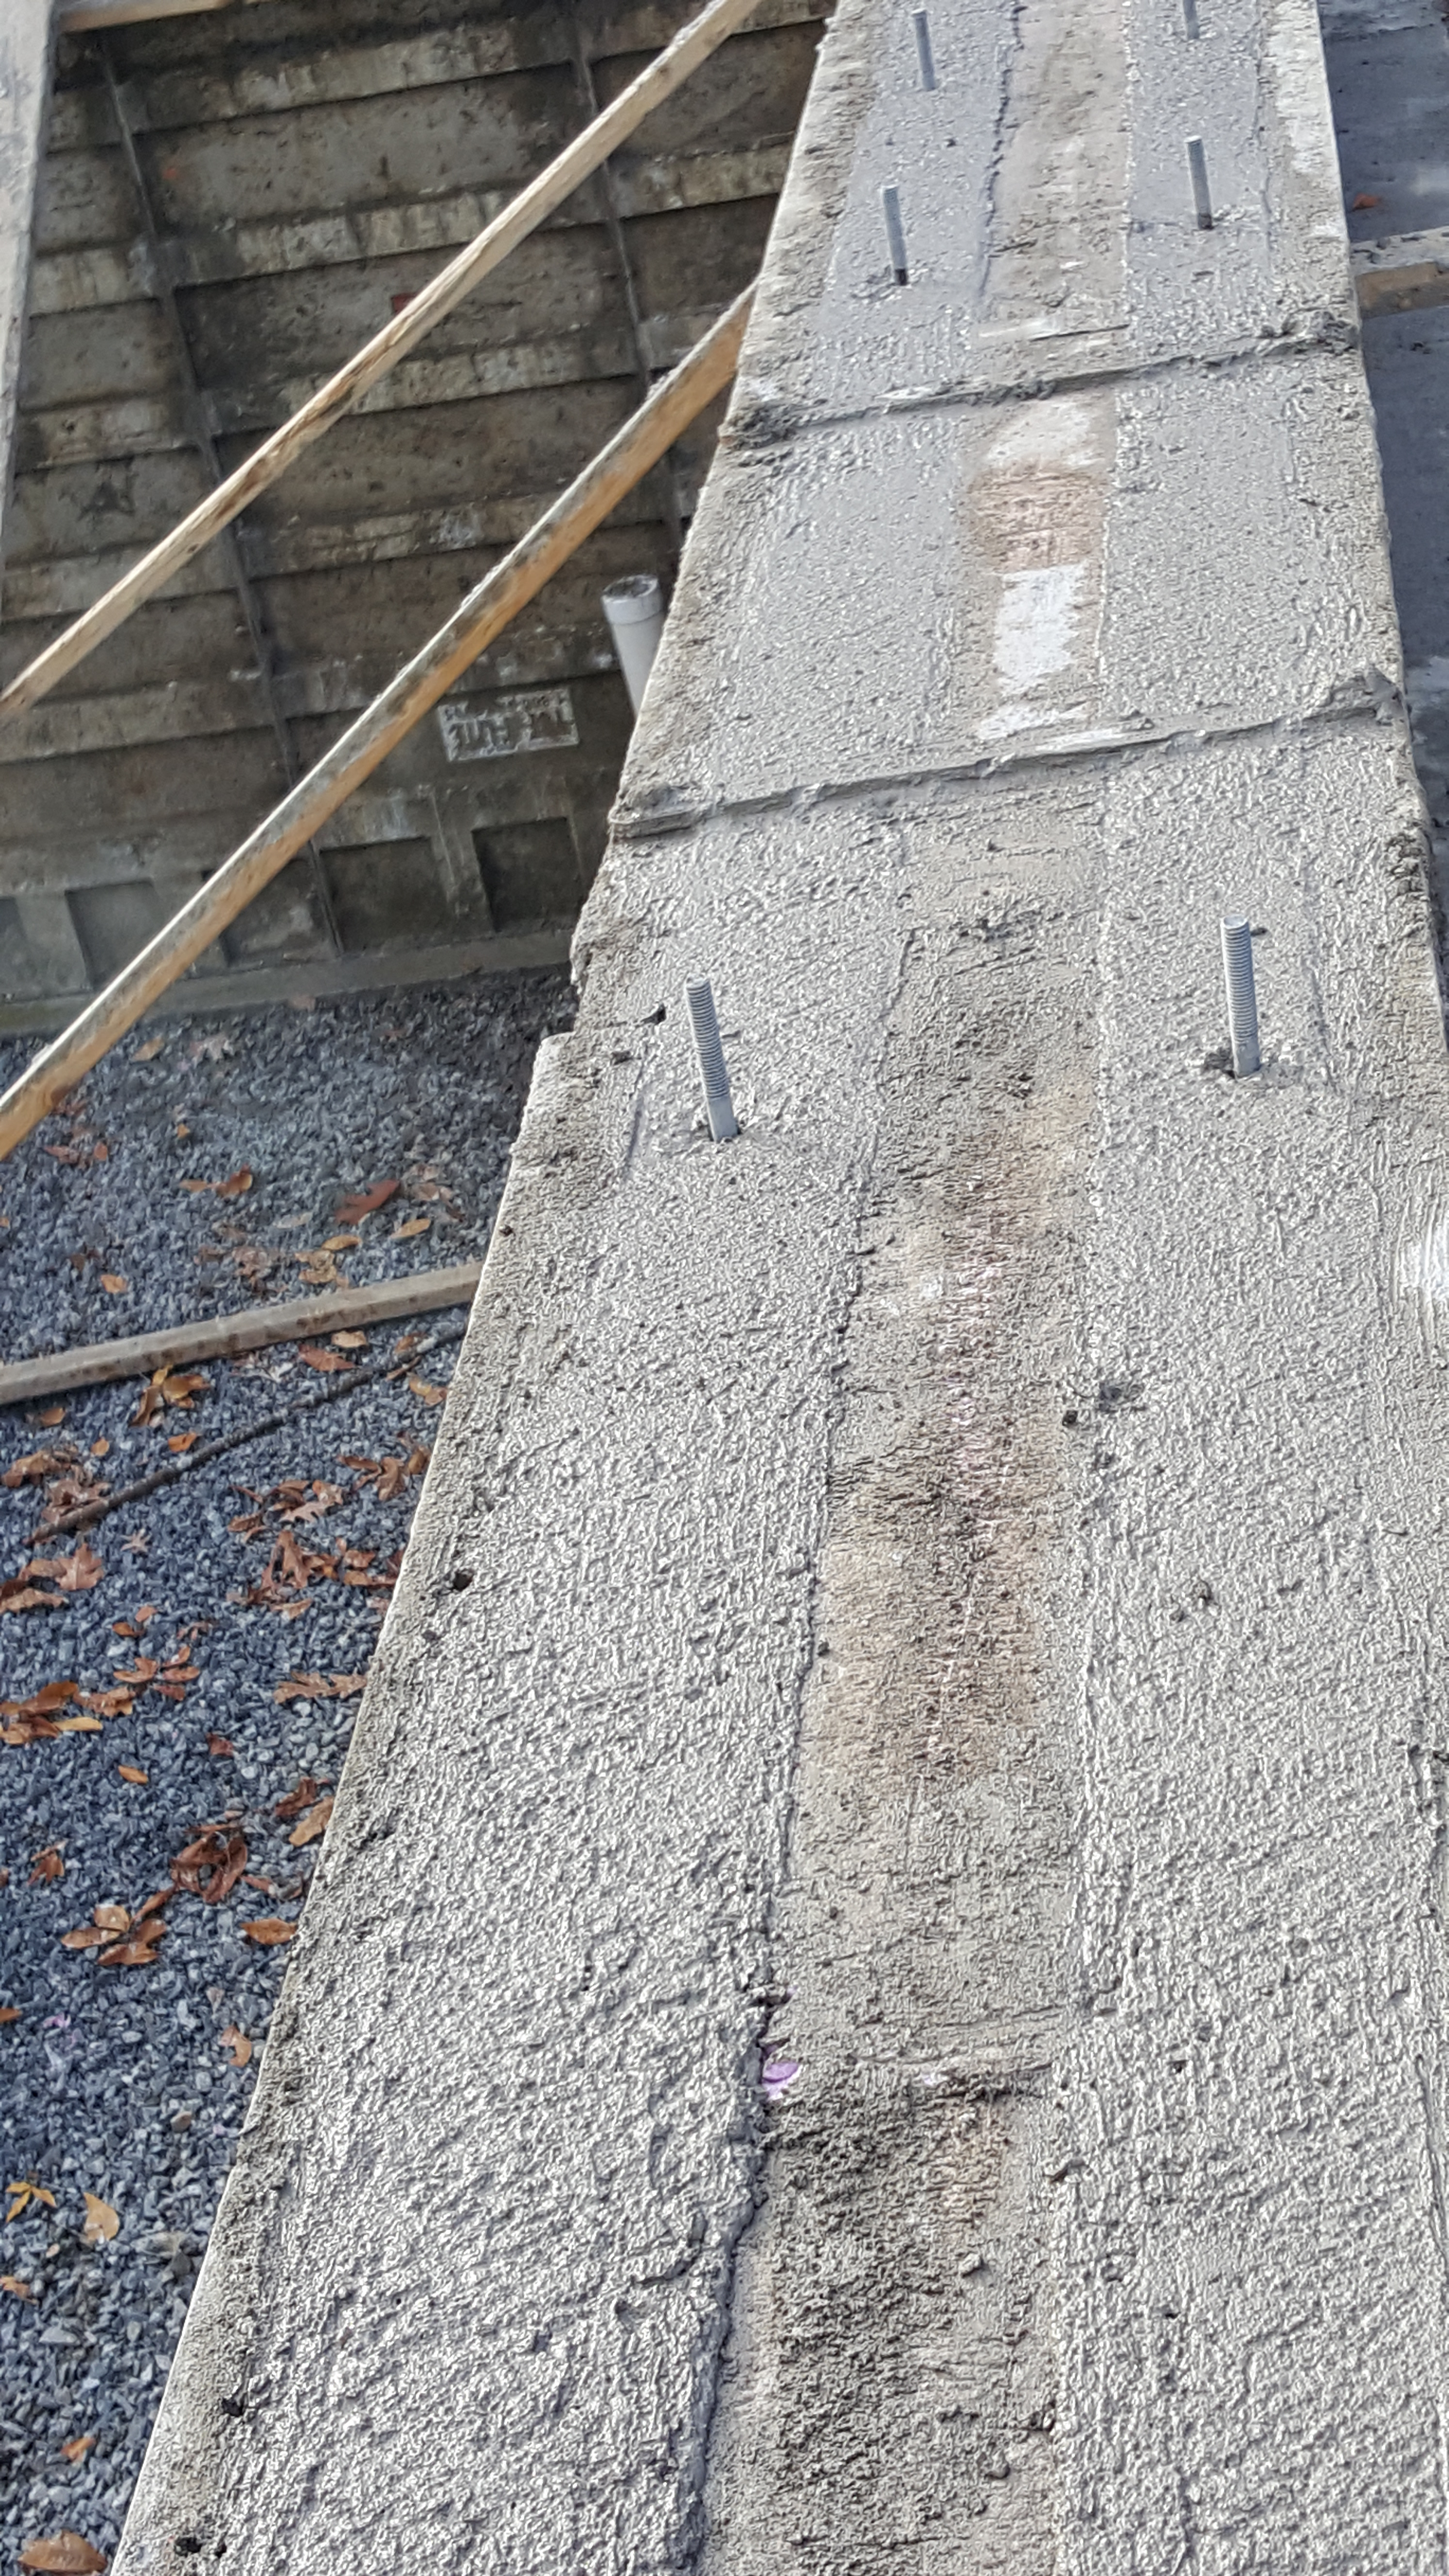
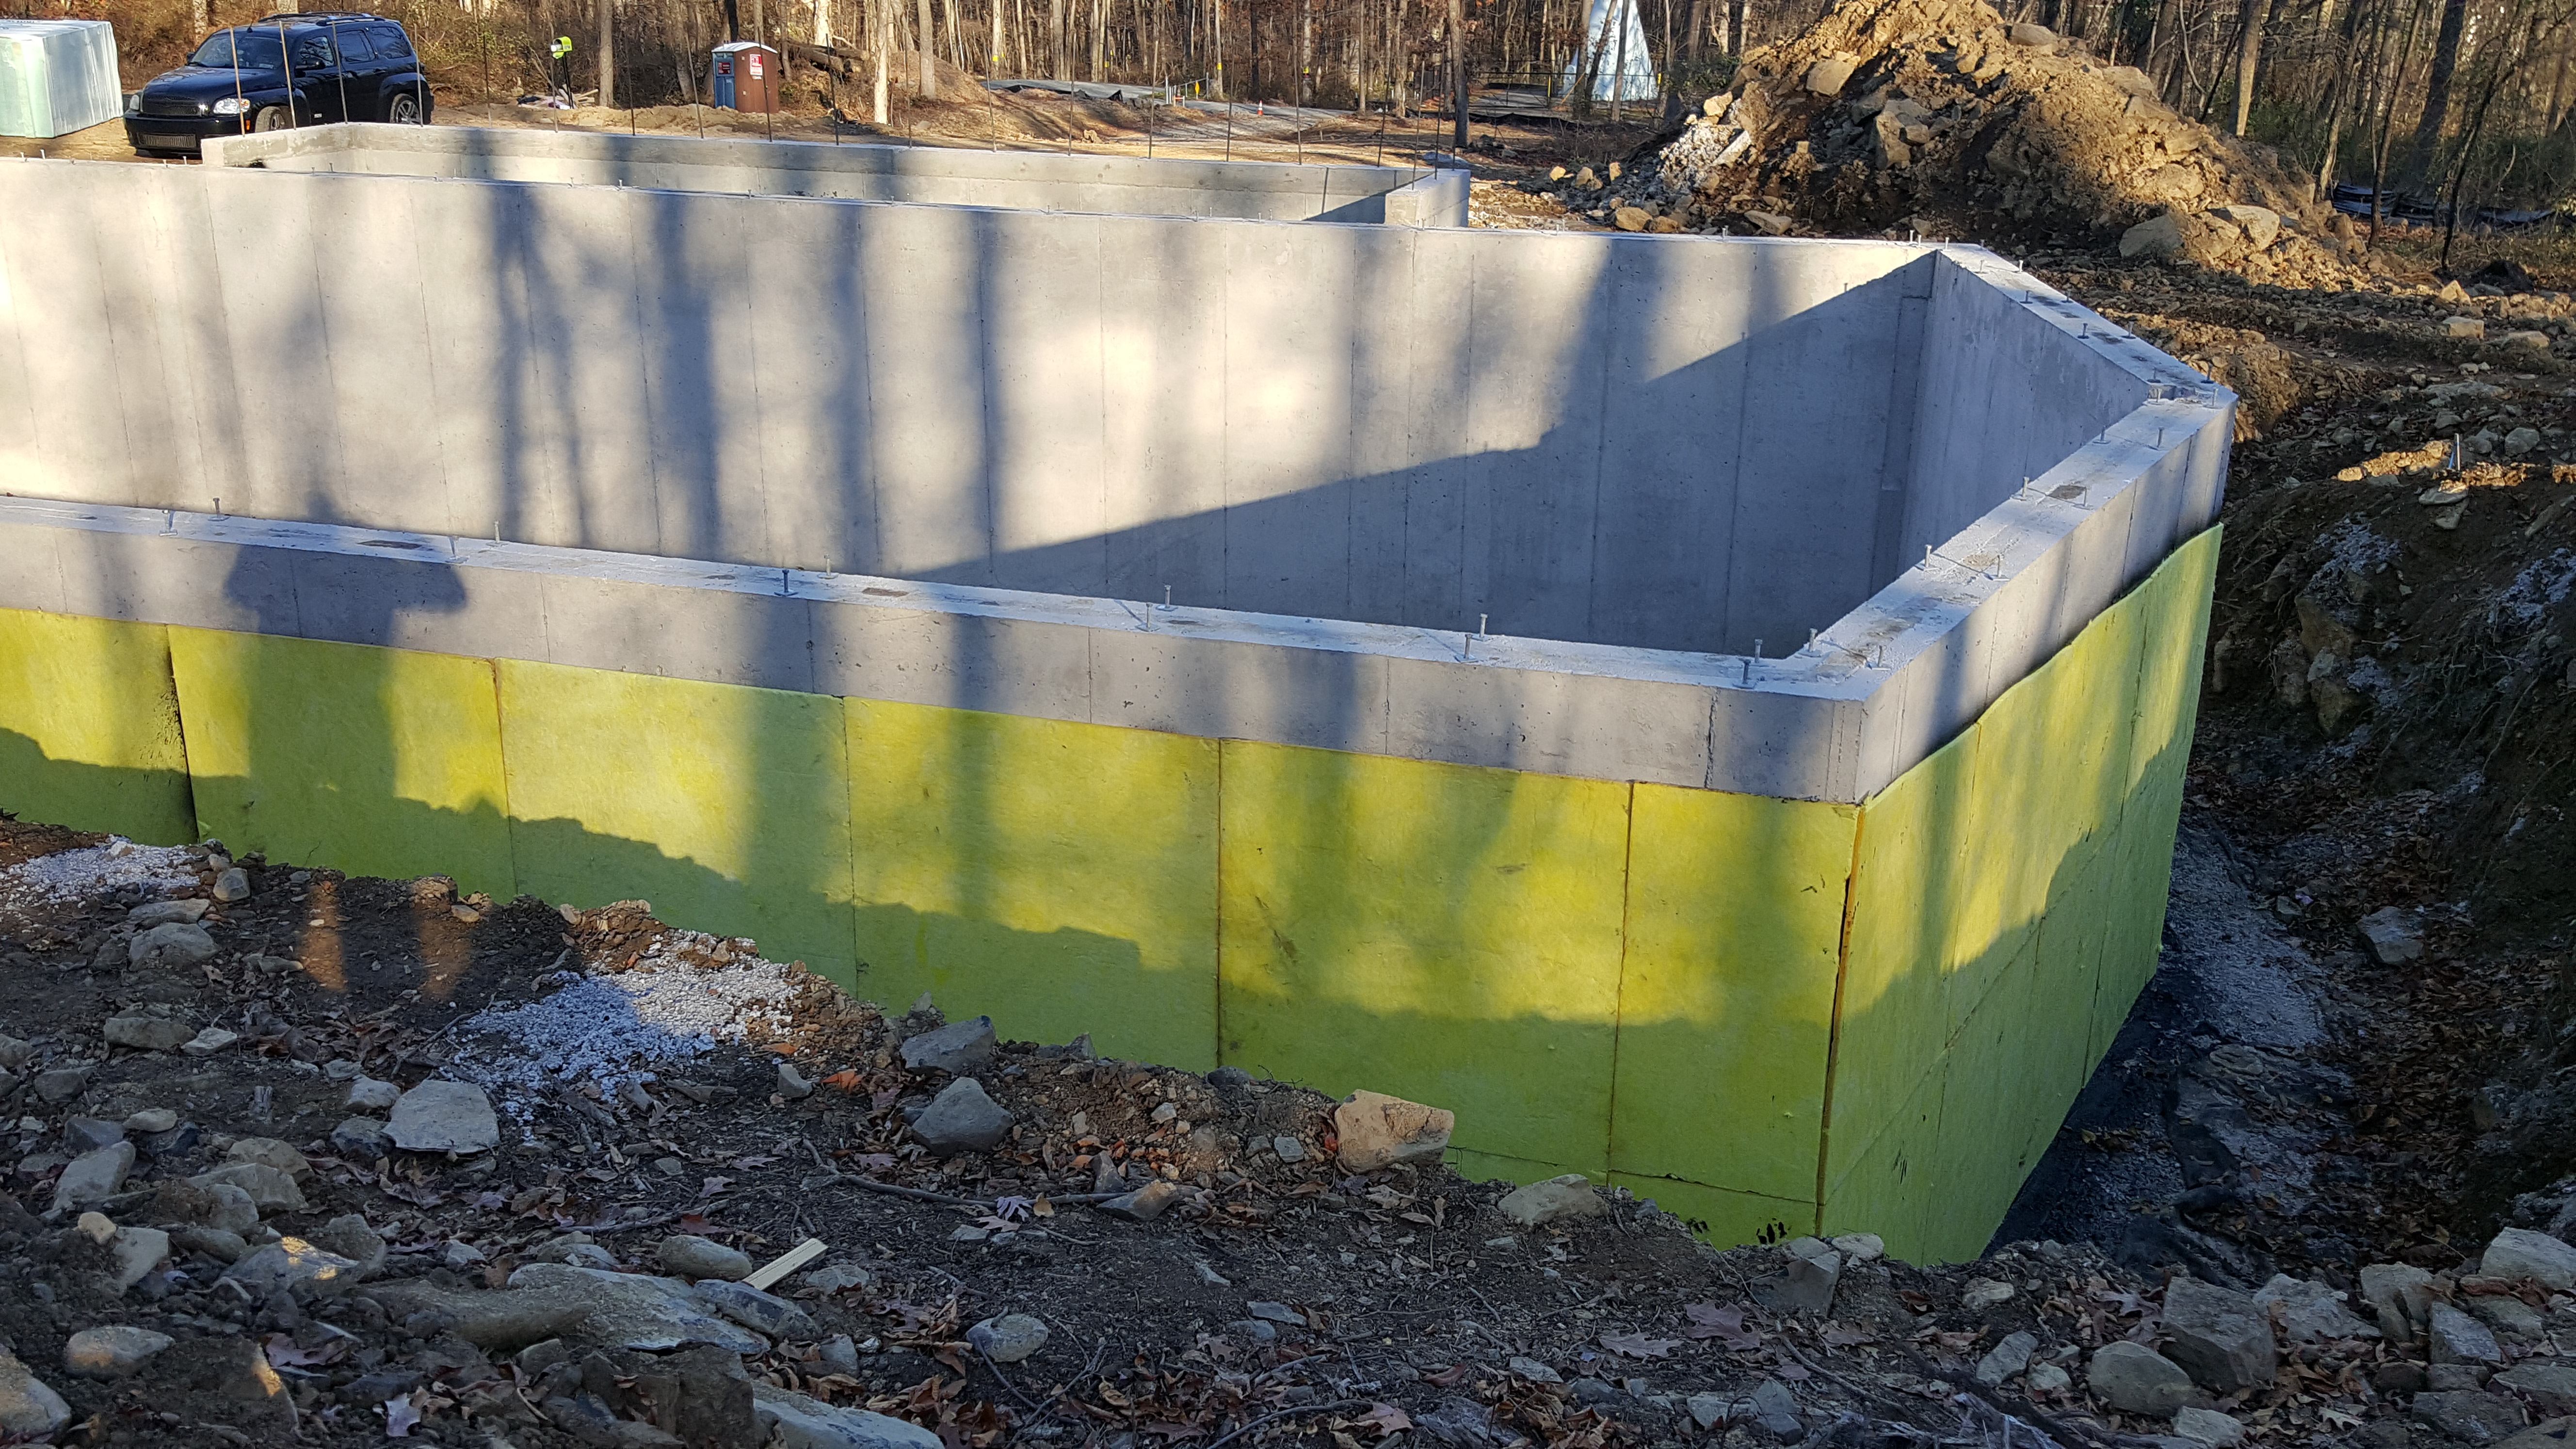
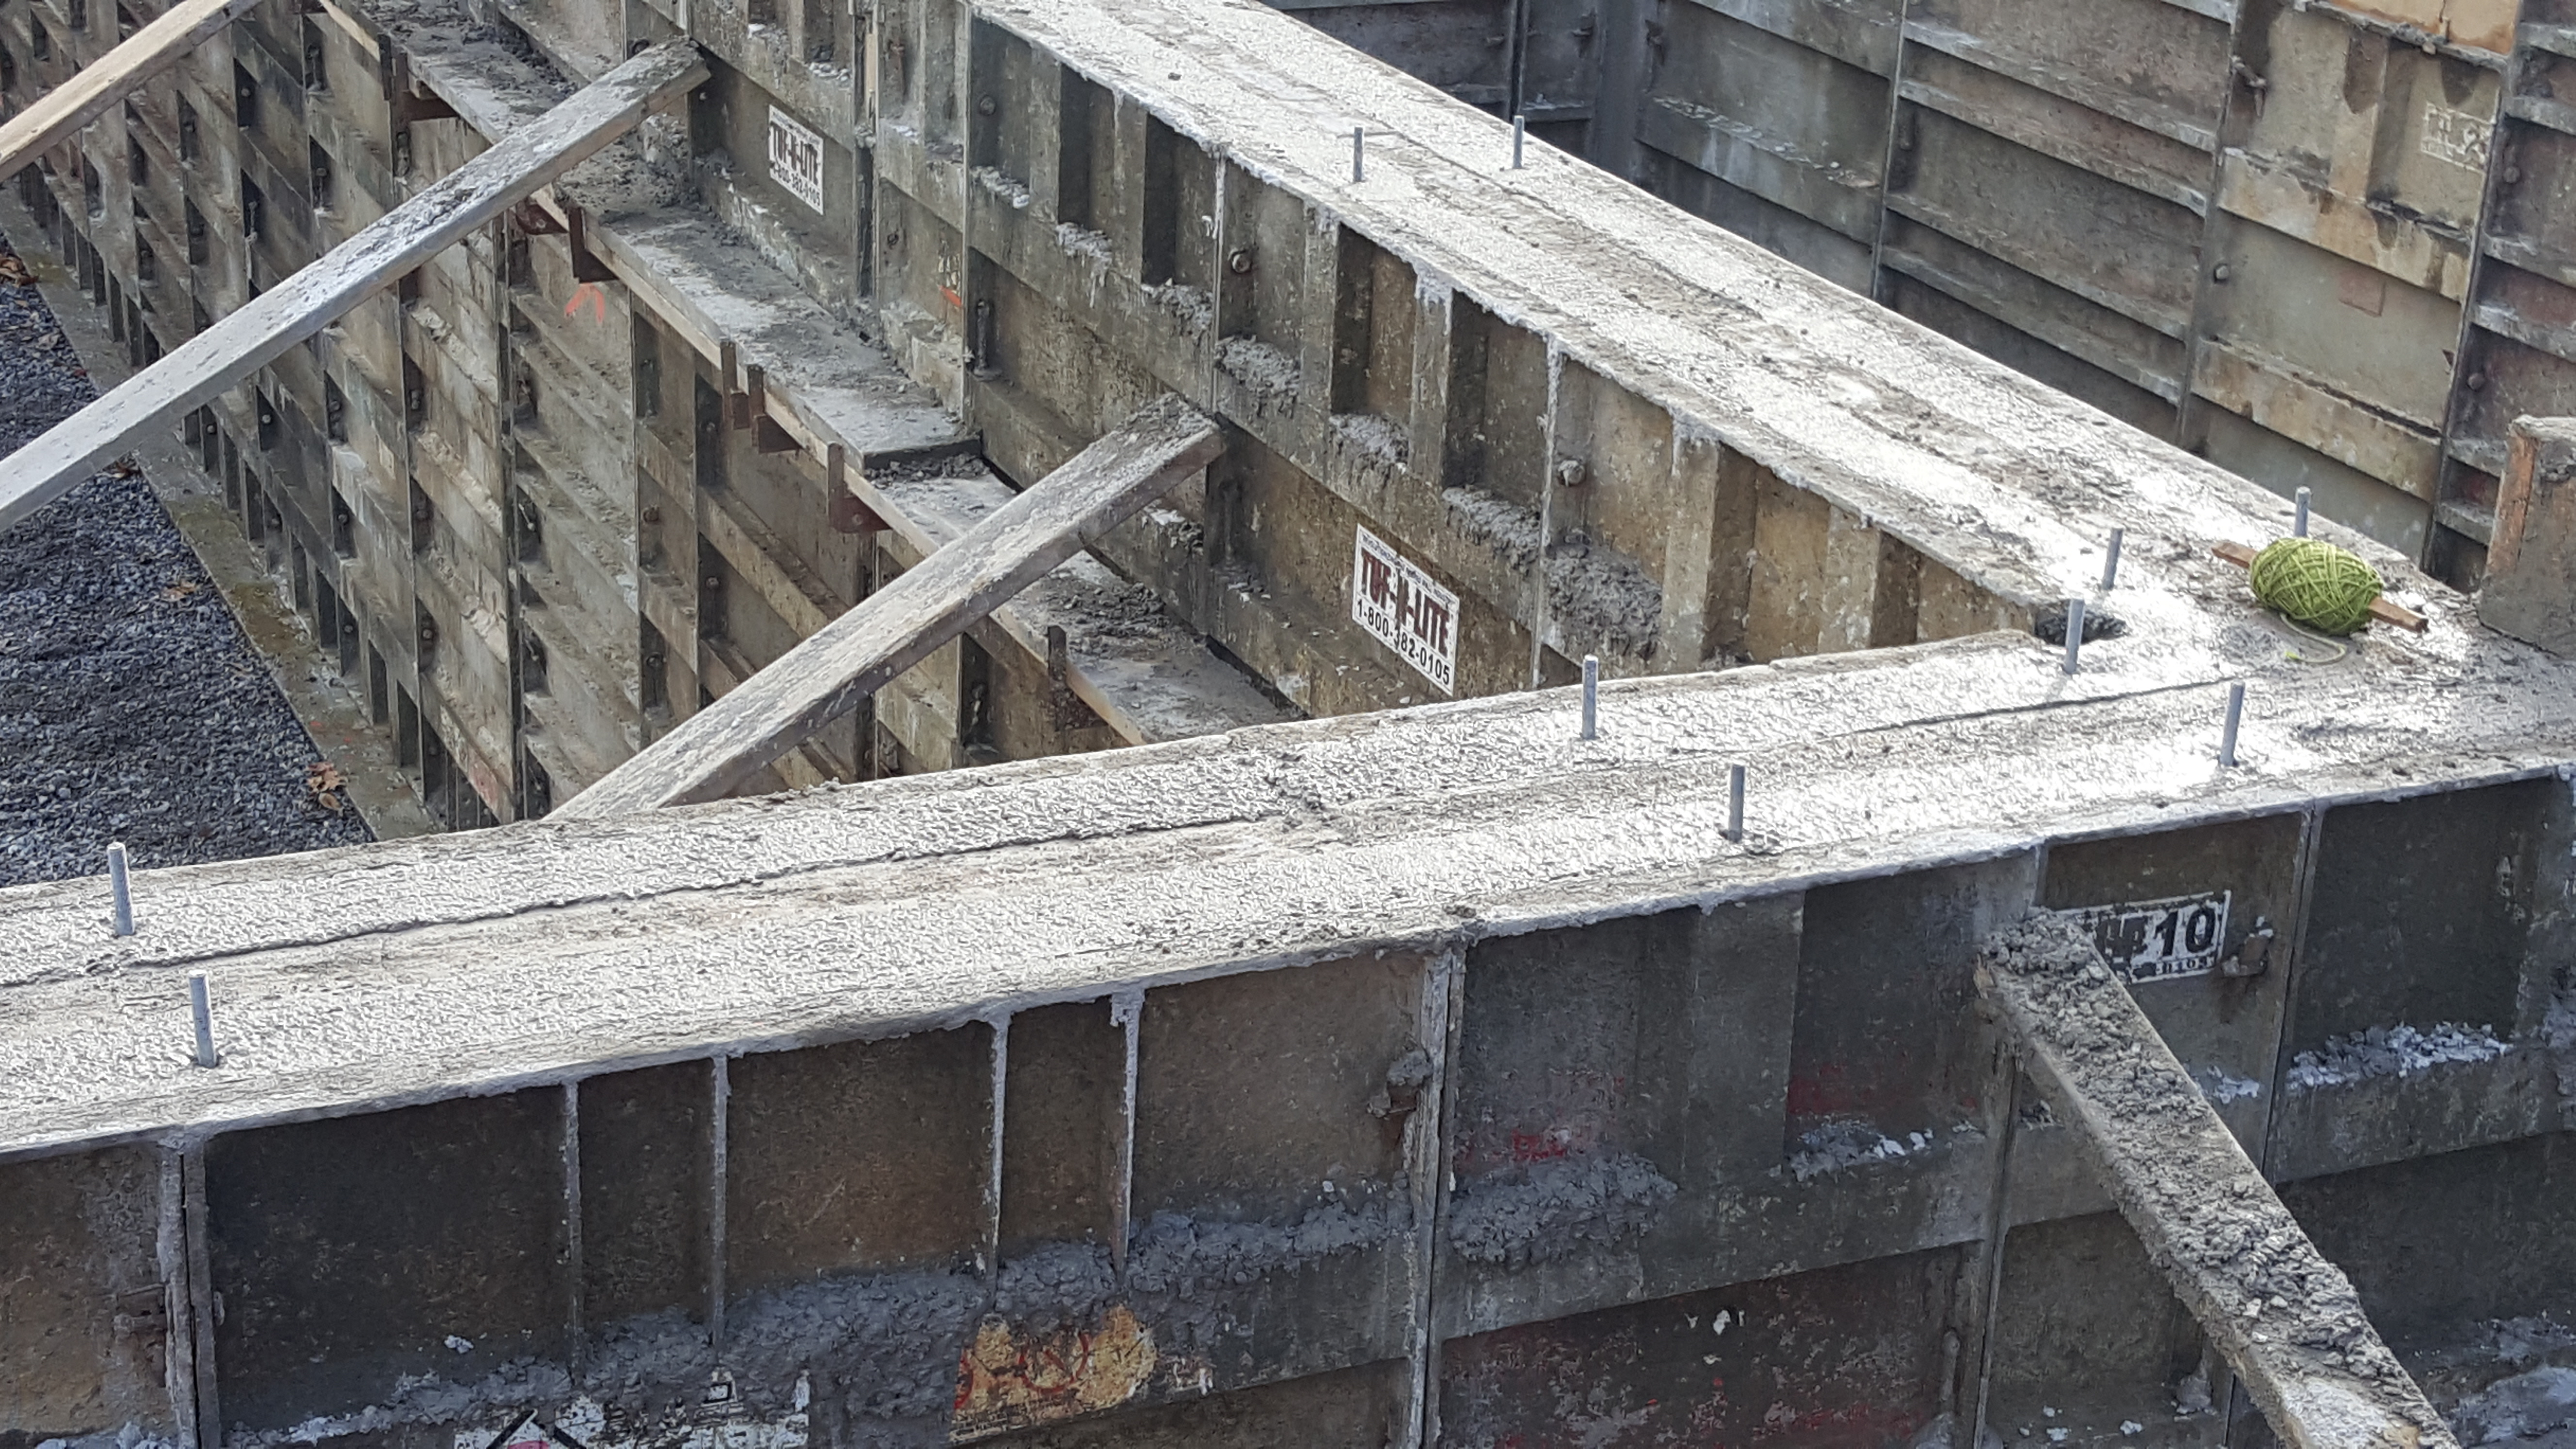
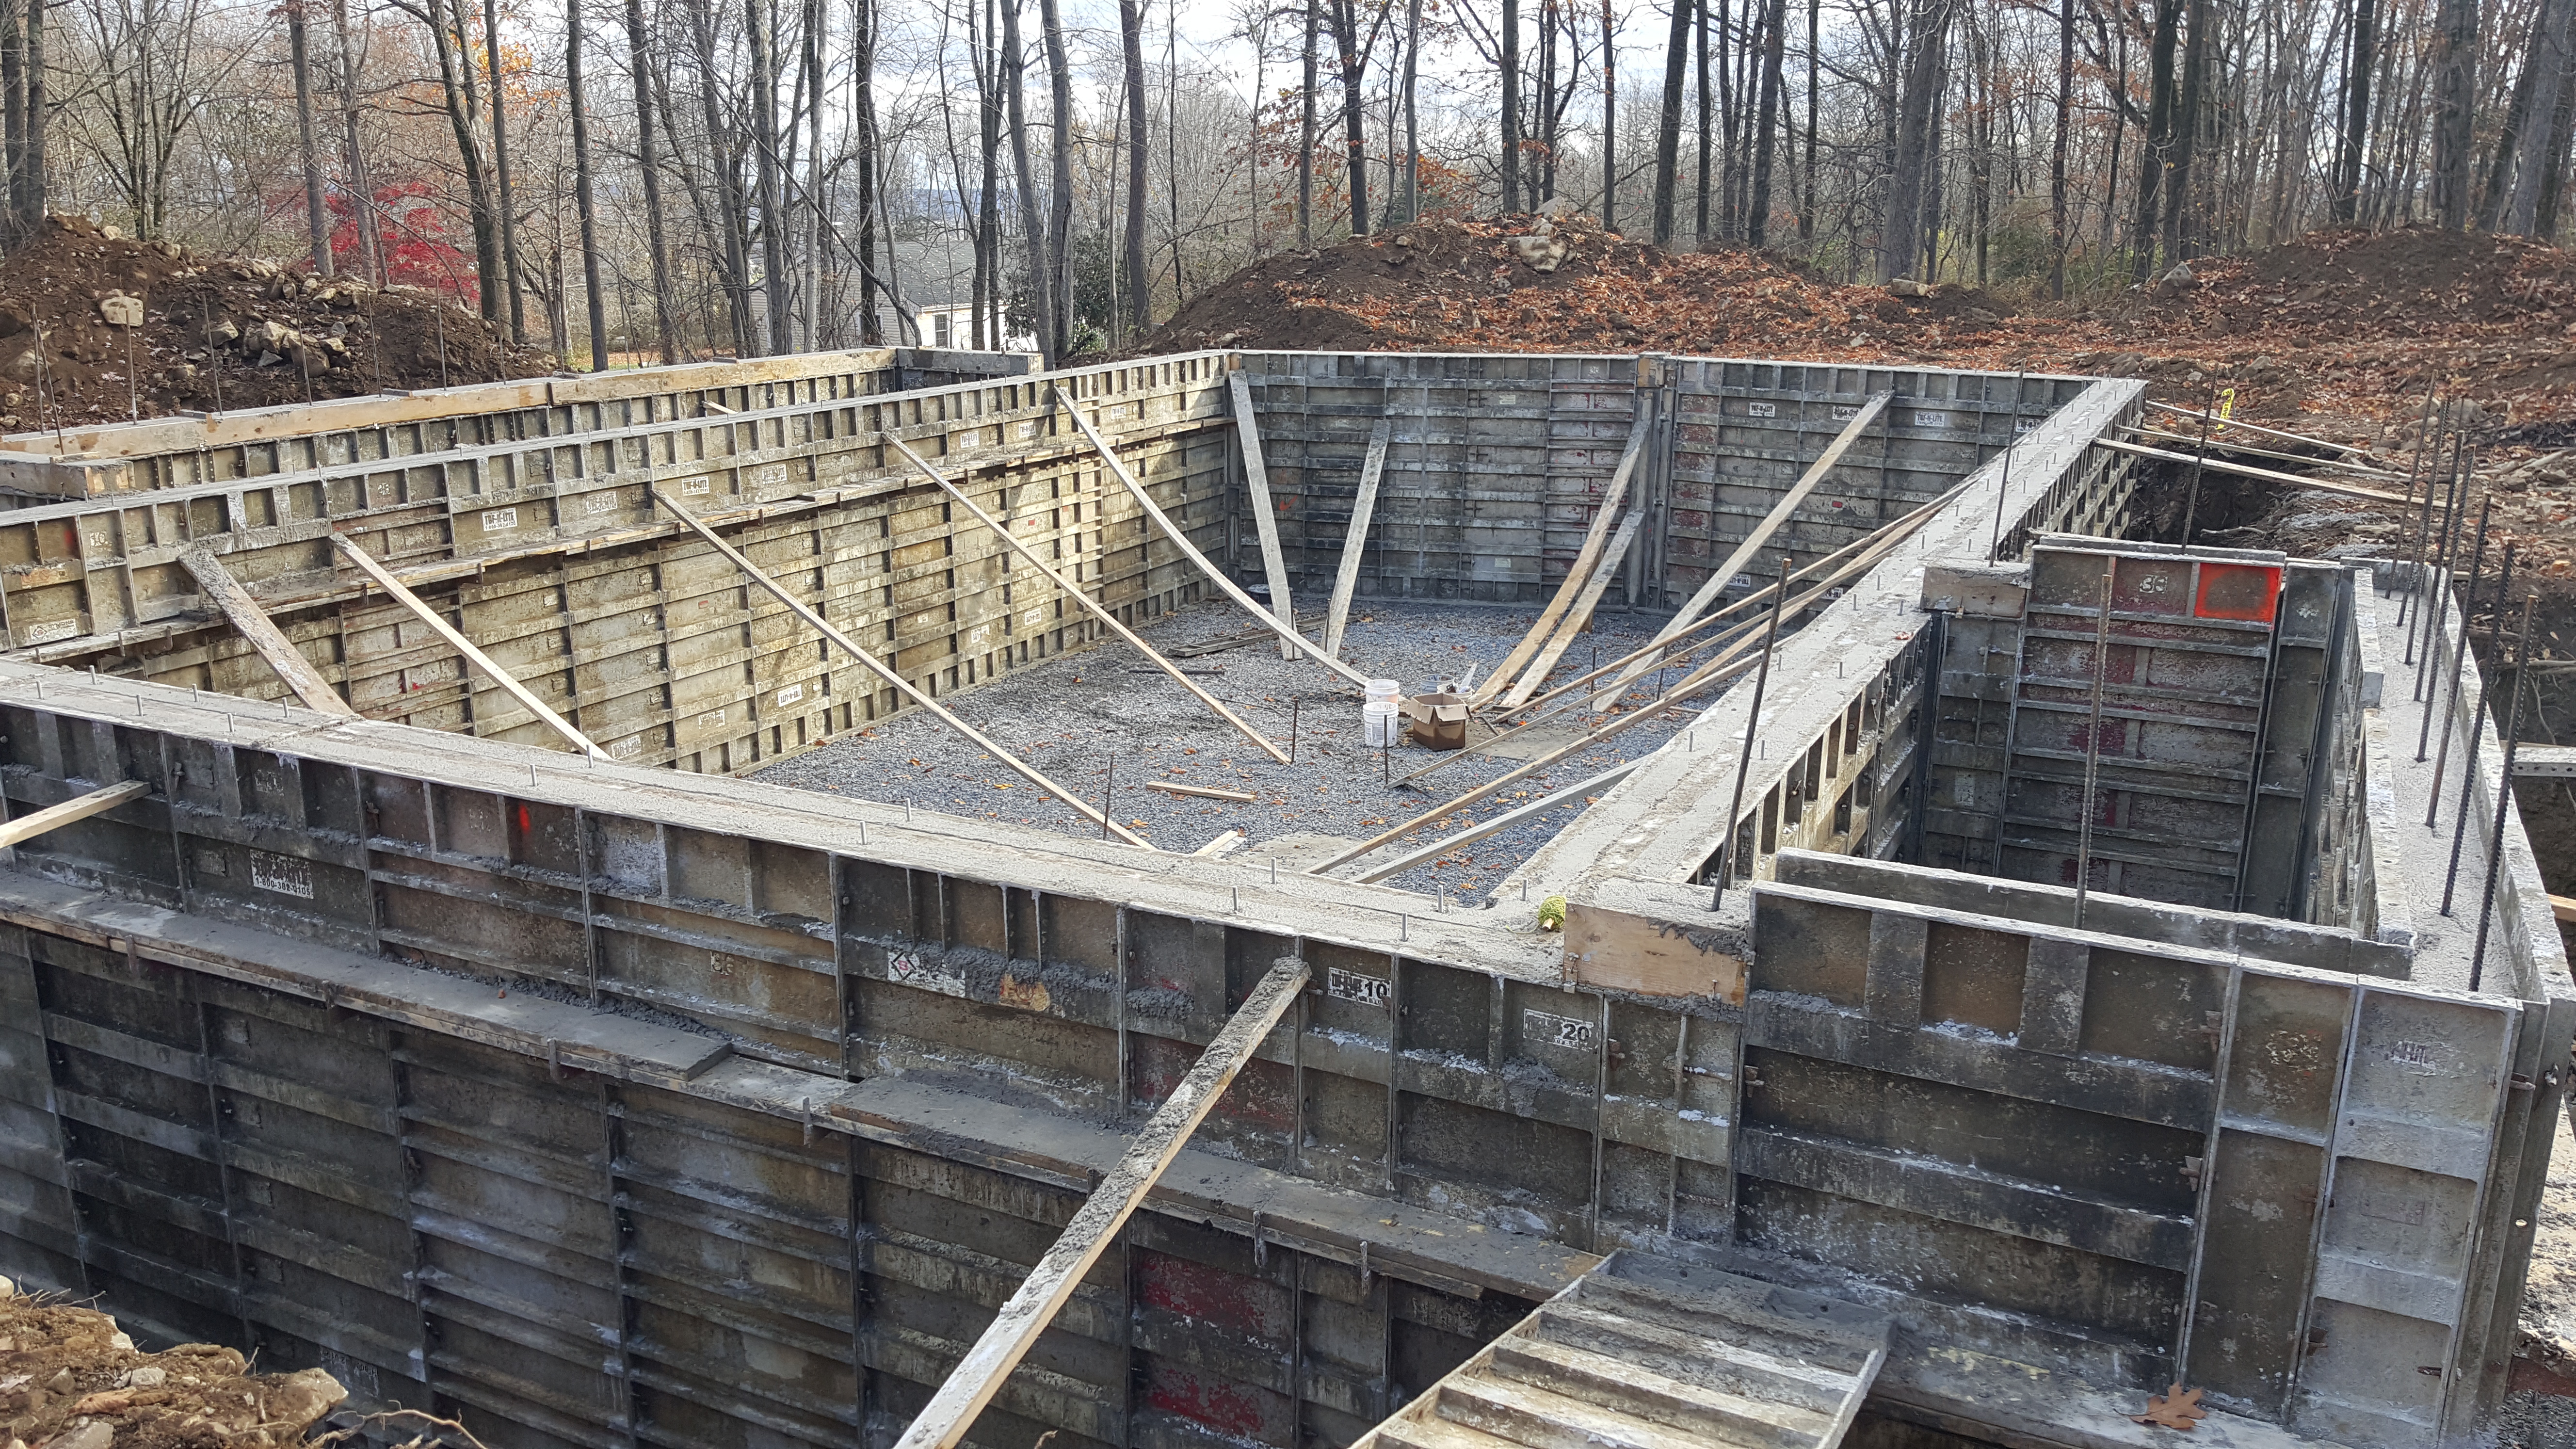
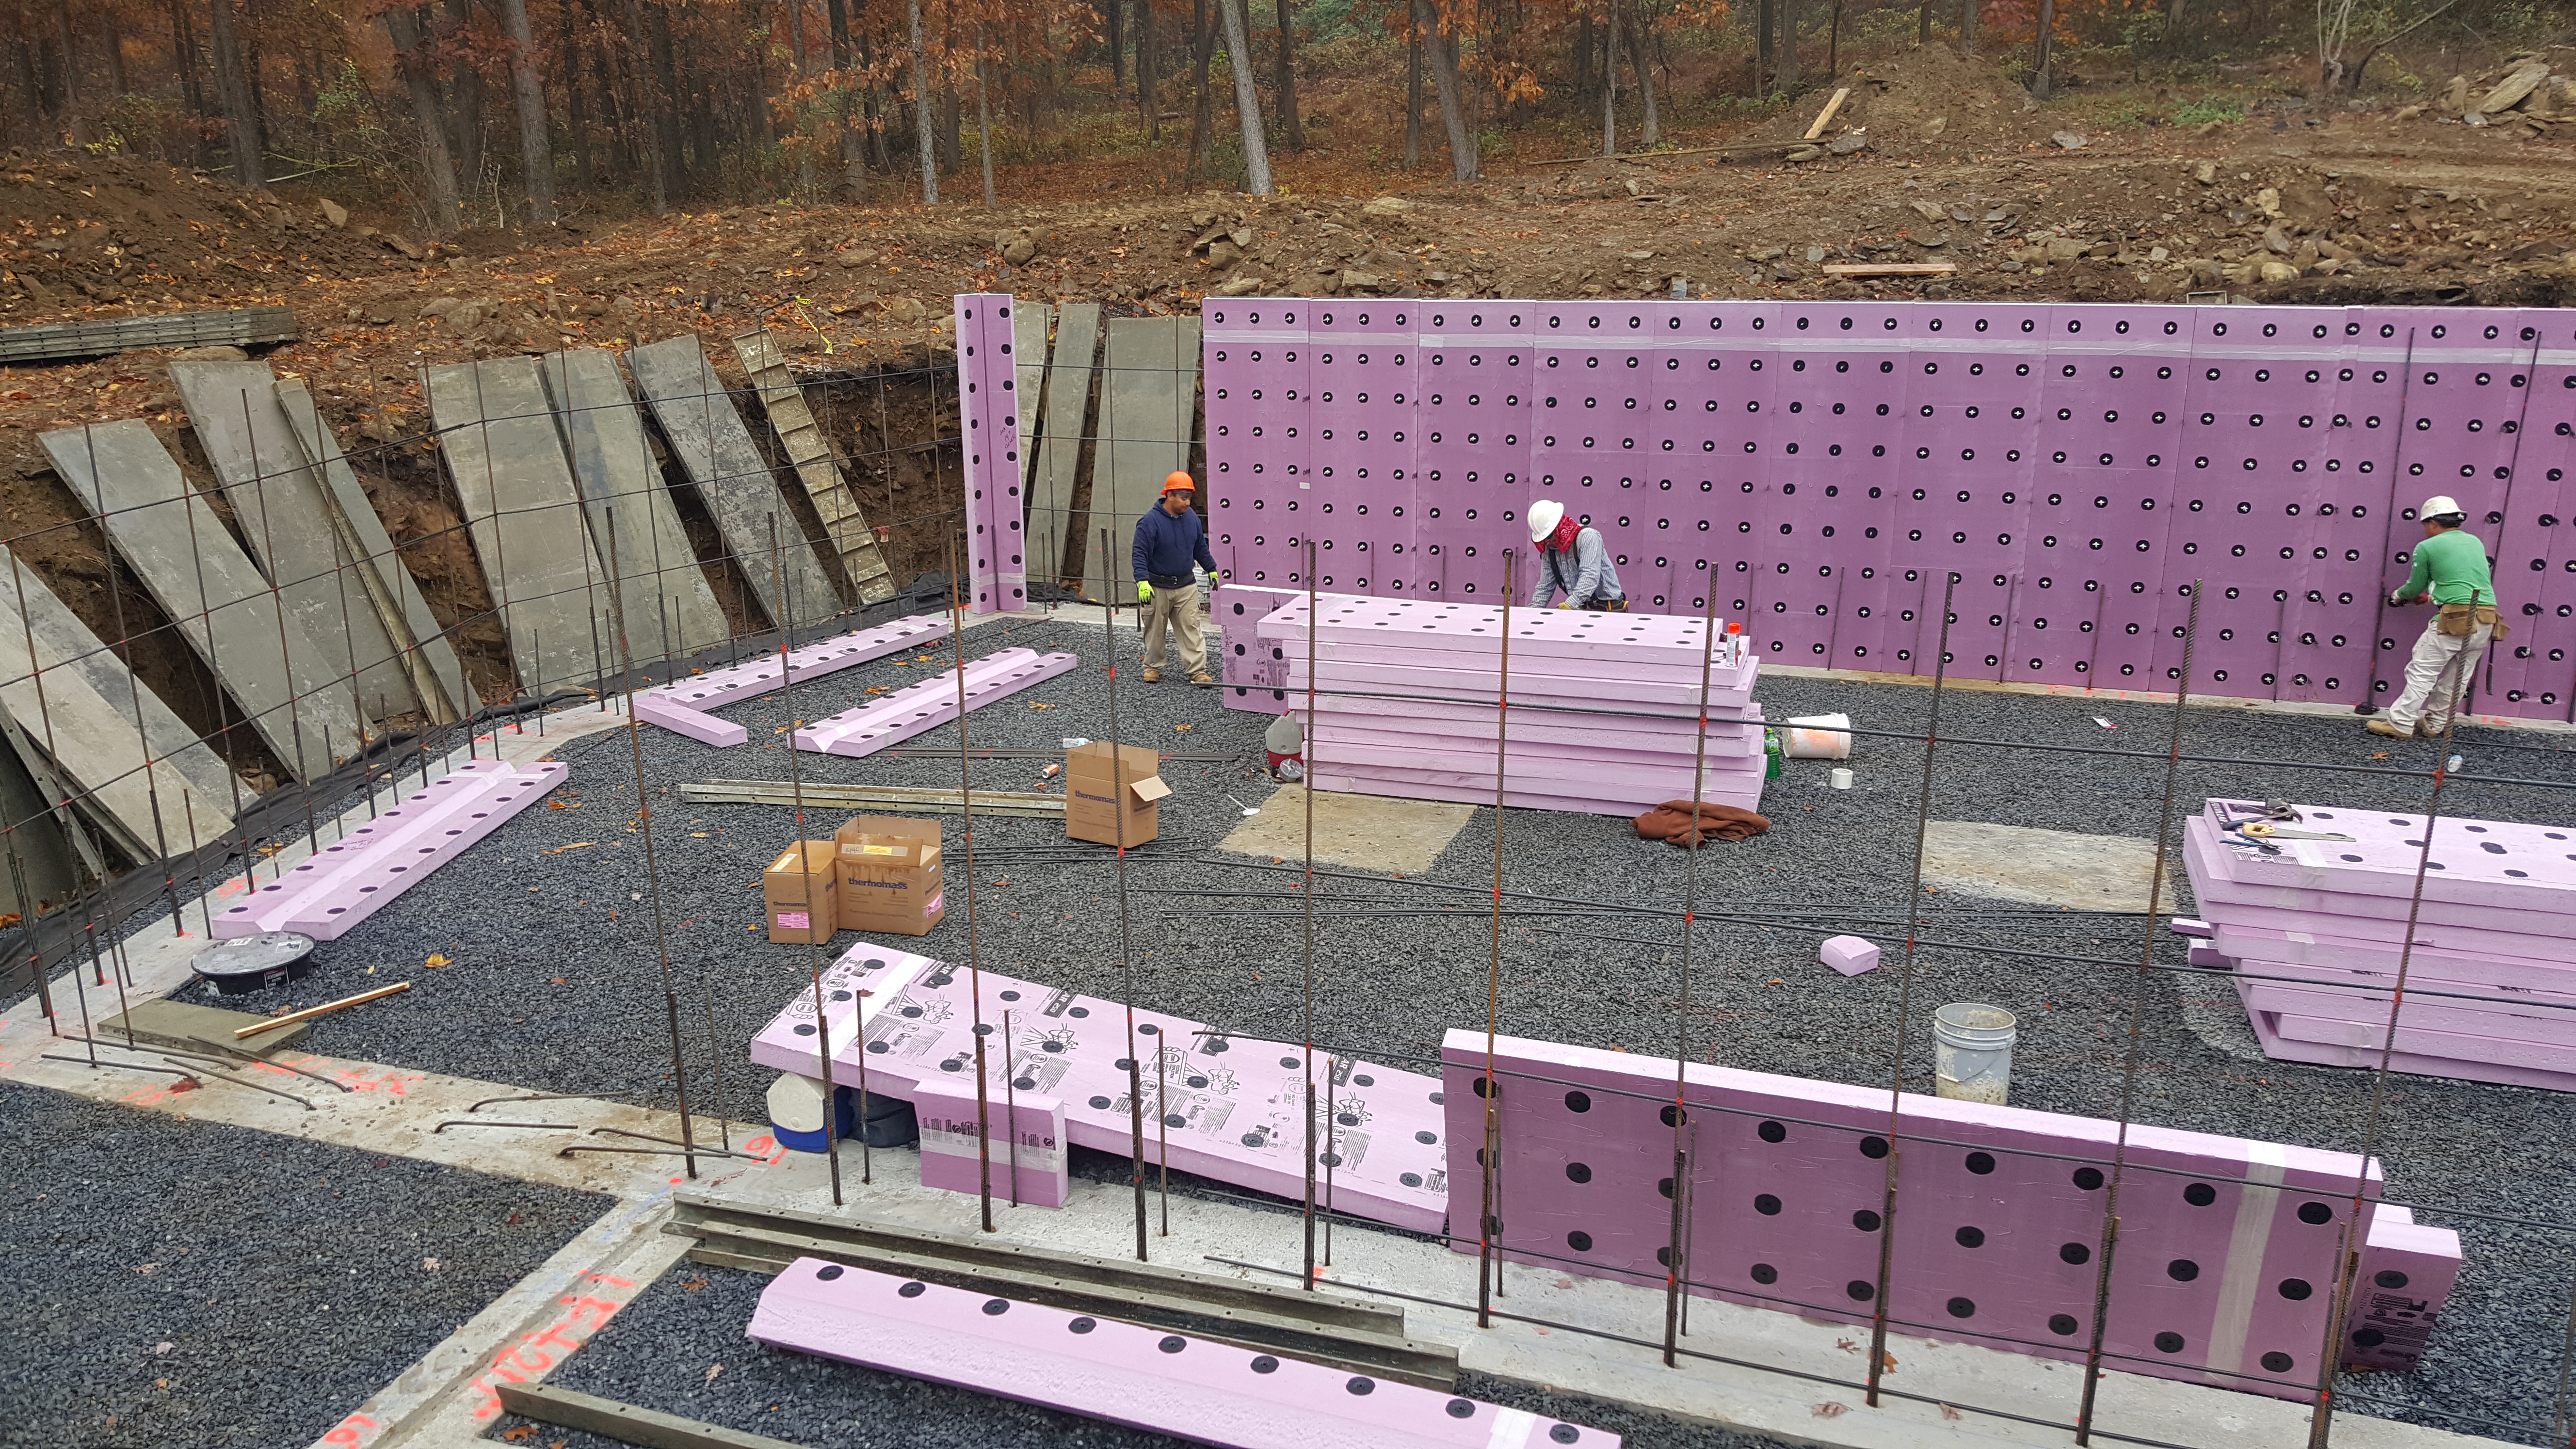
But since the sill plate seal is so important and different with the Thermomass  CIP foundation I thought I’d post the design and photos of the result.  My engineering friends have never seen a sill plate like this.
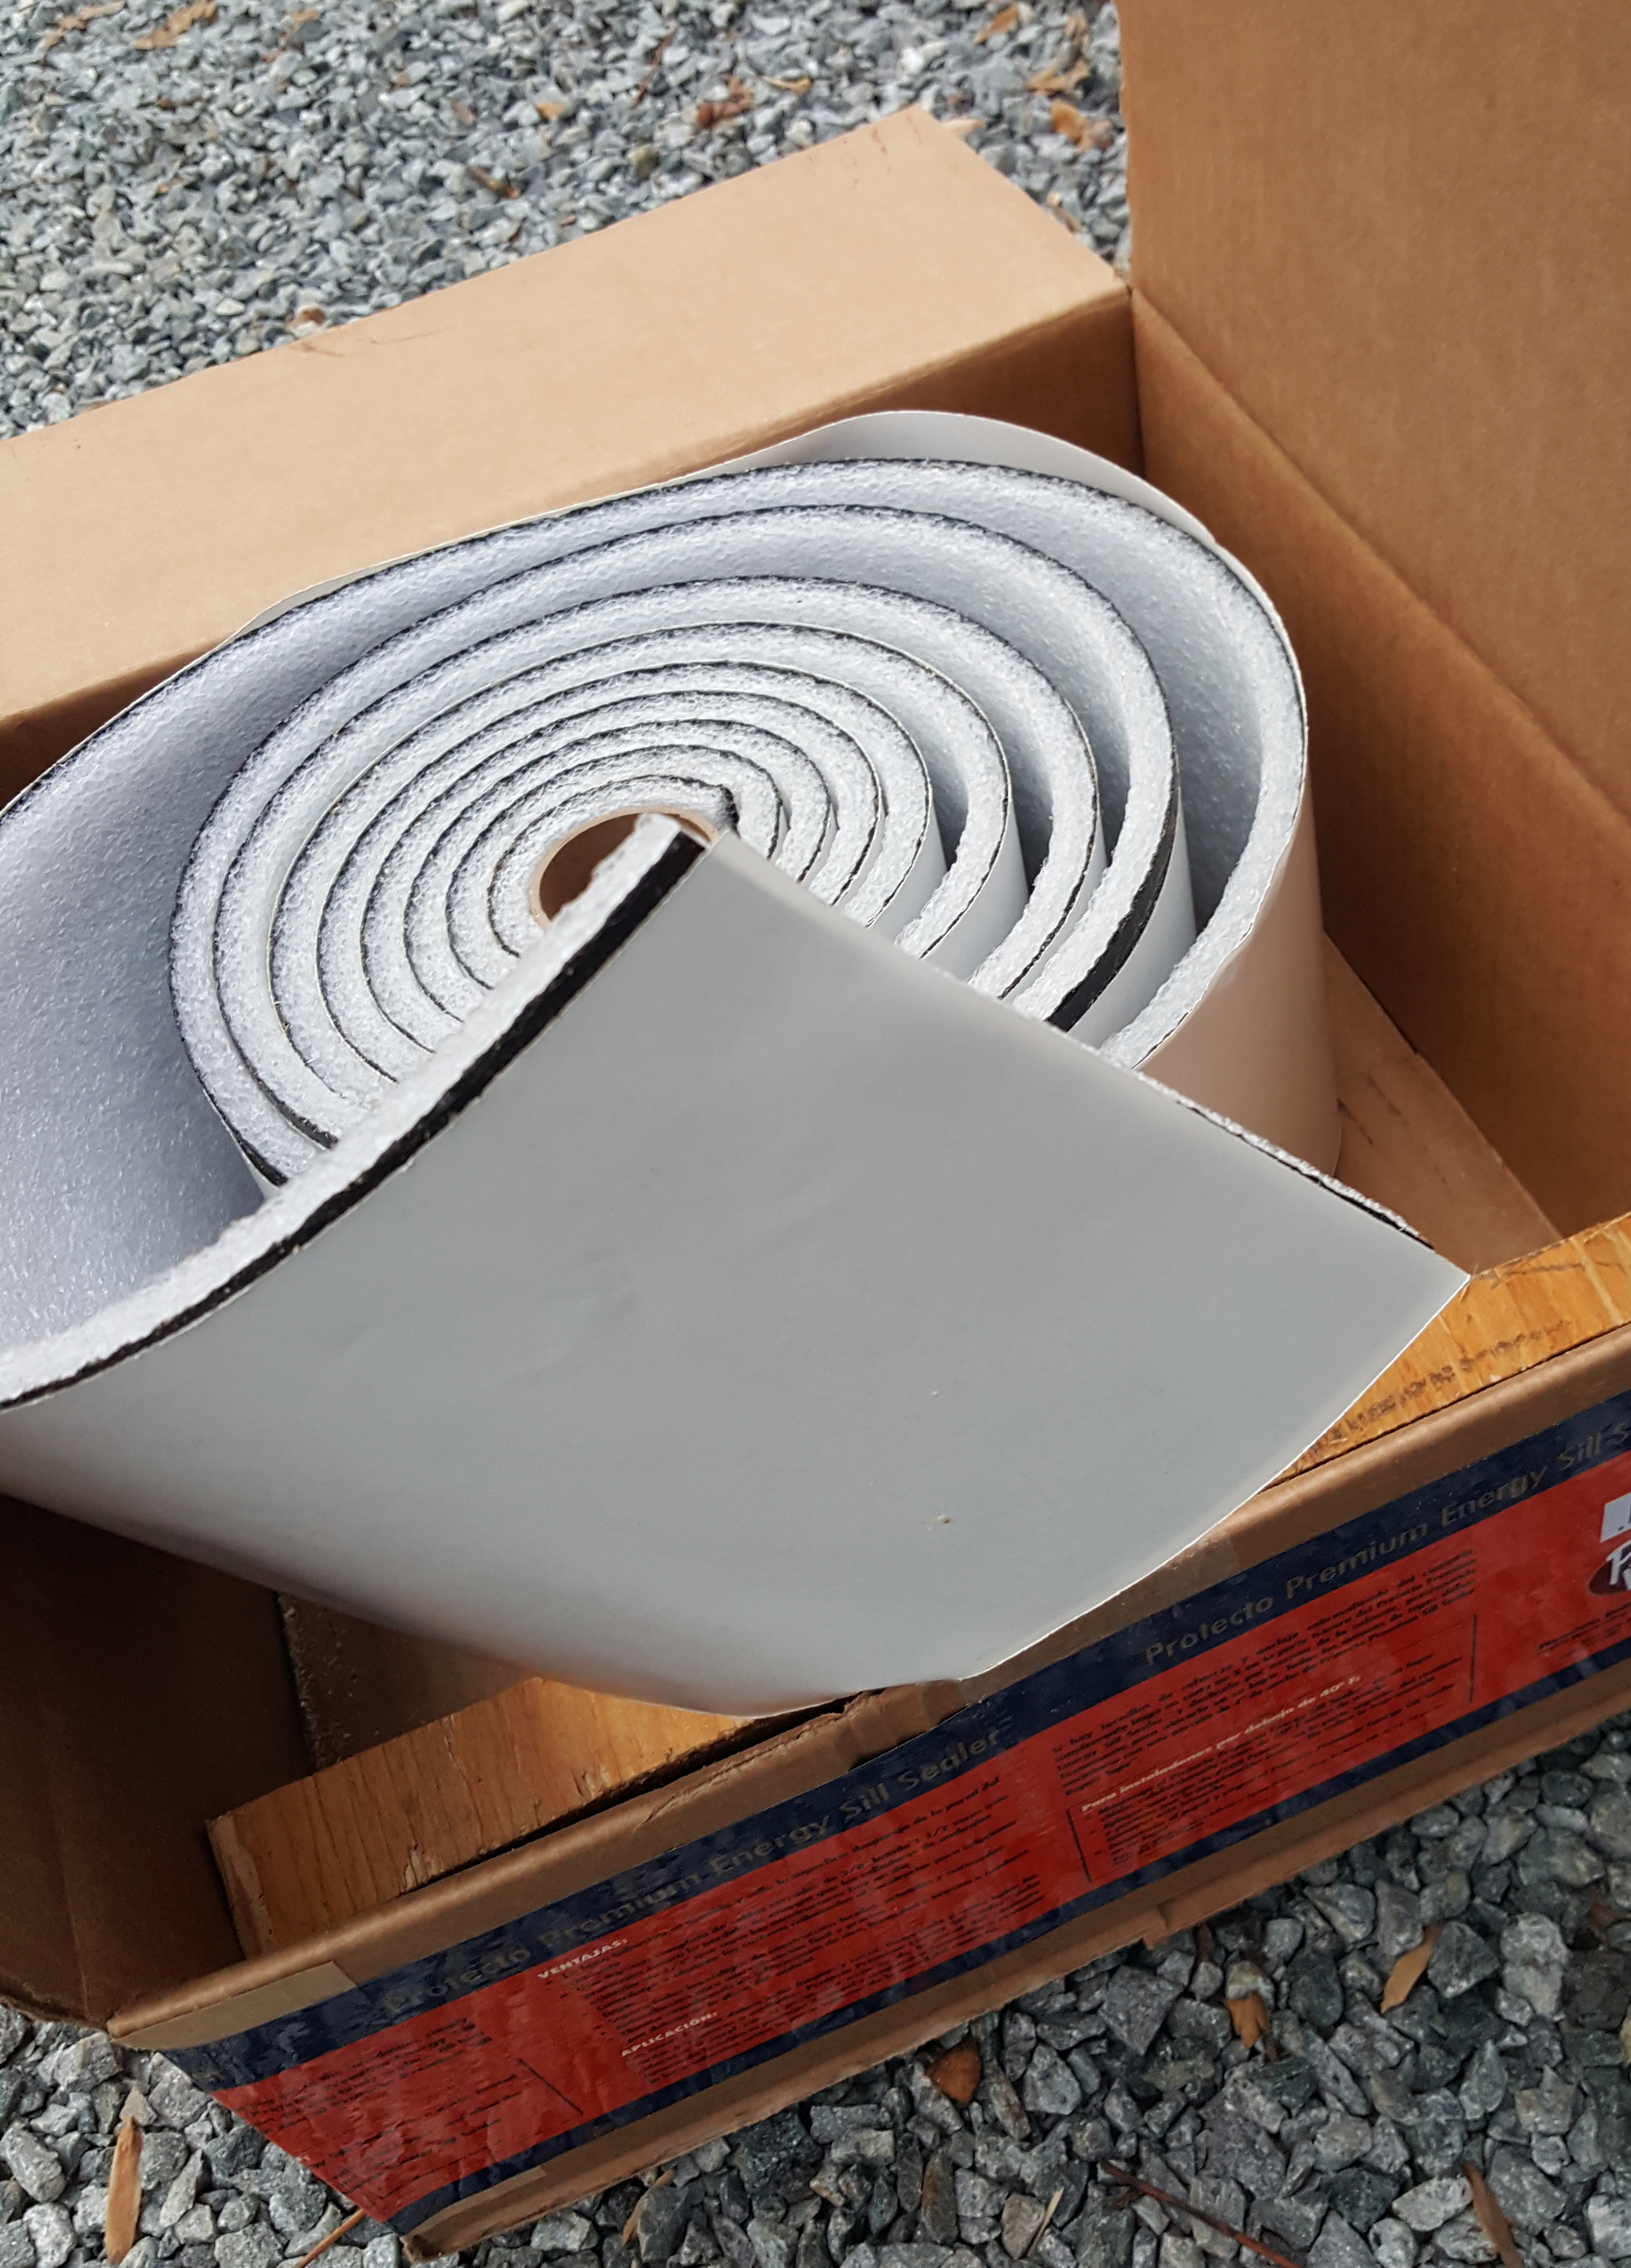
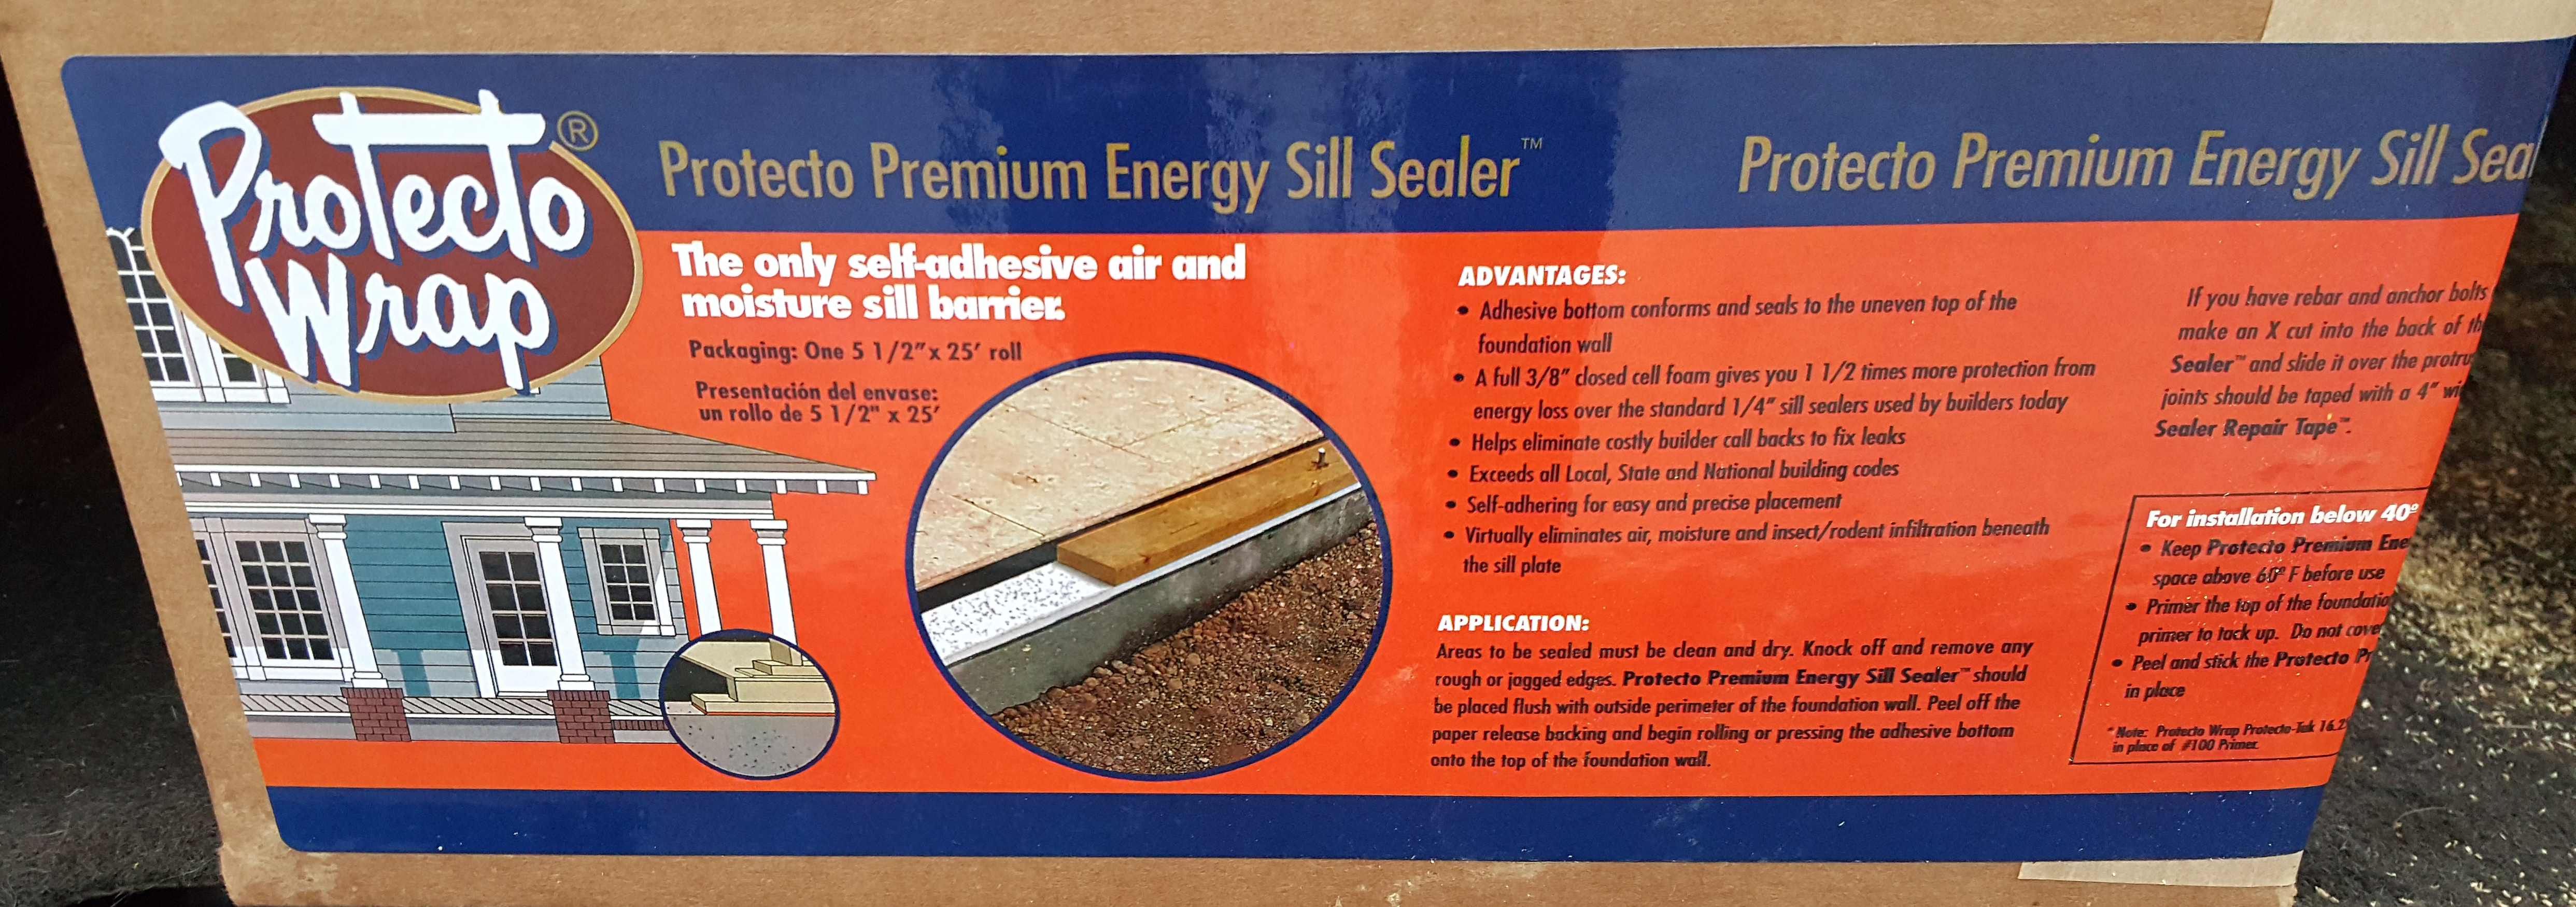
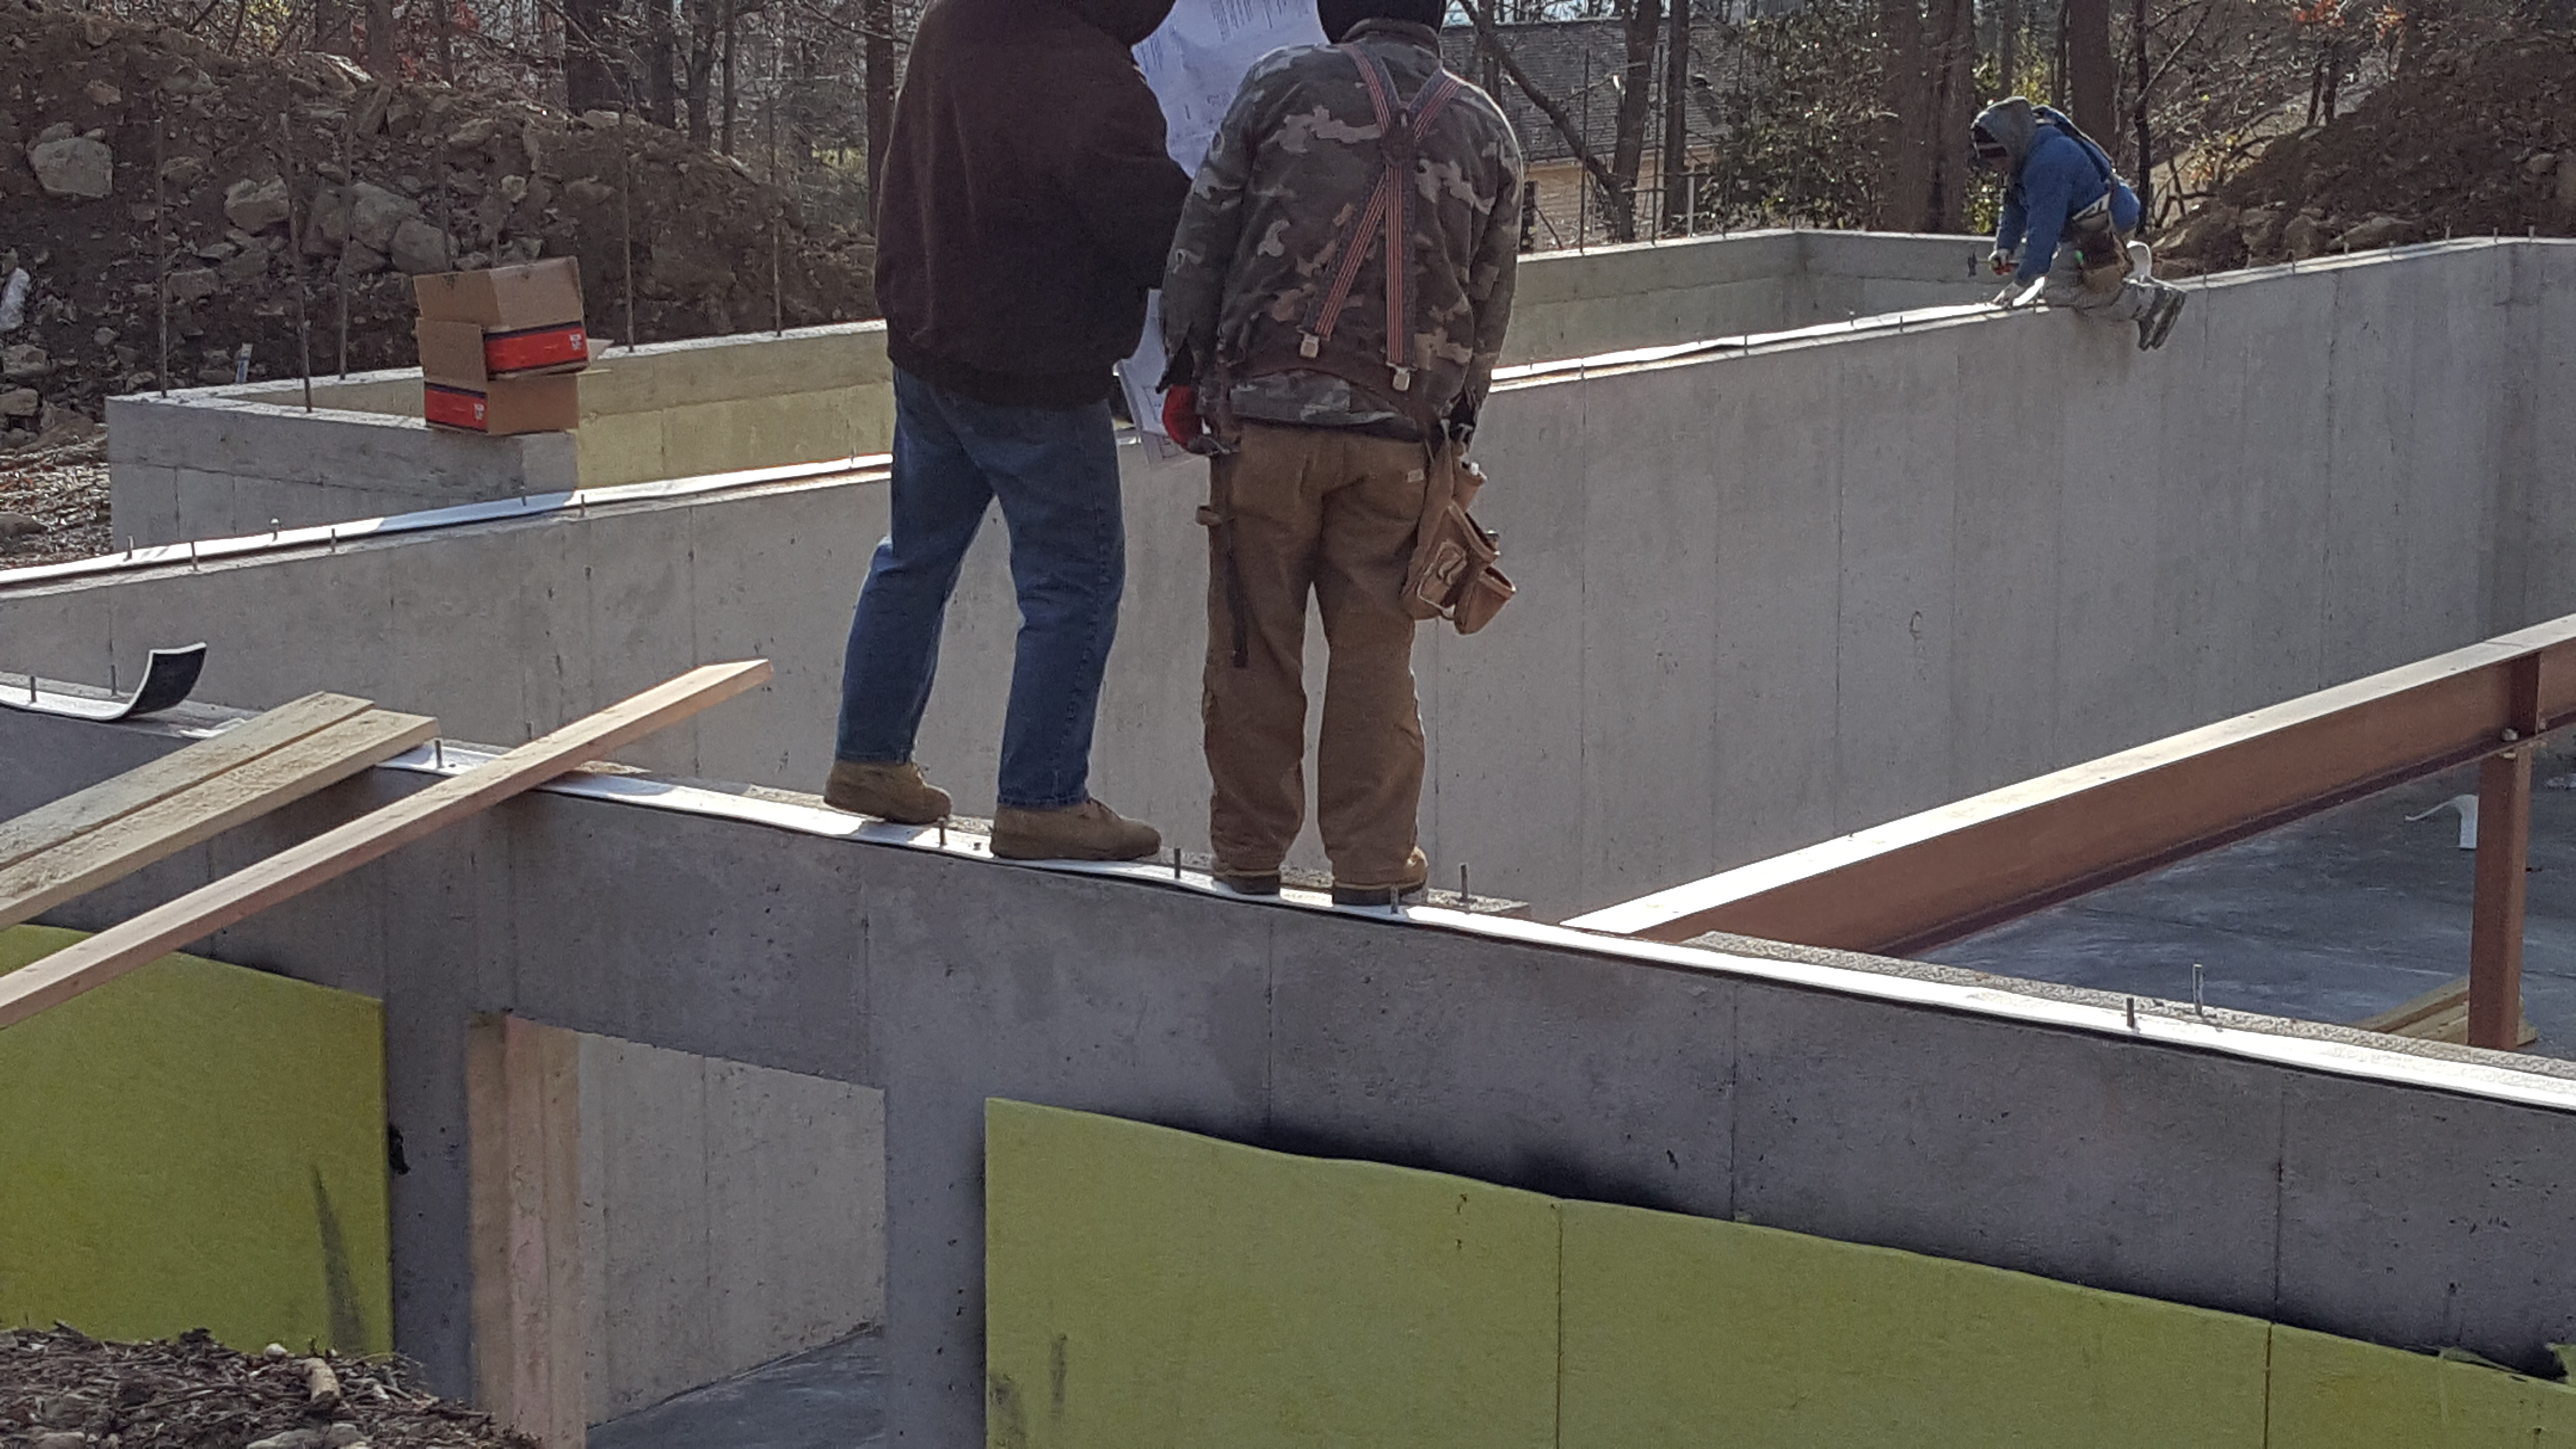
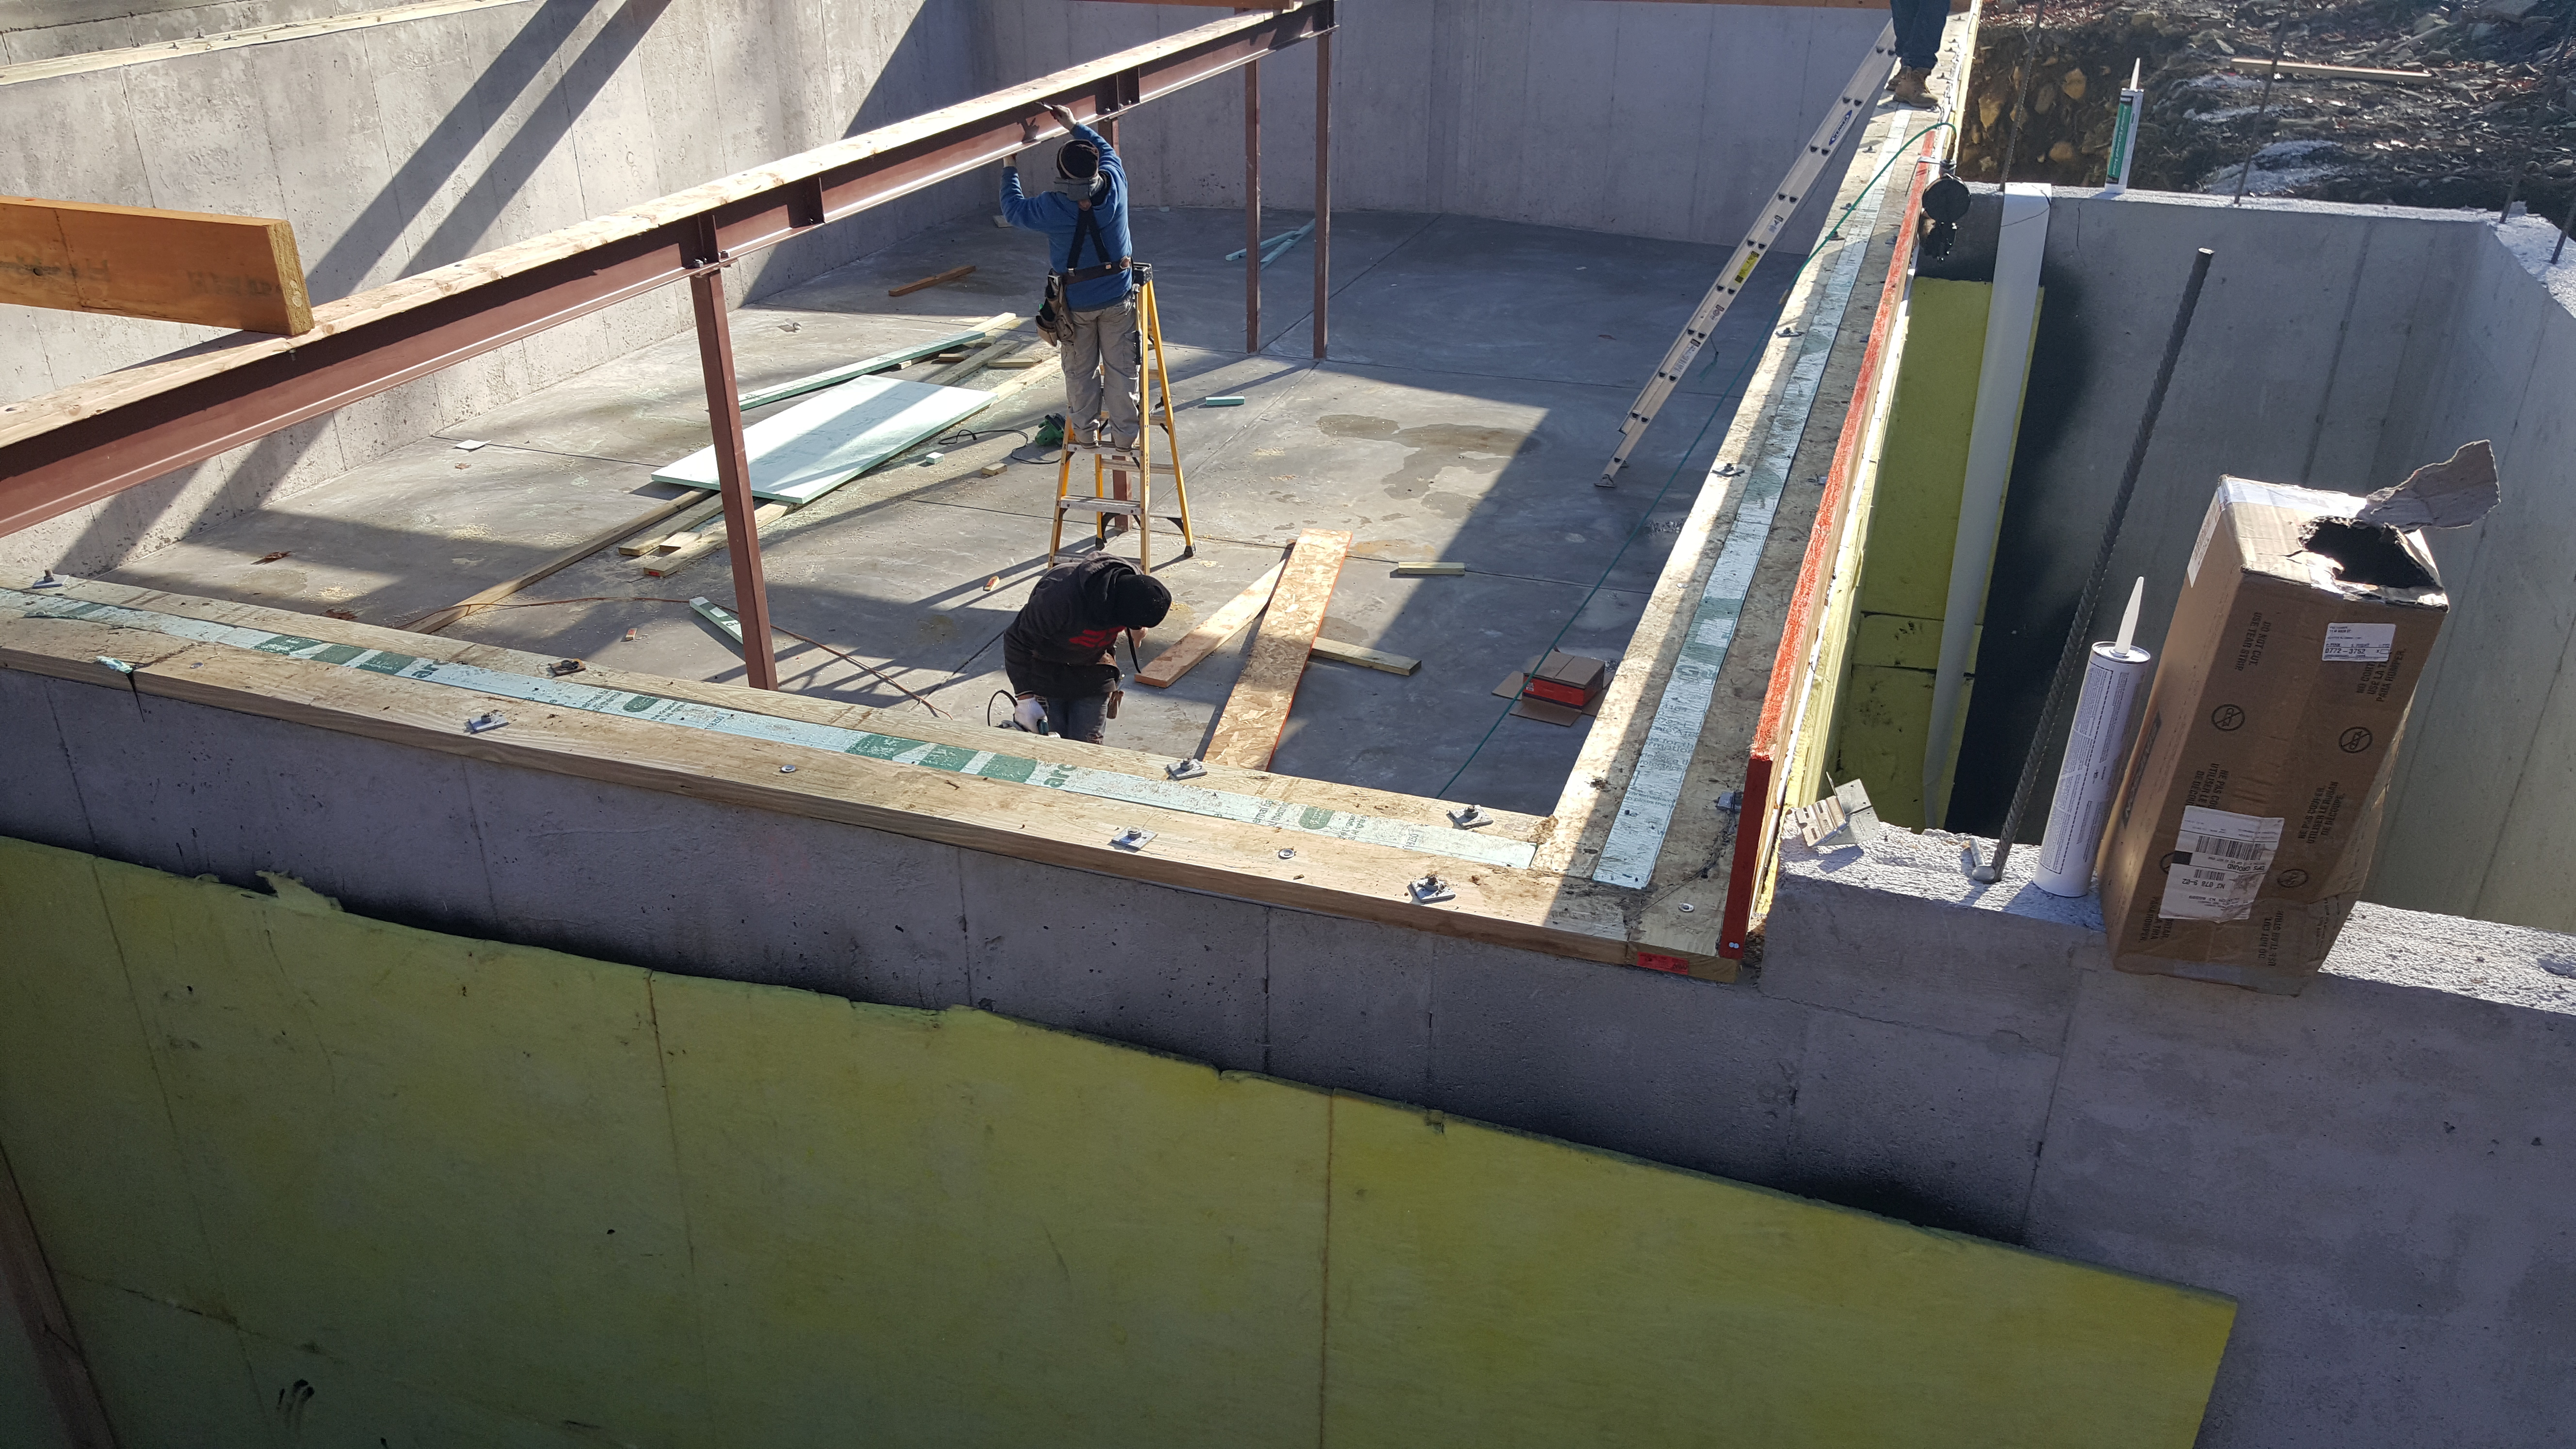
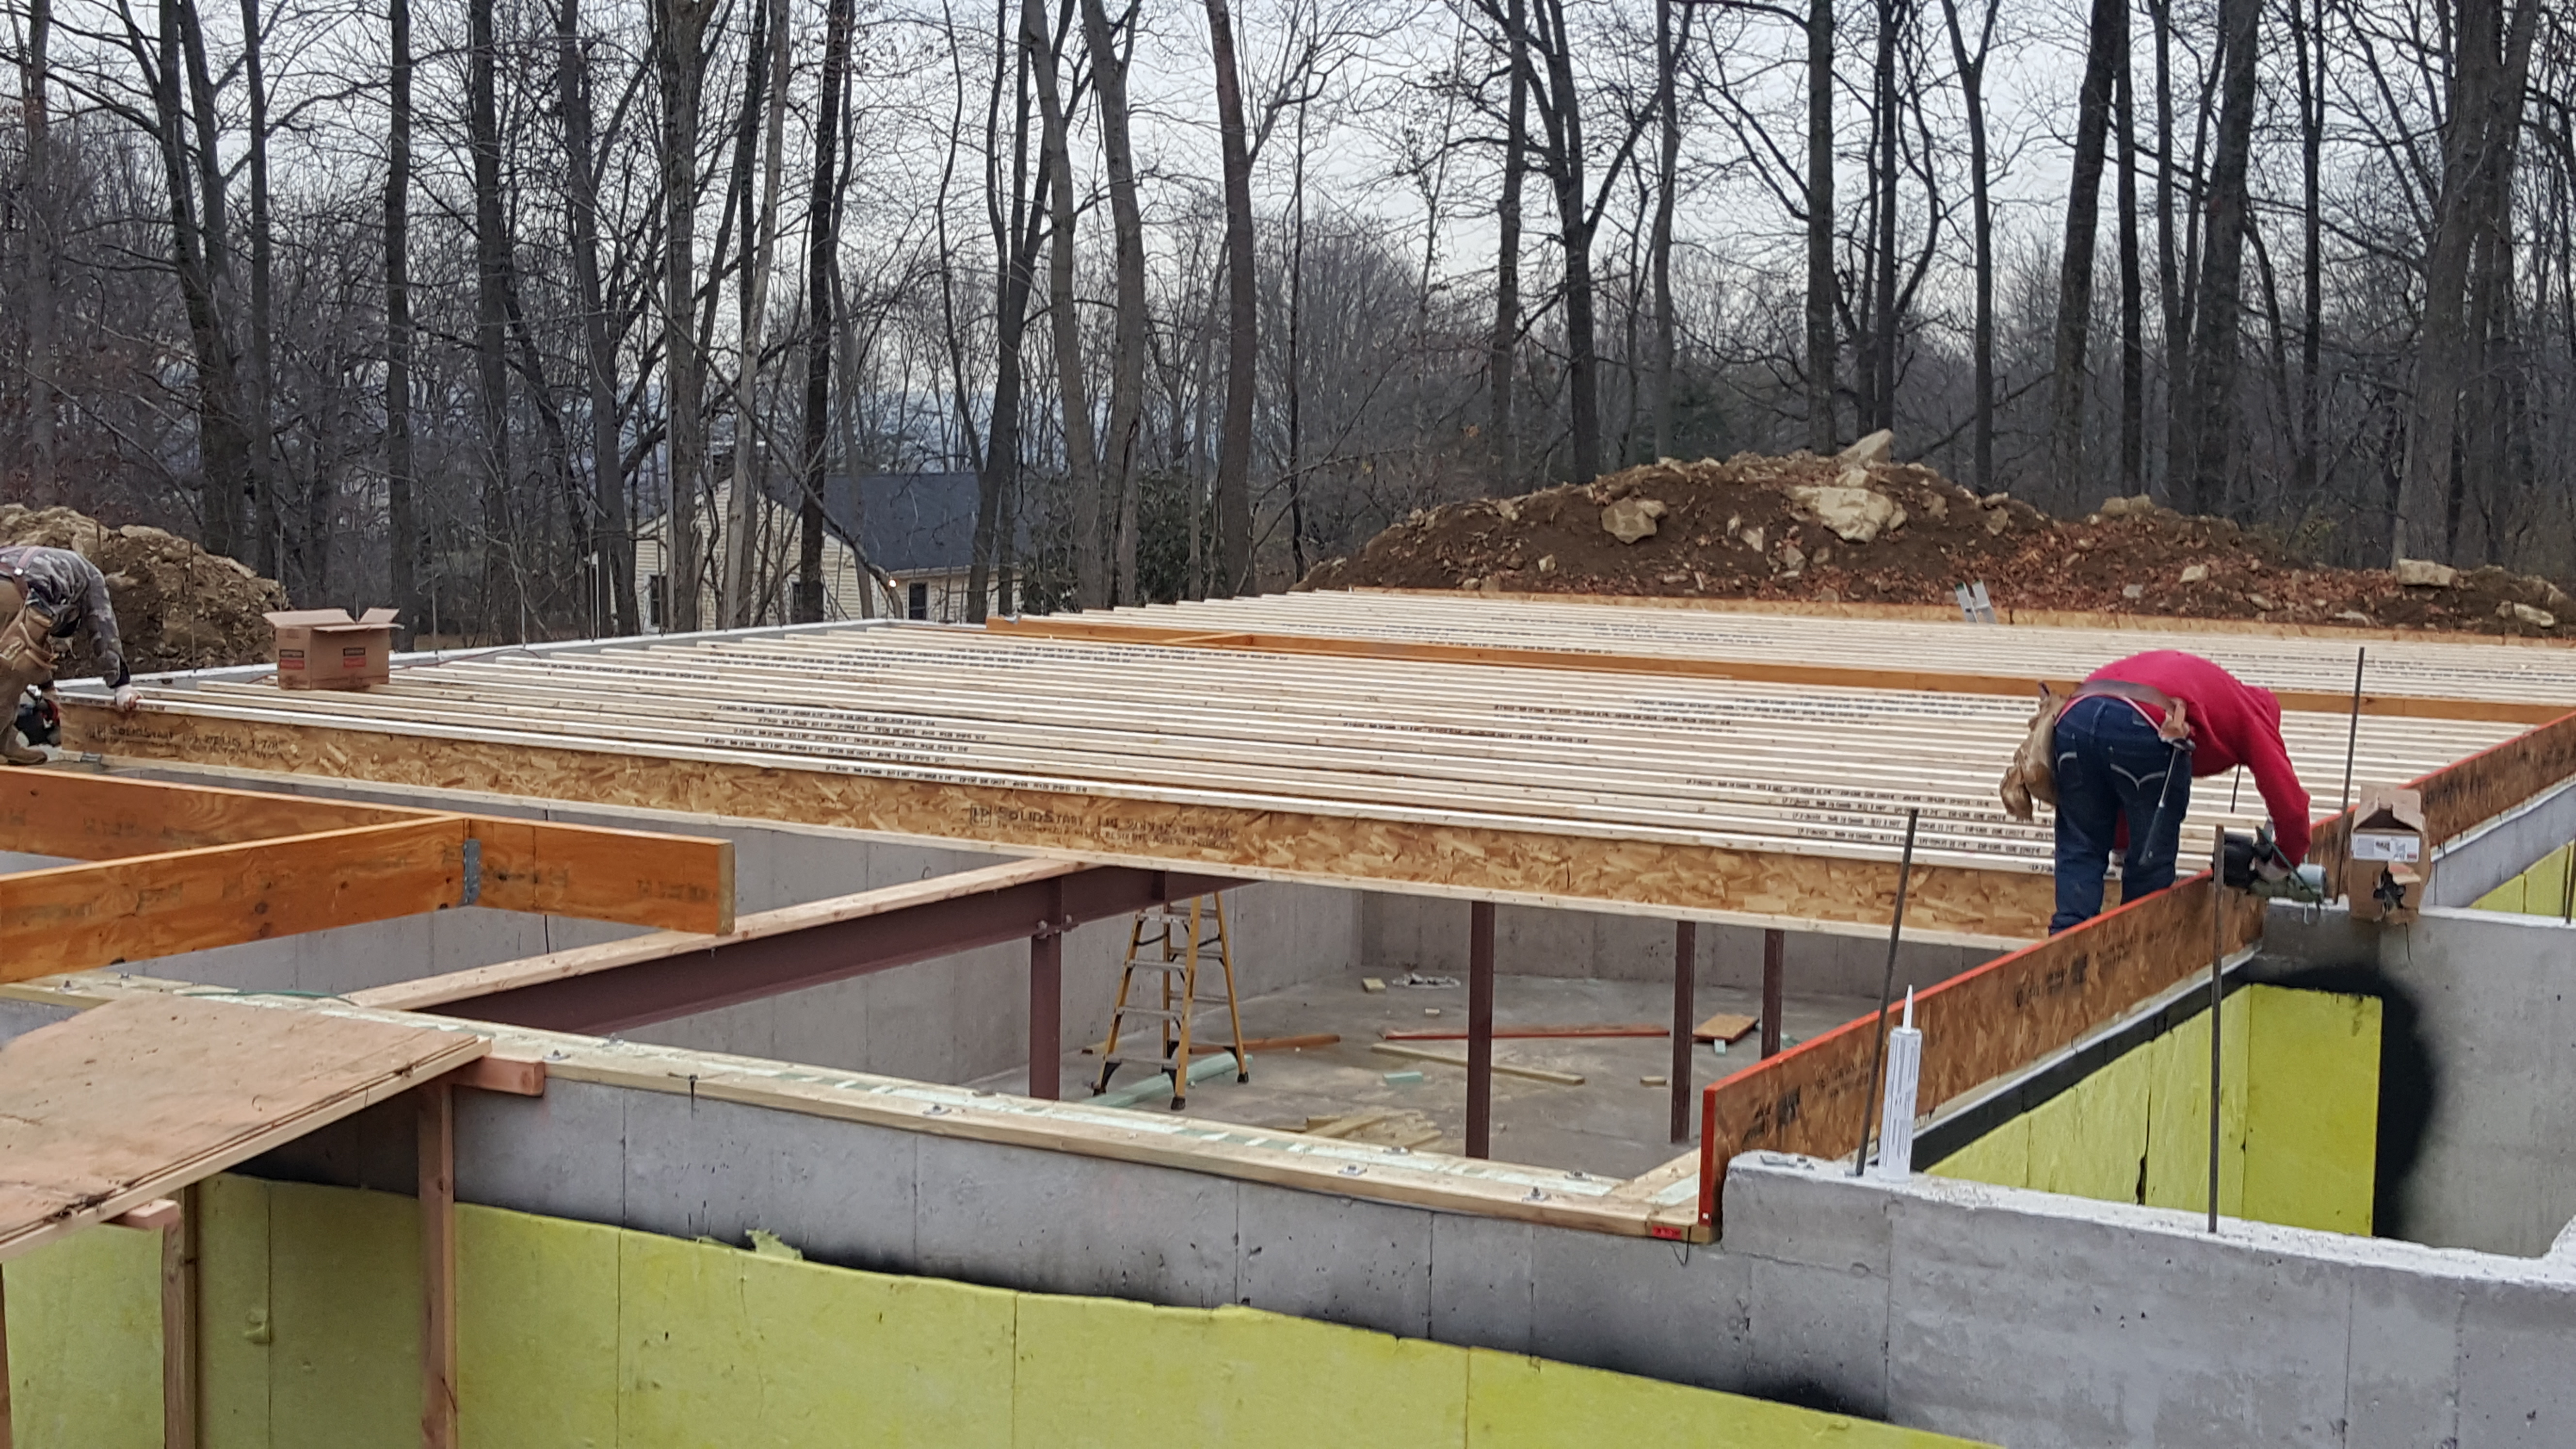
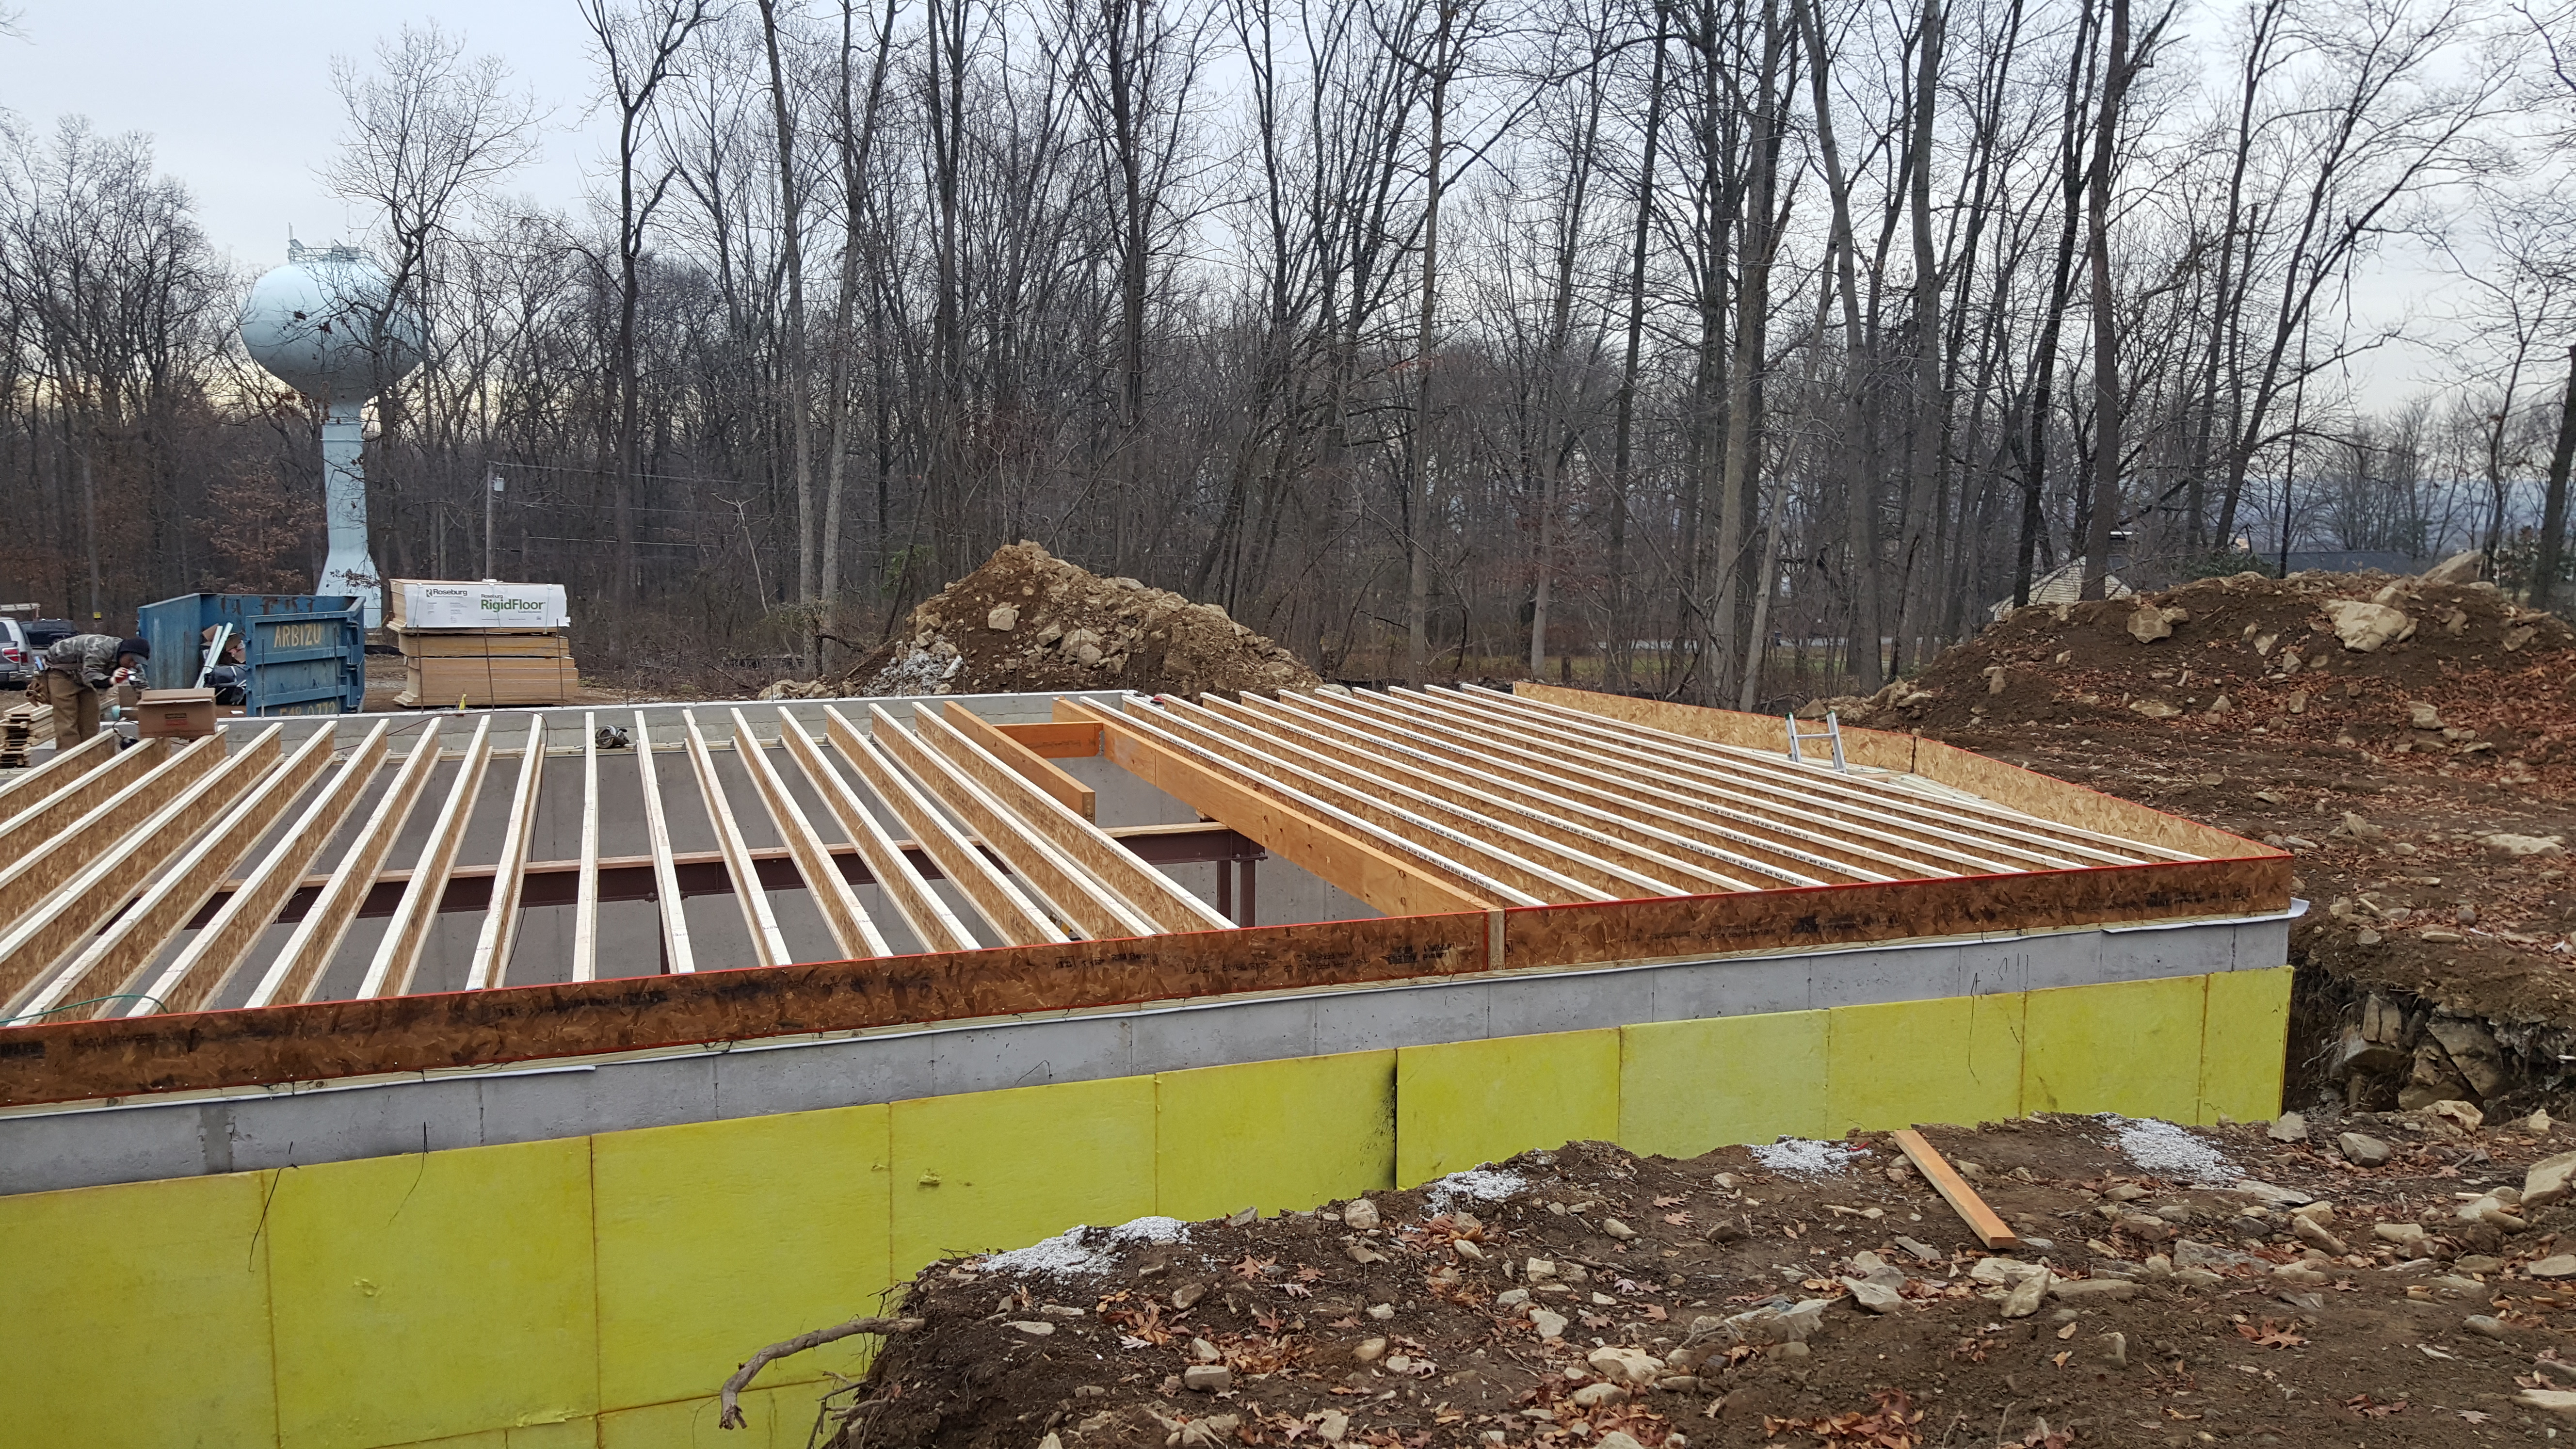
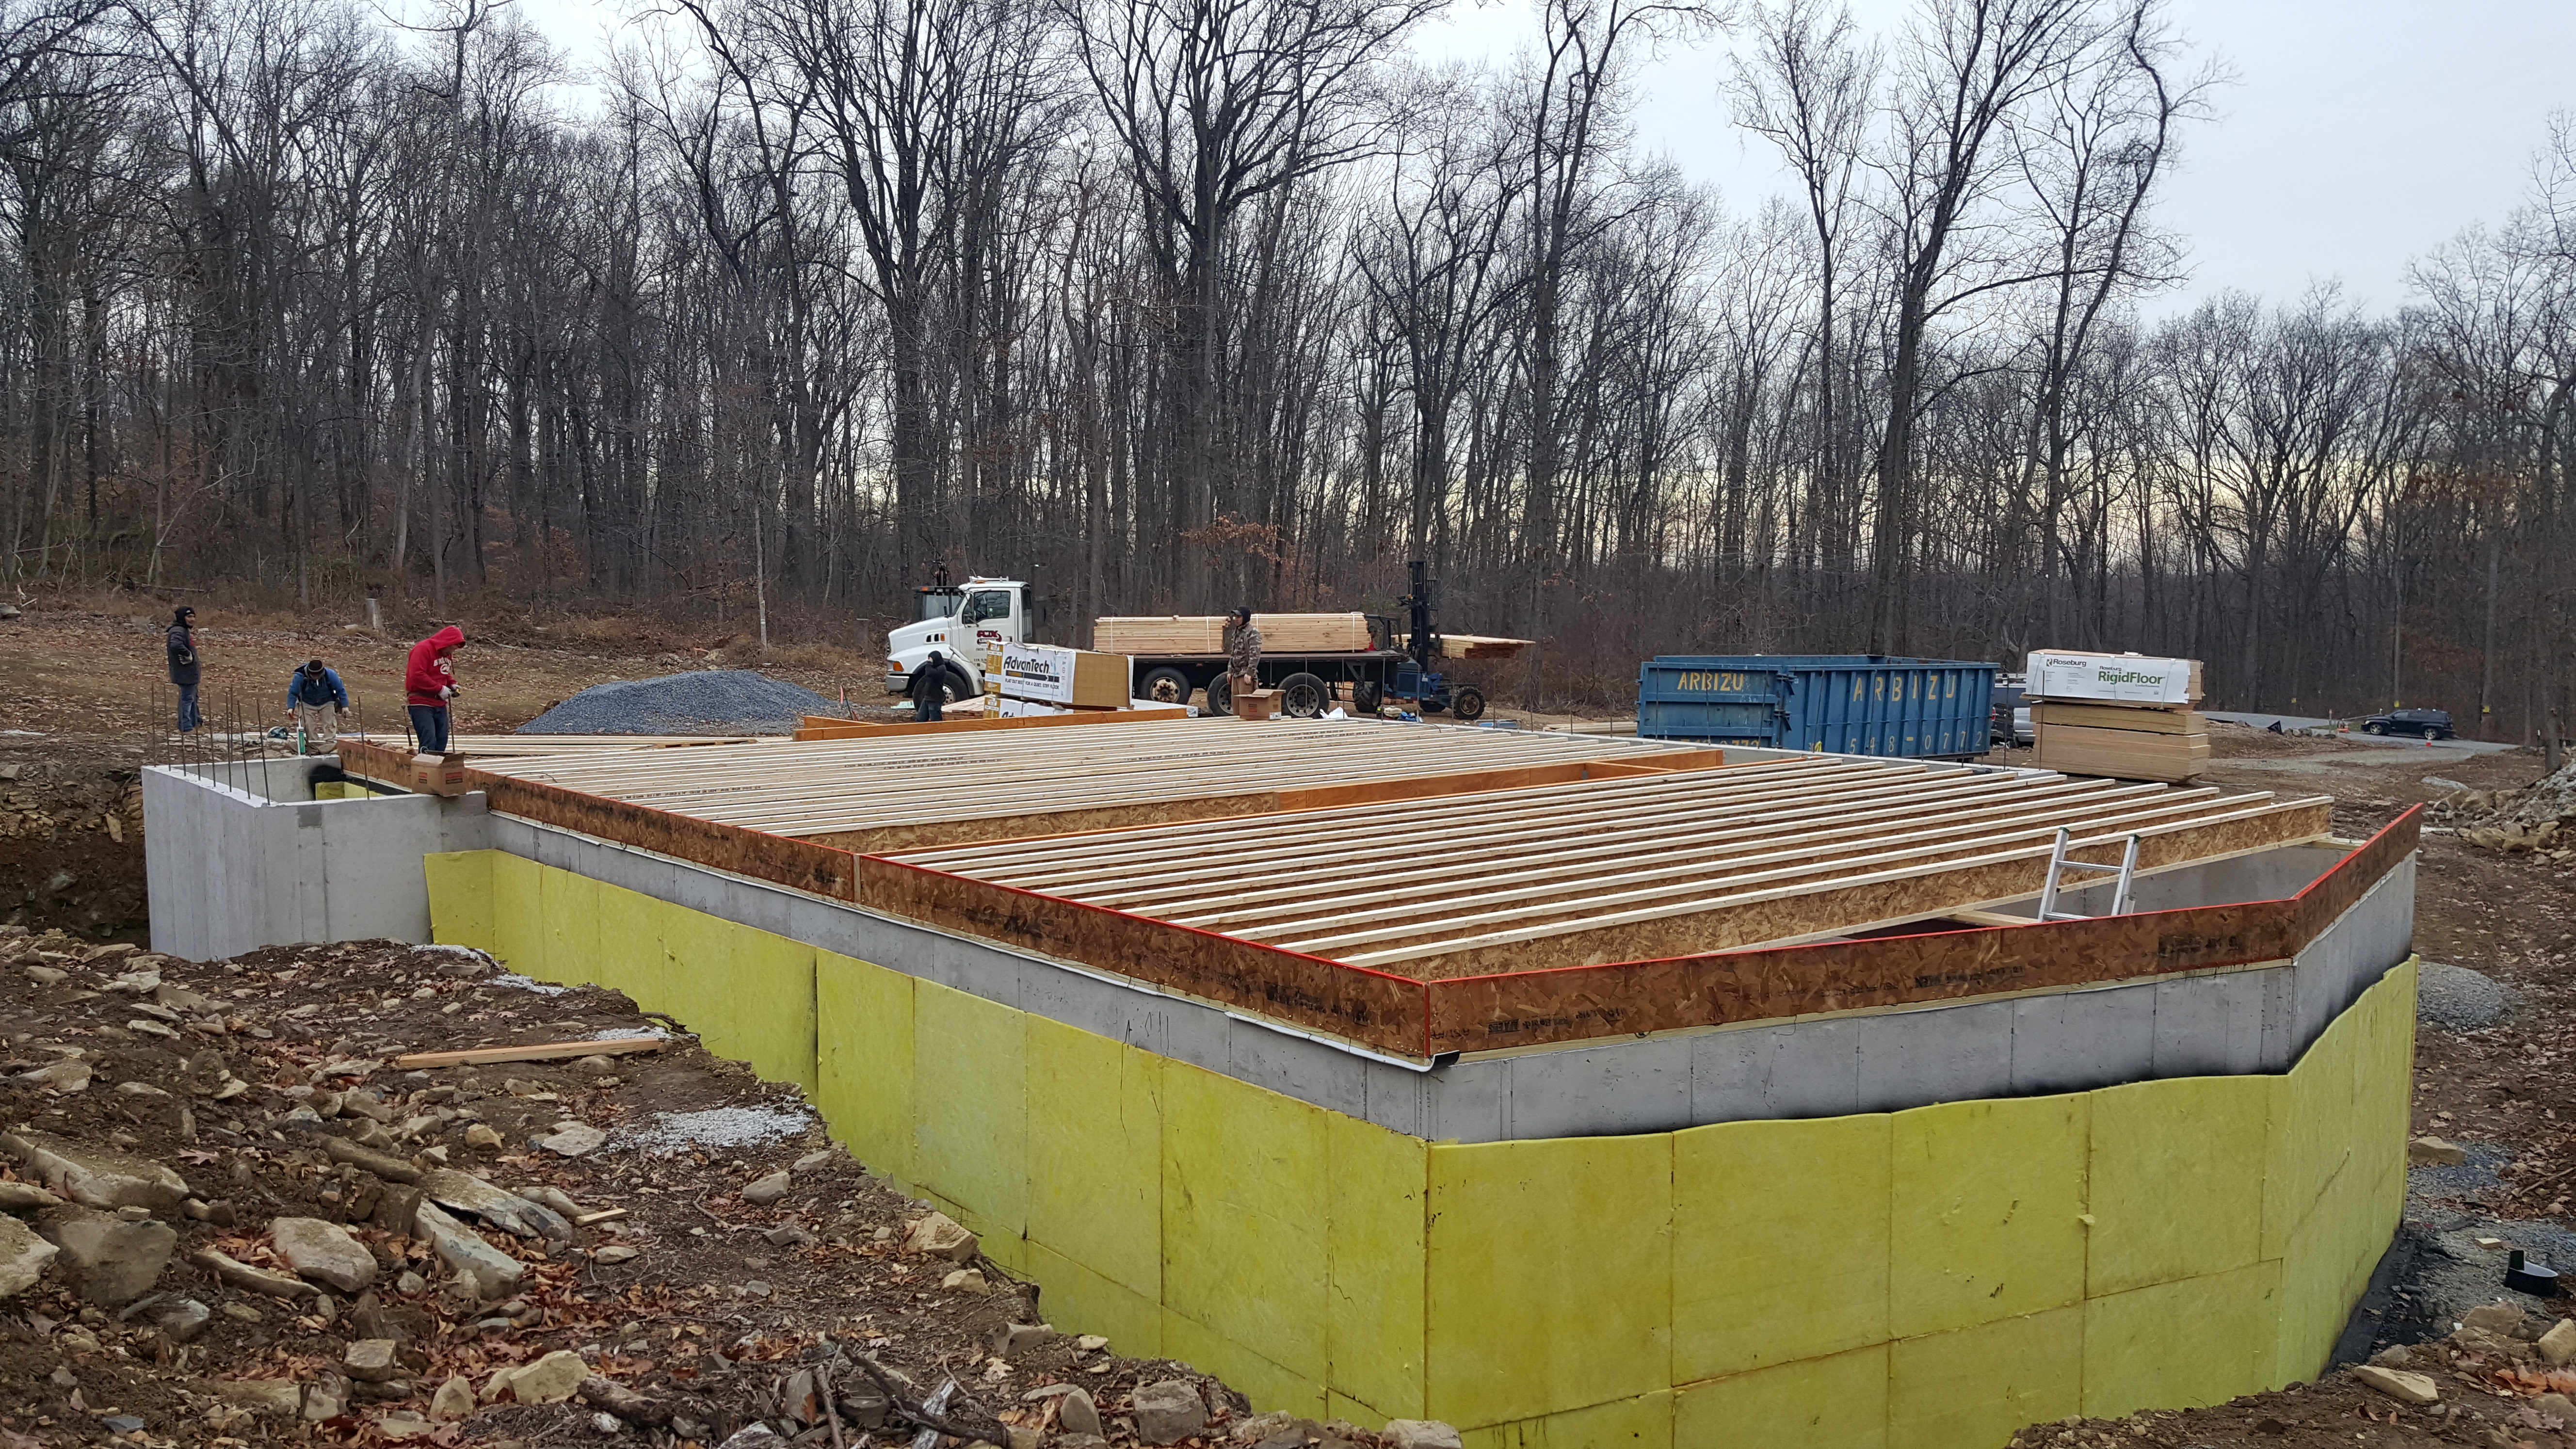
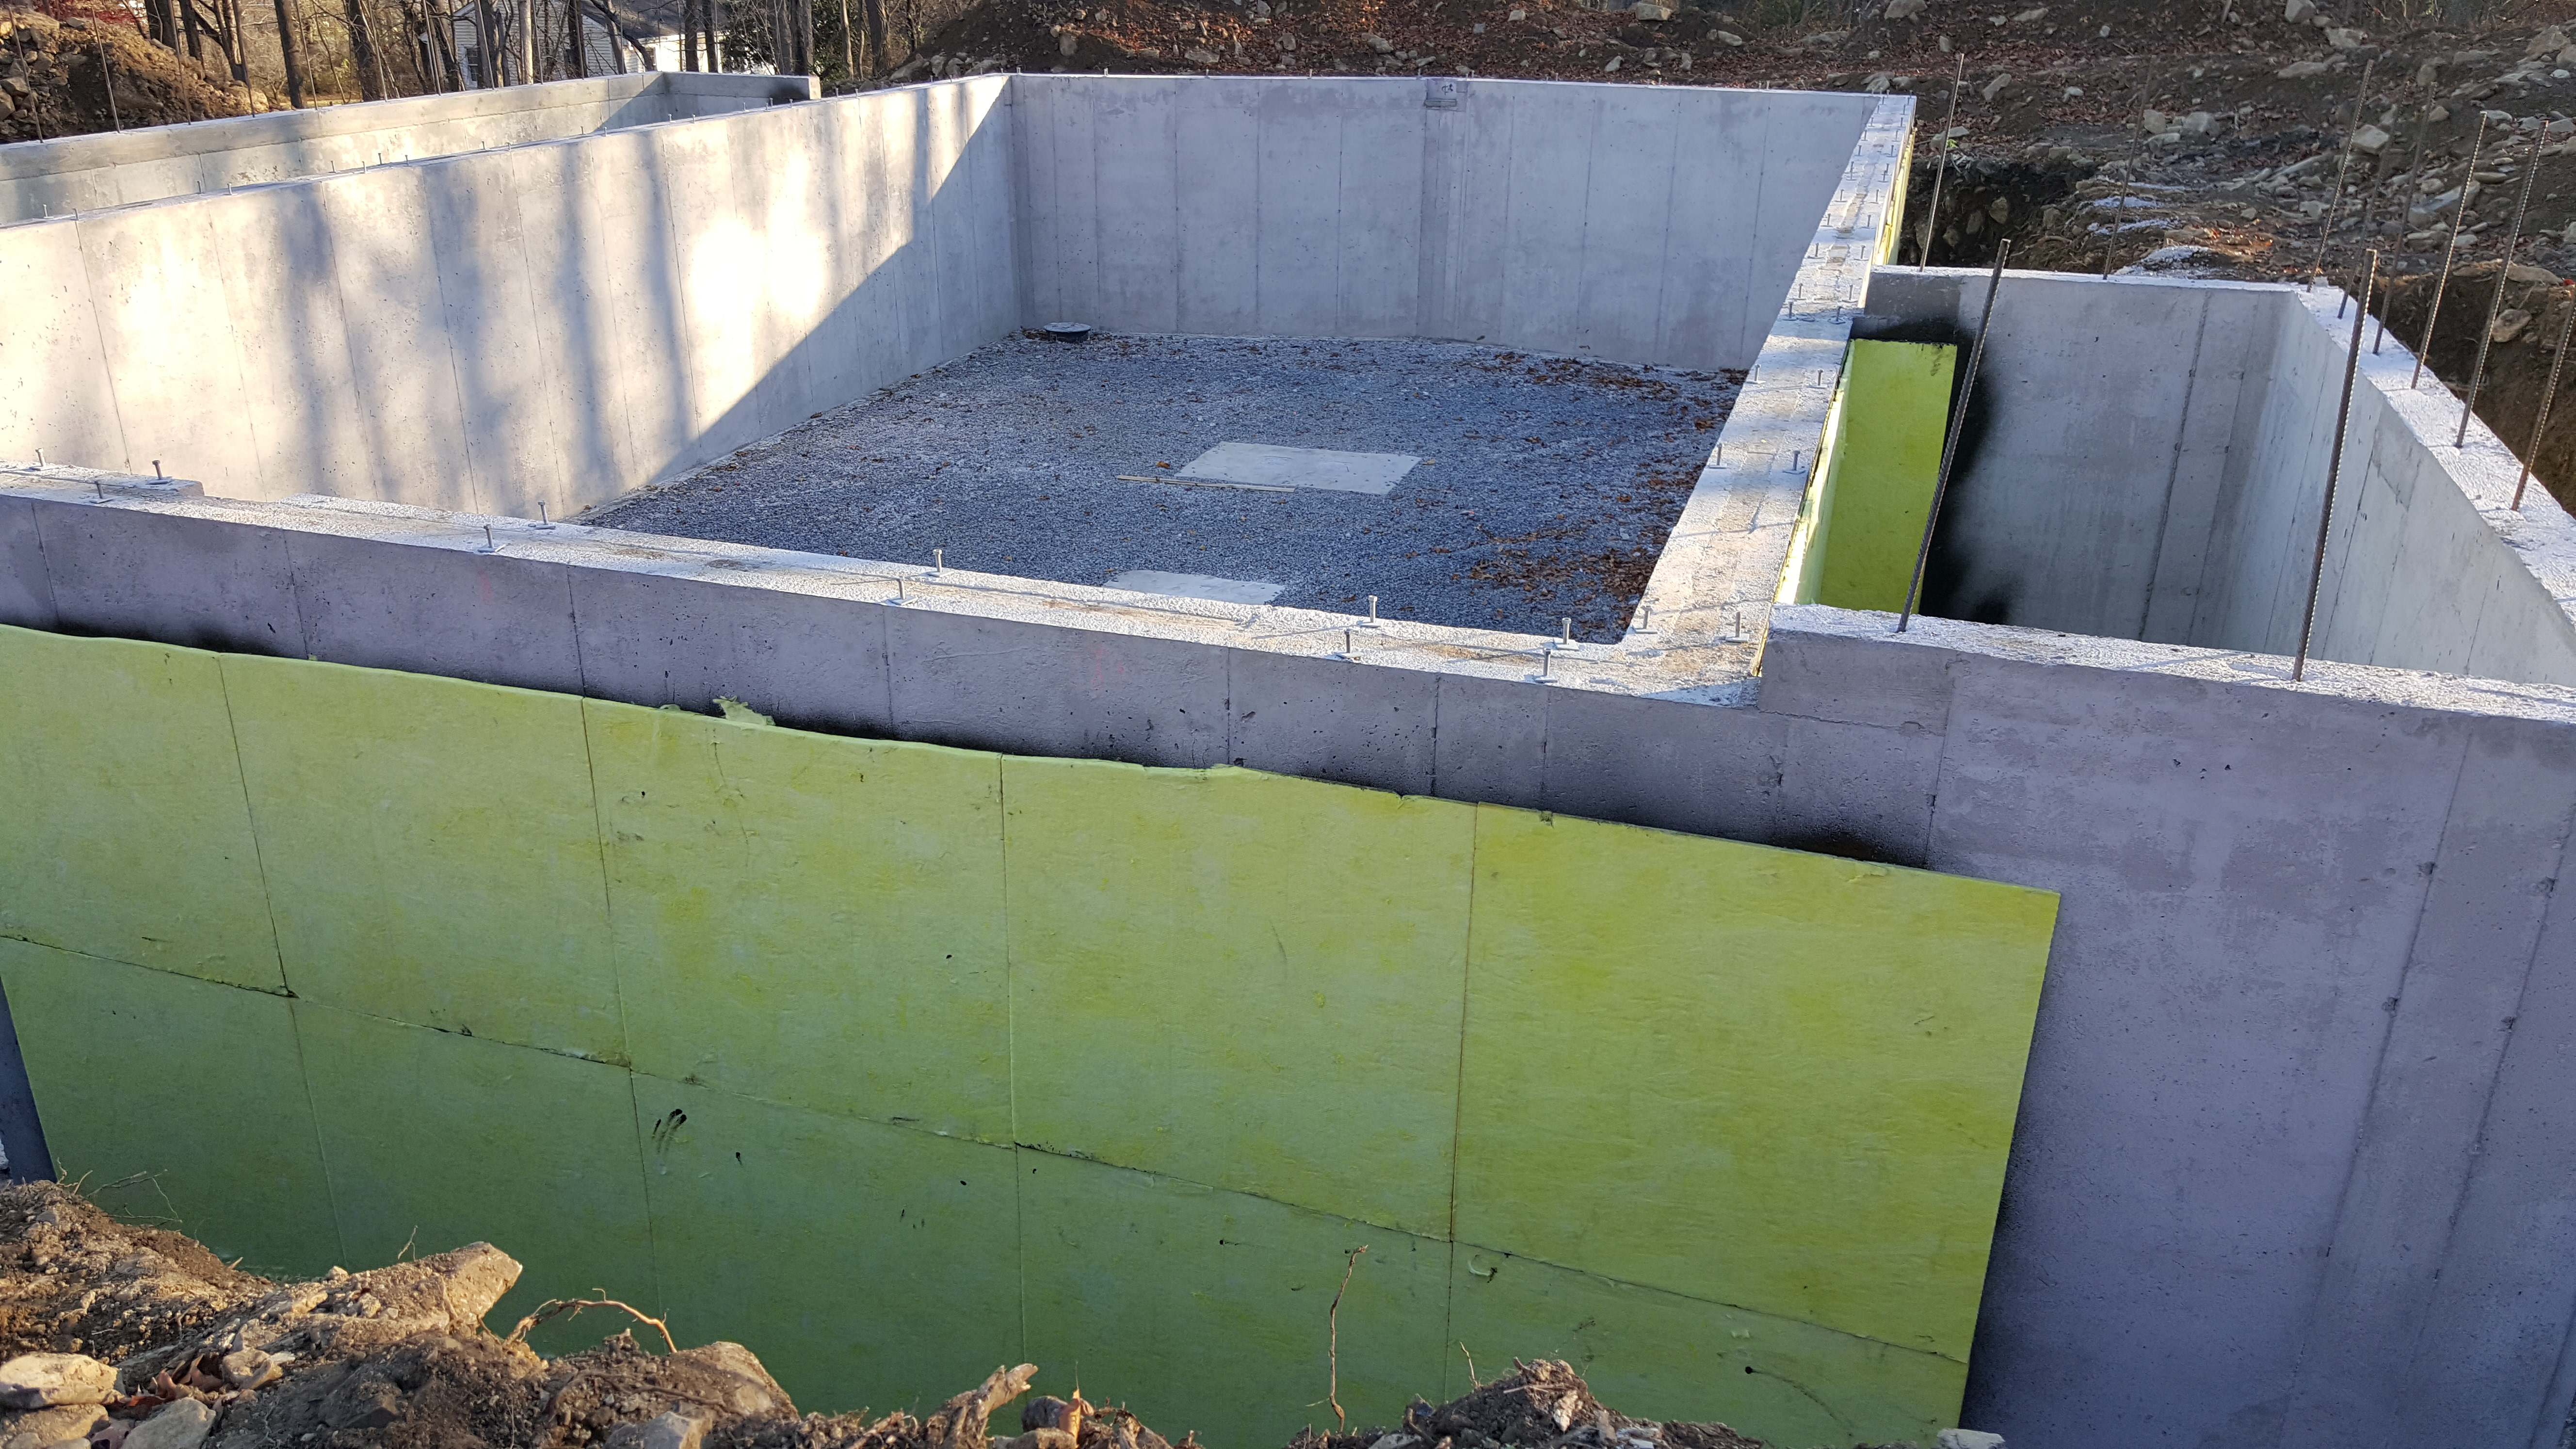
 

Sill Plate Details jpeg69 Sill Plate Details69 Sill Plate Details (3)69 Sill Plate Details (2)

Let the Framing Begin

The big day begins.  One of the most important thing with a Energy Efficient house is it’s air TIGHTness.  The house has to be as tight as possible starting with the sill plate to foundation connection. There are a number of way we’ve seen to do this, the best in our opinion is a combination of Protecto Wrap Premium Energy Sill Sealer and acoustical caulk.  The tape comes in 5.5″ & 3.5″ widths and is 3/8″ thick close cell foam.  At 3/8″ we think it will fill in the irregularities of the foundation wall and sill plate connection.  And because of the double wall foundation we have two sill plates, a 6 x 2 & a 4 x 2. The sill plate and foundation wall connection is so long it is one of the biggest points for air leaks. Side joints are gupped up with the acoustical caulk. Acoustical caulk is a none harding caulk the sticks to everything. Insulation is installed between the double sill plates to block bridging. The insulation is gupped down with acoustical caulk too.

68 Sill Plate Tape (2) 68 Sill Plate Tape (3) 67 First Floor Framing 67 First Floor Framing (2)

67 First Floor Framing (5)

Once the sill plate is bolted and sealed the TJI floor joists and installed.  Again a little different than a standard foundation,  because of the double sill plates.  Tomorrow the sub floor and up the walls go. We are putting in a no-step shower, which requires a little difference in the floor joist under the shower floor. But we have two days of rain in the forecast.


67 First Floor Framing (3) 67 First Floor Framing (4) 67 First Floor Framing (6) 67 First Floor Framing (7) 67 First Floor Framing (8)


Basement Floor

I got to the lot at 8:02 and Marone’s guys were already working.  Two concrete trucks later the floor was poured, Spread it out, shot the height with a laser, then let it set up. After a few hours they were back at it smoothing the floor and cutting the expansion join. Gabe my Grandson can over to watch and the pump truck operator let him move the boom around,

65 Basement Floor65 Basement Floor (3) 65 Basement Floor (2) 65 Basement Floor (4) 65 Basement Floor (5) 65 Basement Floor (6) 65 Basement Floor (10) 20151127_090032-1

The Steel & Floor

After fabrication the supporting steel was installed. The columns were installed and leveled one day, and measured for the correct height.  A crane lifted the heavy cross members into place. There were bolted to the support columns and welded to bolted in end plates.

Then Marone’s guys placed 2″ rigid foam panels (R-10) including 4″ up the side walls. The covered it with 15mil Stego vapor barrier and taped all the seams and around any openings.  All ready to pour the floor tomorrow.62 Steel 62 Steel (2) 62 Steel (3) 63 Vapor Barrier (2) 63 Vapor Barrier

Stripping Forms & Water Proofing

After two days of curing the forms were stripped and a water proofing membrane was added and covered with perfective panels of fiberglass.   I’m not worried about water, the ground is very pours, sand, loam, some clay and rocks.  So many rocks we will have to bring in backfill. Since the hole was opened we’ve had two different days of heavy rain (2″ +) with no acclamation on the floor of the hole.

60 Finished wall (3)60 Finished wall (5)

60 Finished wall 61 Waterproffing (2) 61 Waterproffing (3) 61 Waterproffing

Pouring the Foundation Wall

It was actually very simple.  A pumper truck, a bunch of cement mixer trucks, and  about 6 guys made it look easy.  Thanks to the Thermomass Reps Marone’s guys knew just what to do.  Two guys worked the nozzle pouring about 2 feet of concrete on either side of the insulation panels and just circled the wall. 180 degrees away on the other side of the wall another two guys also circled the wall with a vibrator.  I lost count of the cement mixer trucks but by just after noon the walls were poured.  Two guys went around installing the tie downs, over a hundred.  Now just wait for the concrete to cure.


58 Pumpimg walls 58 Pumpimg walls (5) 58 Pumpimg walls (4)58 Pumpimg walls (2) 58 Pumpimg walls (9) 59 Drying (5) 59 Drying

The Foundation

The Foundation,

A house looses about 20% of it’s heat energy through the basement.  So to build a high efficiencies house you have to start with the foundation. There are a number of ways to add insulation to the foundation.

  1. The outside:  you can attach XPS panels on the out side walls.  This didn’t make much sense to me, because I didn’t see how this would keep the concrete wall from trying to get to the ground temperature.
  2. The inside: putting insulation on the inside wall is better than the outside, but there are a number of choices.  Sprayed open-cell foam. A good solution if your finishing the basement, I wasn’t .  Another is attaching XPS to the inside wall, there are a couple of ways.
  3. Both sides:  ICFs (Insulated Concrete Forms) are another choice. But I saw issues and looked for a better solution
  4. In the middle:  Thermomass CIP system.  Four inches of concrete, four inches of XPS (R-20) and four inches of concrete.  The exterior wall adjusts to the ground temperature (apx. 55 degrees; the inside wall is a big mass that adjusts to the basement temperature (65 degrees); nd the four inches of XPF keeps them apart. Plus blocks moisture from migrating through the wall.  That very large thermos mass of the inside concrete wall will hold the basement temperature.

So the Thermomass CIP solution made the most sense to me.    I met with the local Thermomass rep, Gary Pascoe, and I was sold.  A Deptford concrete company Manone Construction gave me a quote.  The XPS panels have non-conducting stand-off the center them in the forms, concrete is poured on either side of the XPS.  See photos of the insulation panels being installed.

2015-11-05 09.16.512015-11-05 09.16.43

20151109_090020[1] 20151109_085922[1]

2015-11-04 09.18.04